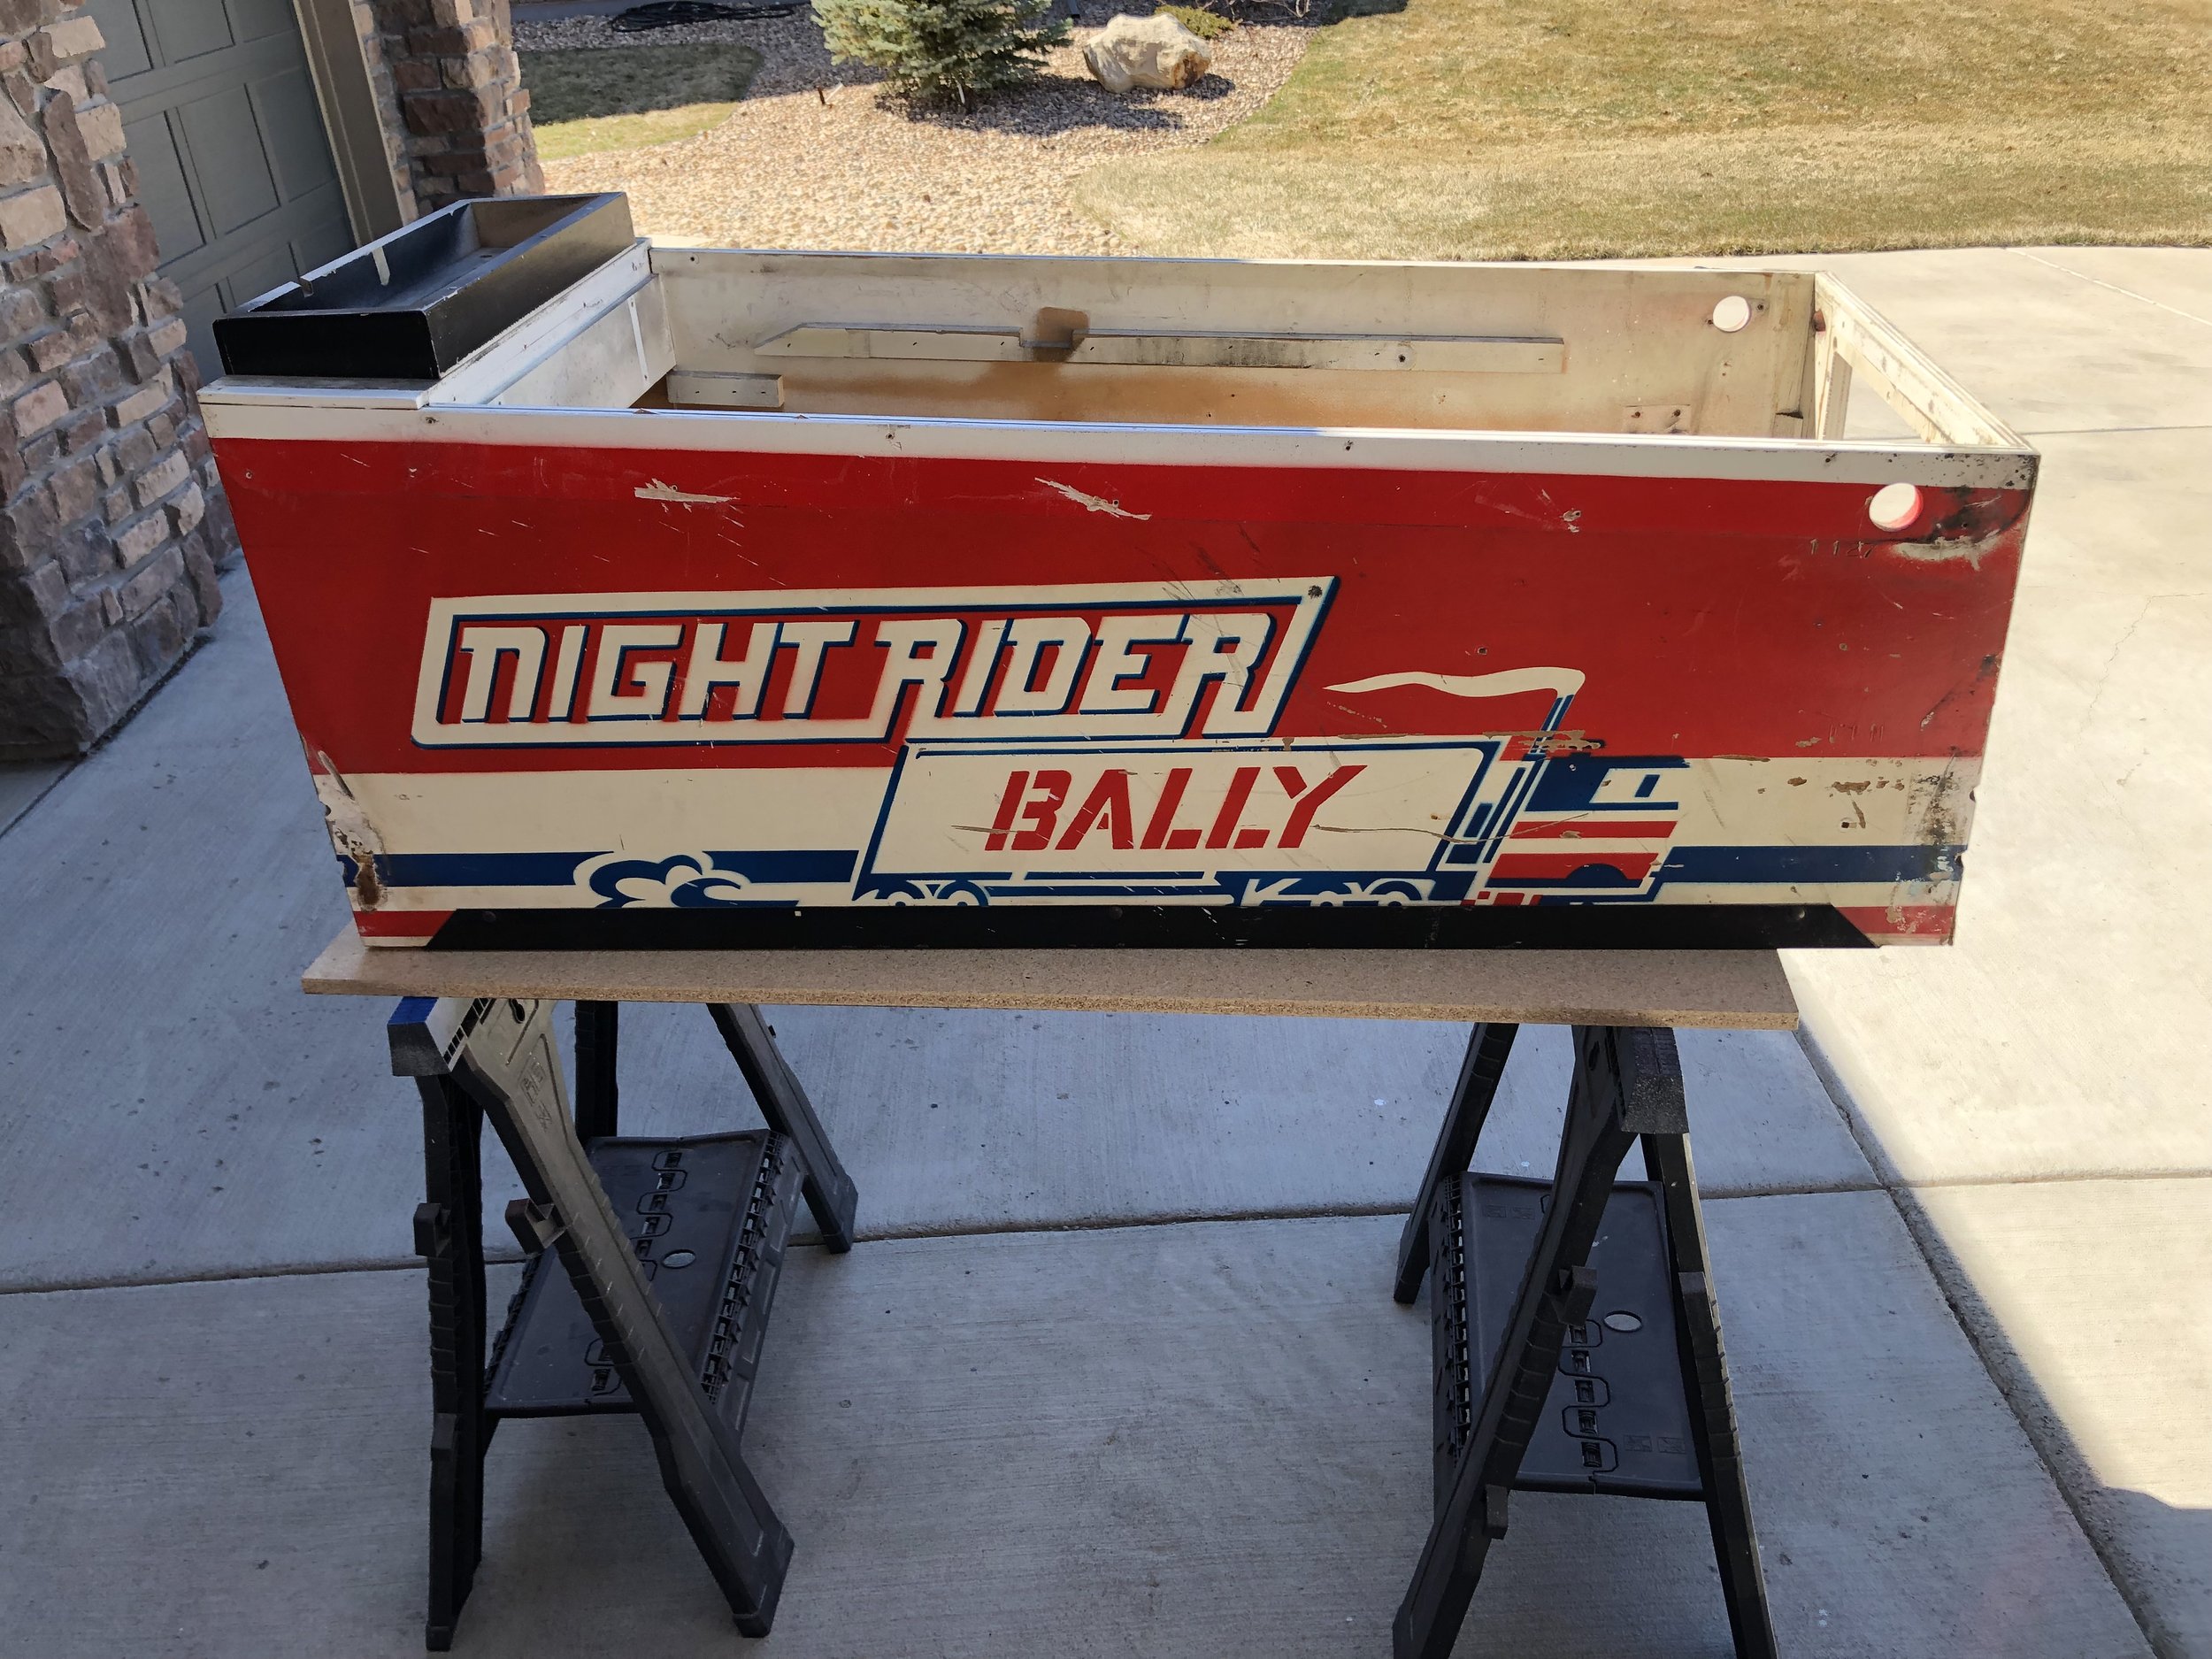
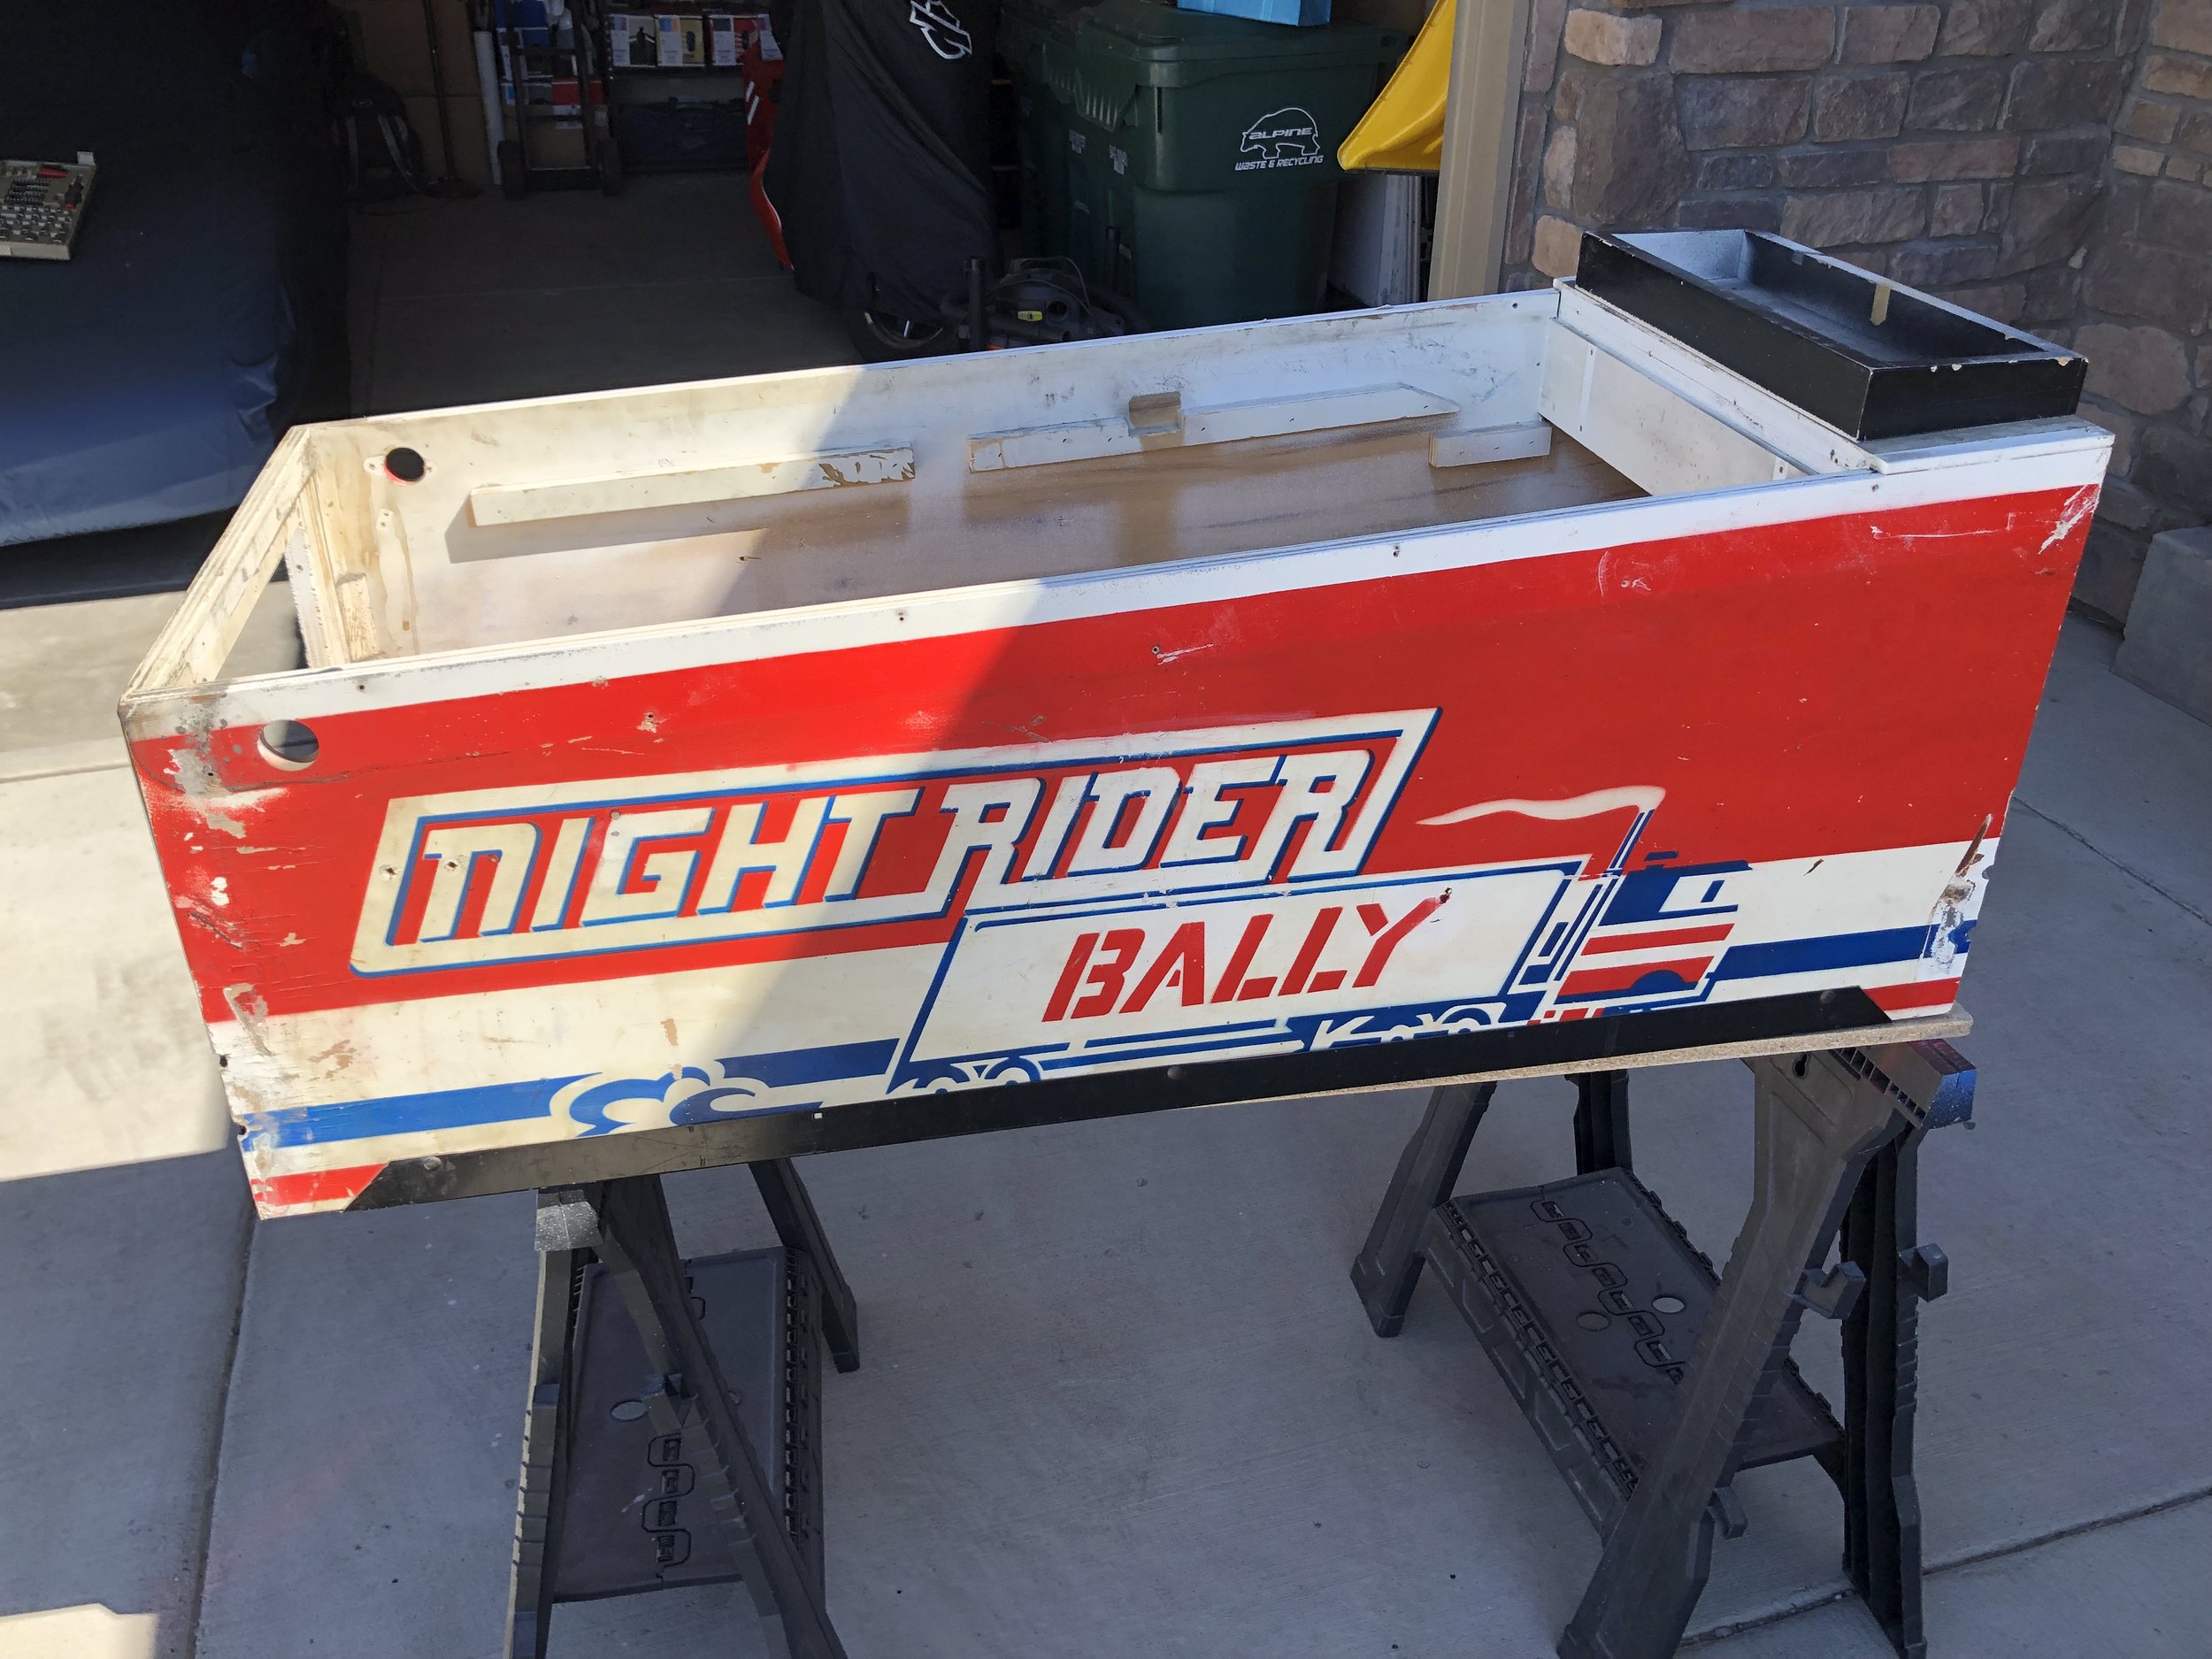
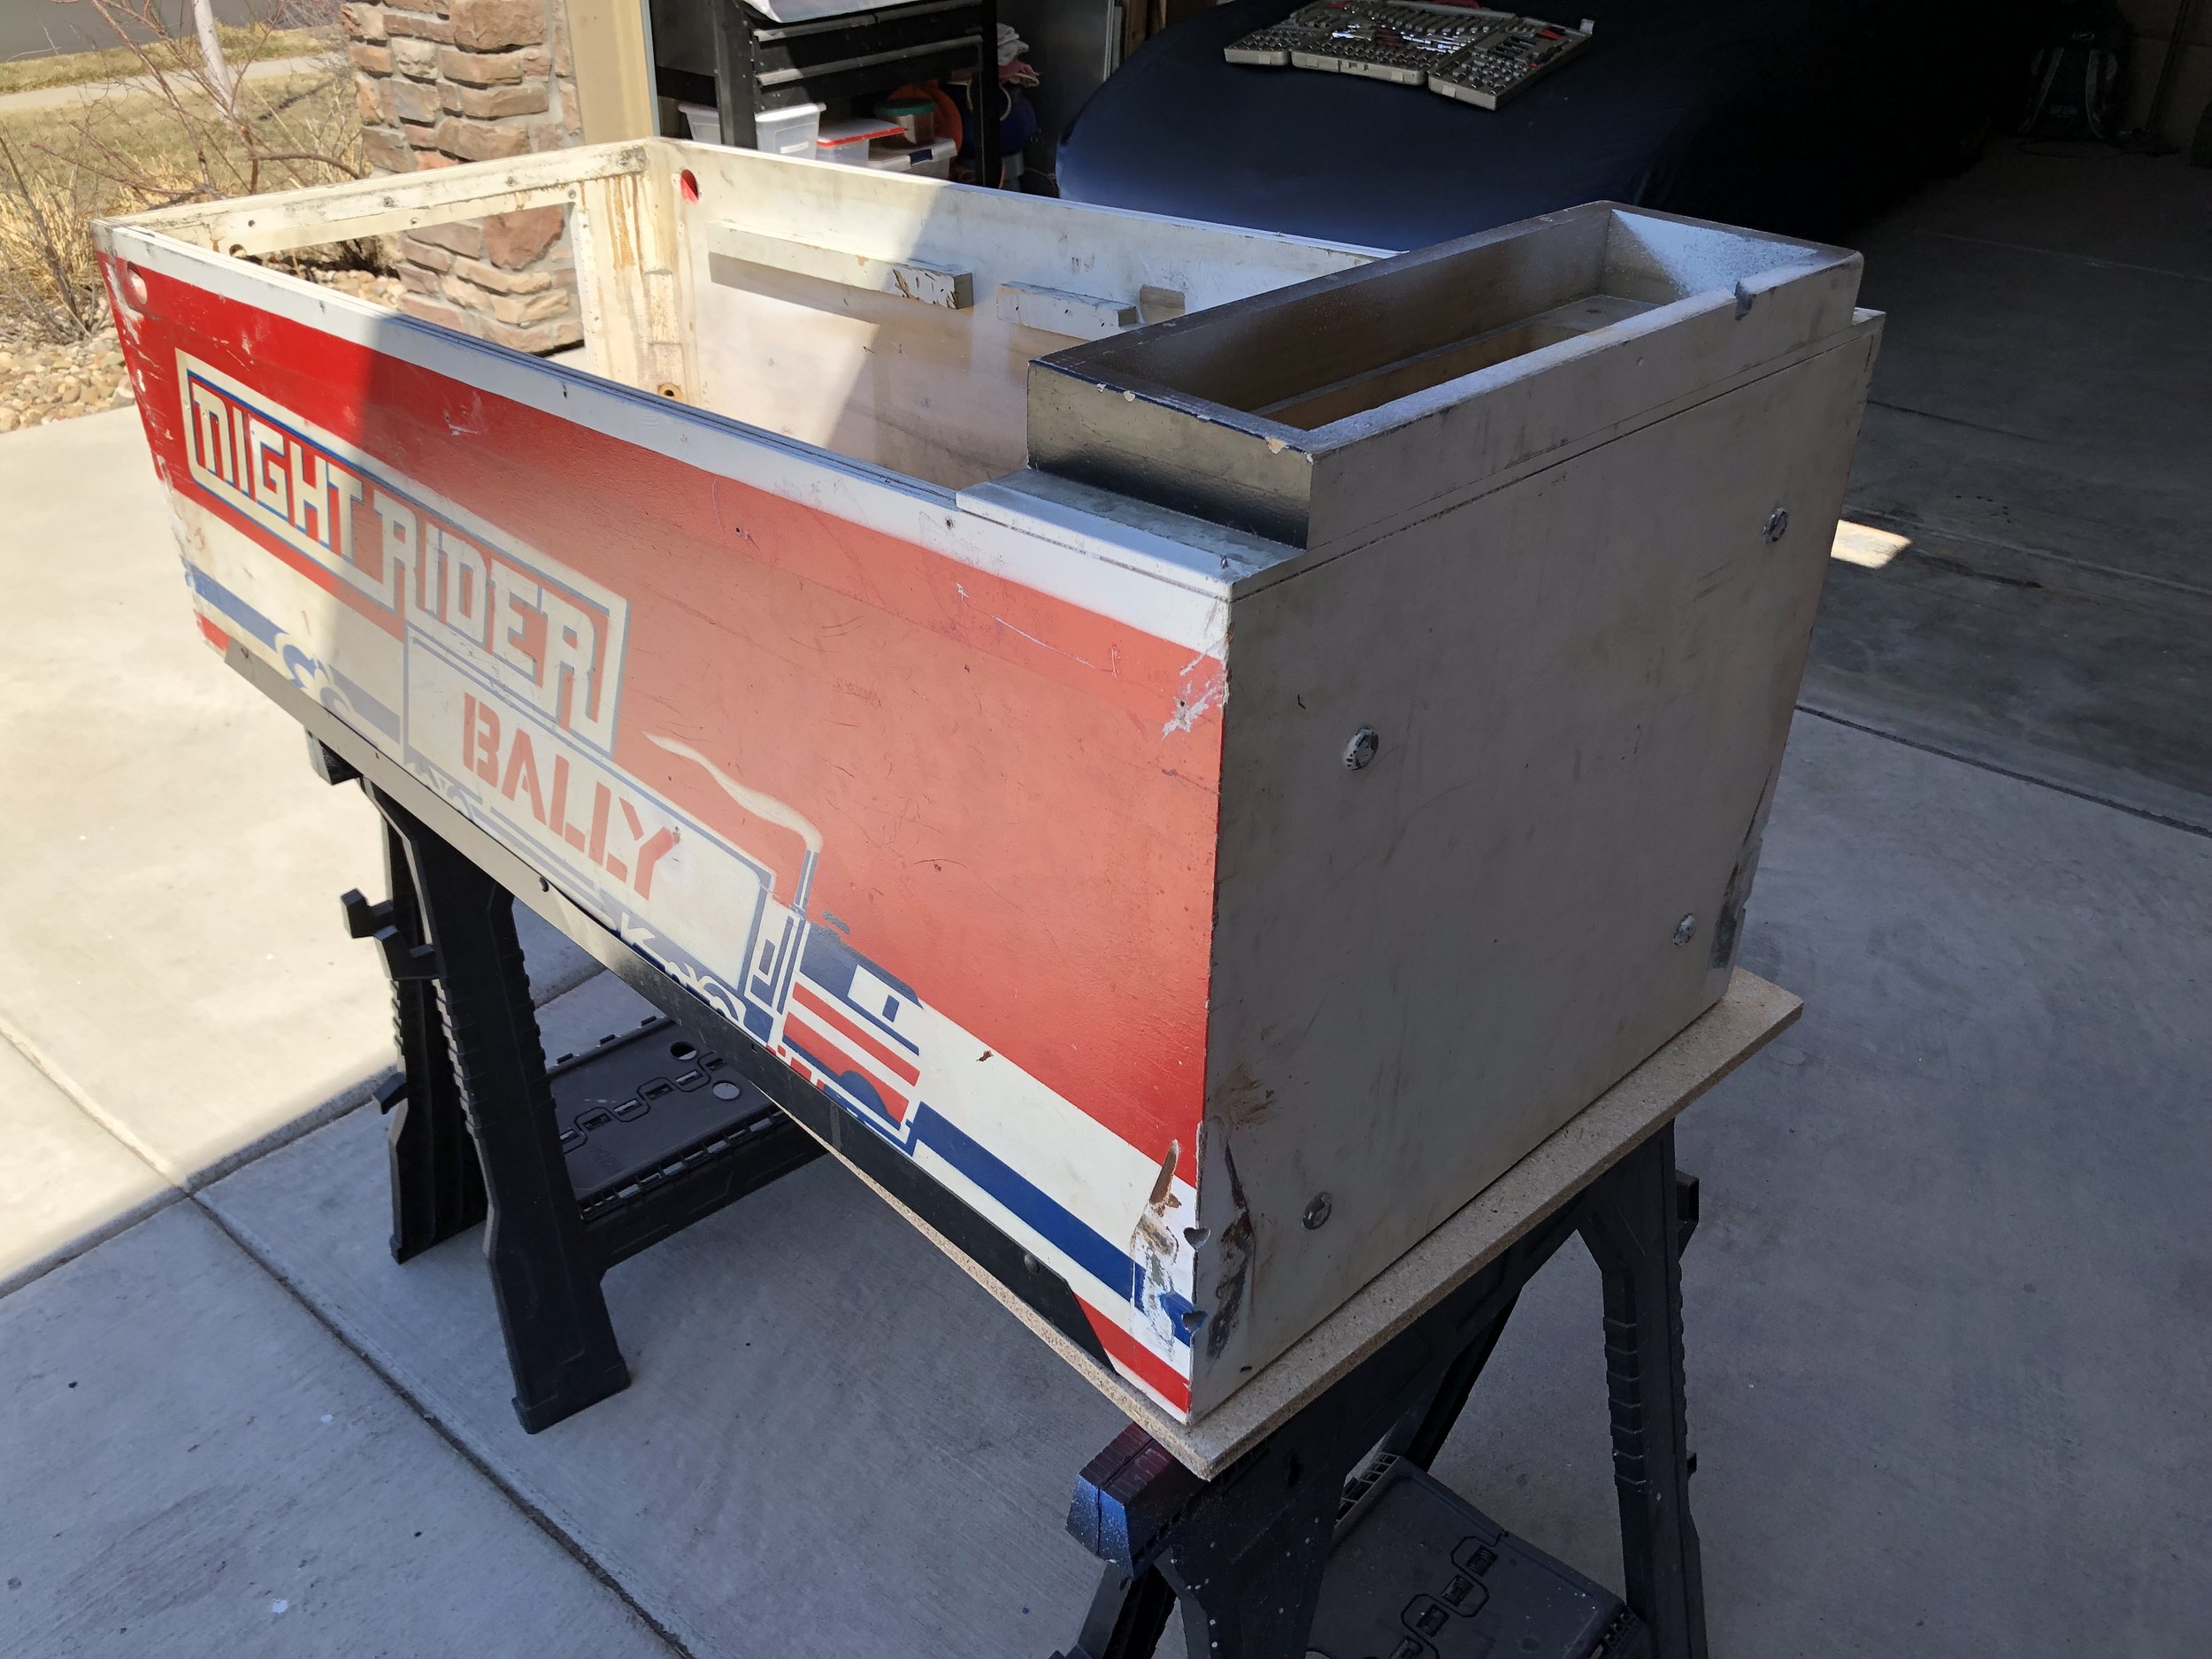
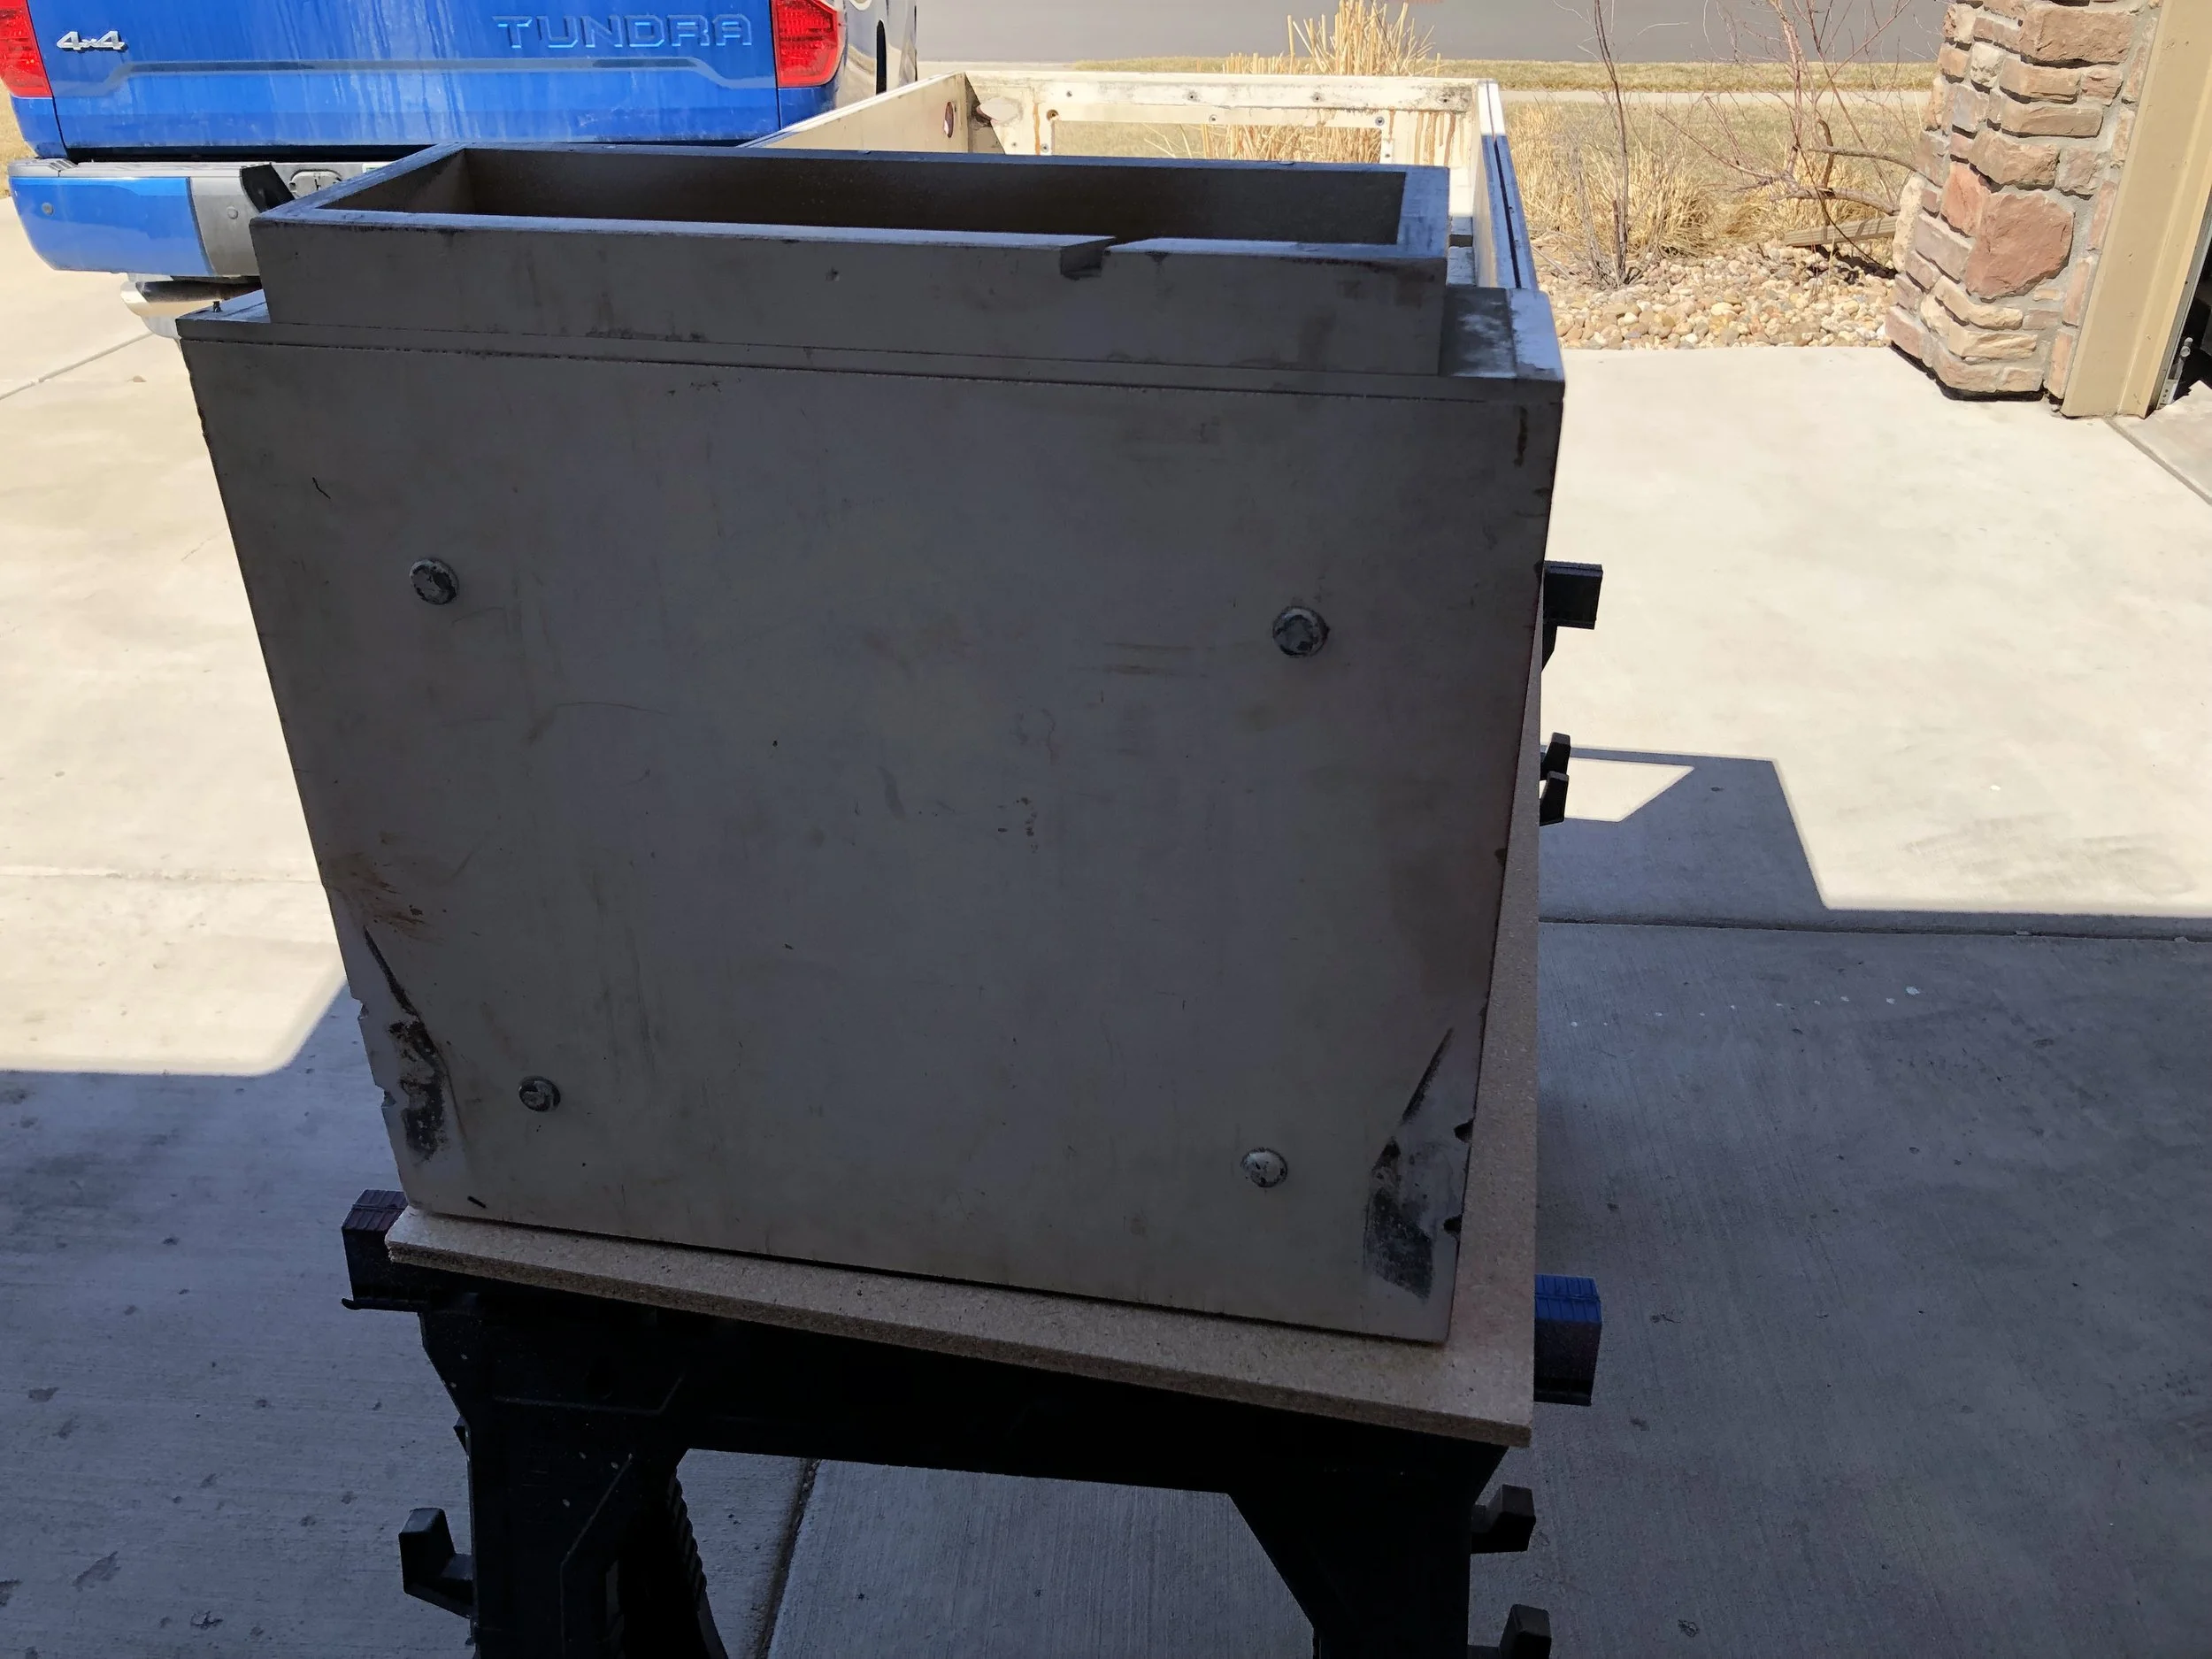
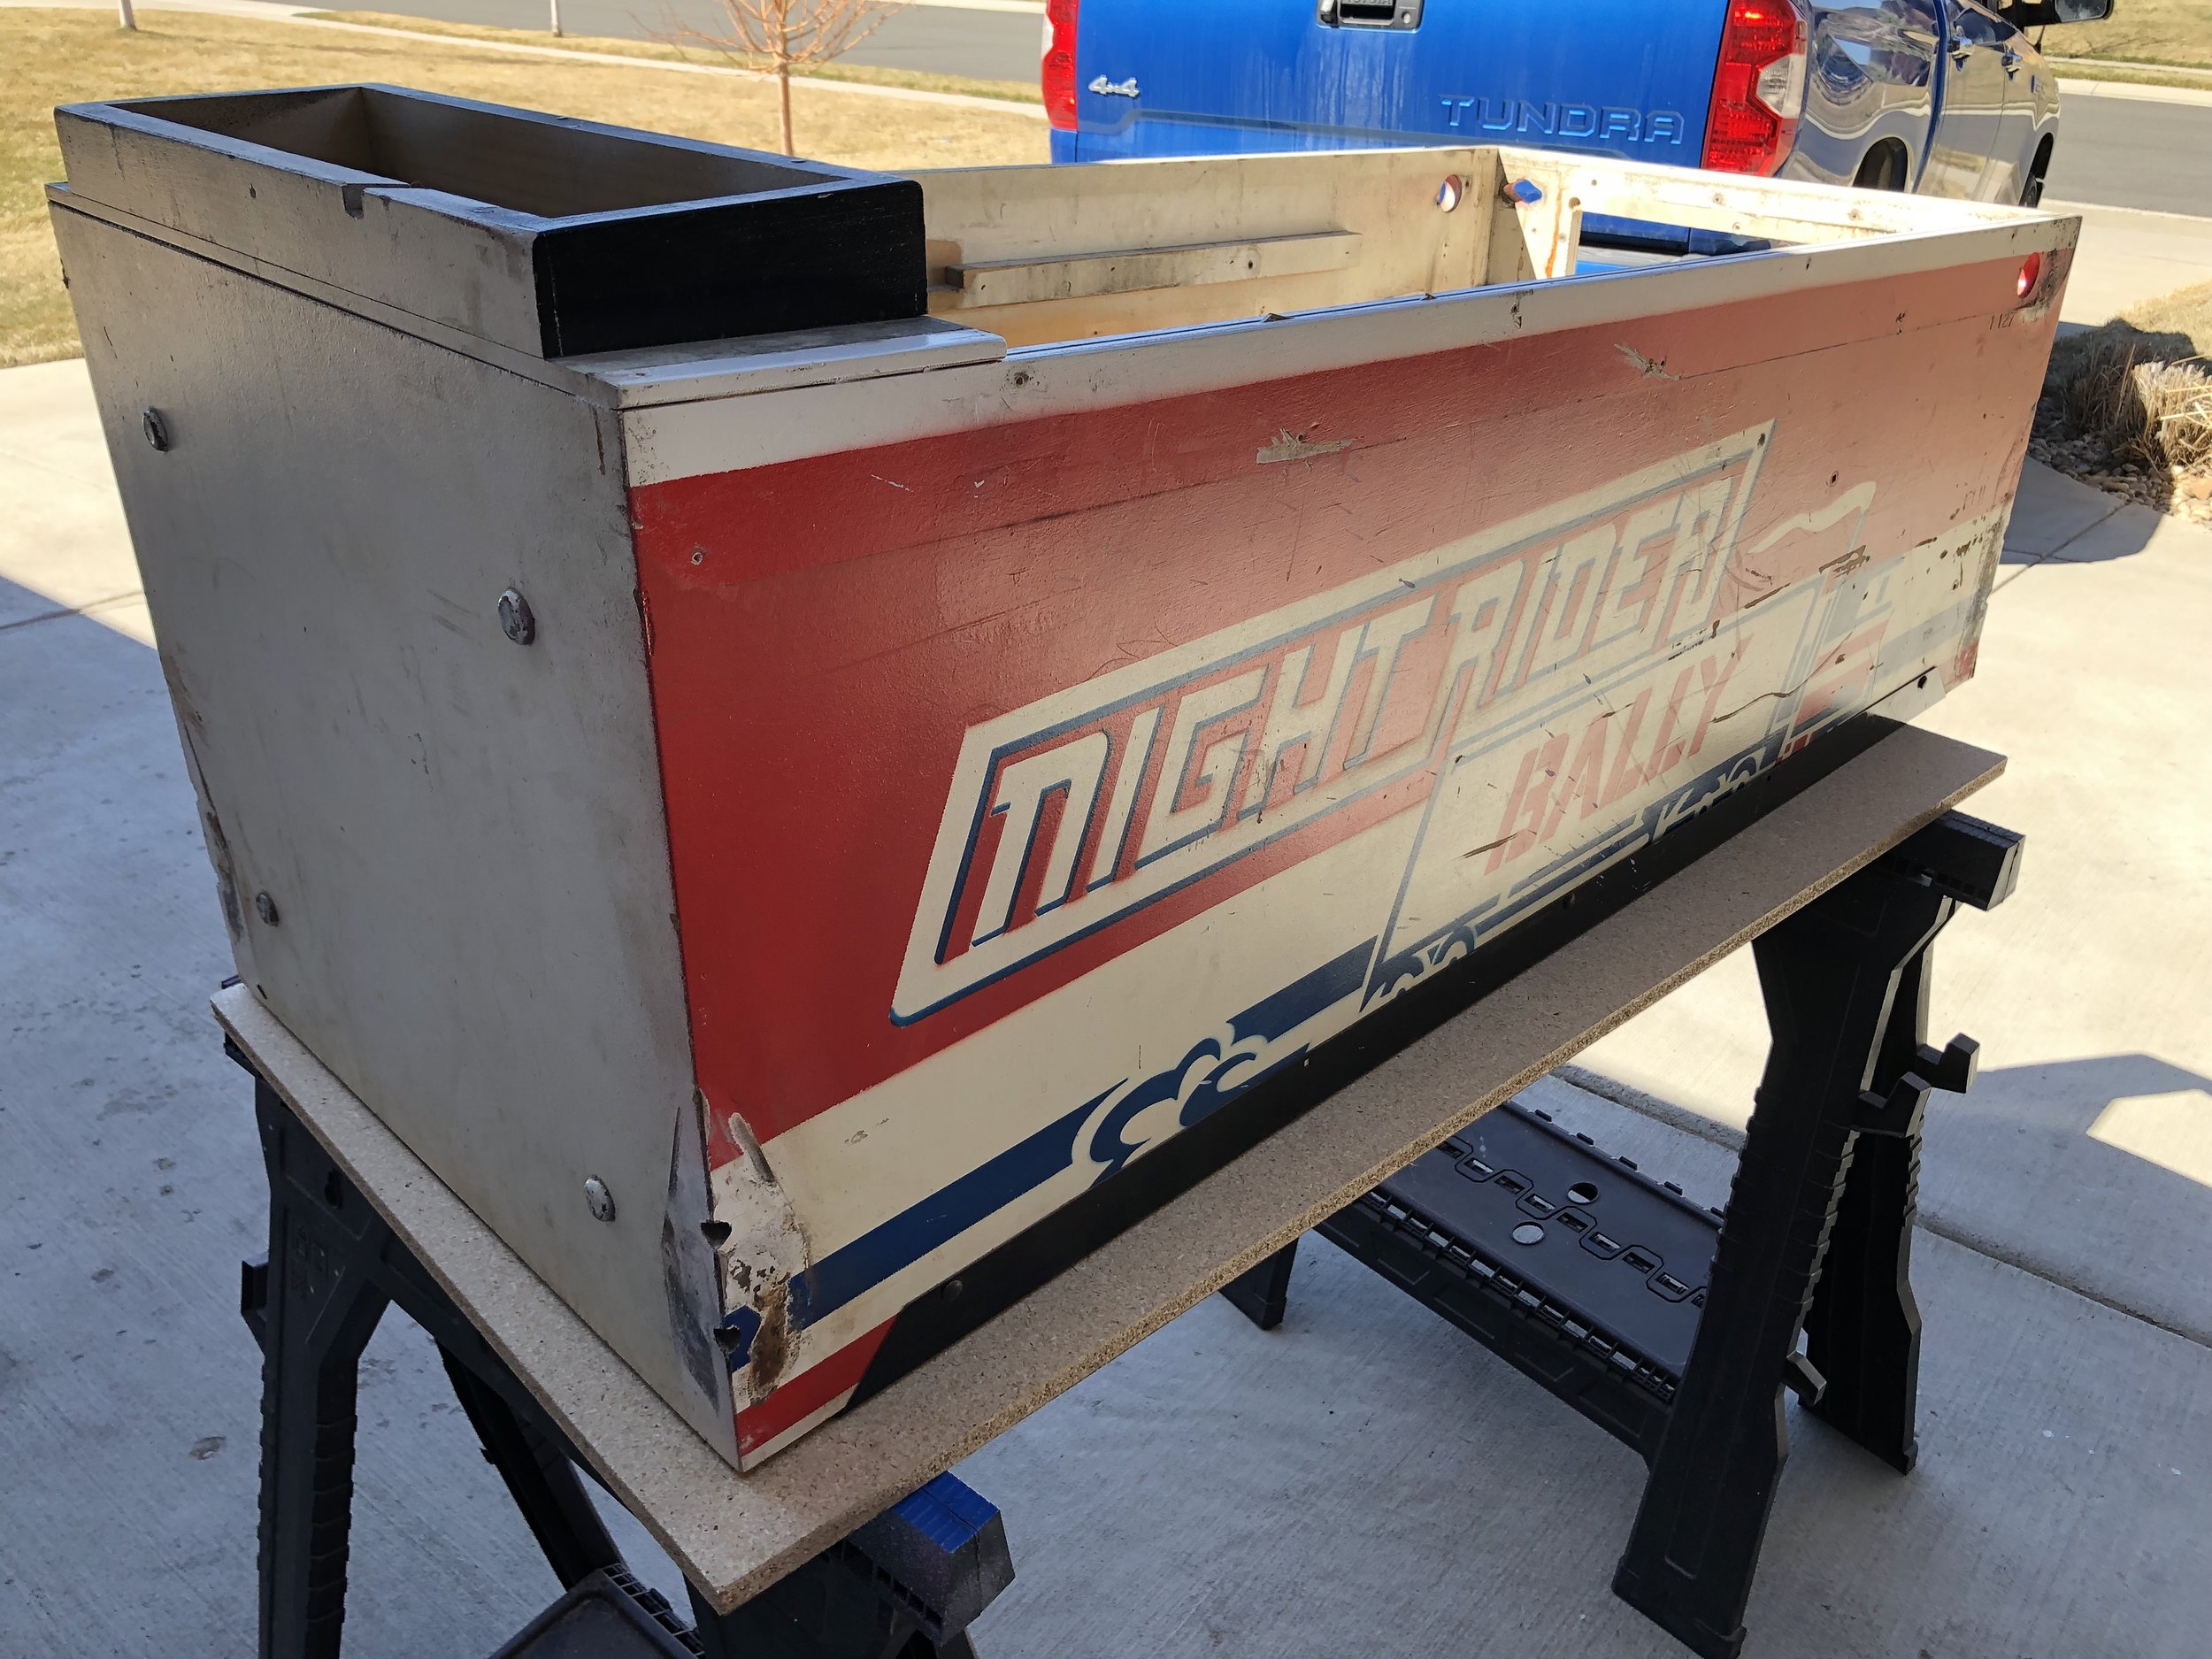
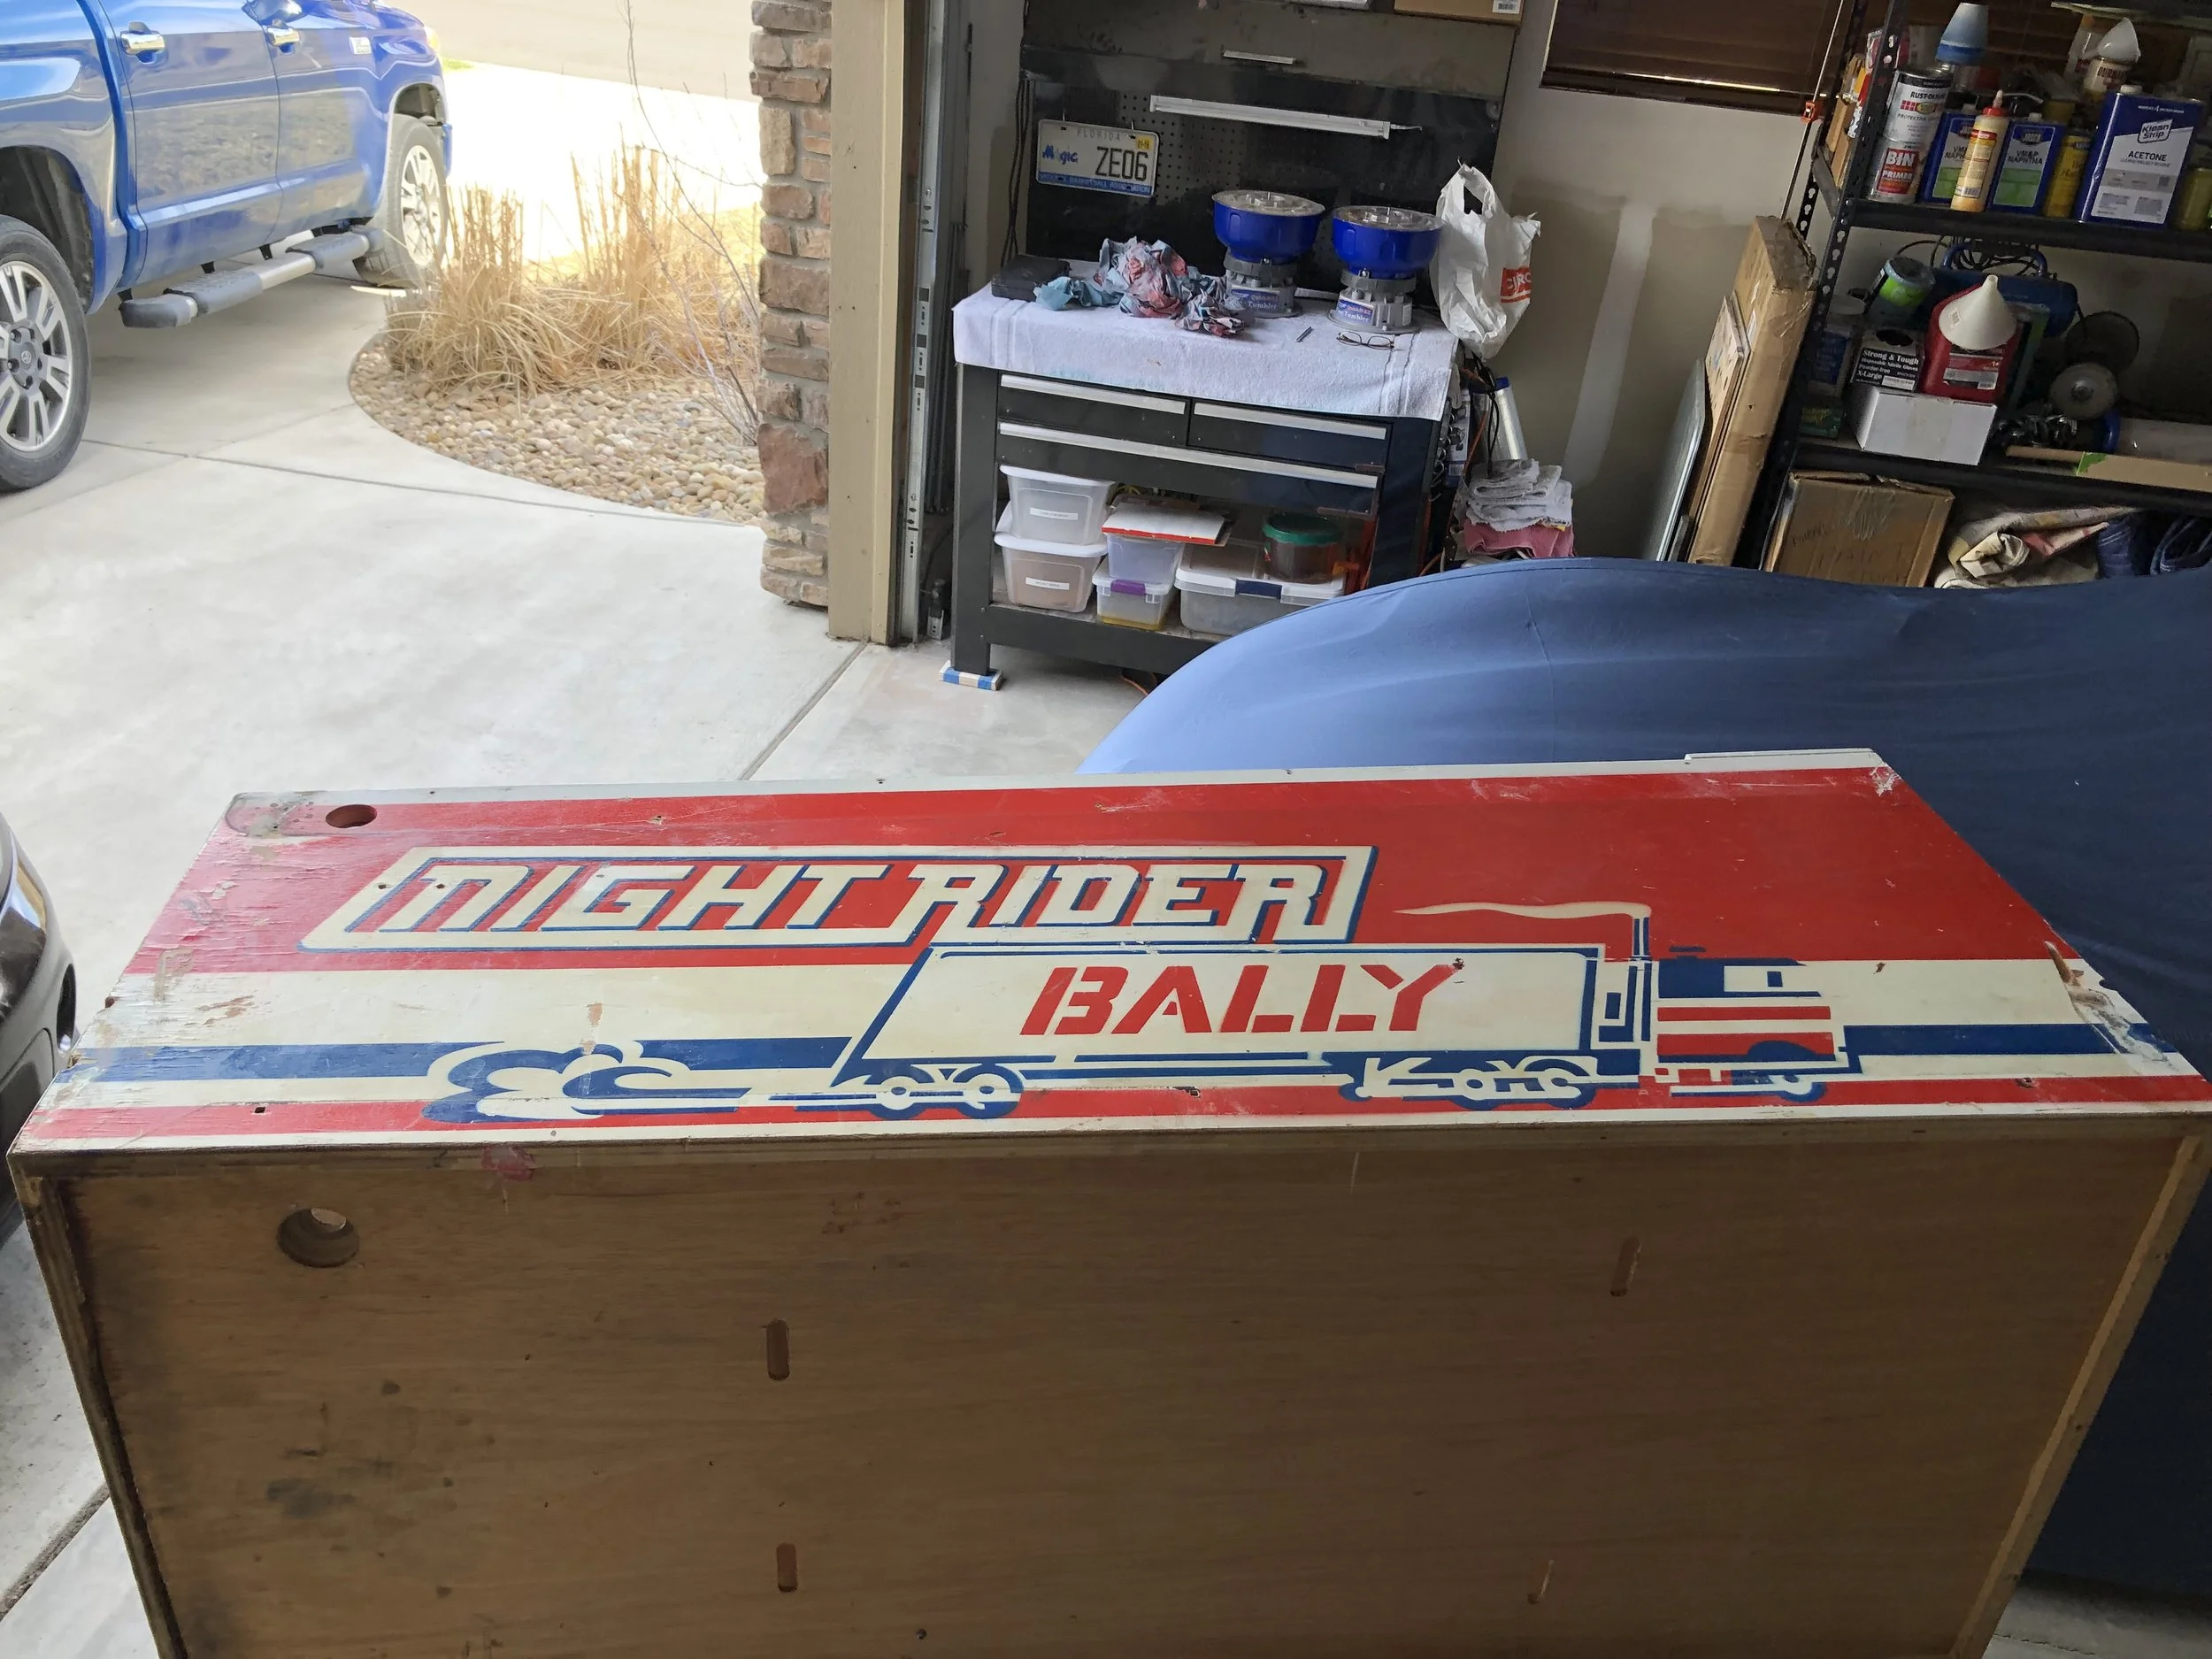
1976 Bally Night Rider EM
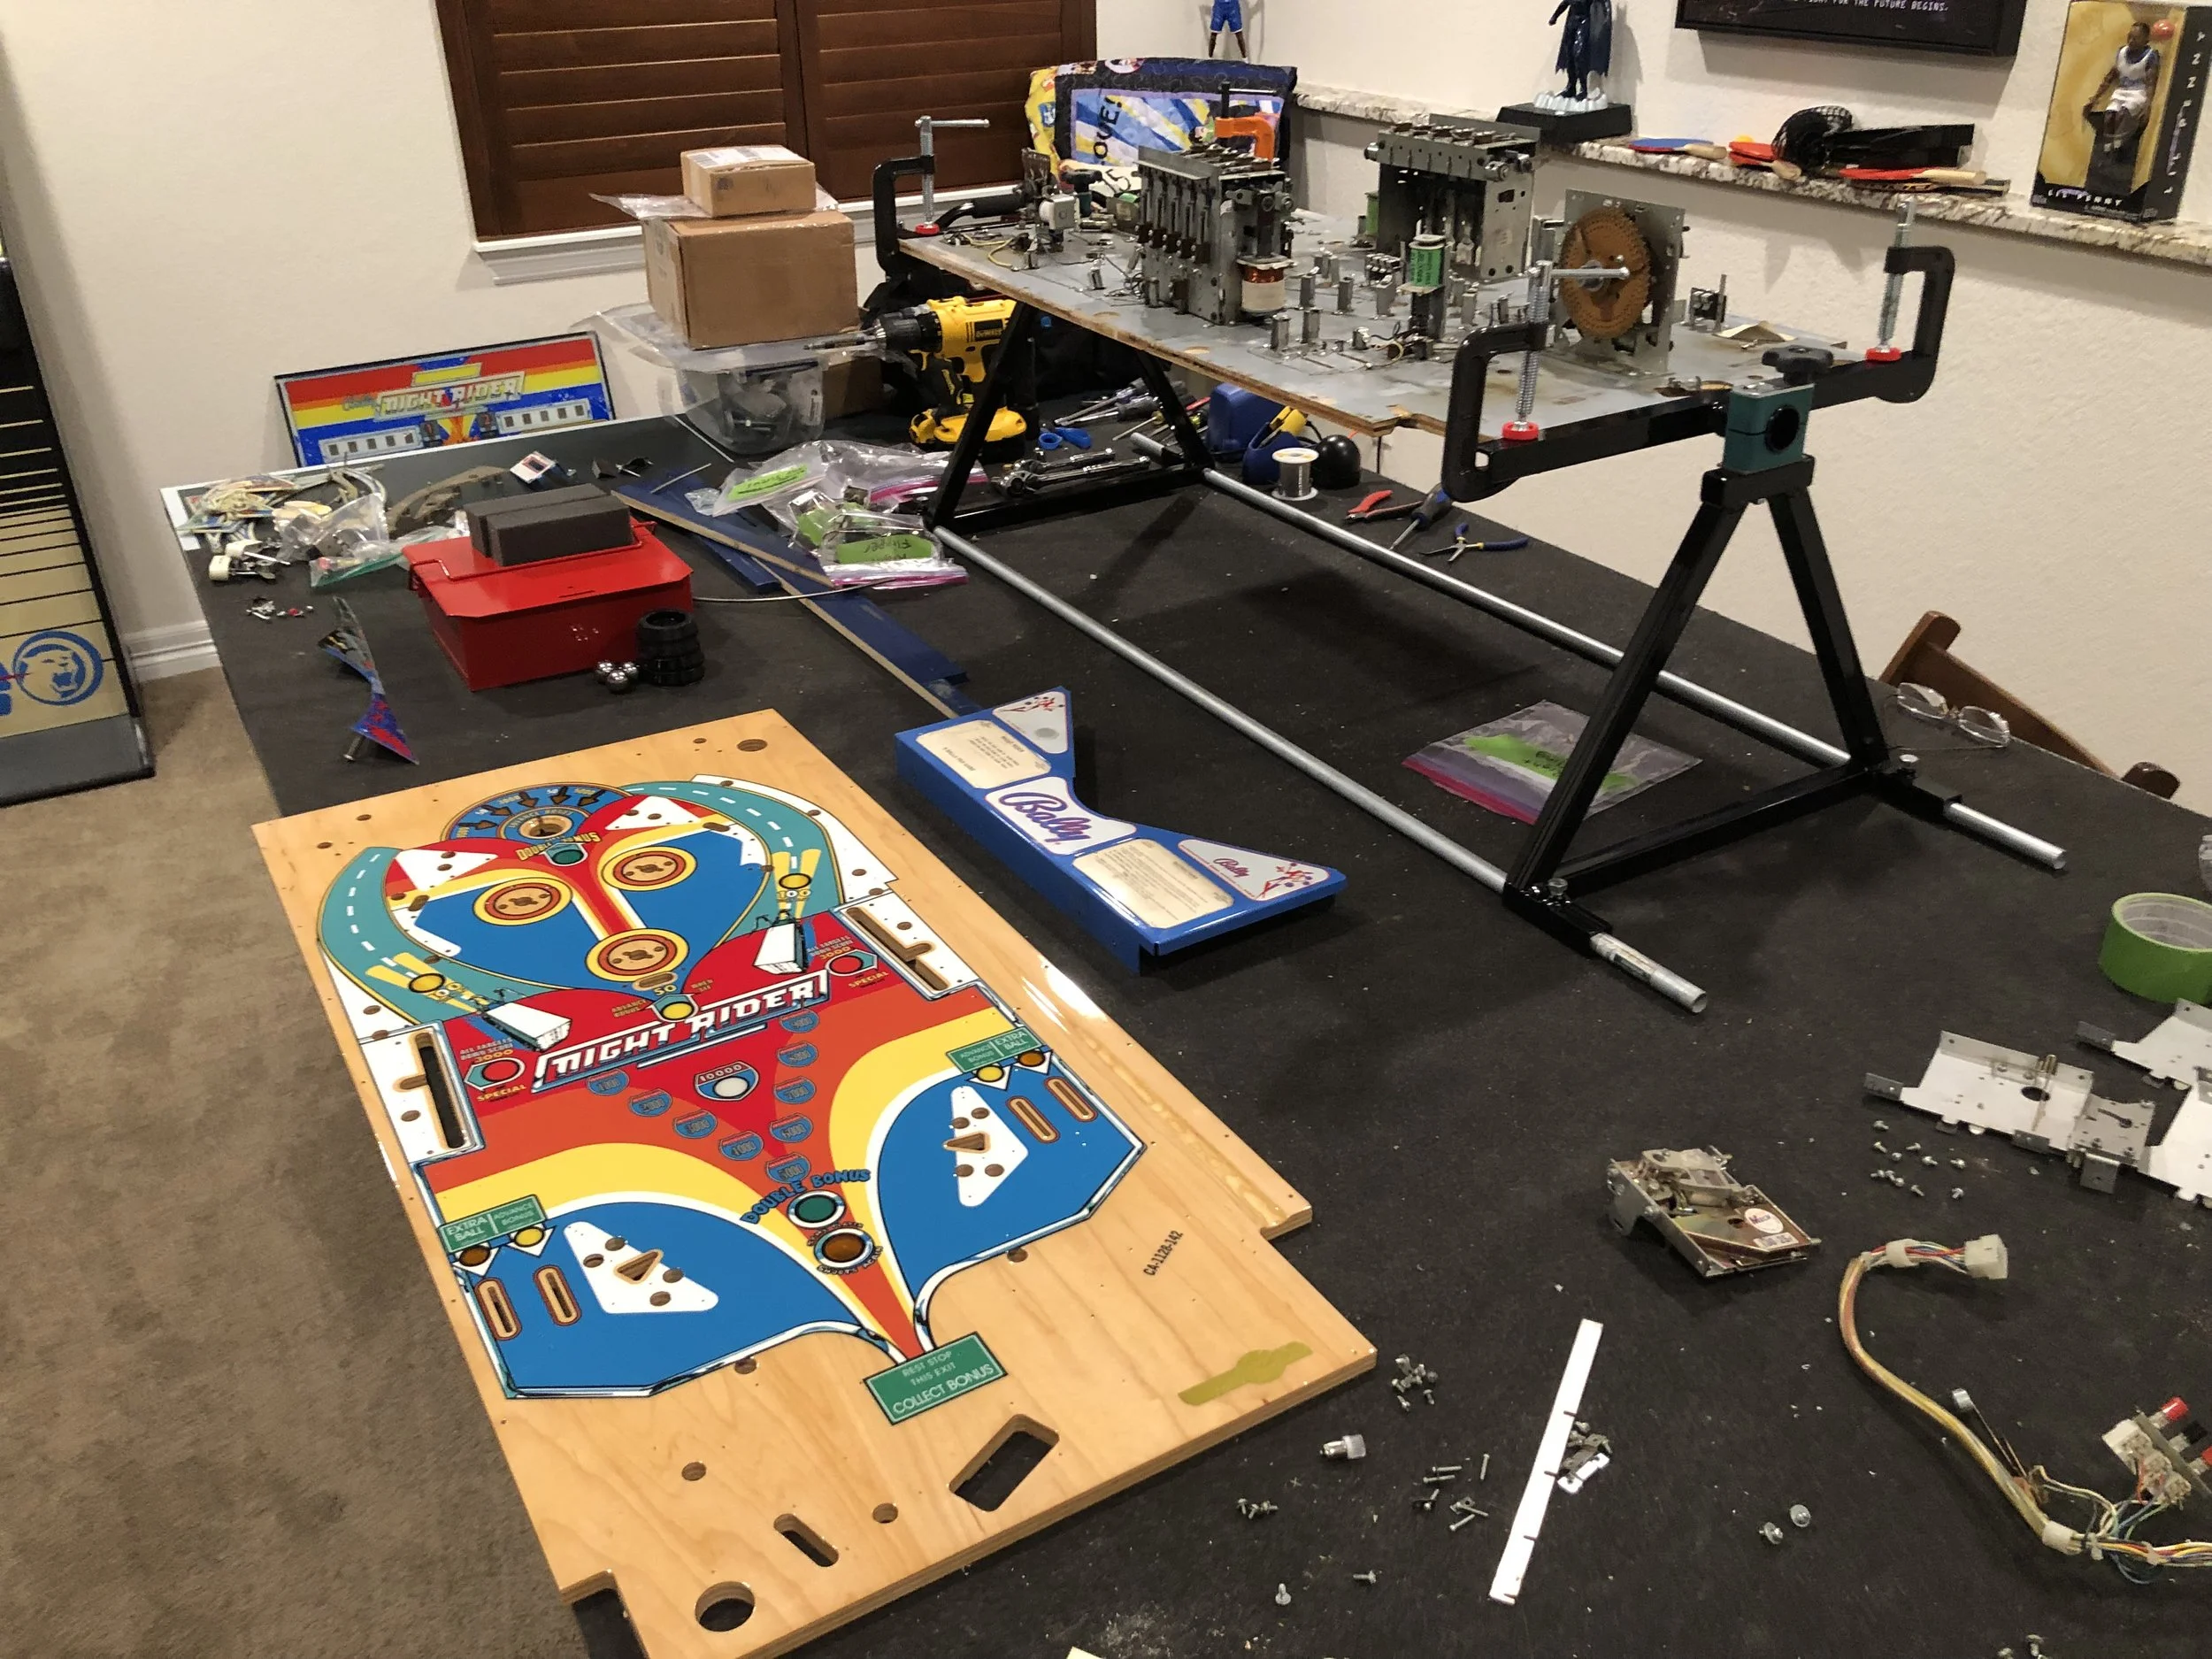
Tear Down & Cleaning
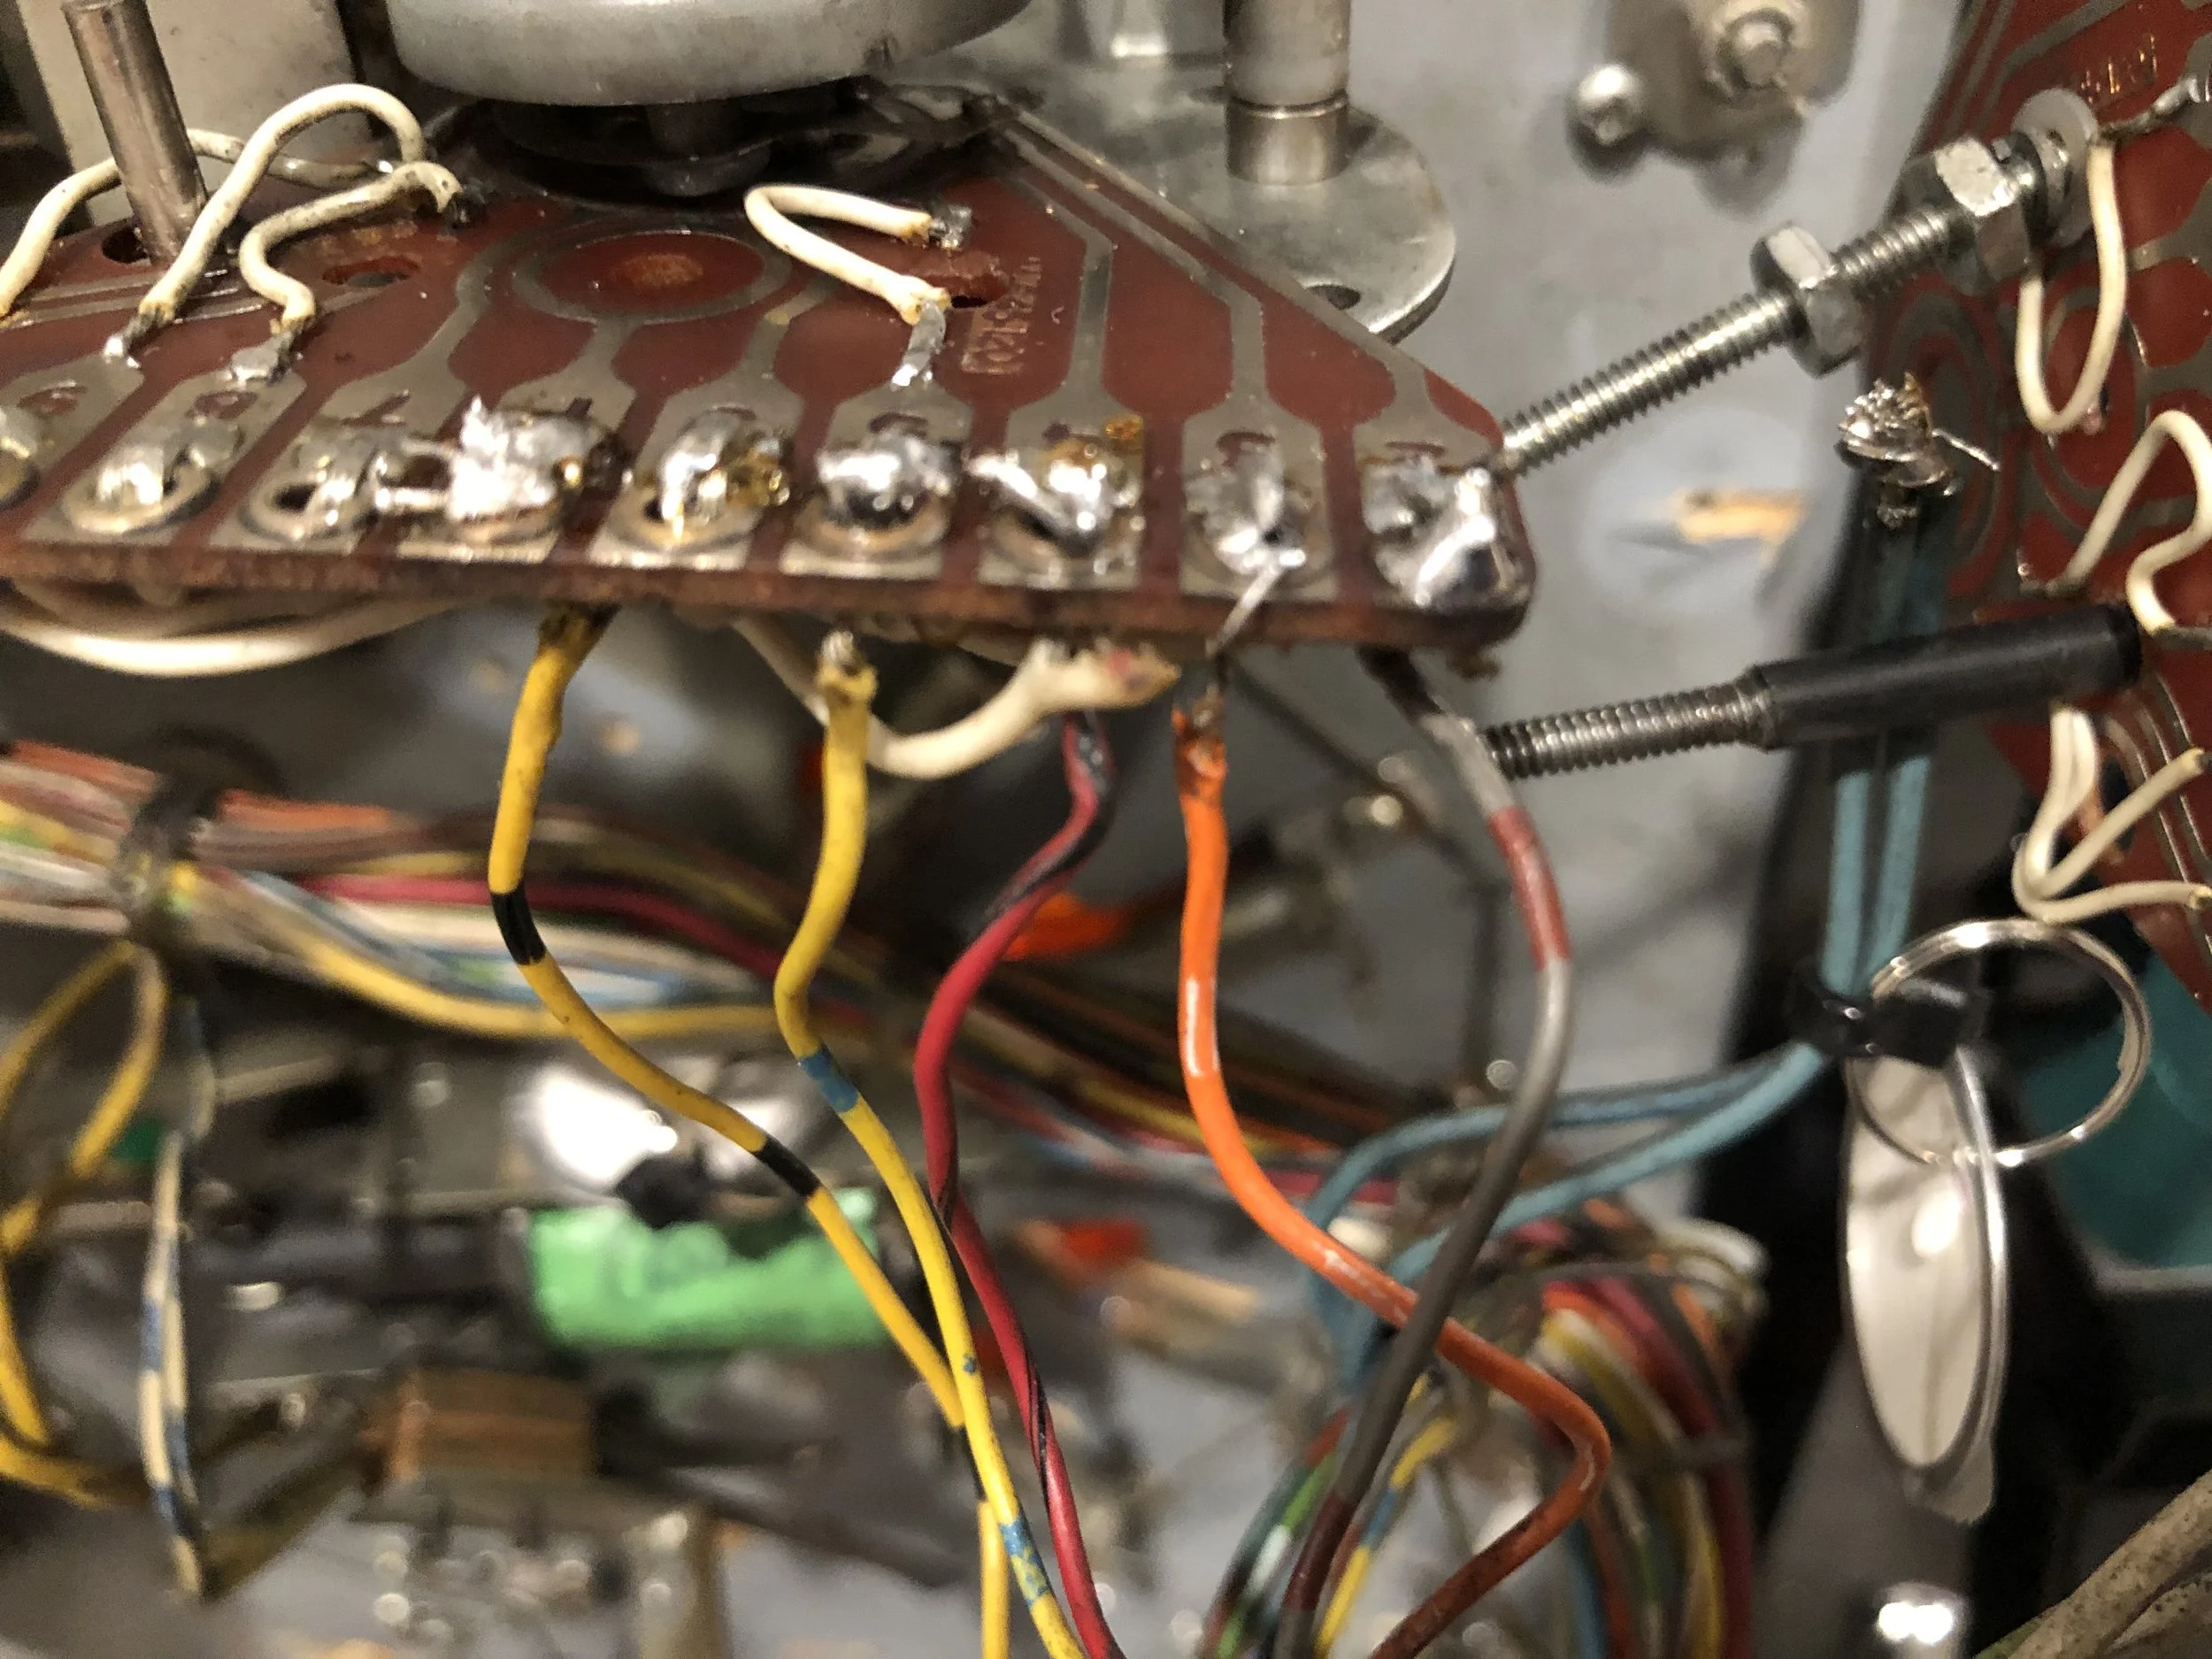
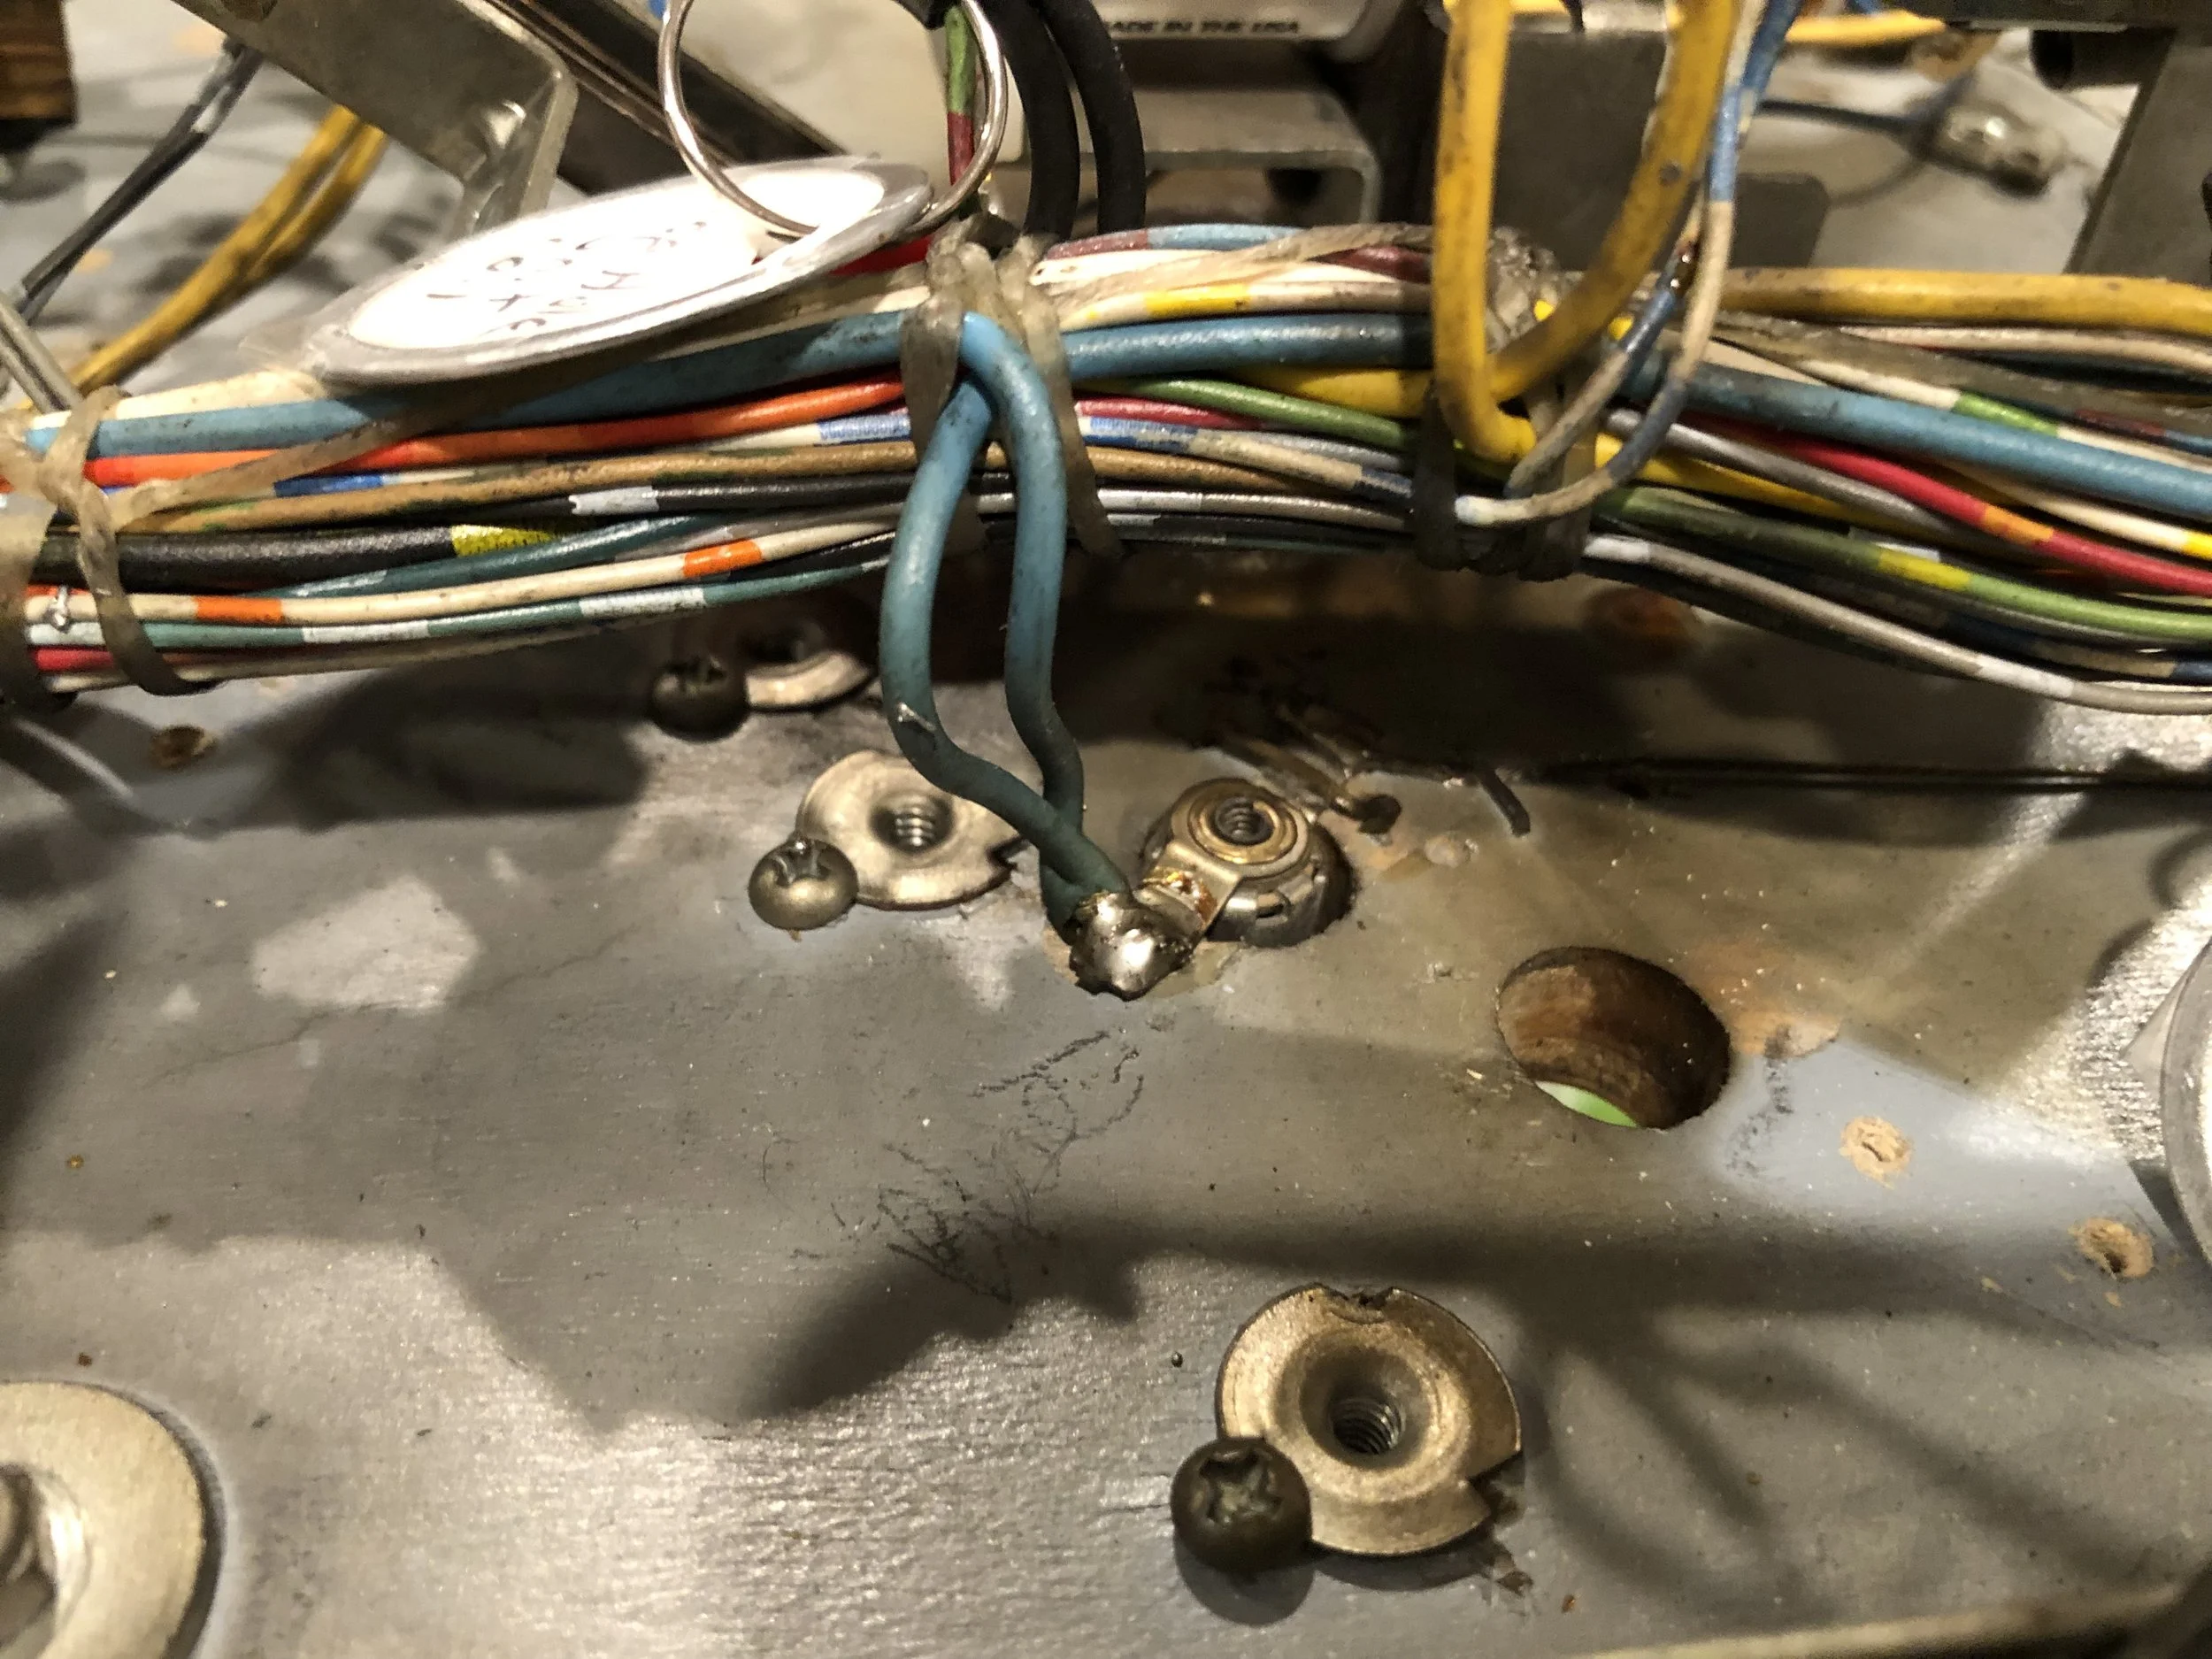
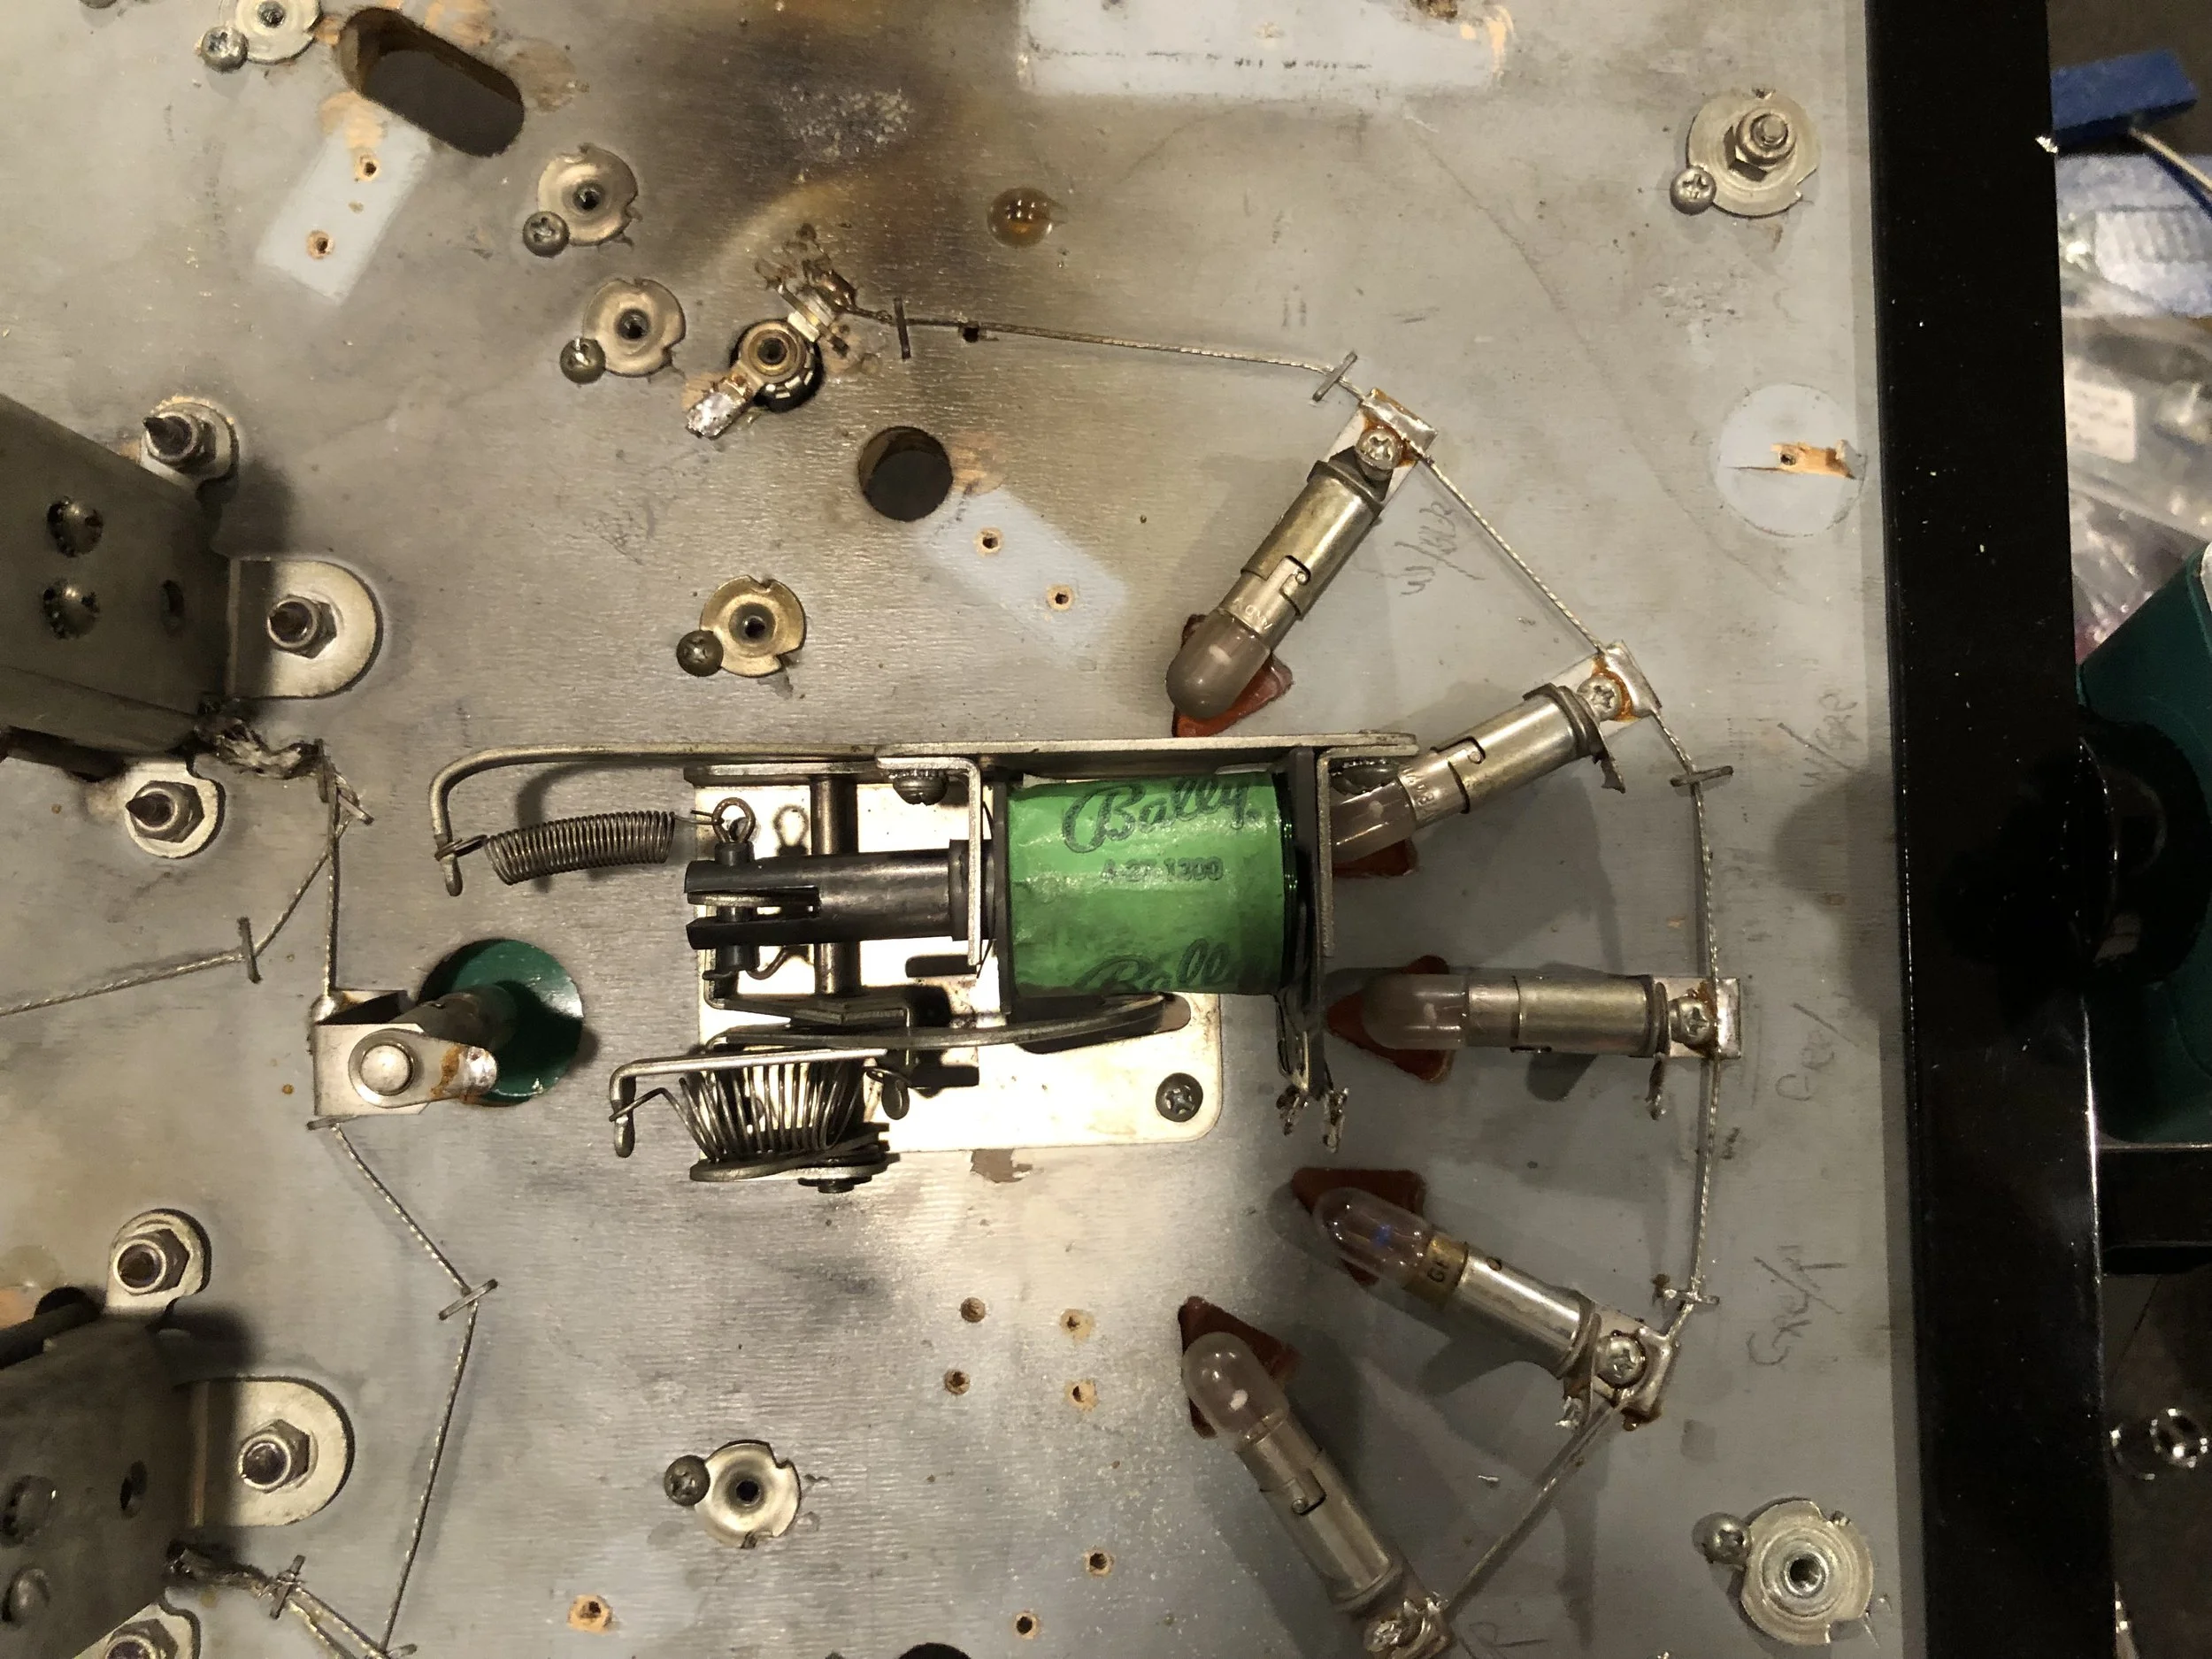
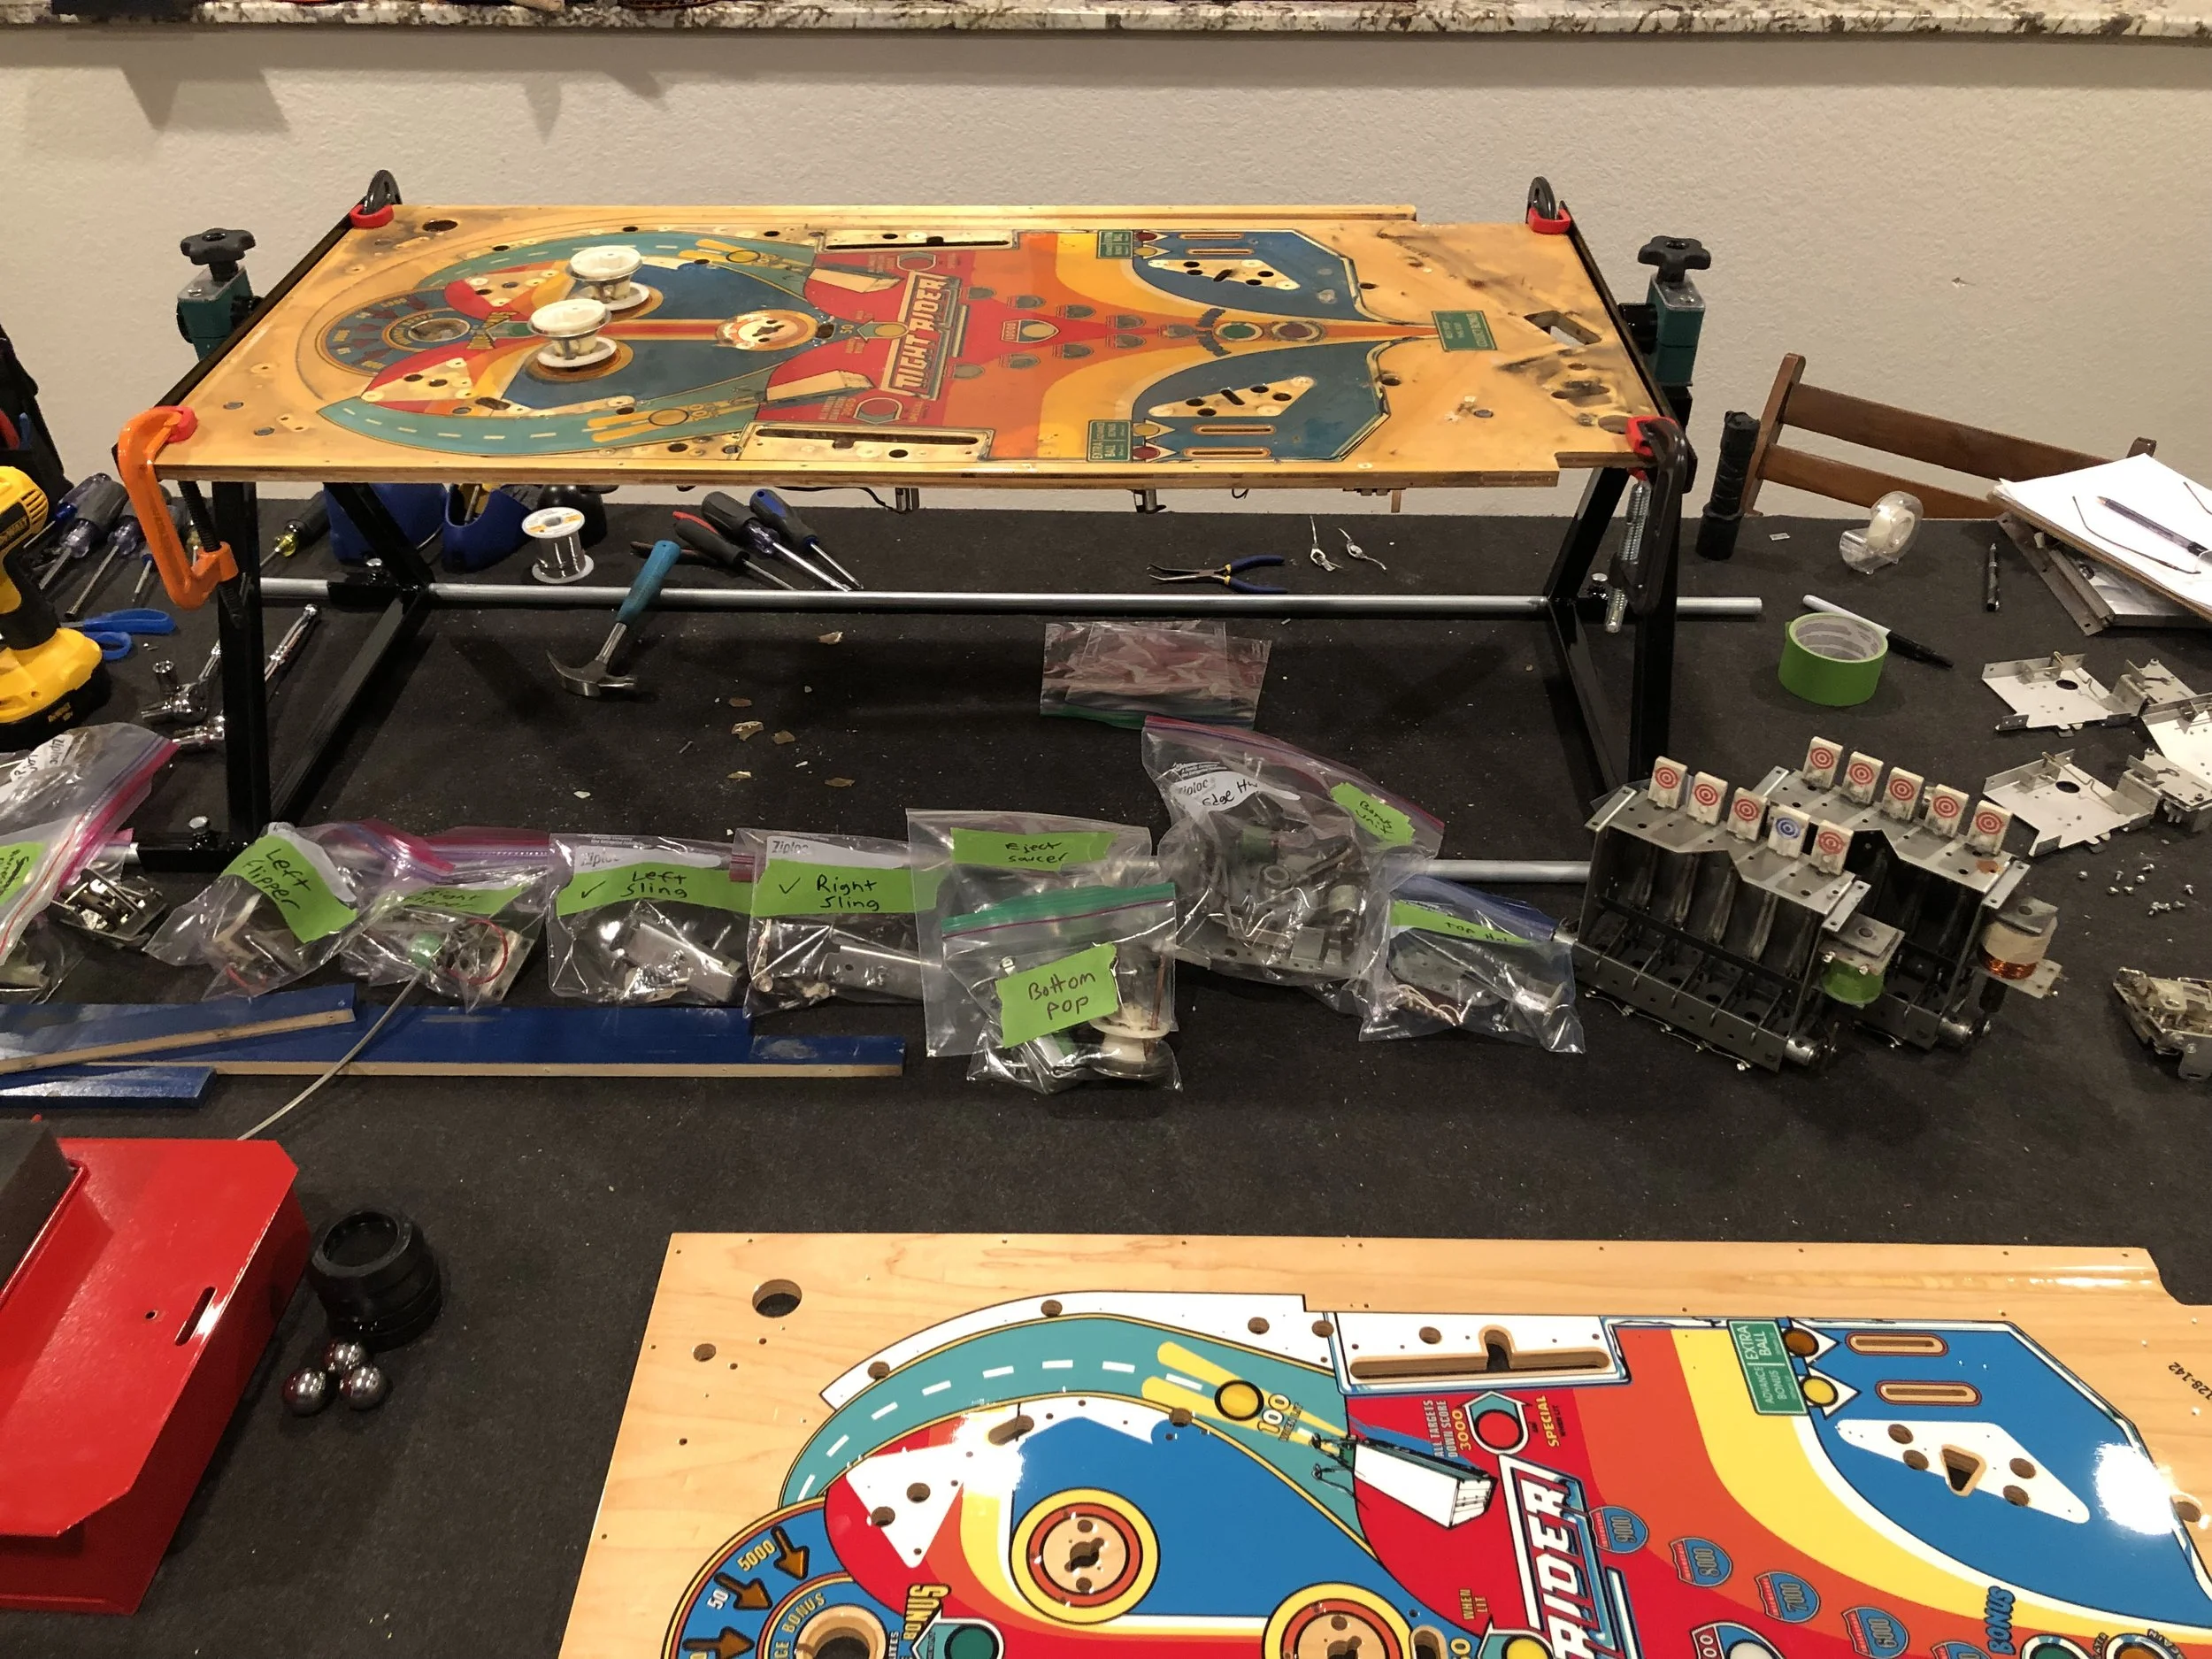
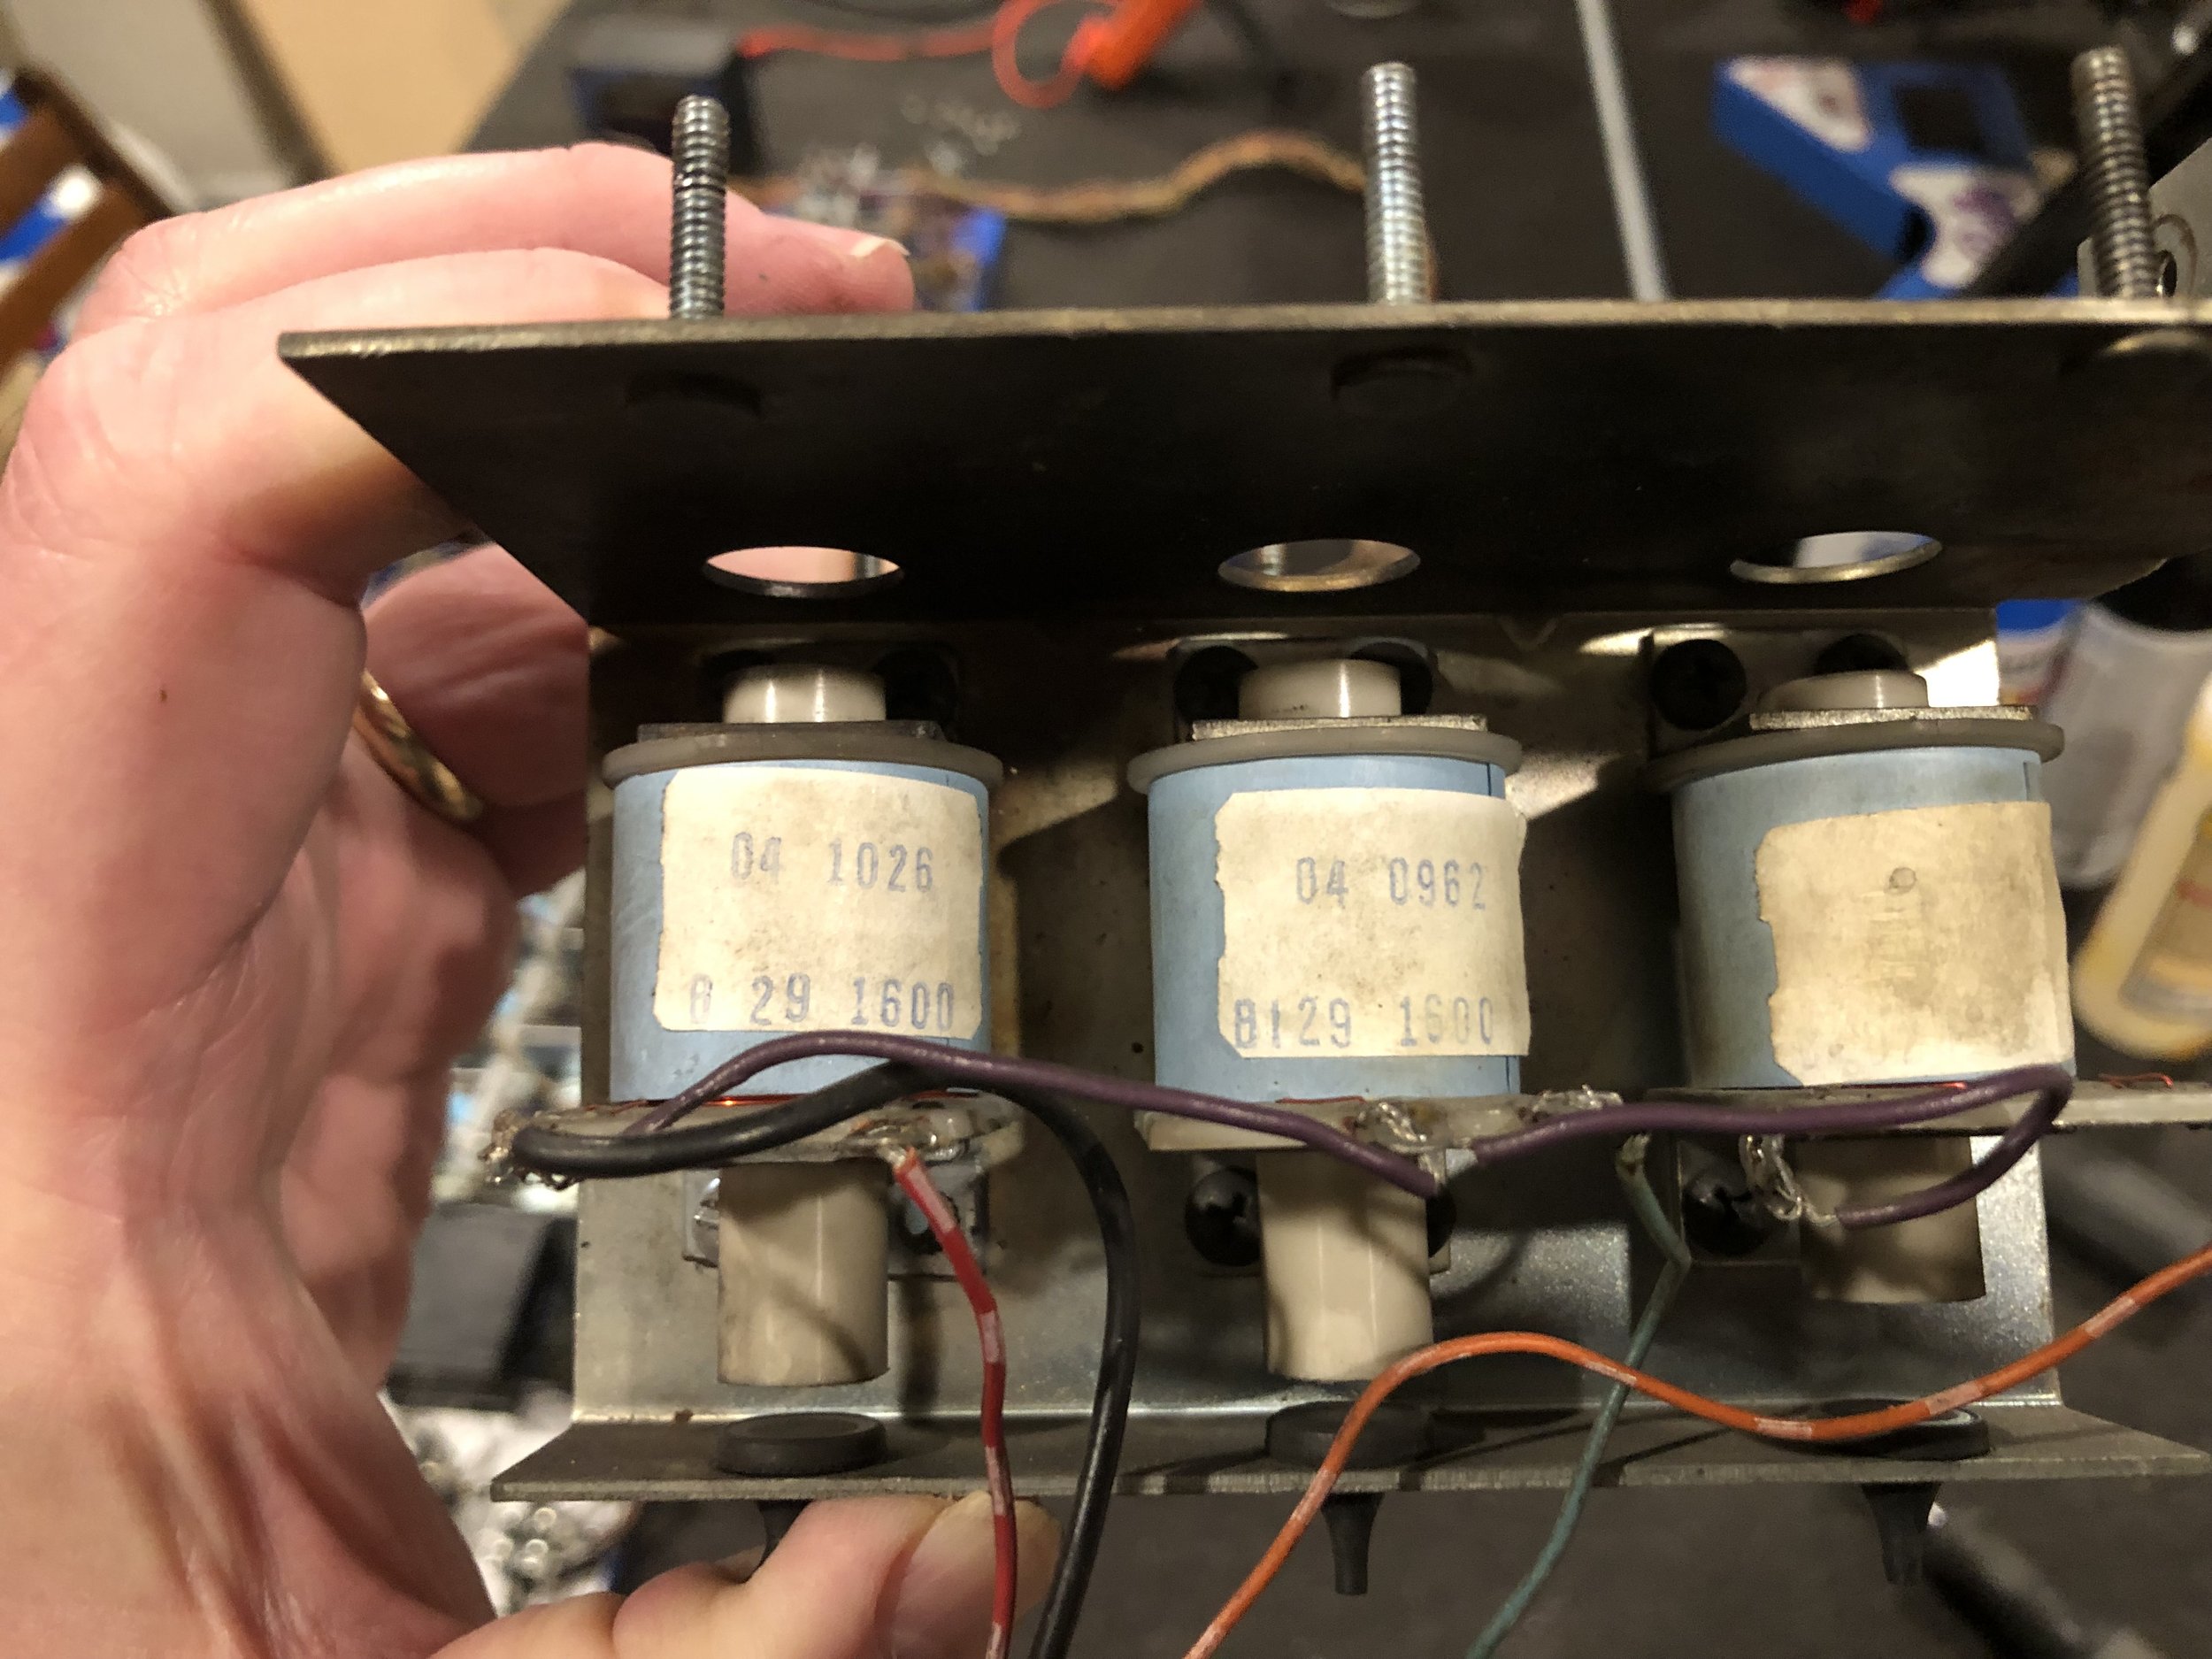
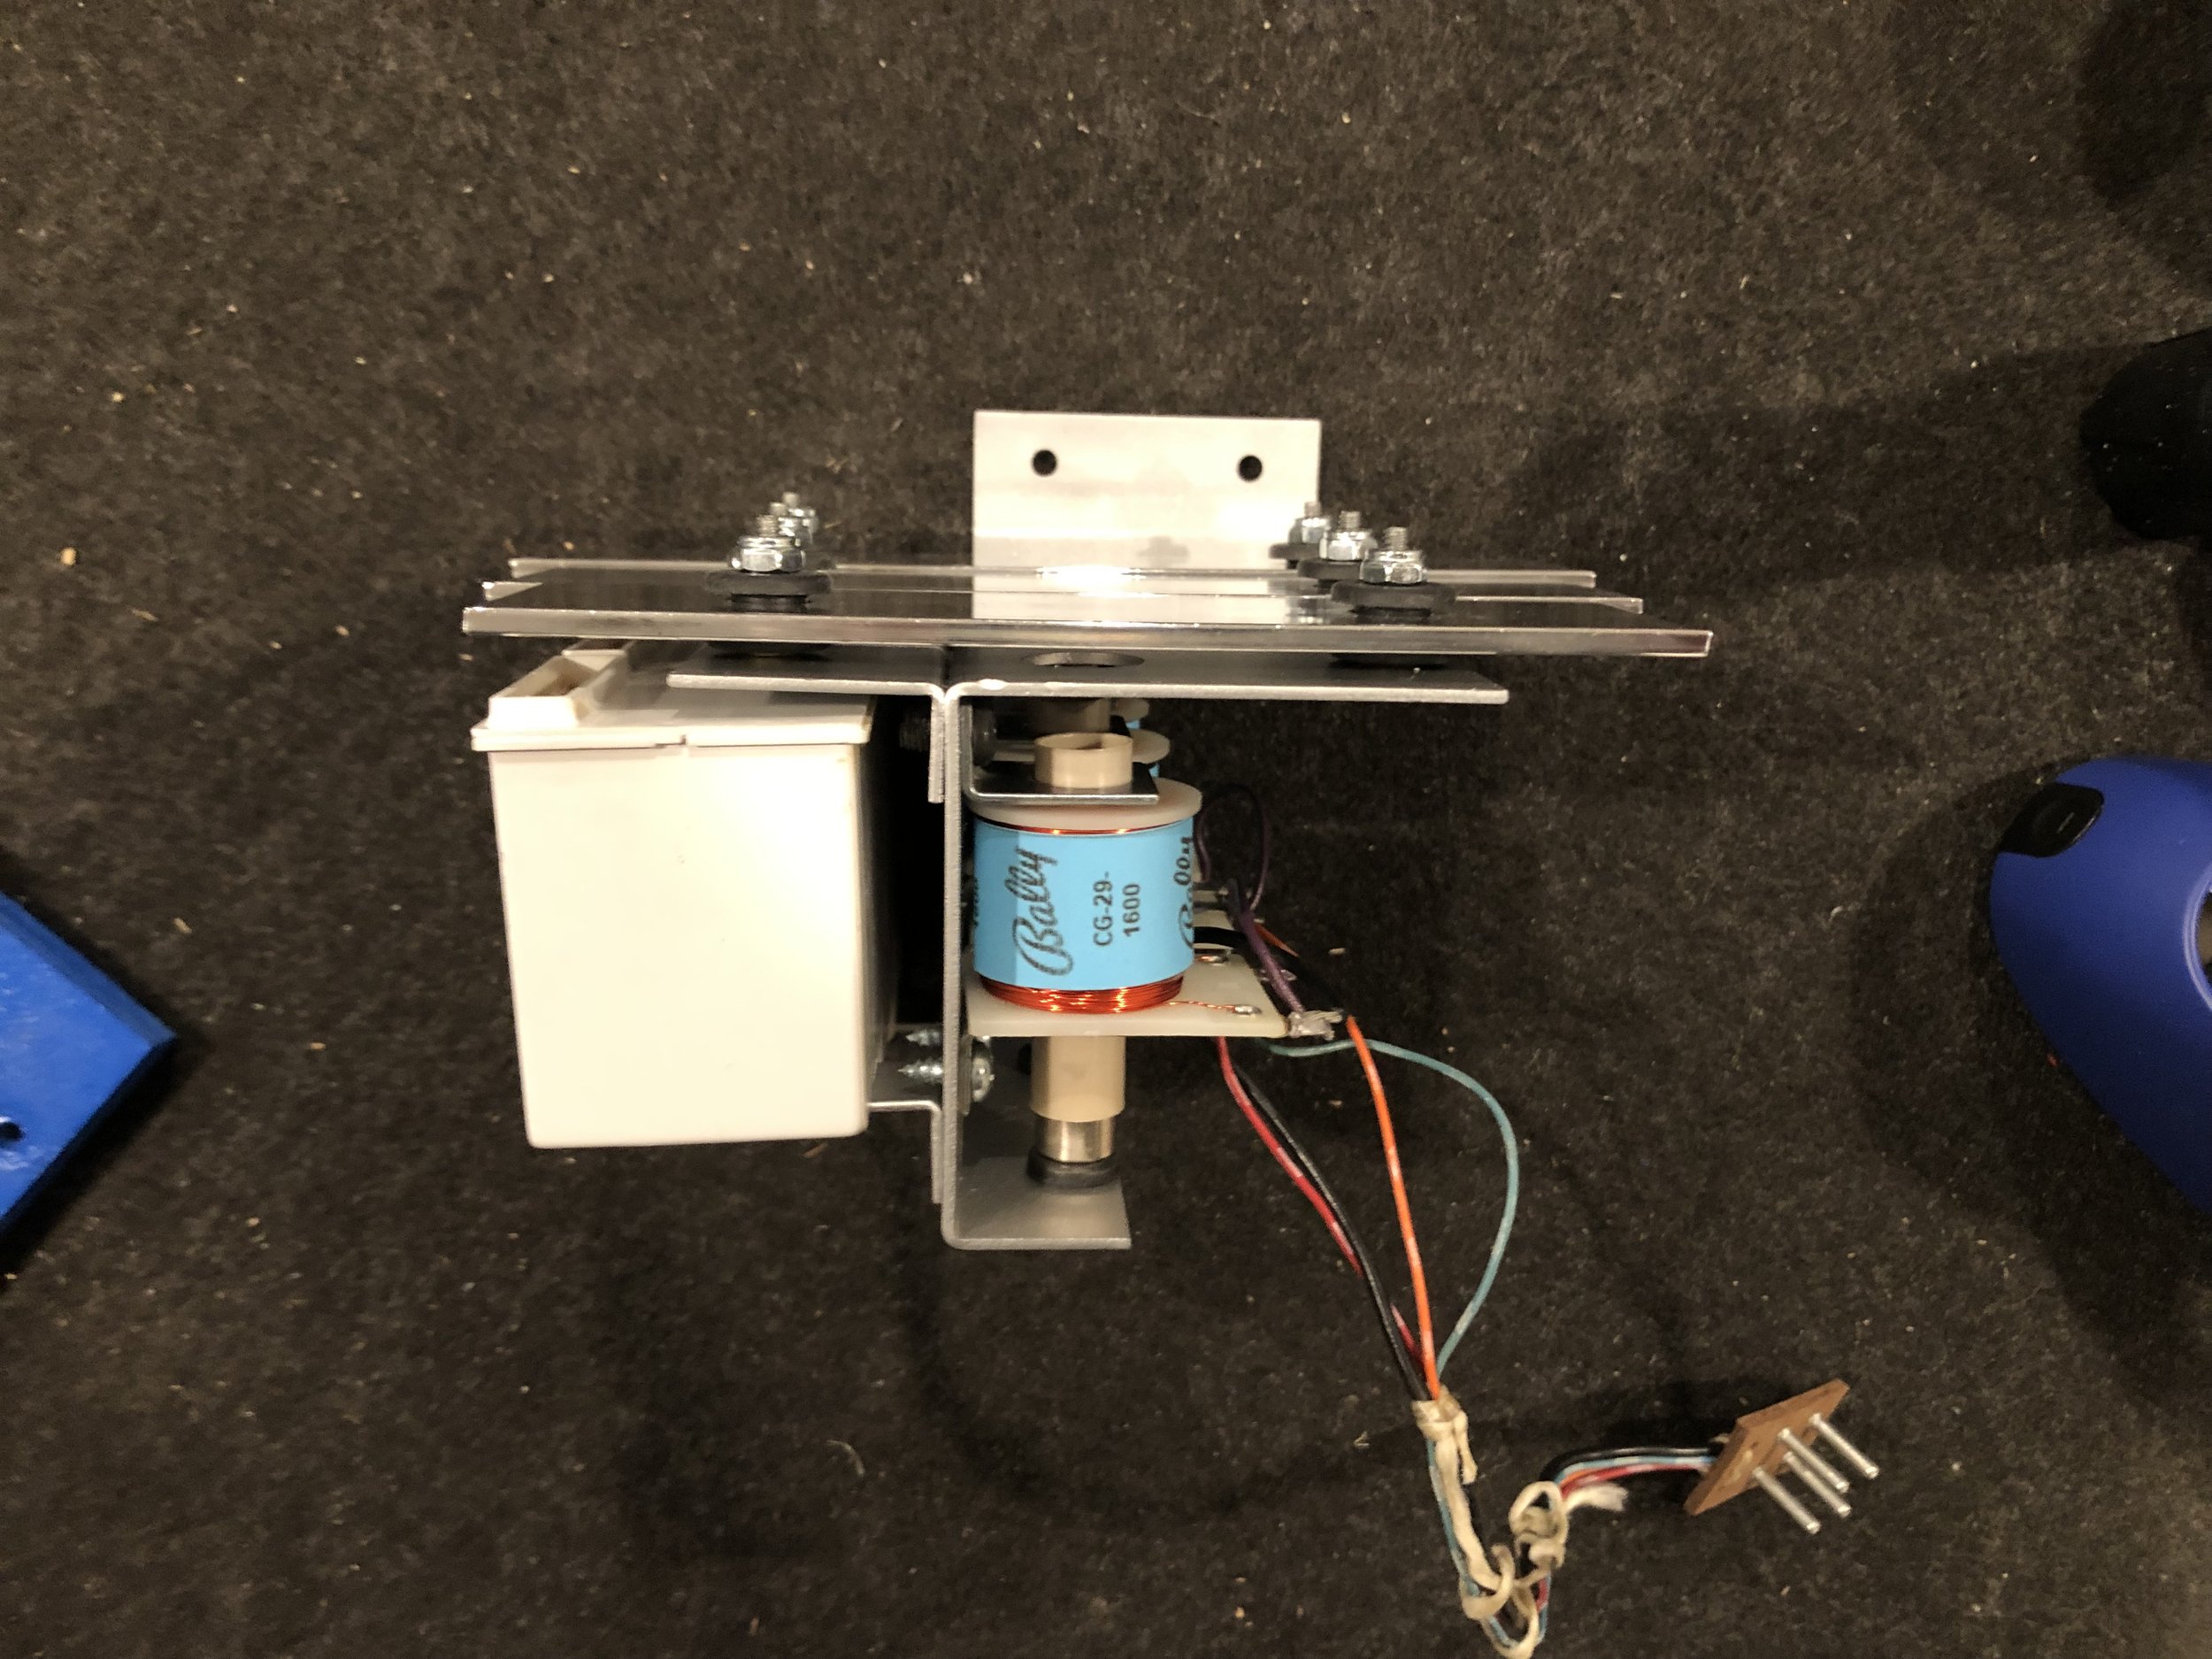
Before tearing down, the machine was repaired to operable condition with all wiring hacks removed or corrected, coils replaced, proper fuse values installed, and switches and relays adjusted for proper operation. Doing this first allows a baseline of functional expectation when re-assembling everything weeks or months later. All of this took about 6hrs with the first and main culprit being the main 20amp fusing blowing at power-on 100% of the time. The source of this problem turned out to be improper wiring on the left flipper coil where the previous owner apparently attempted to do a re-build on the assembly.
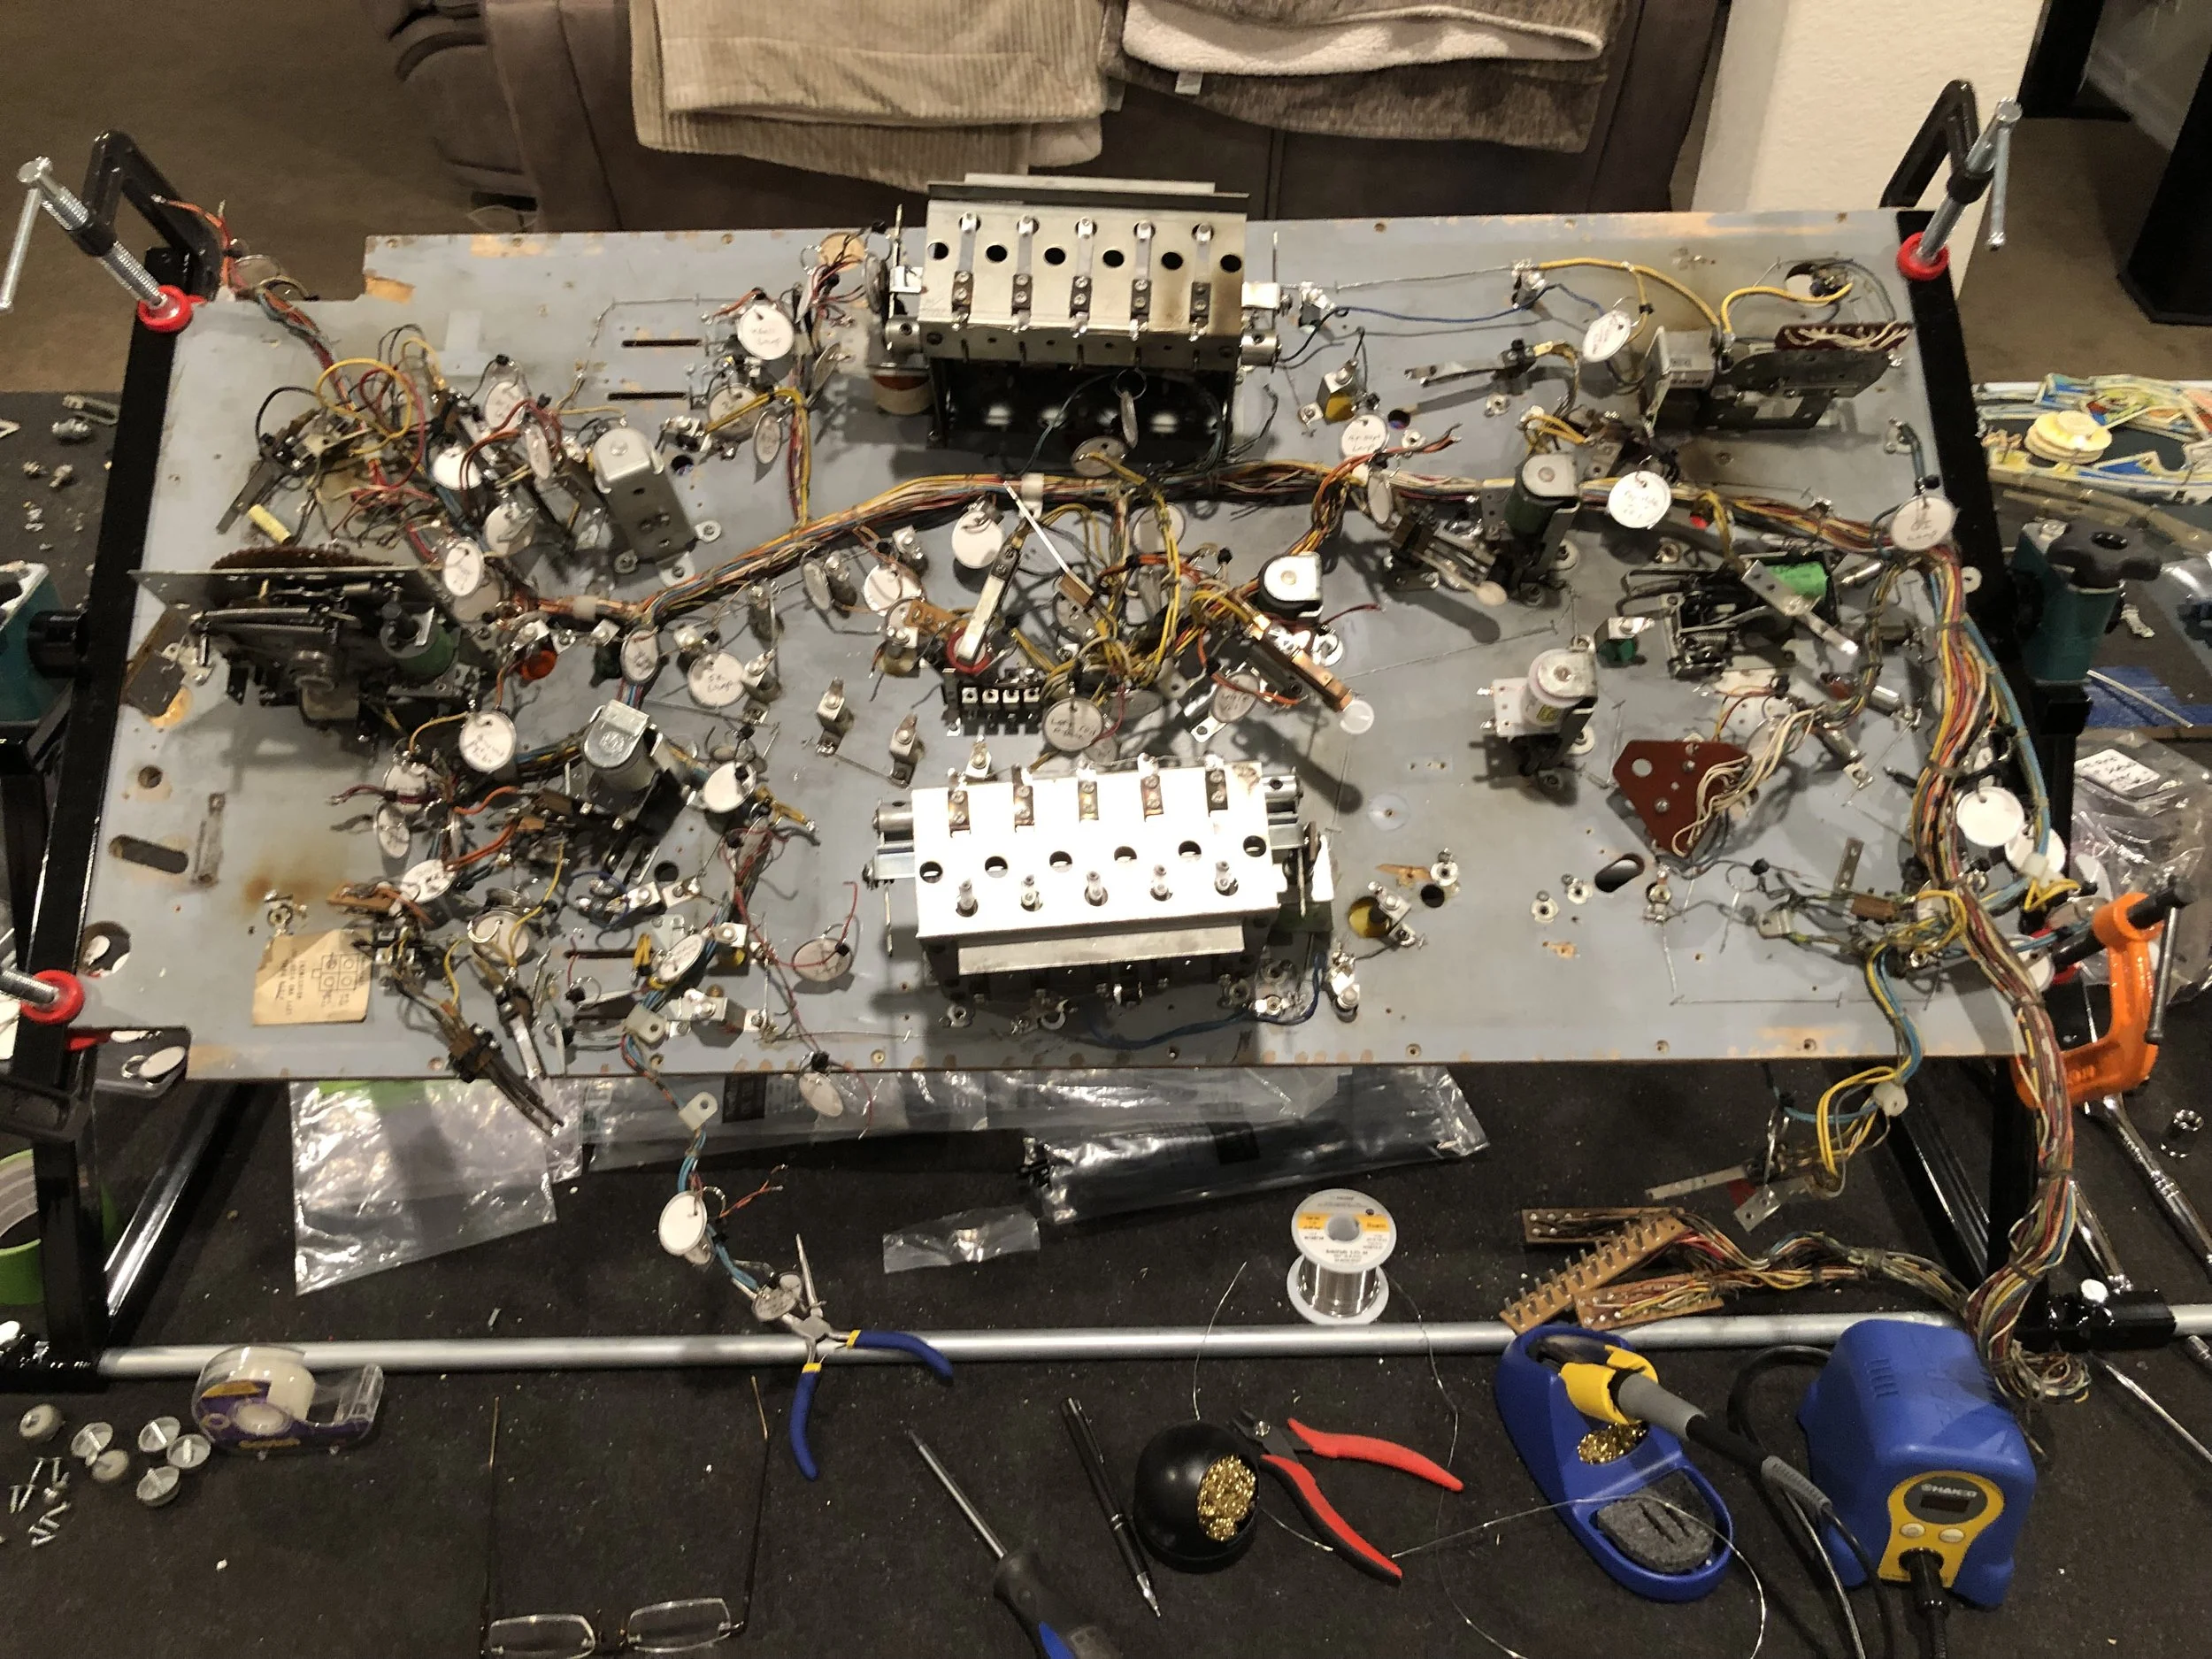
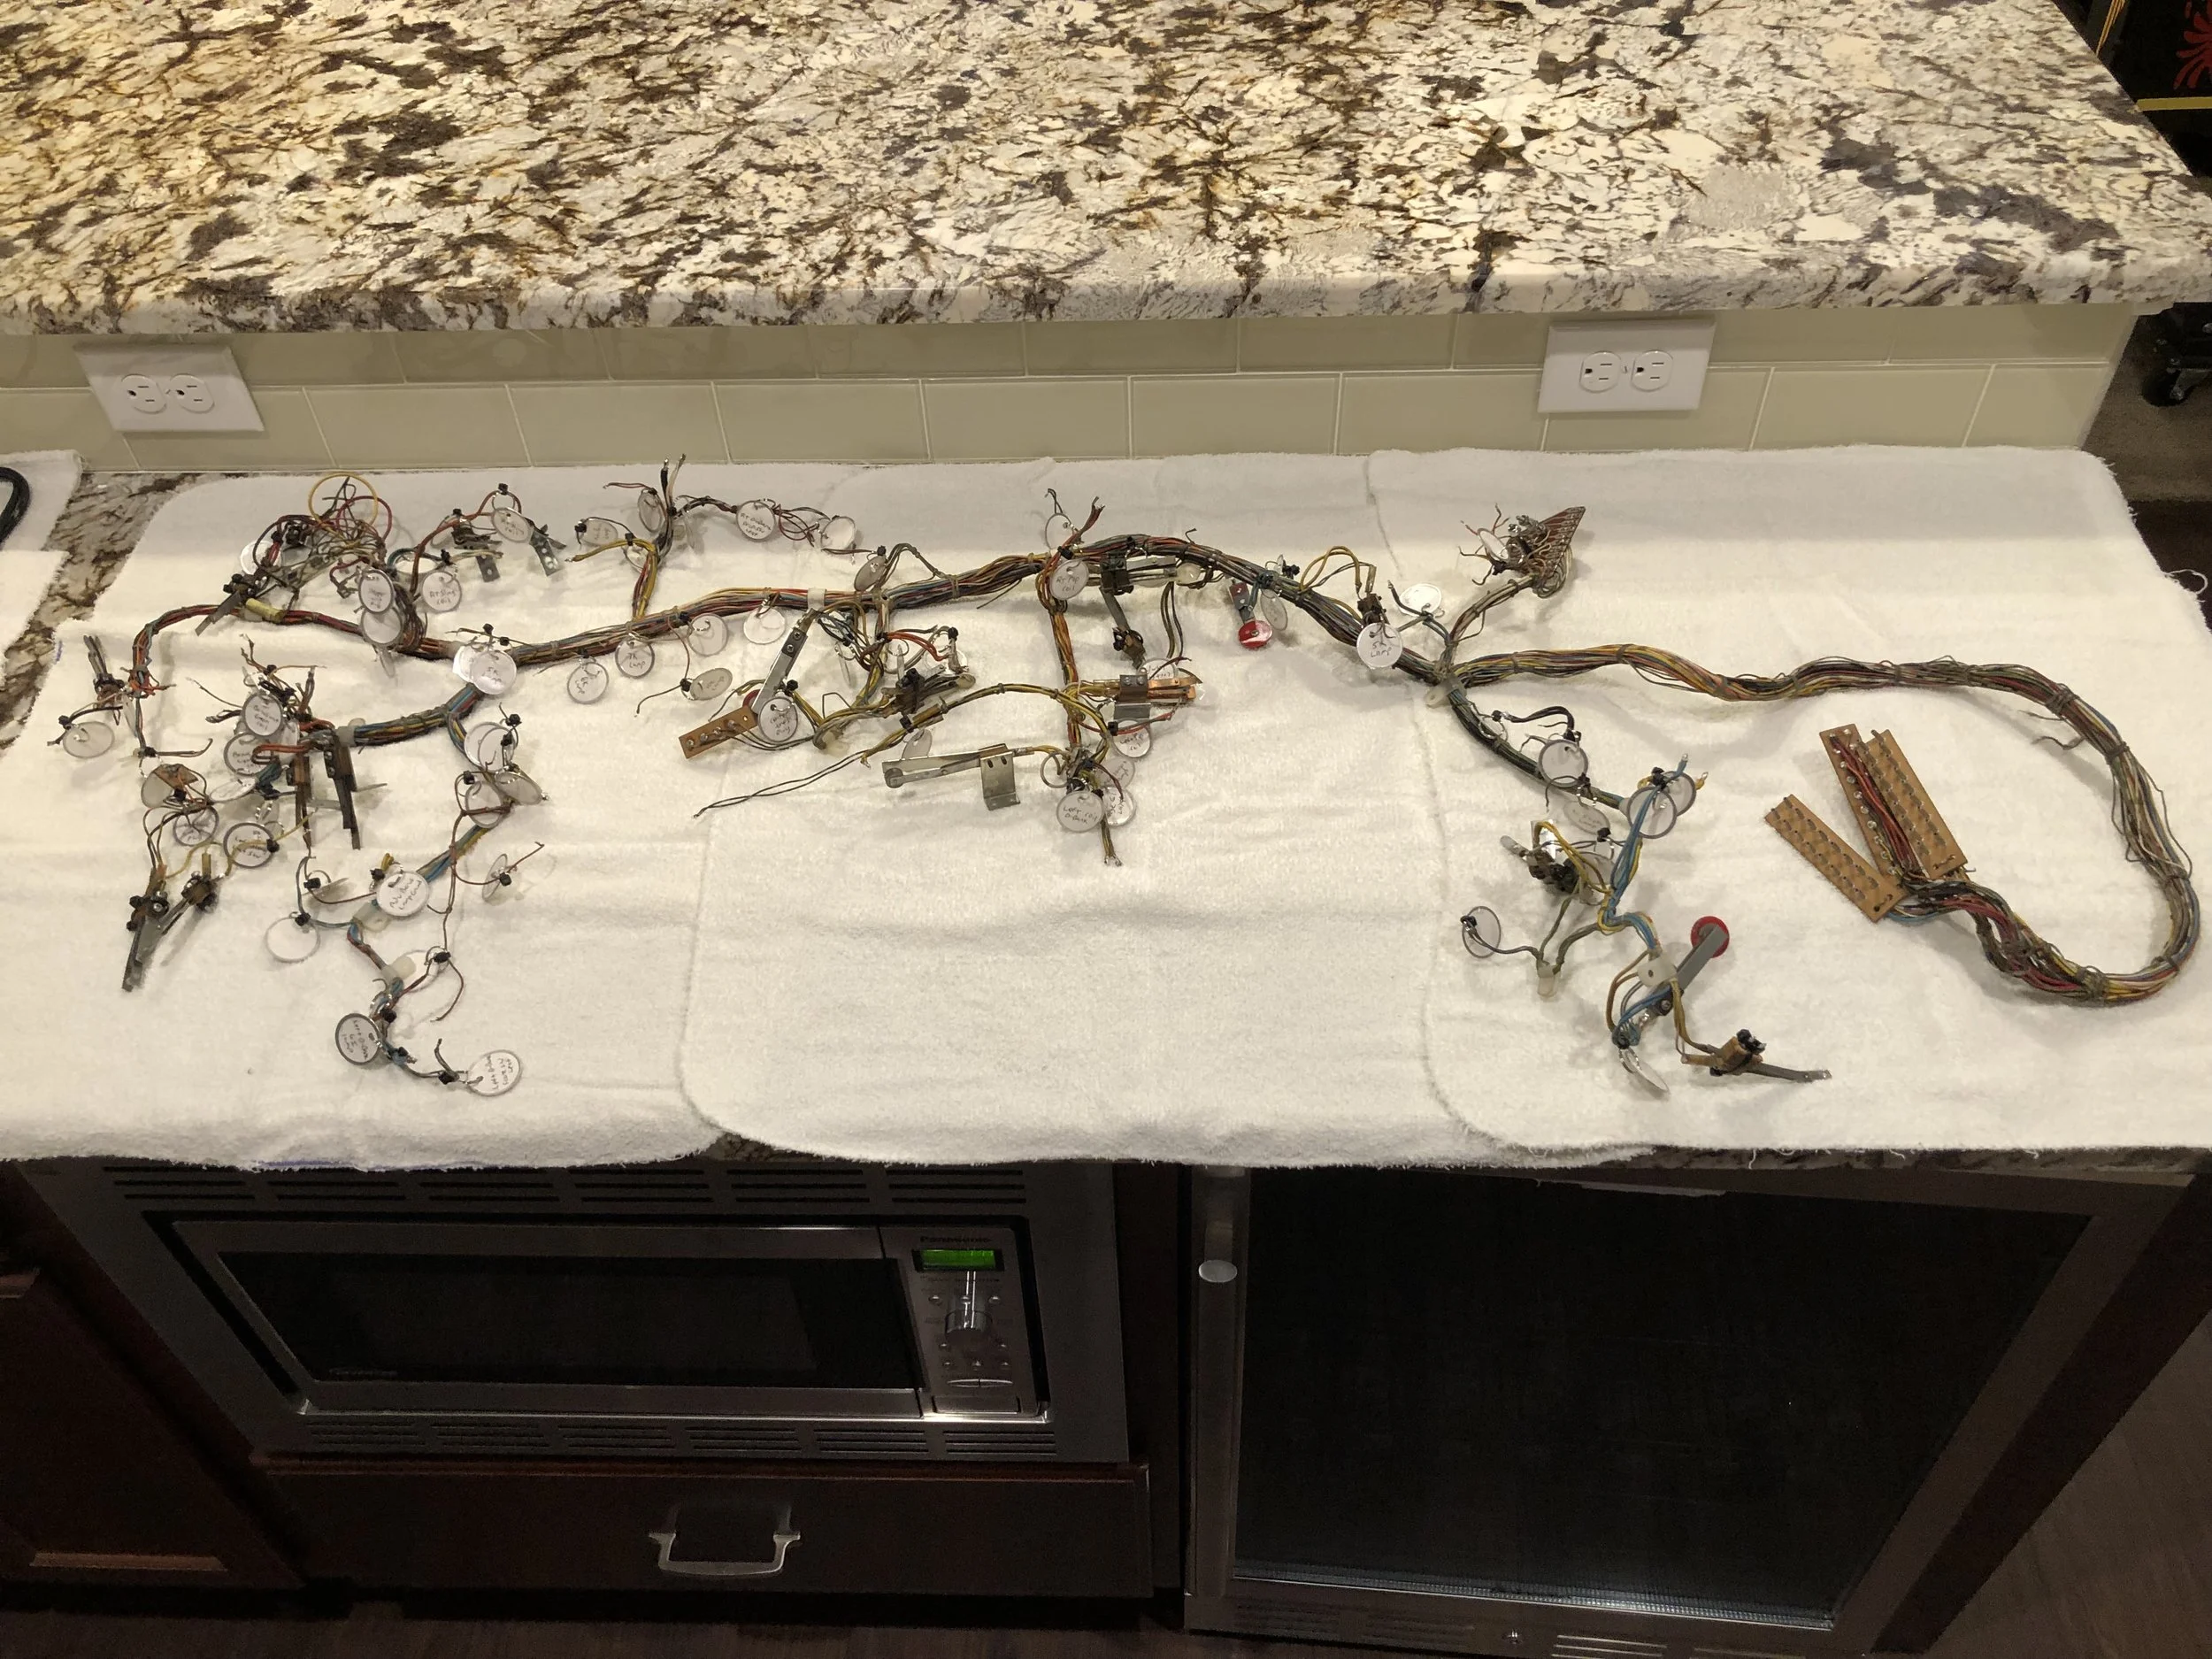
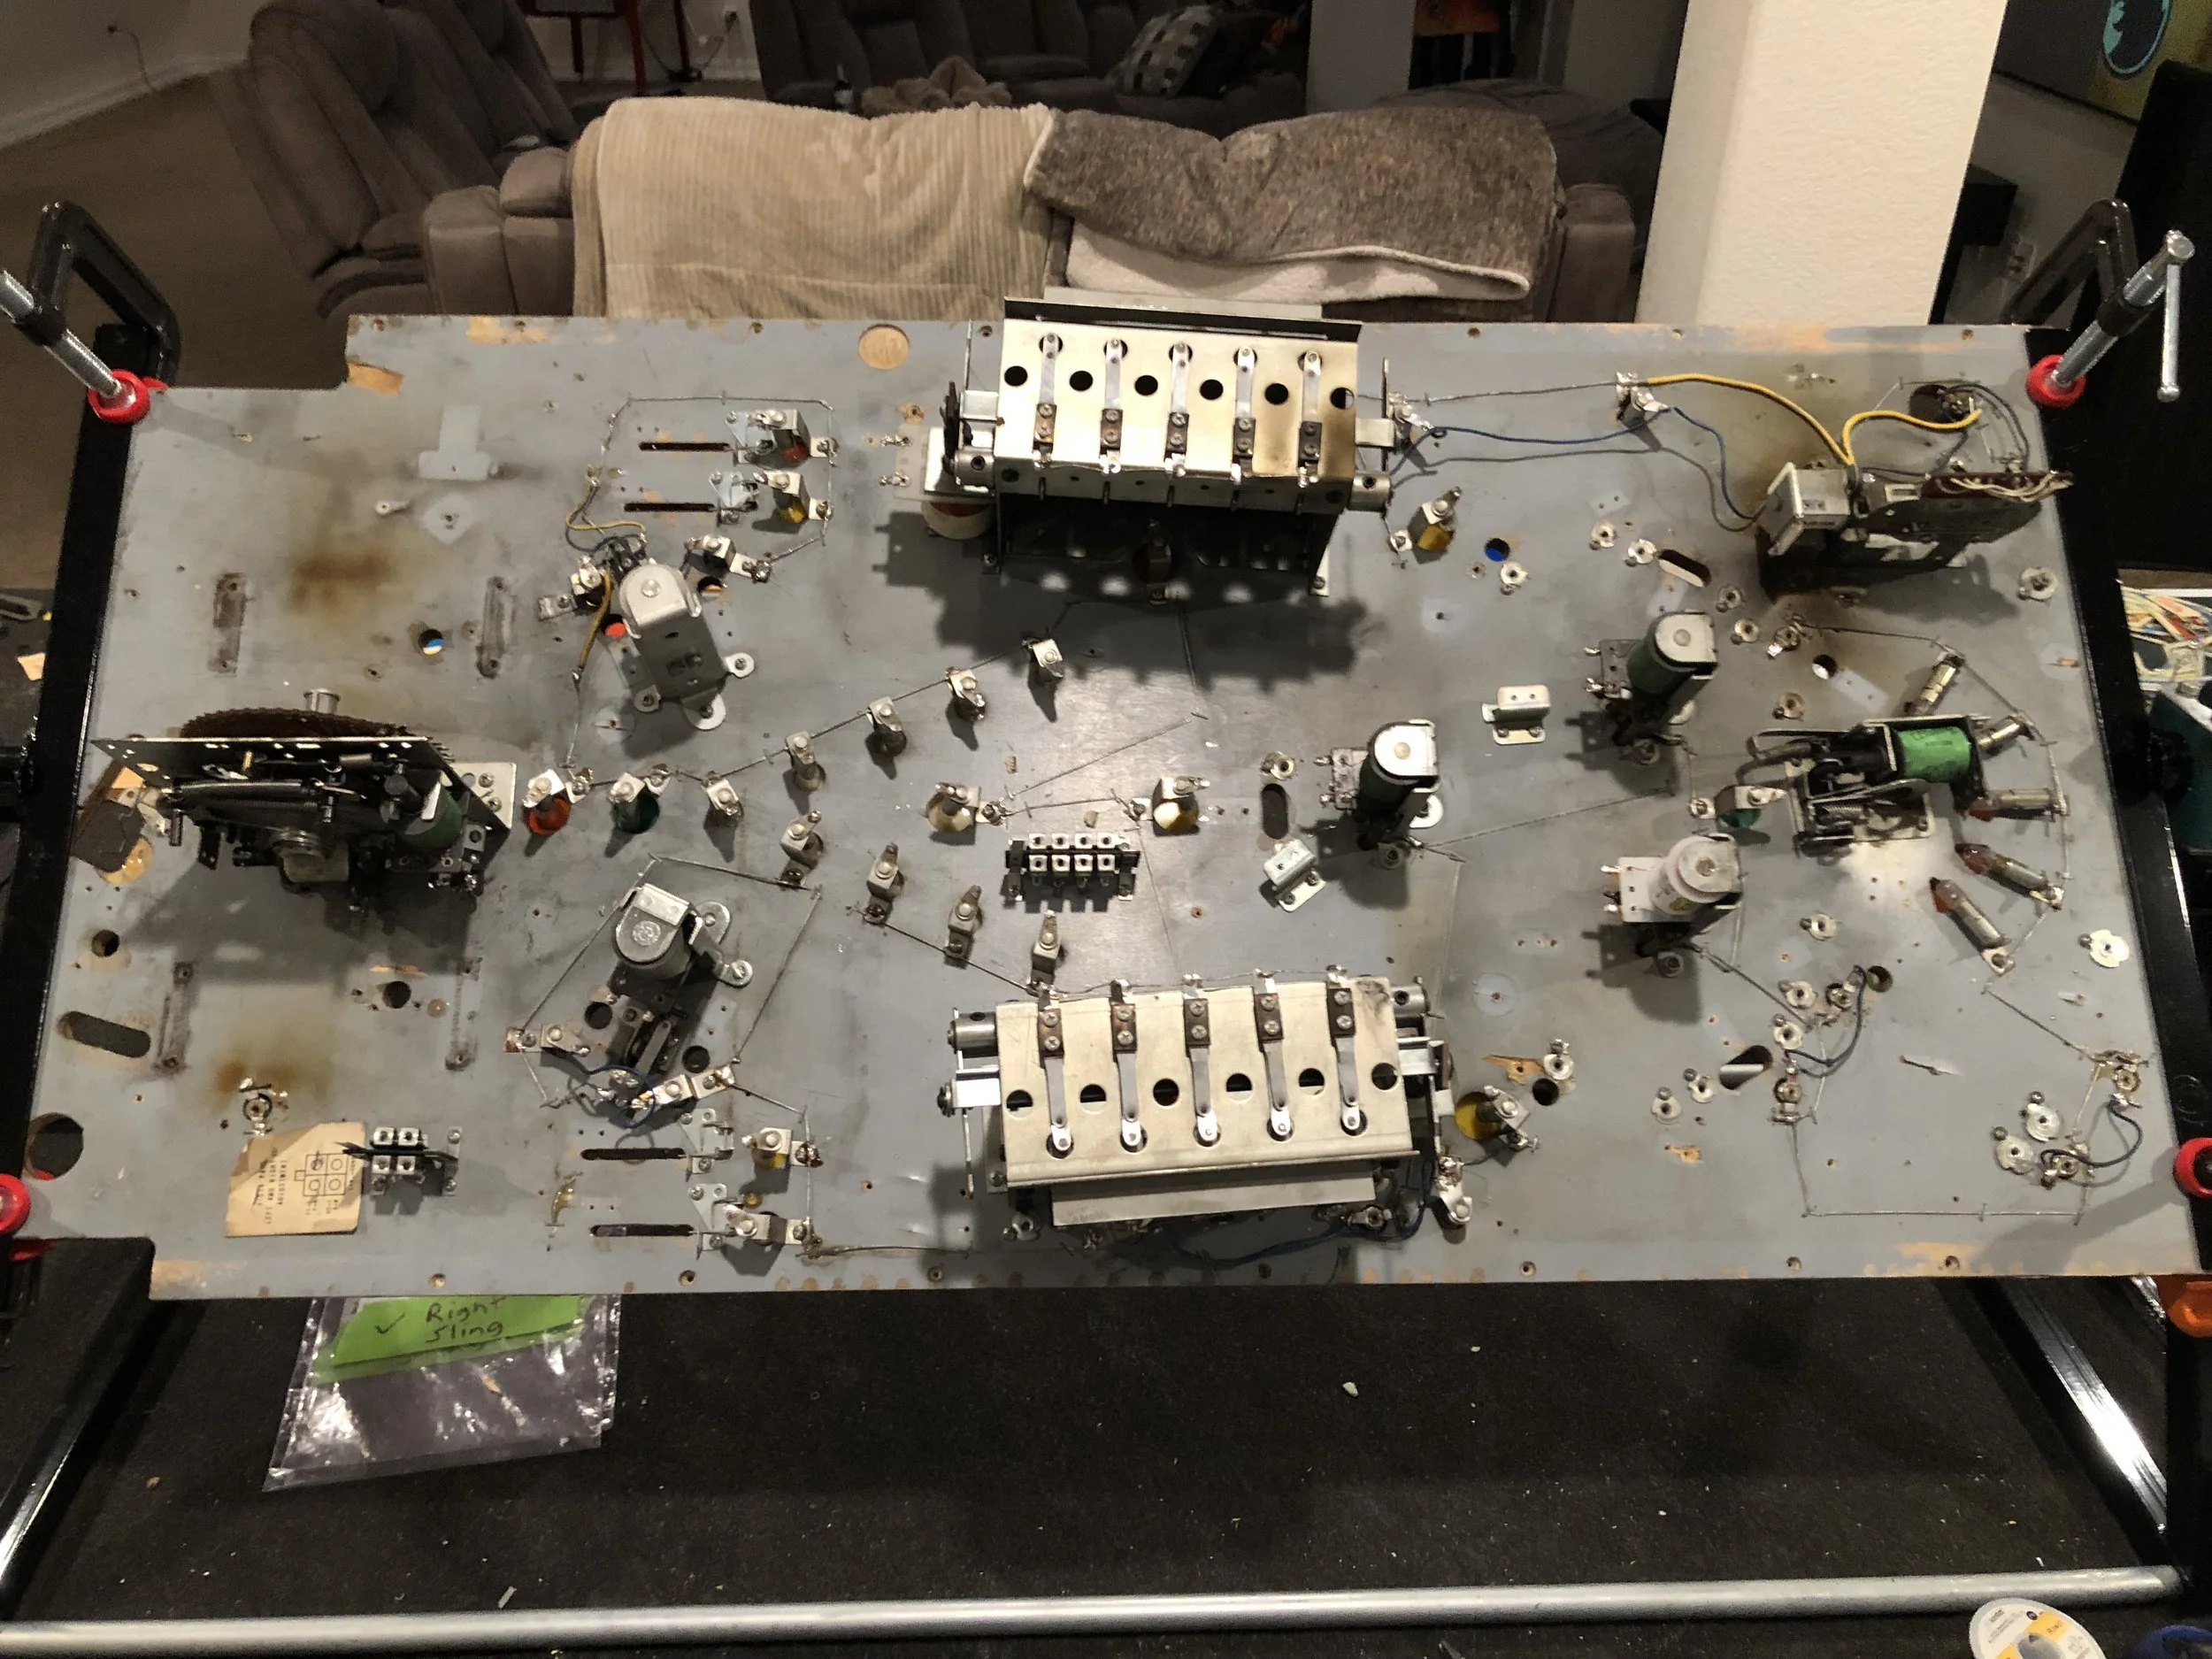
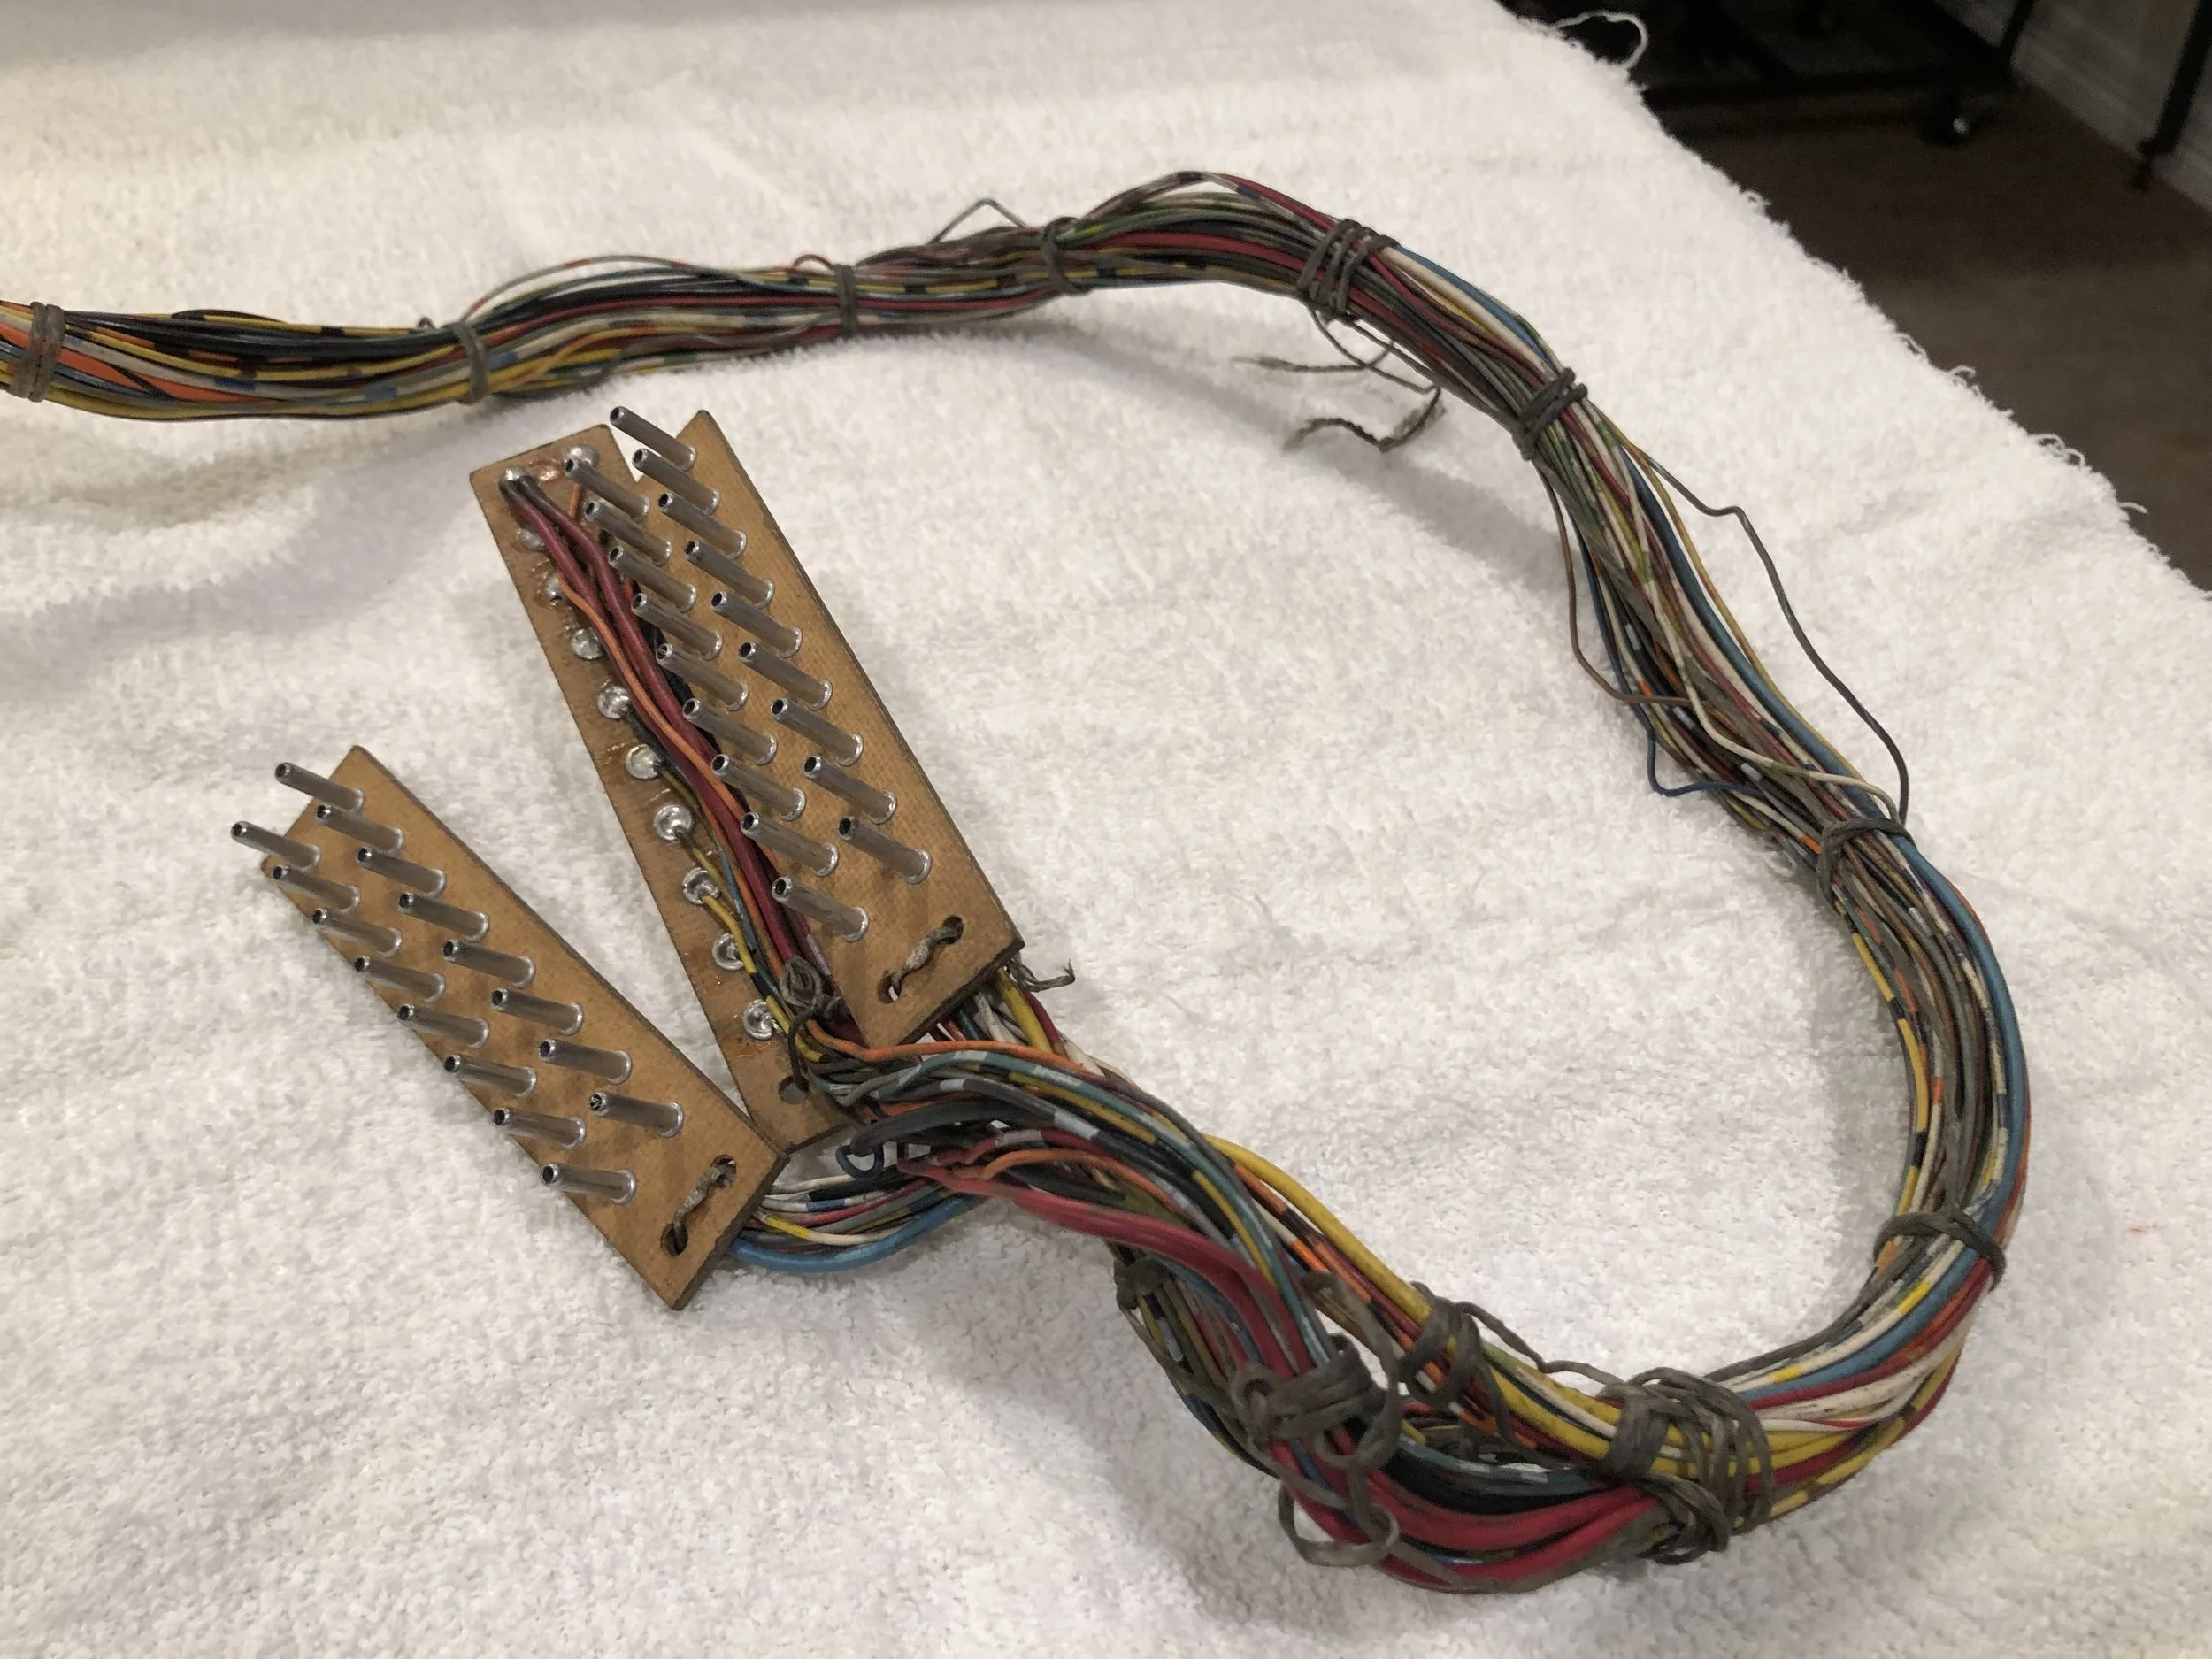
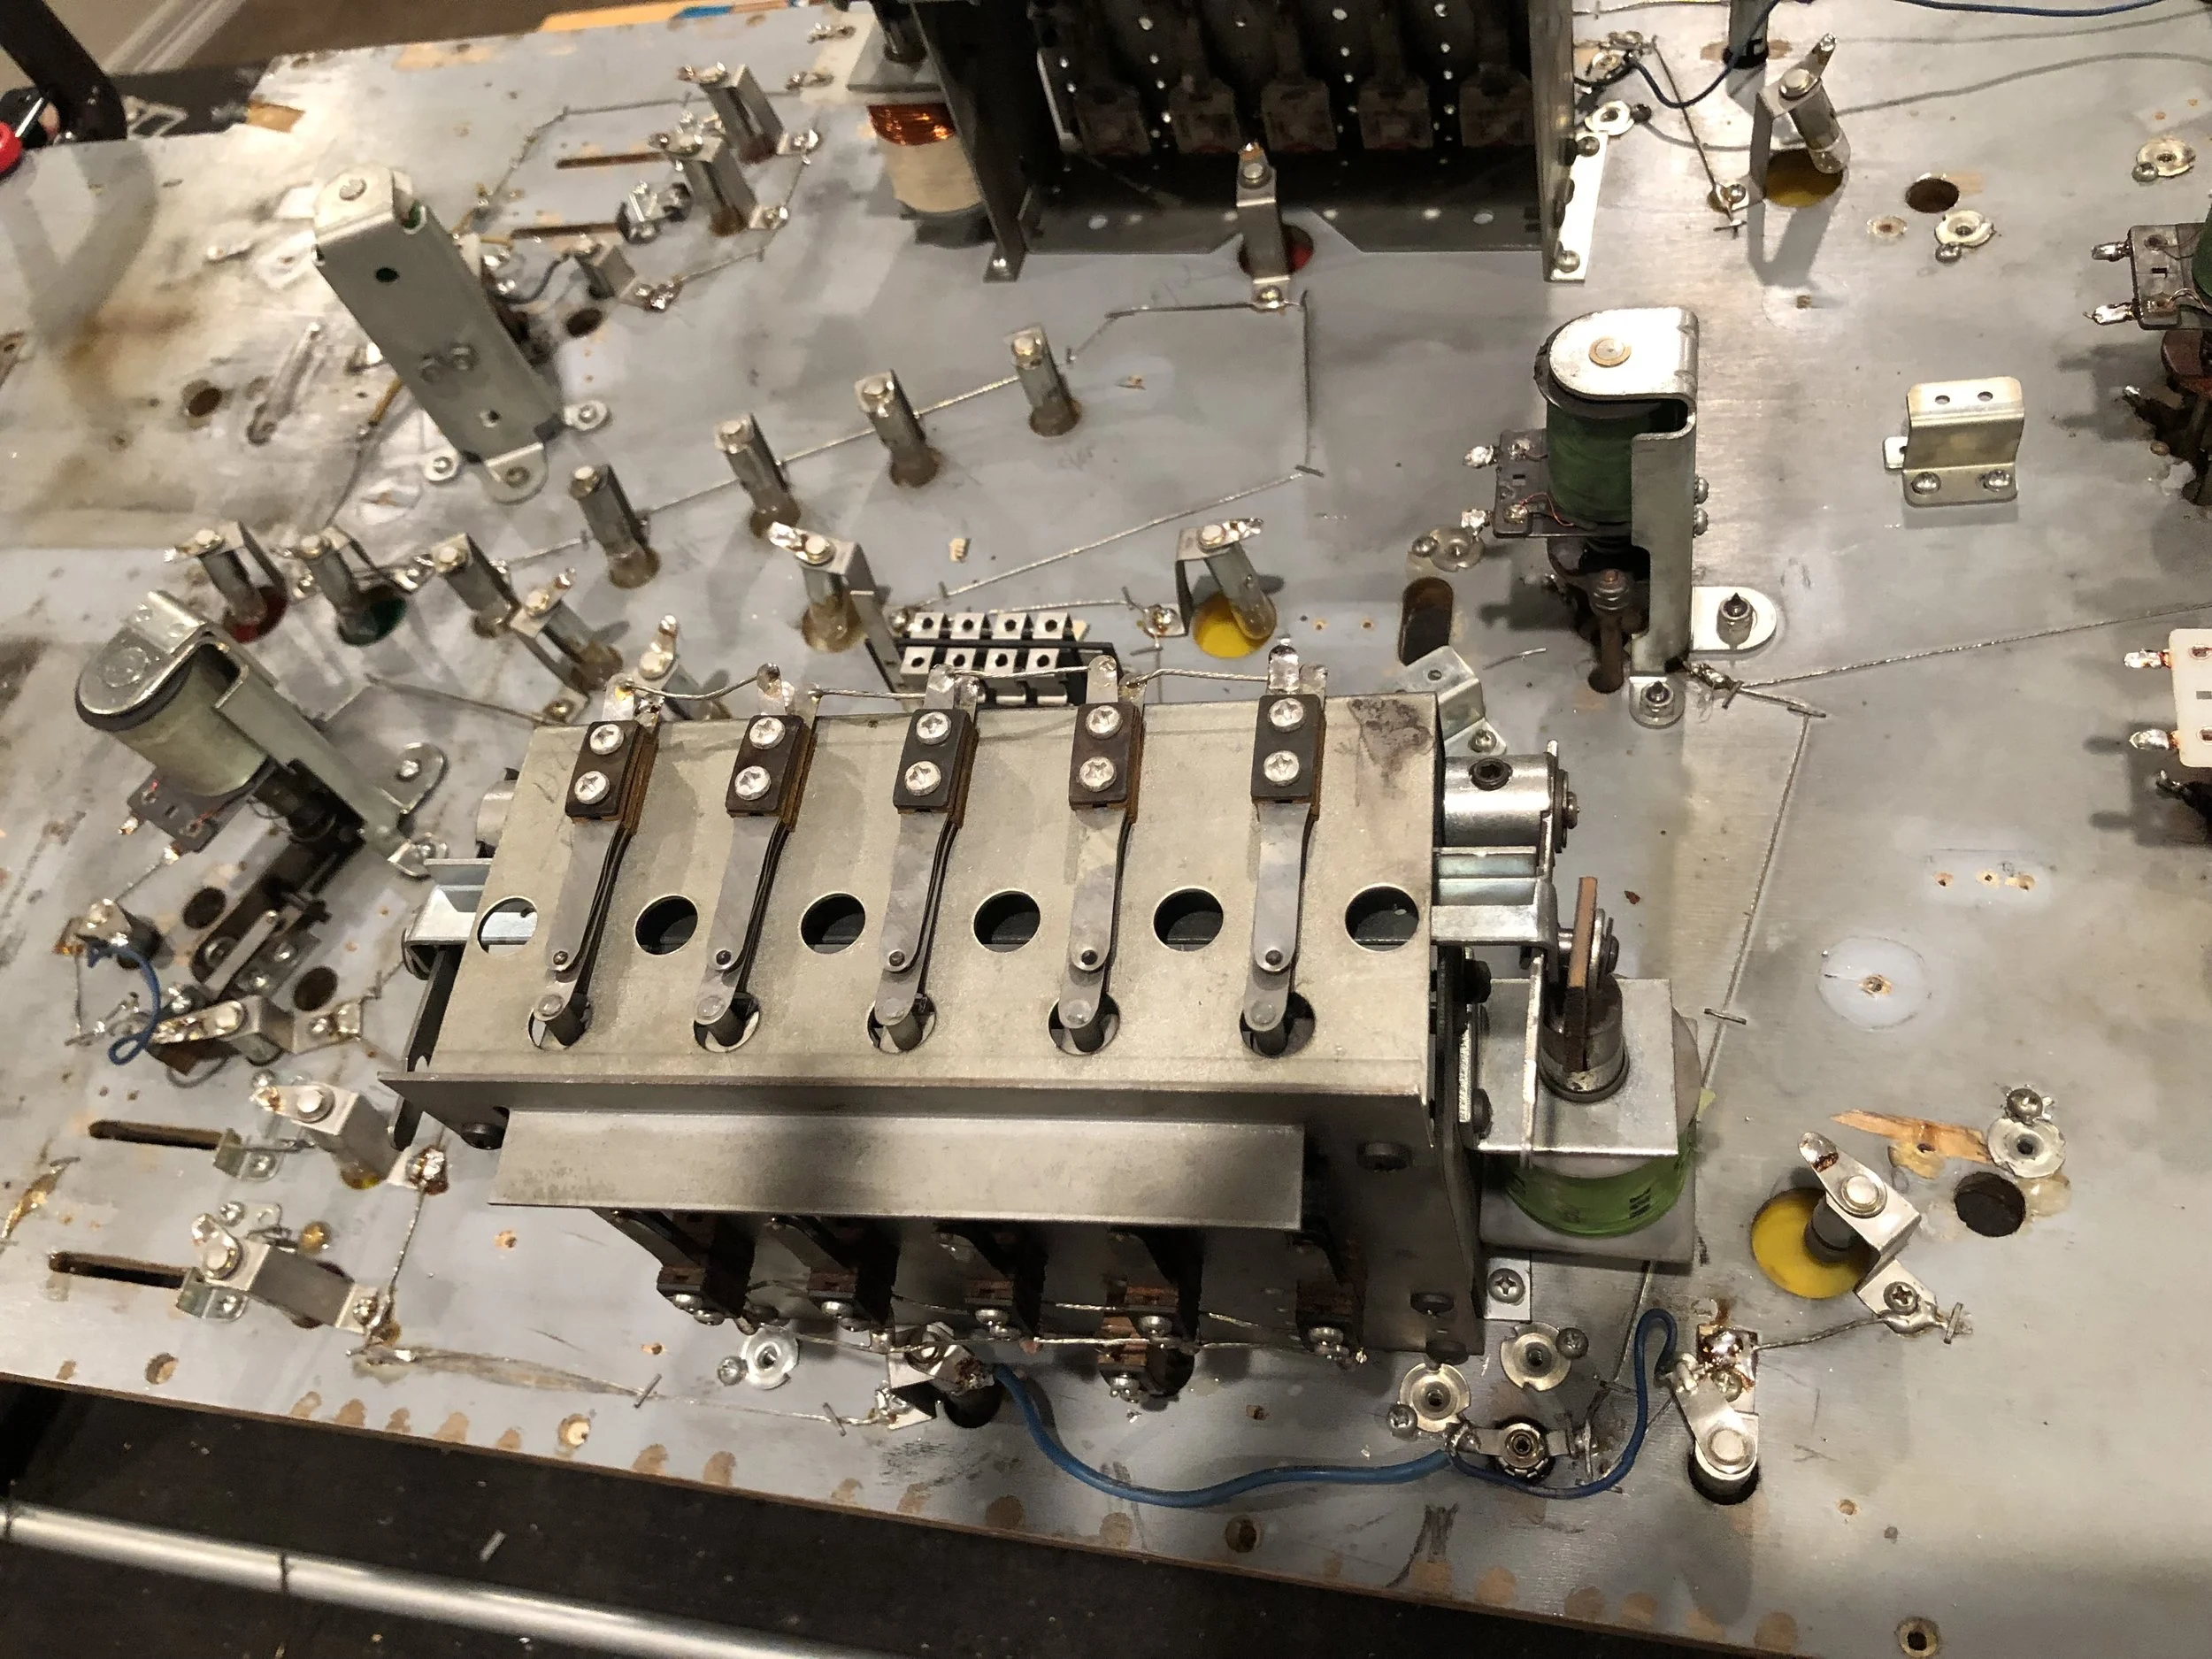
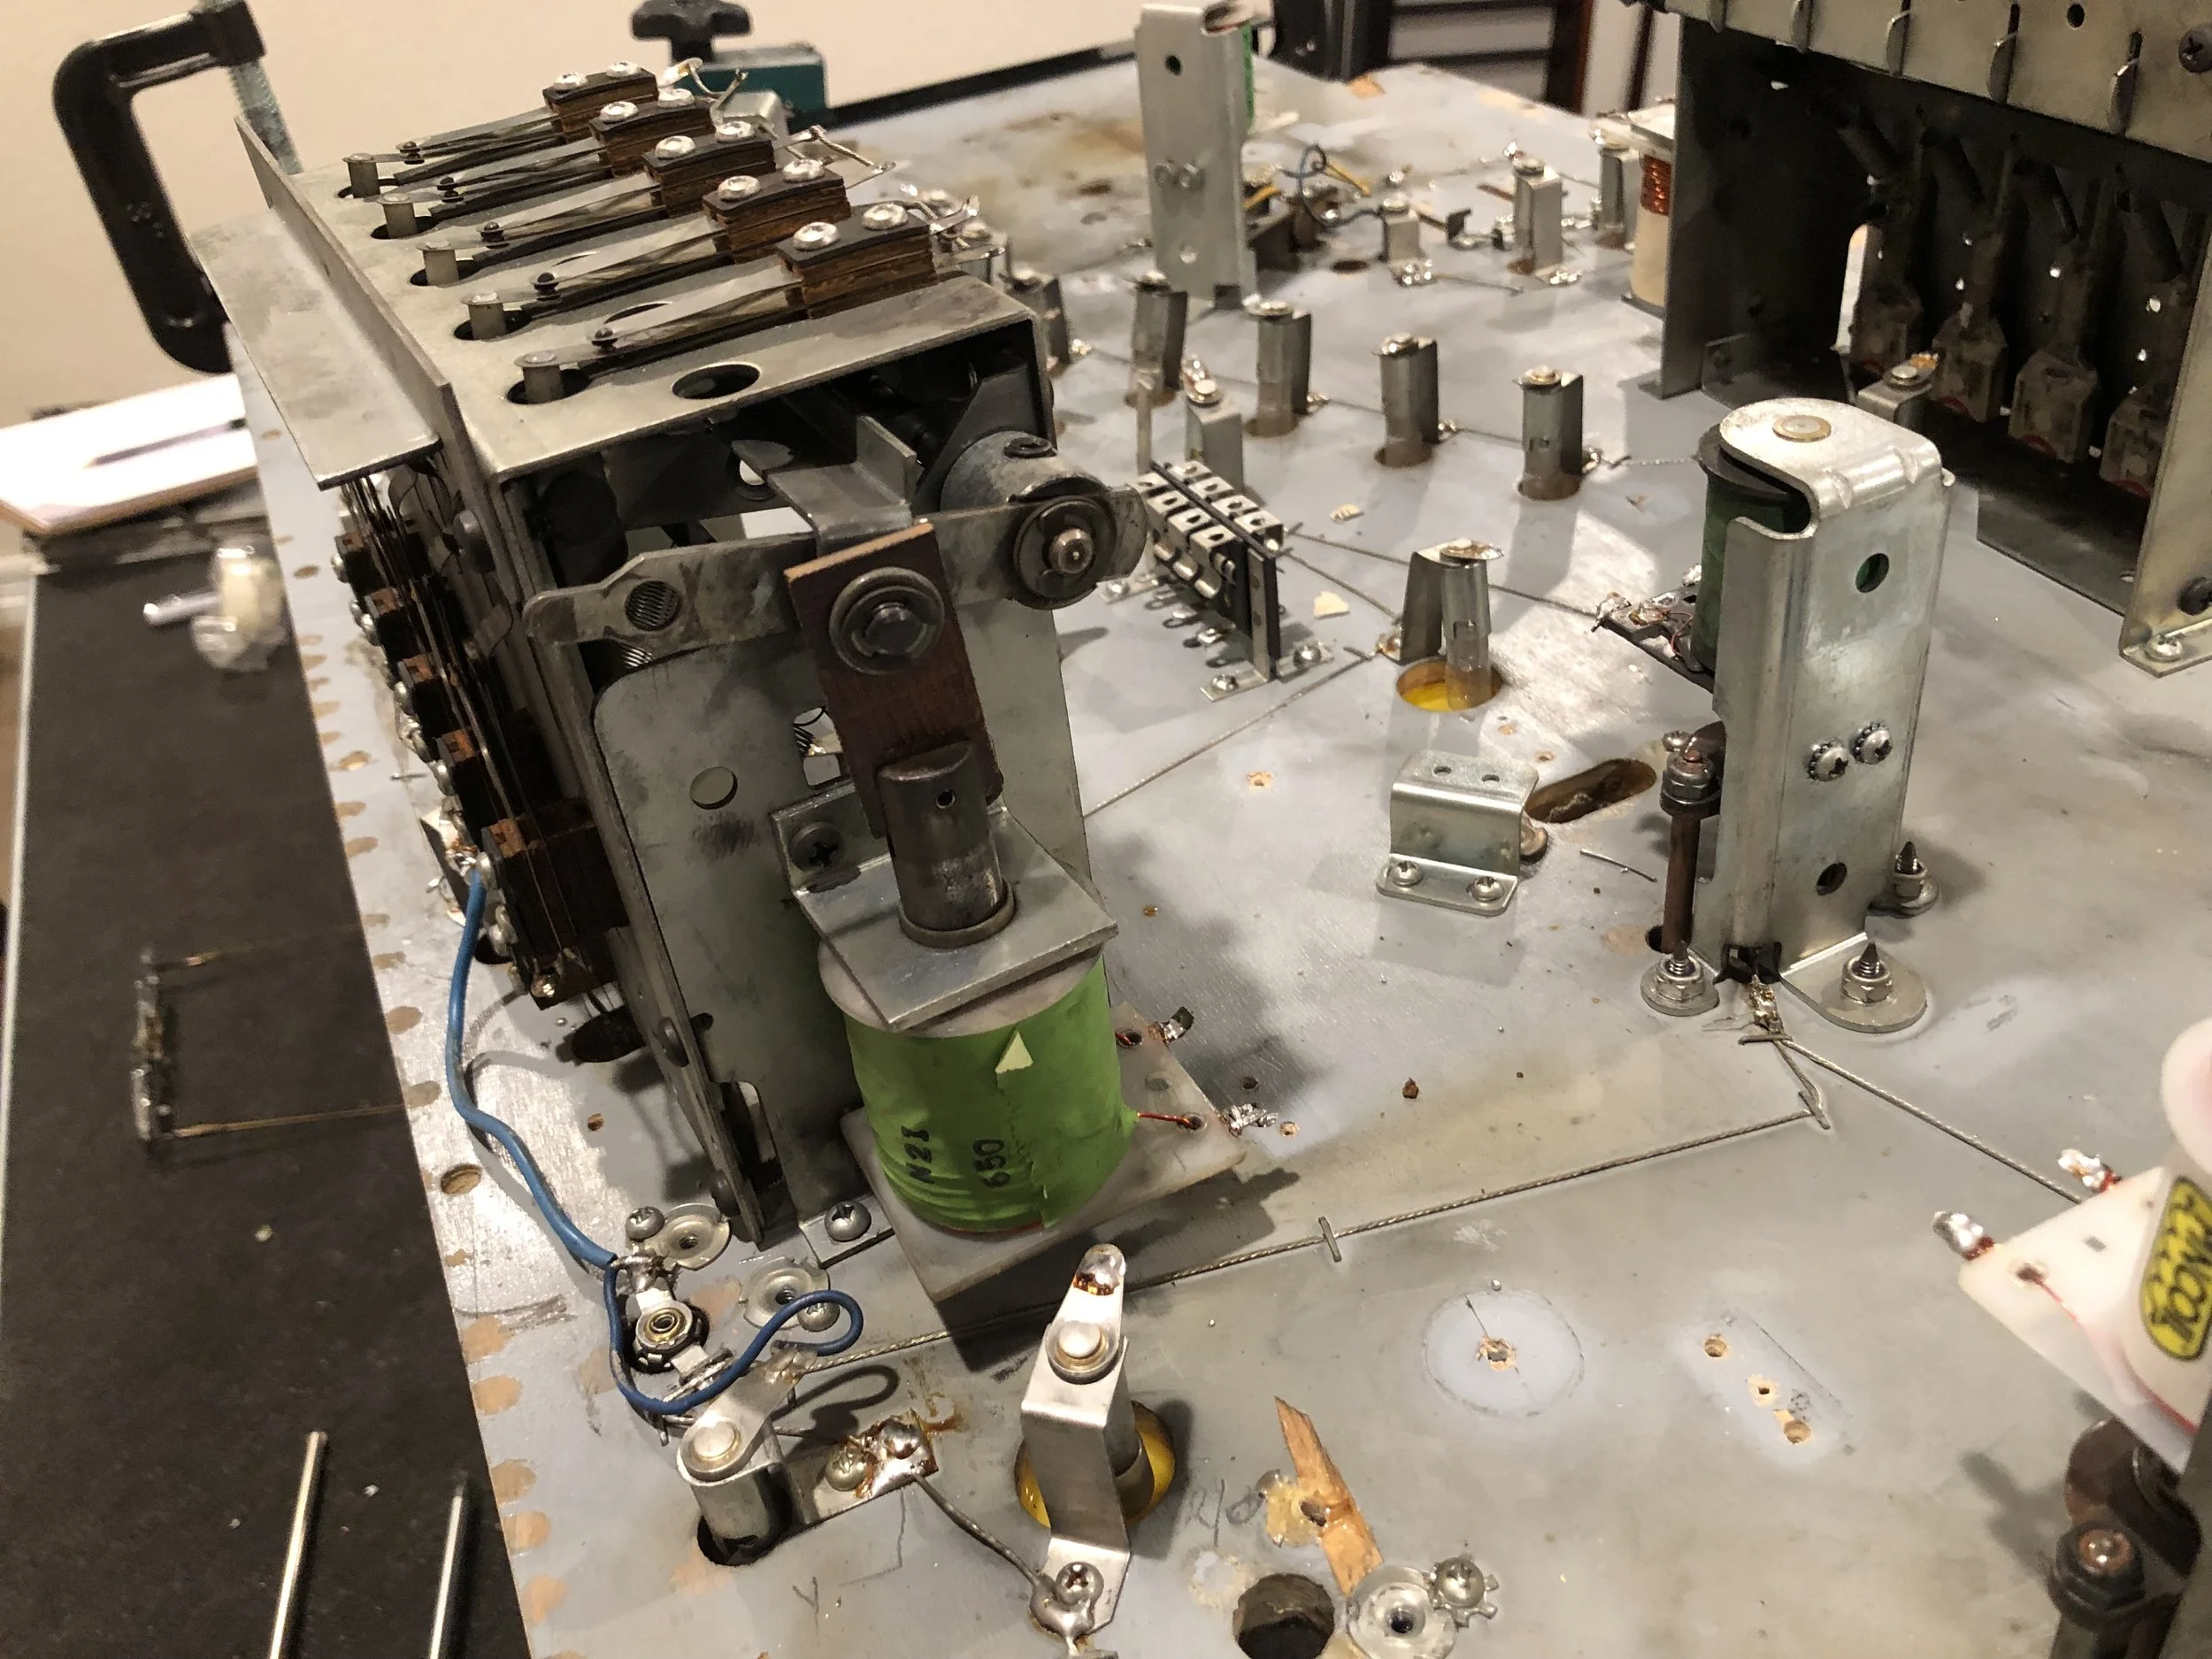
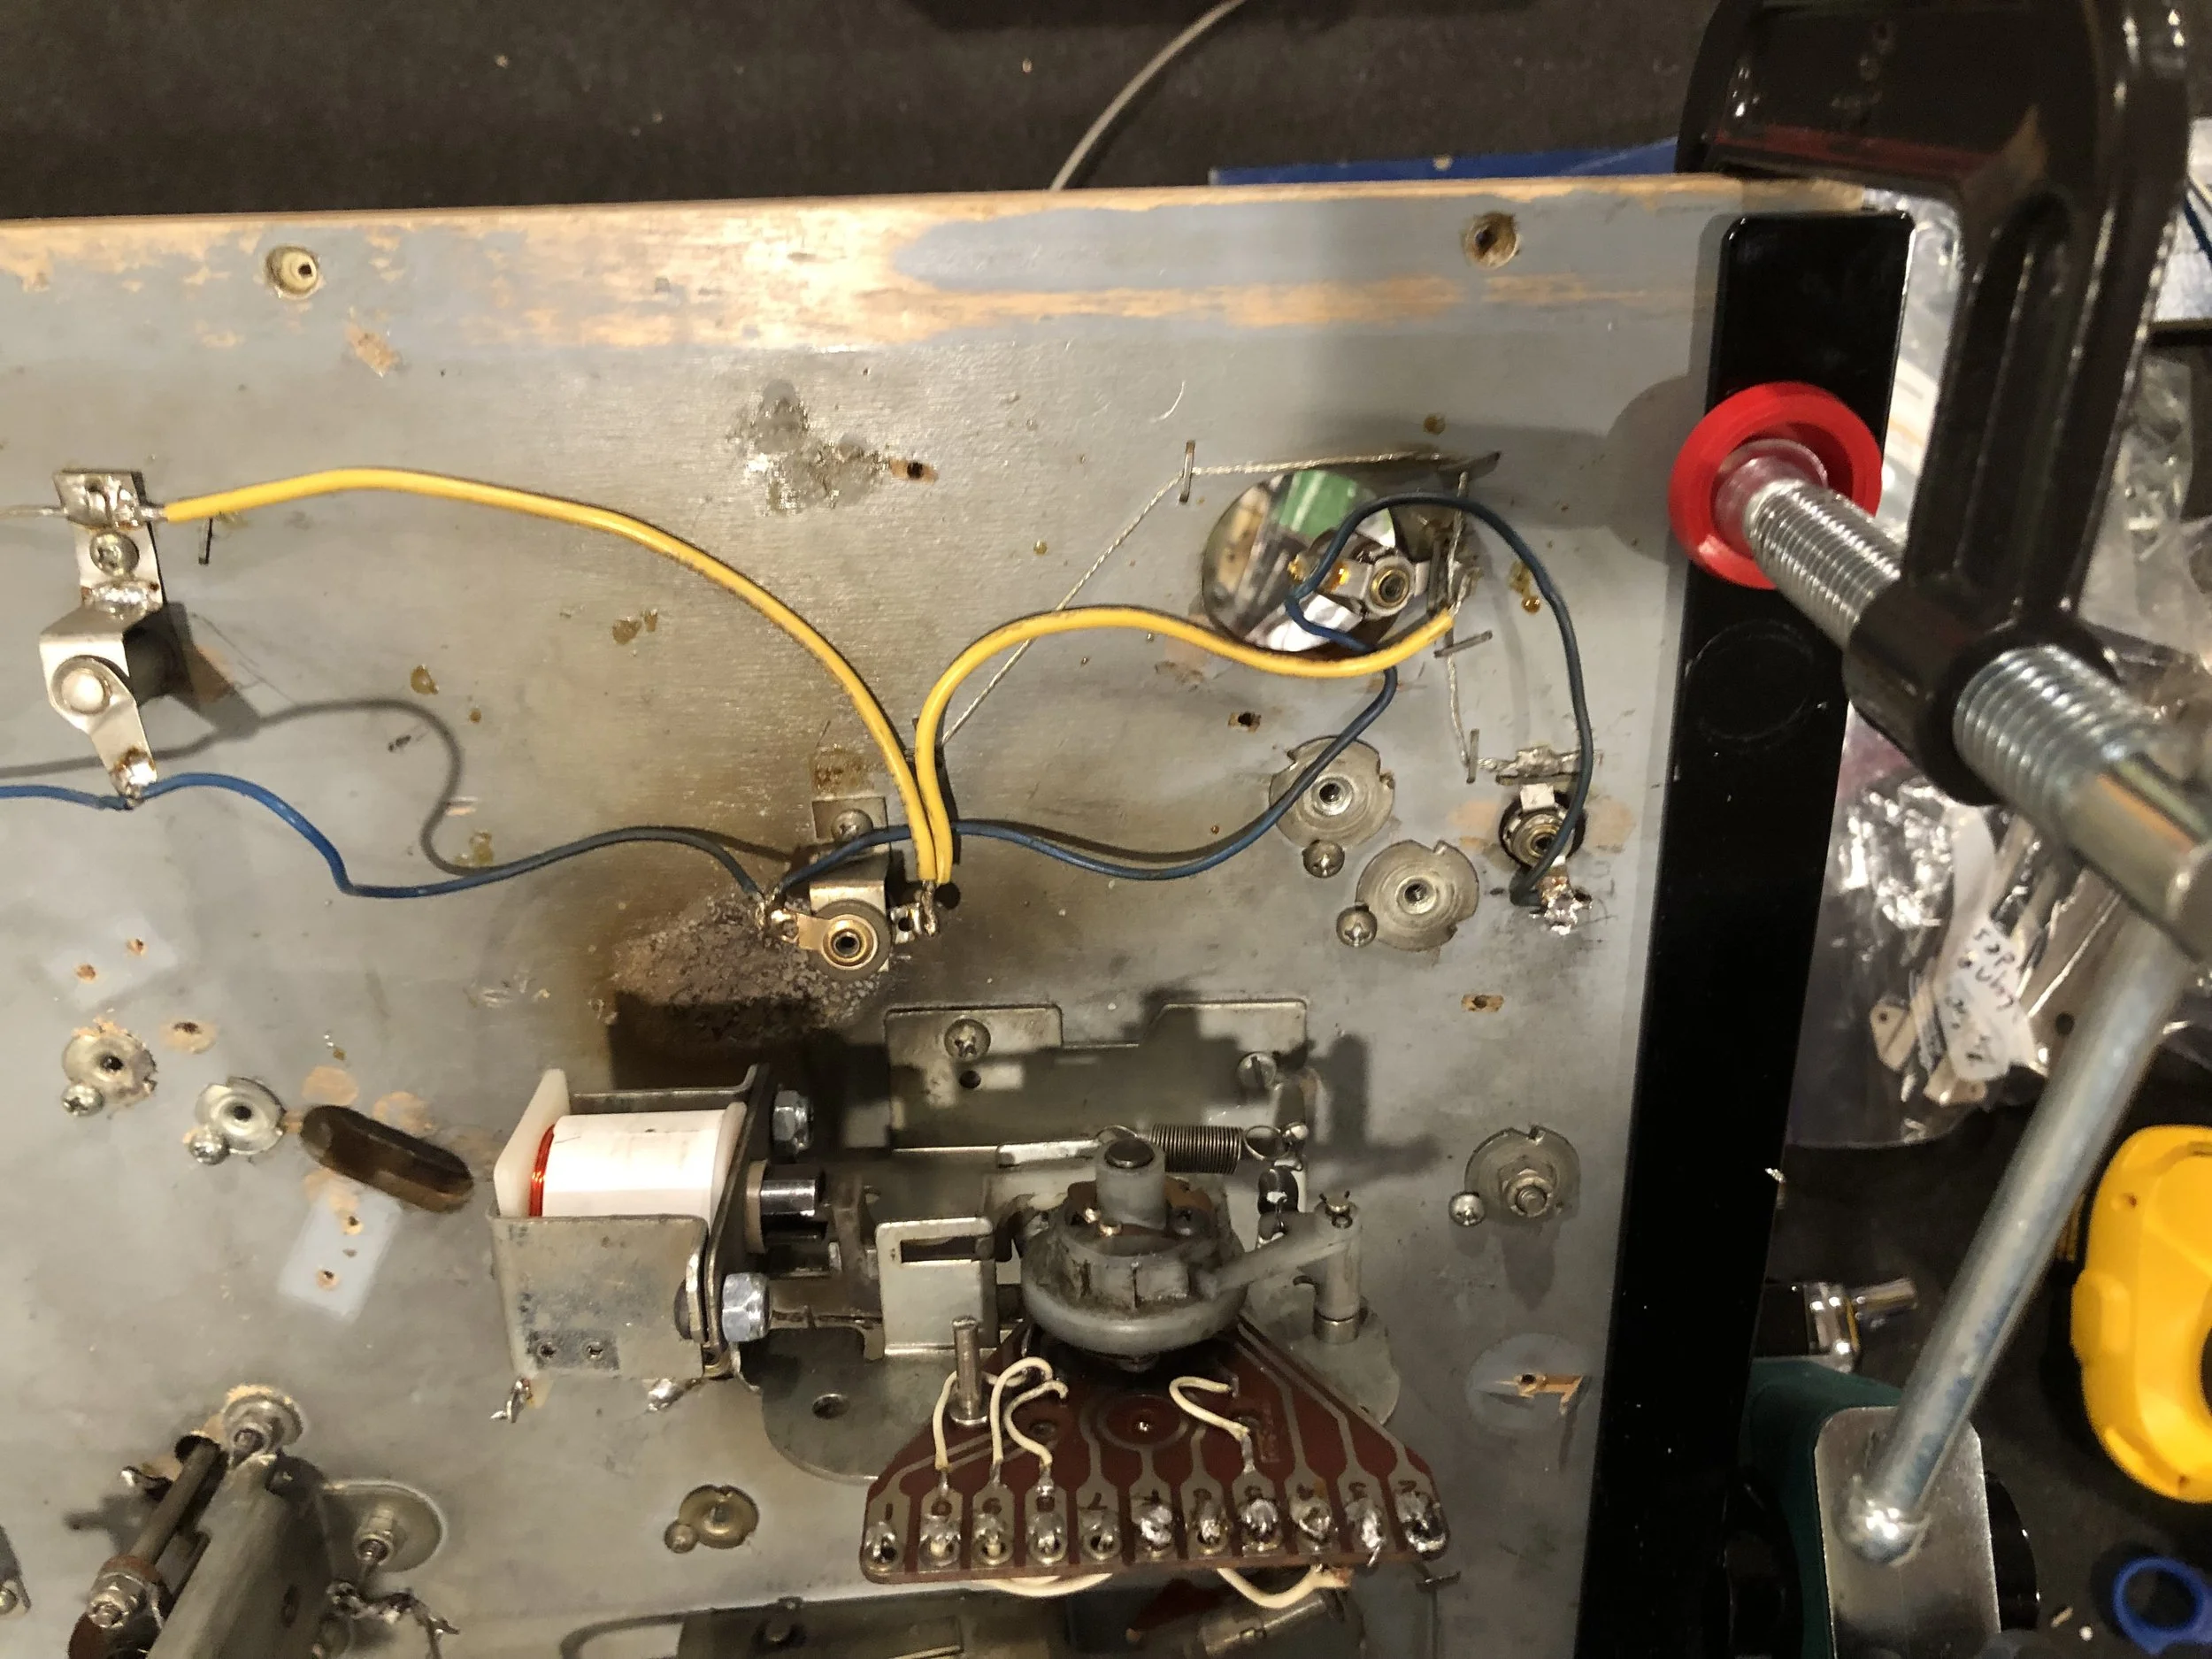
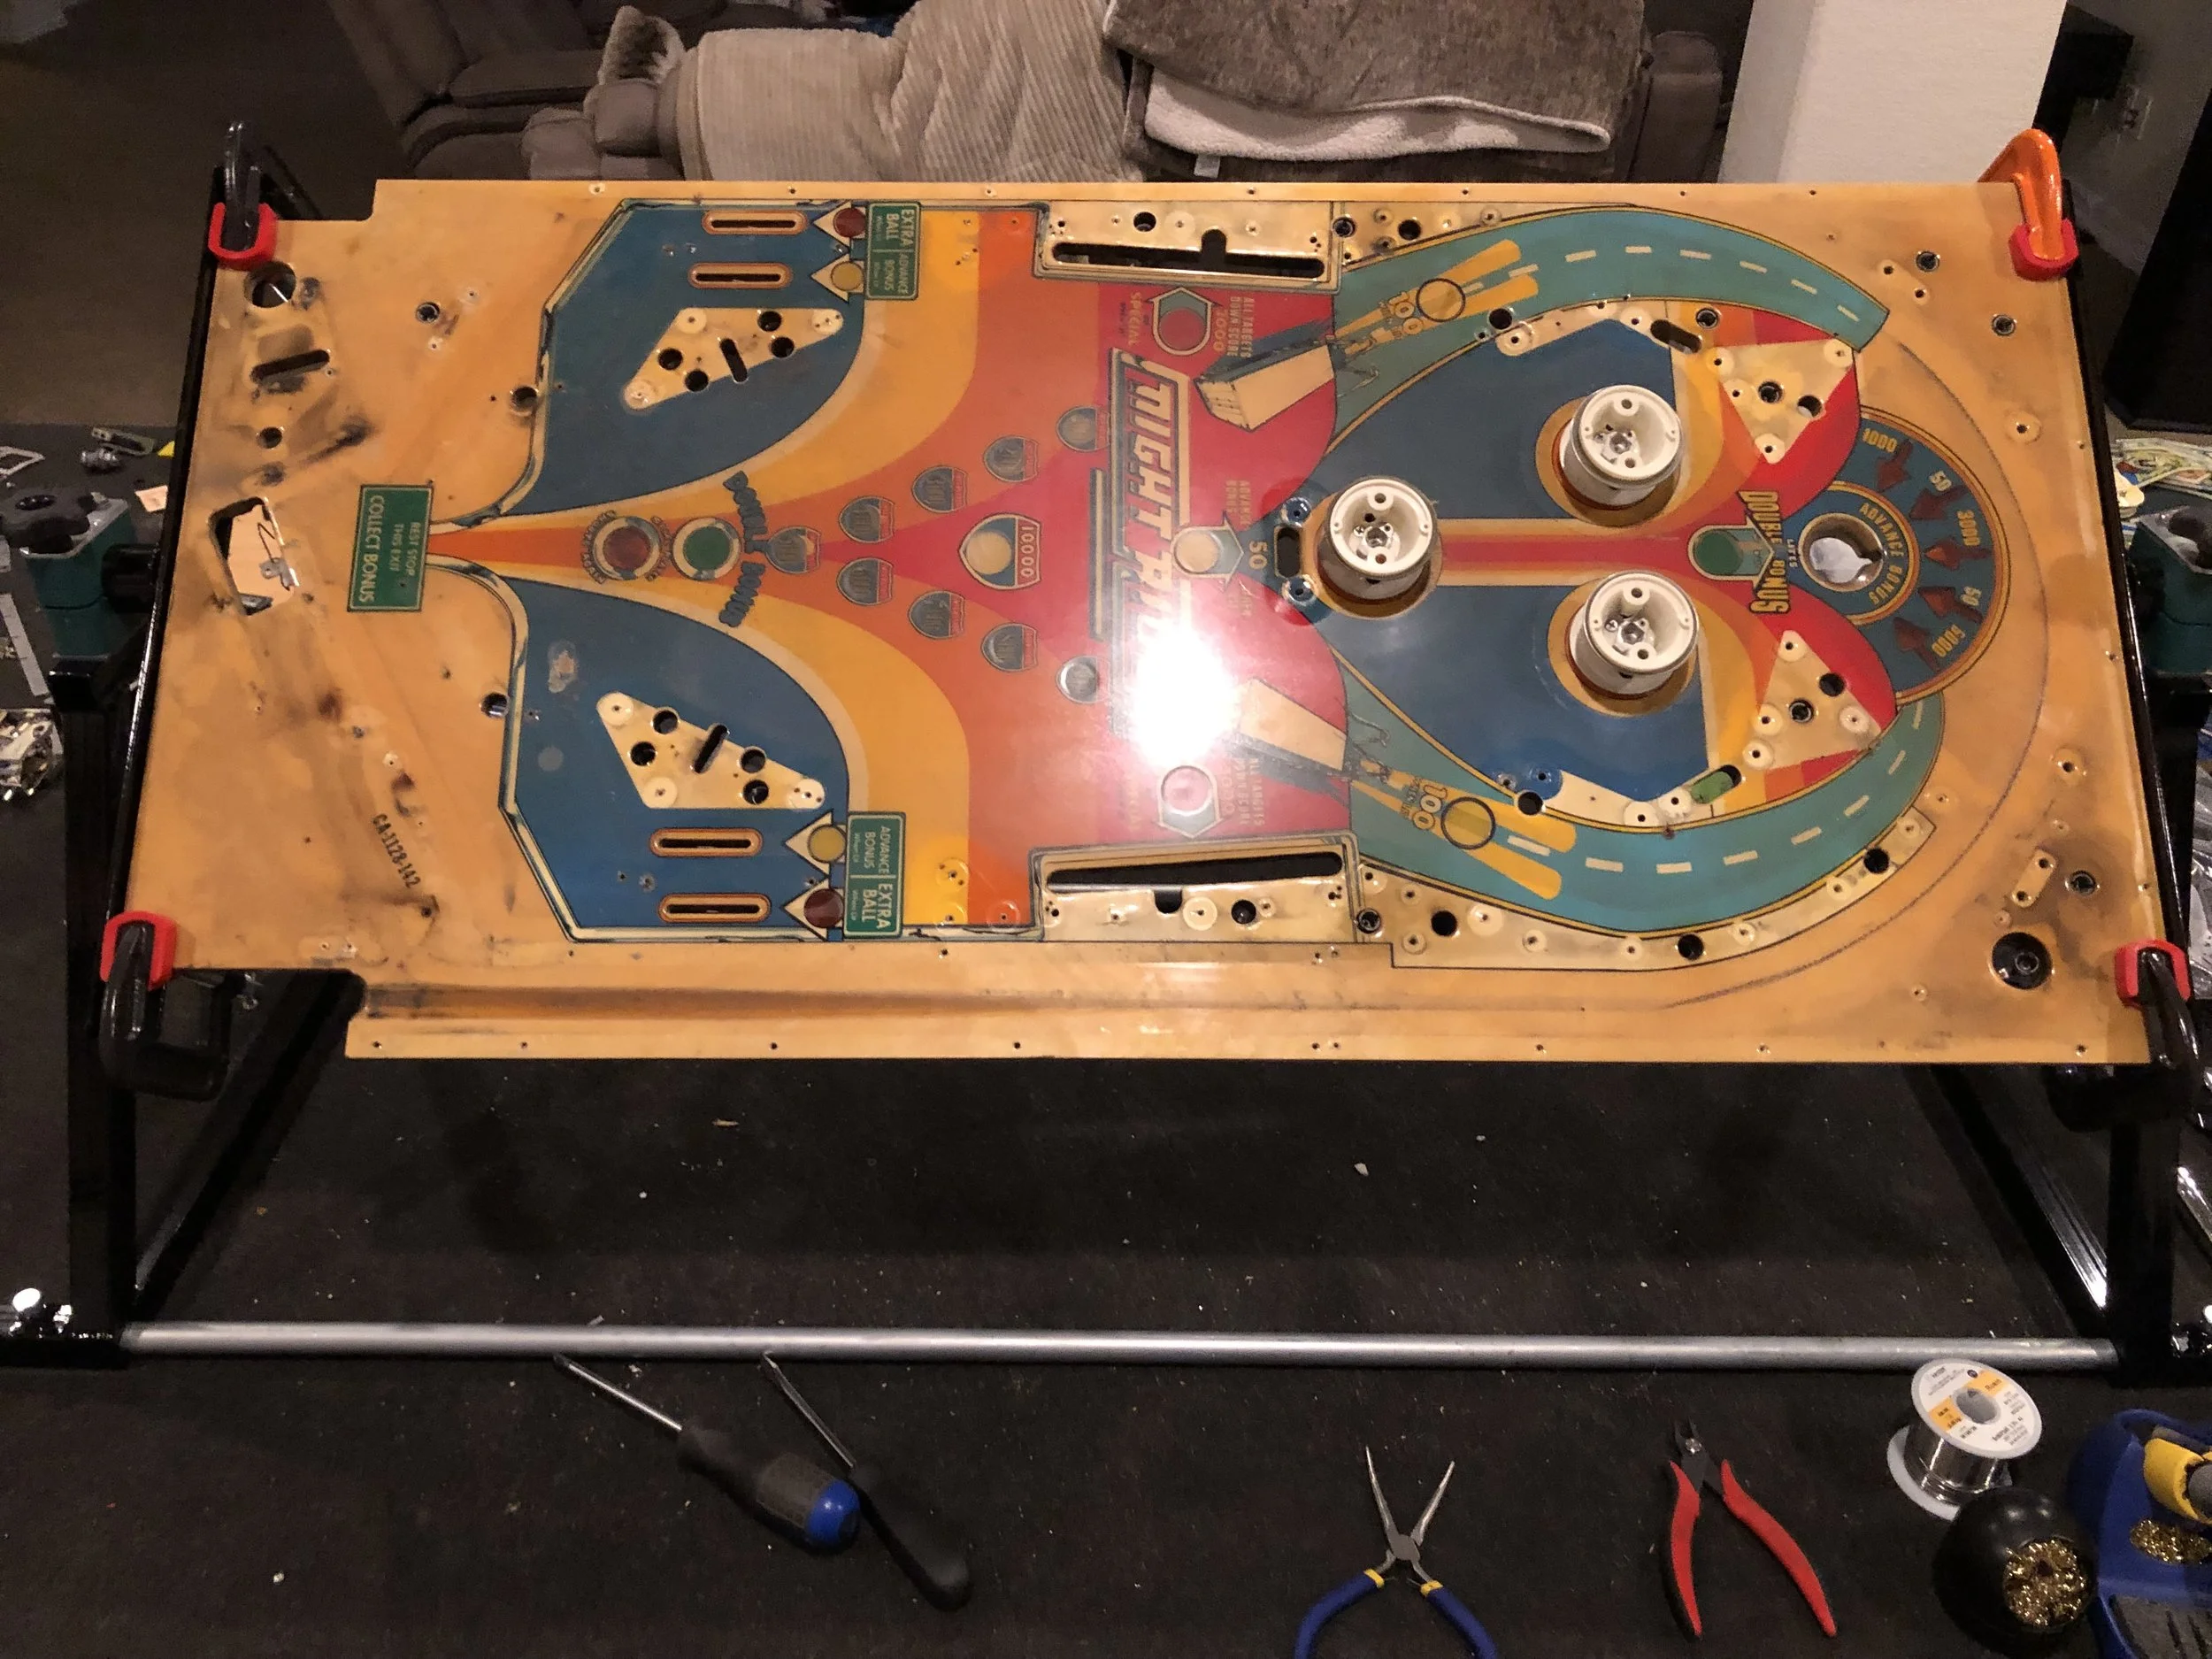
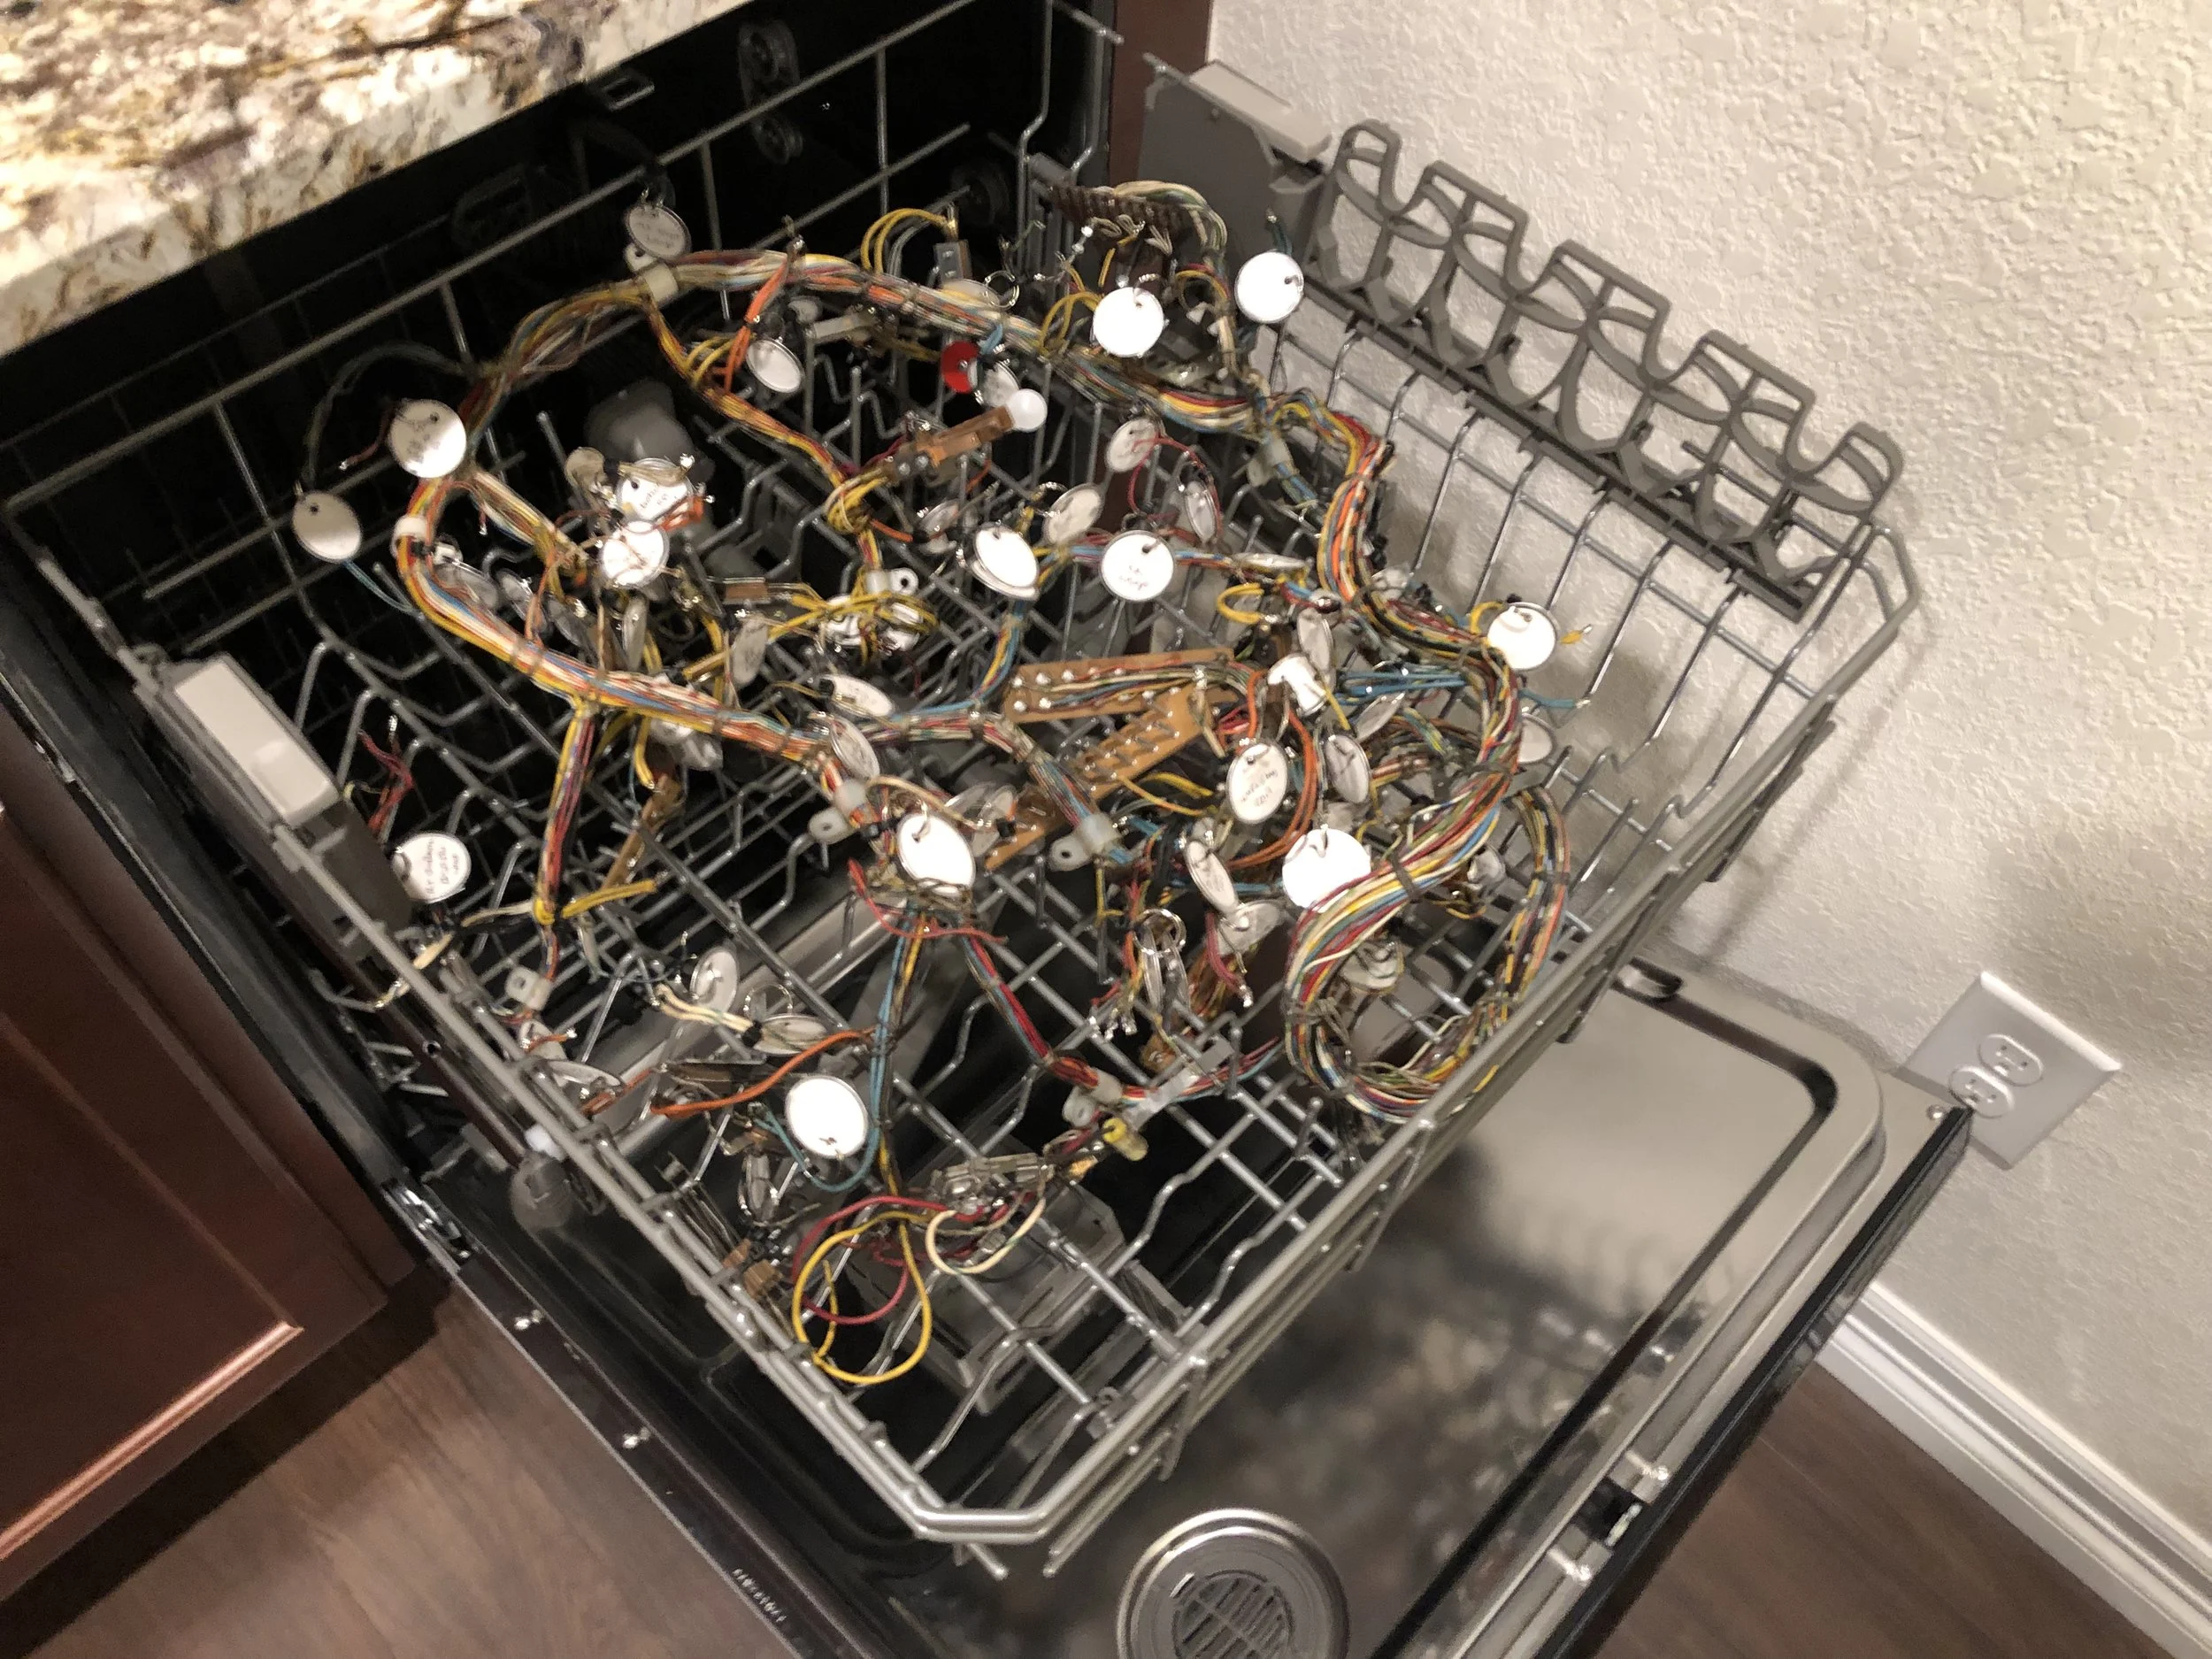
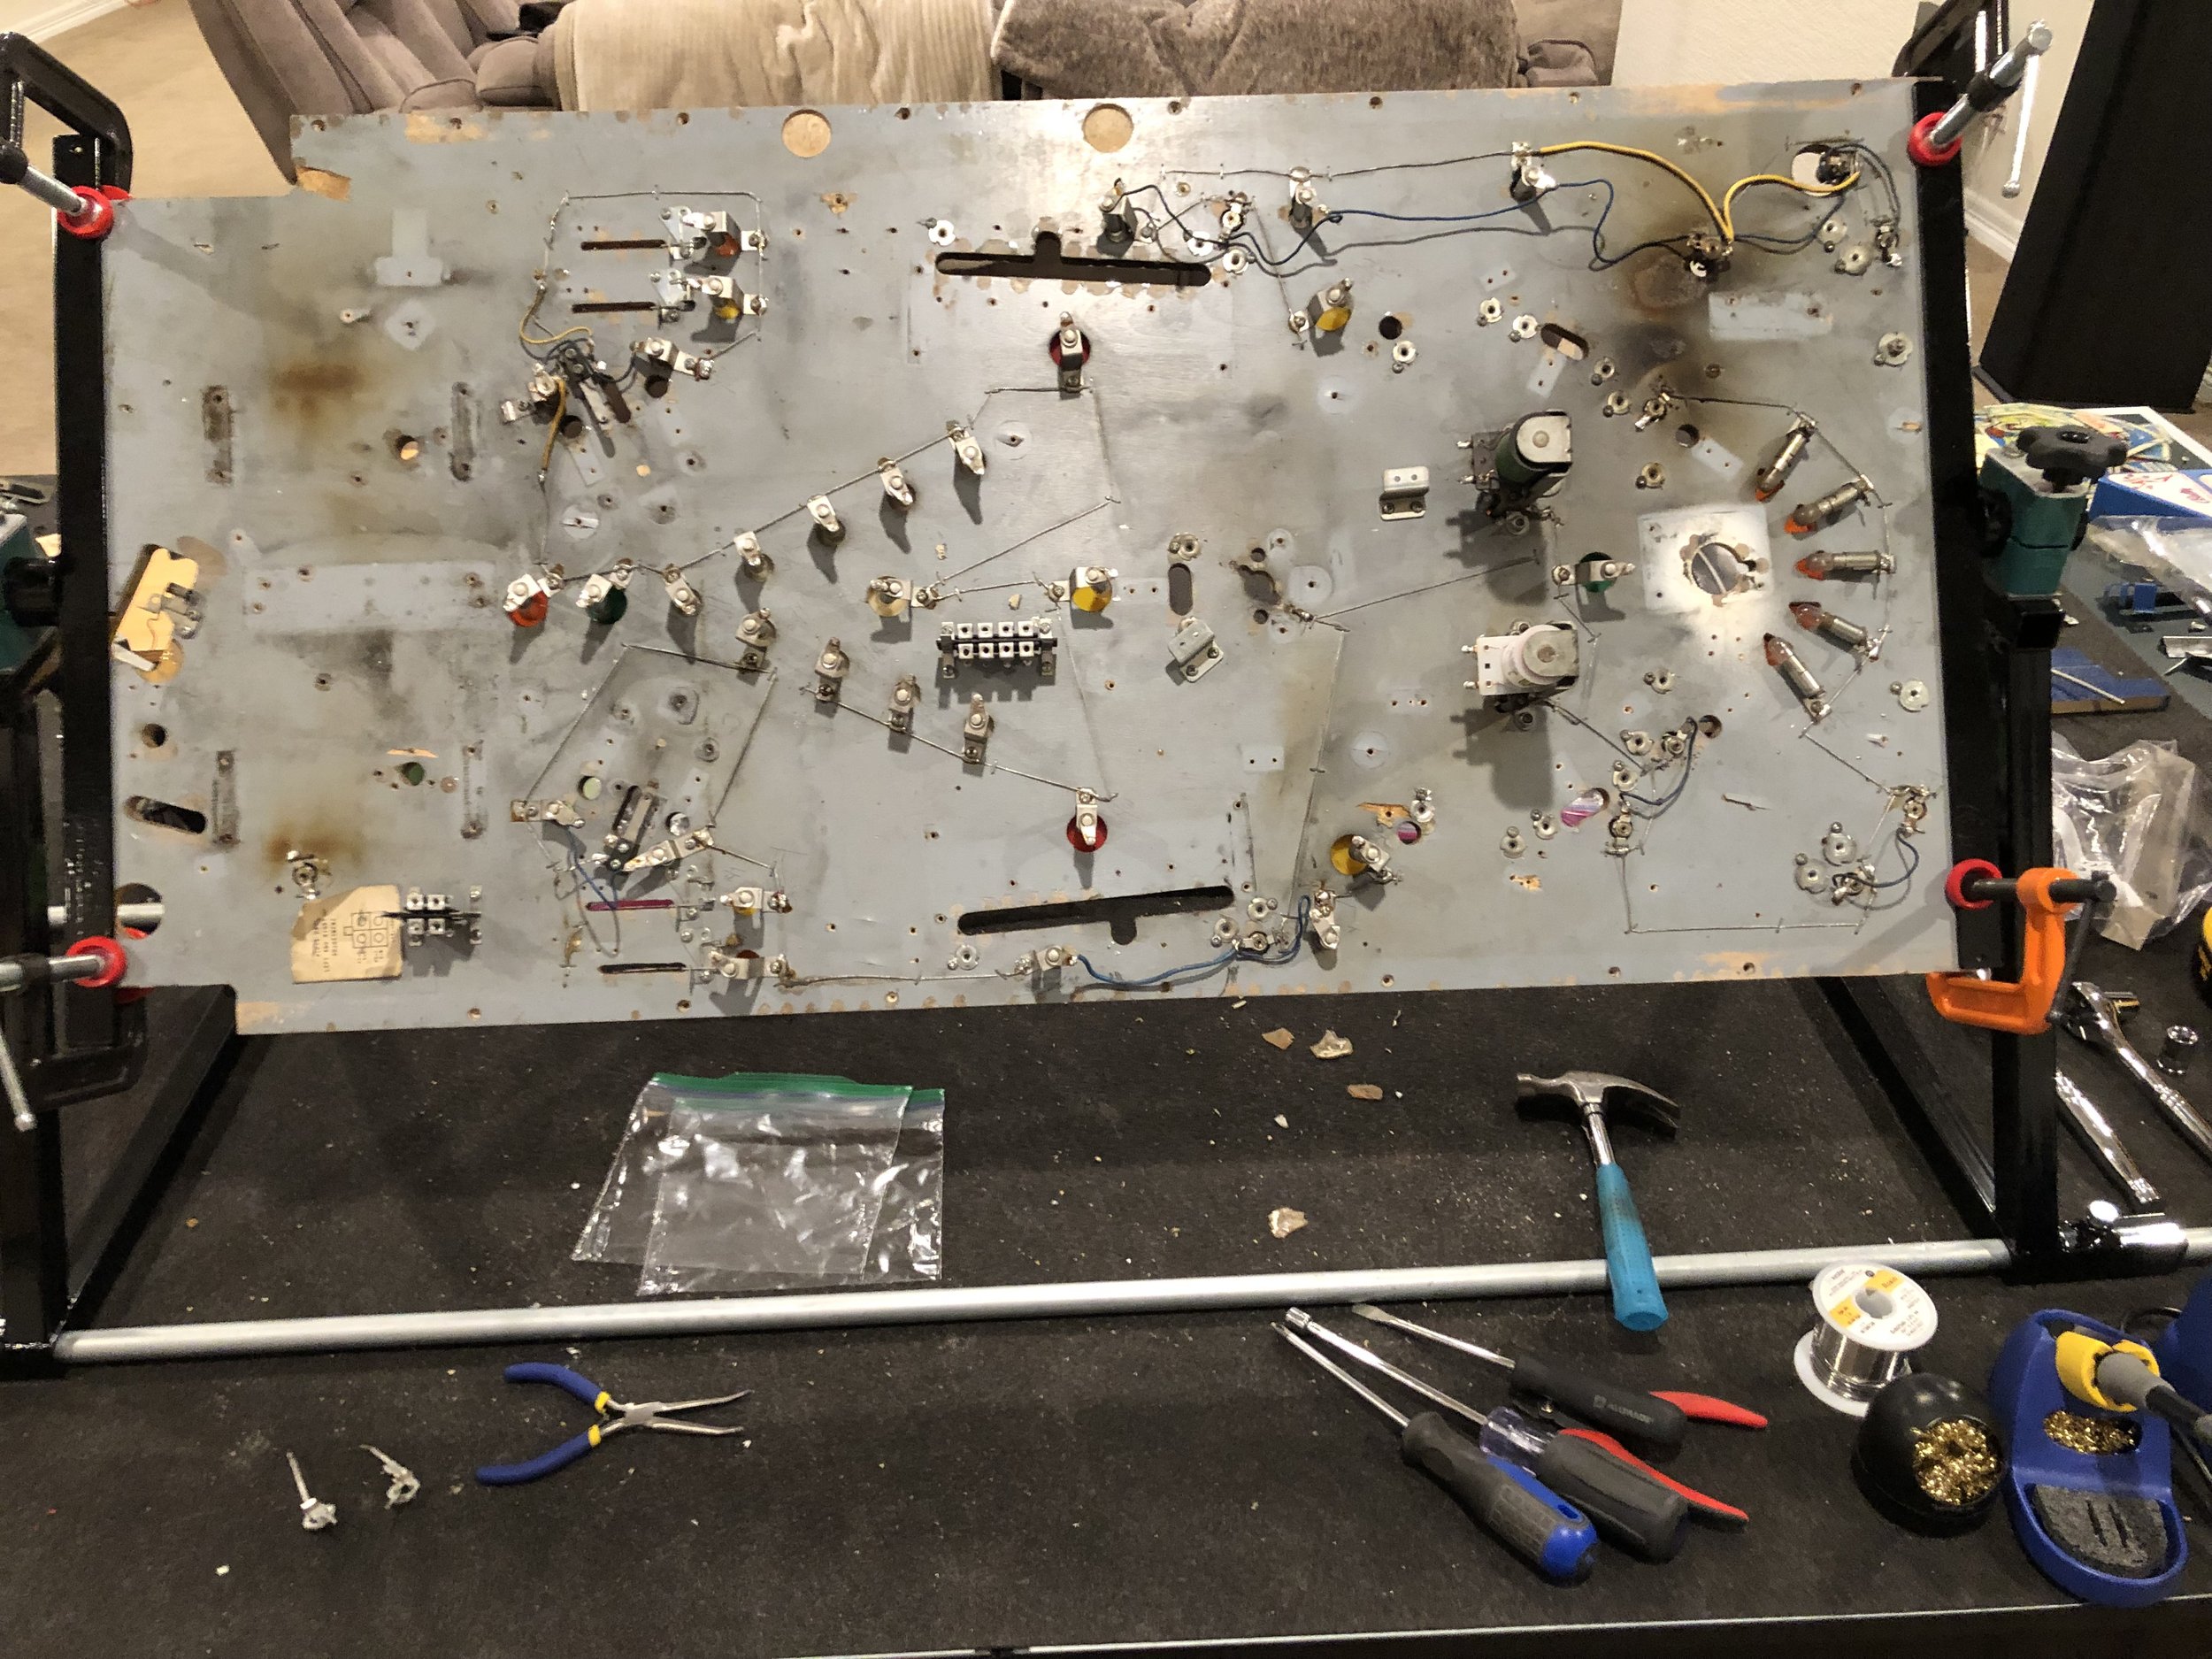
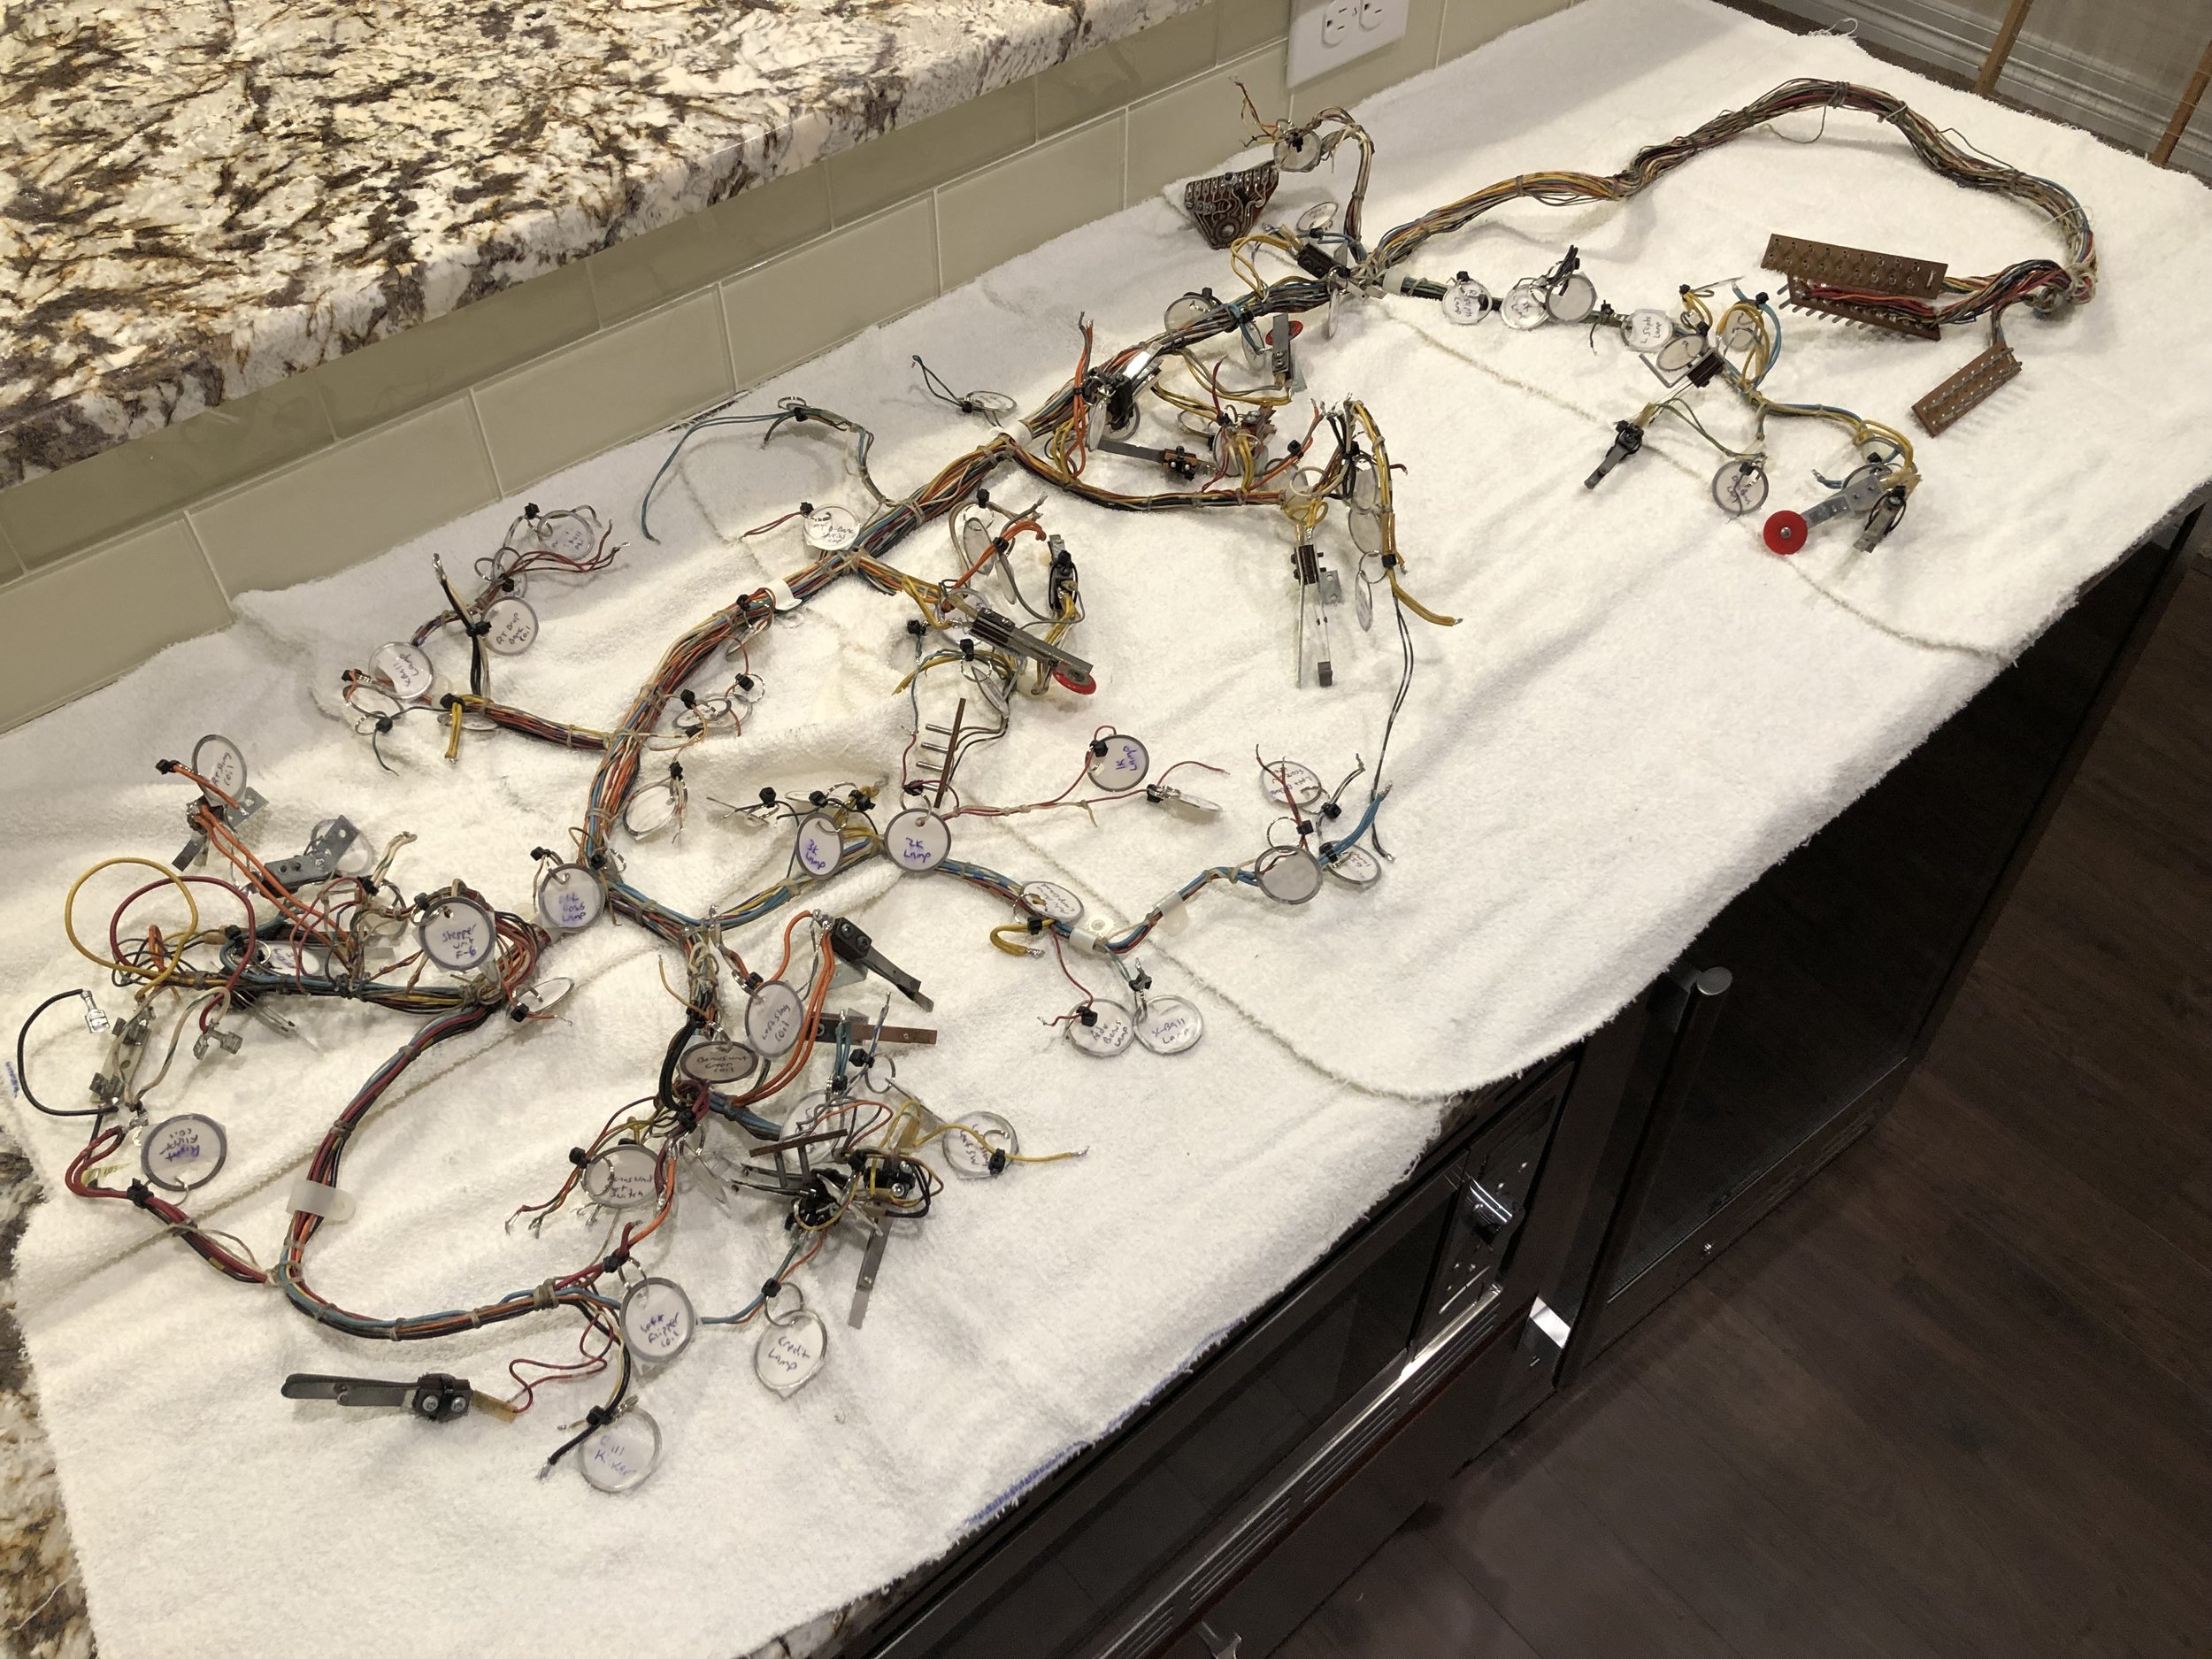
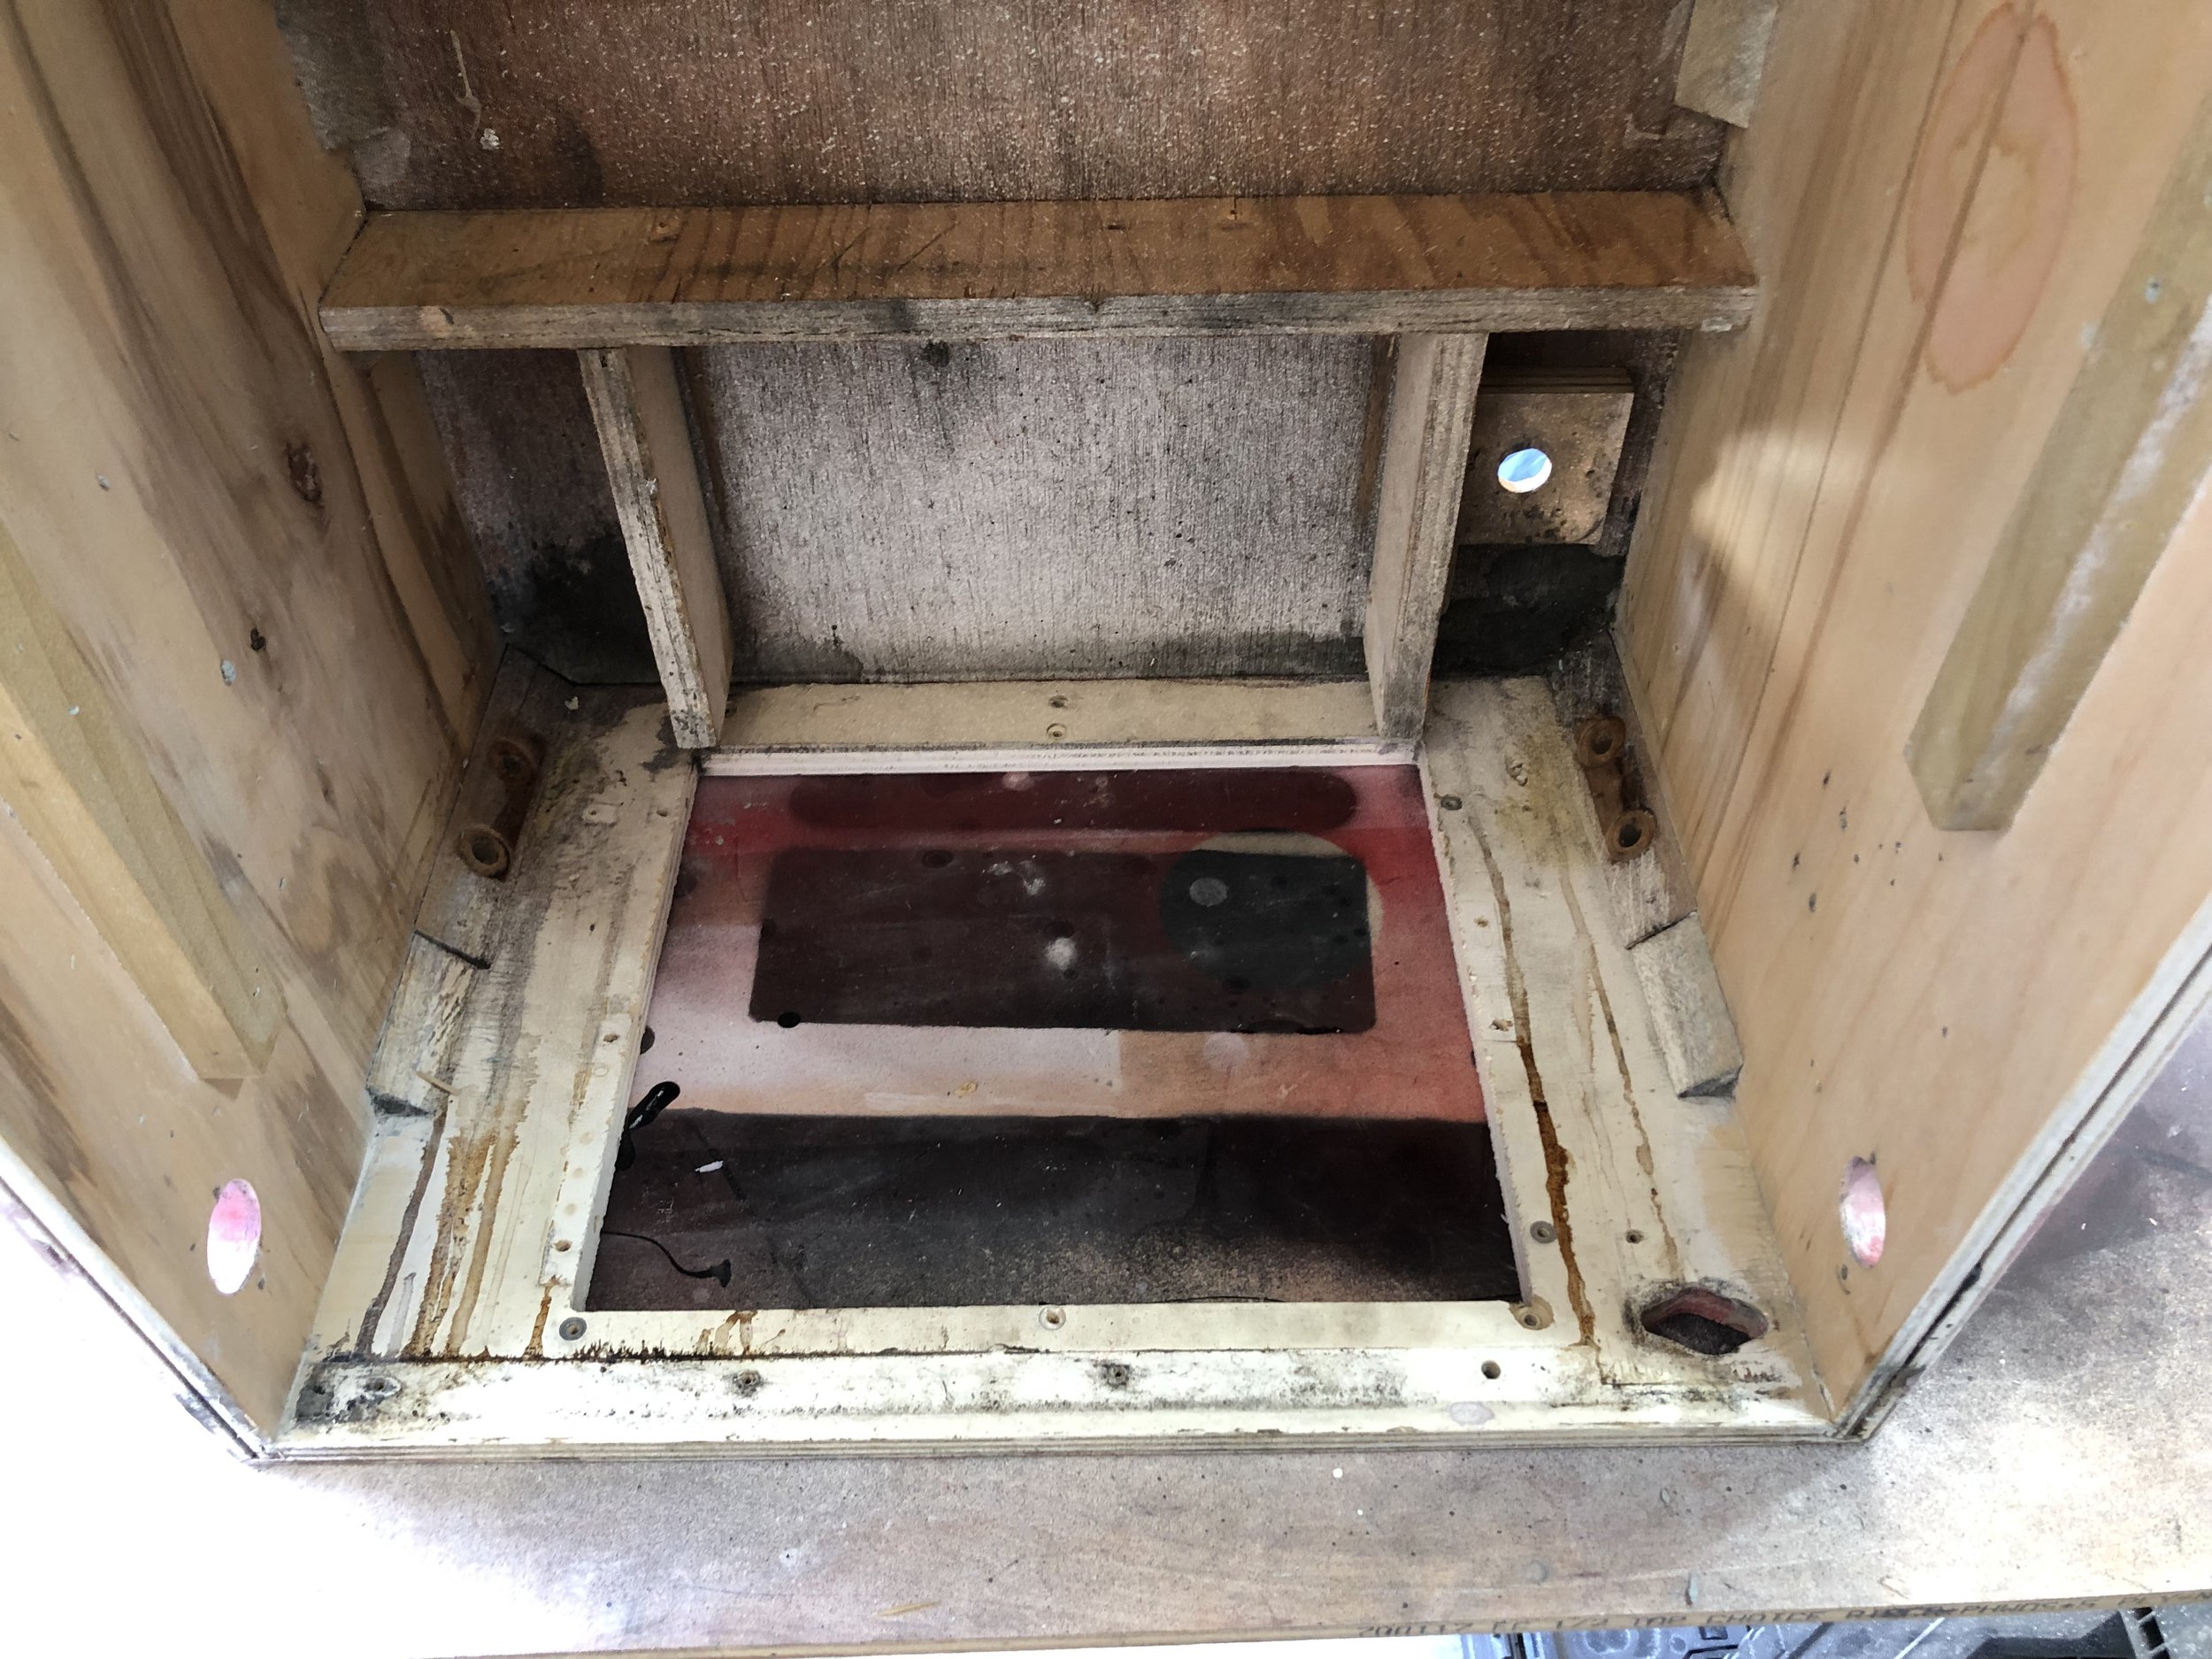
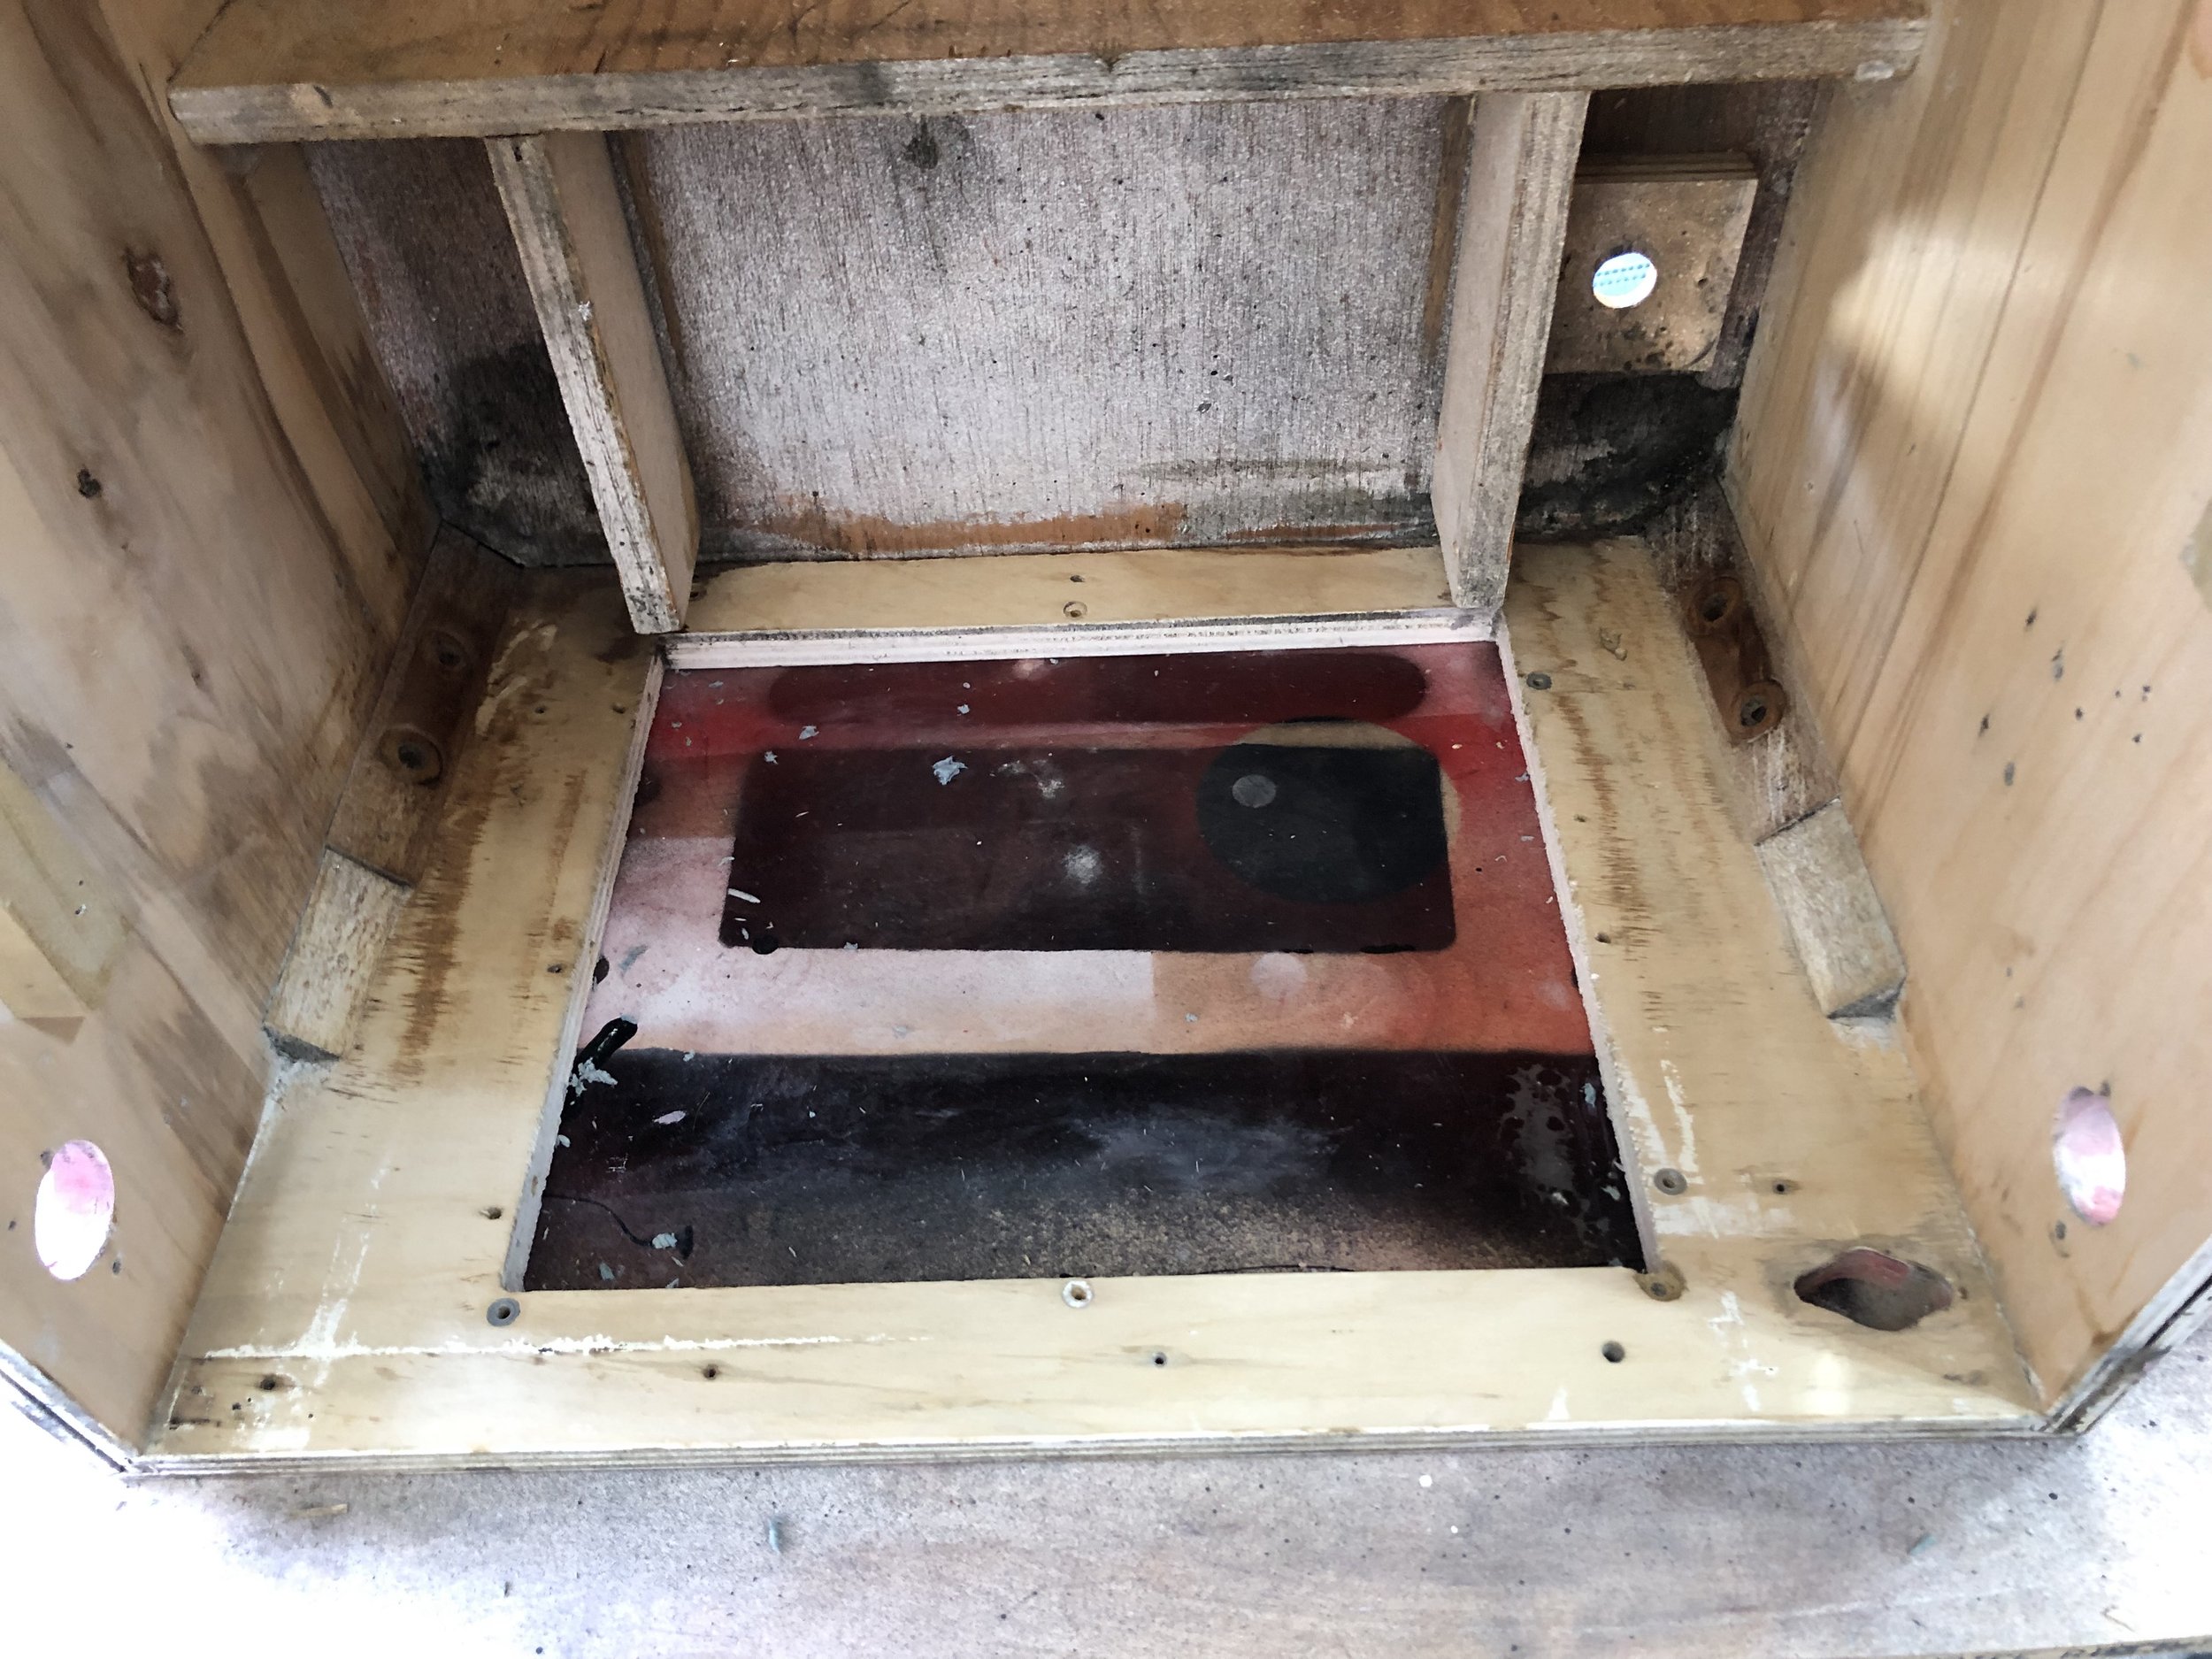
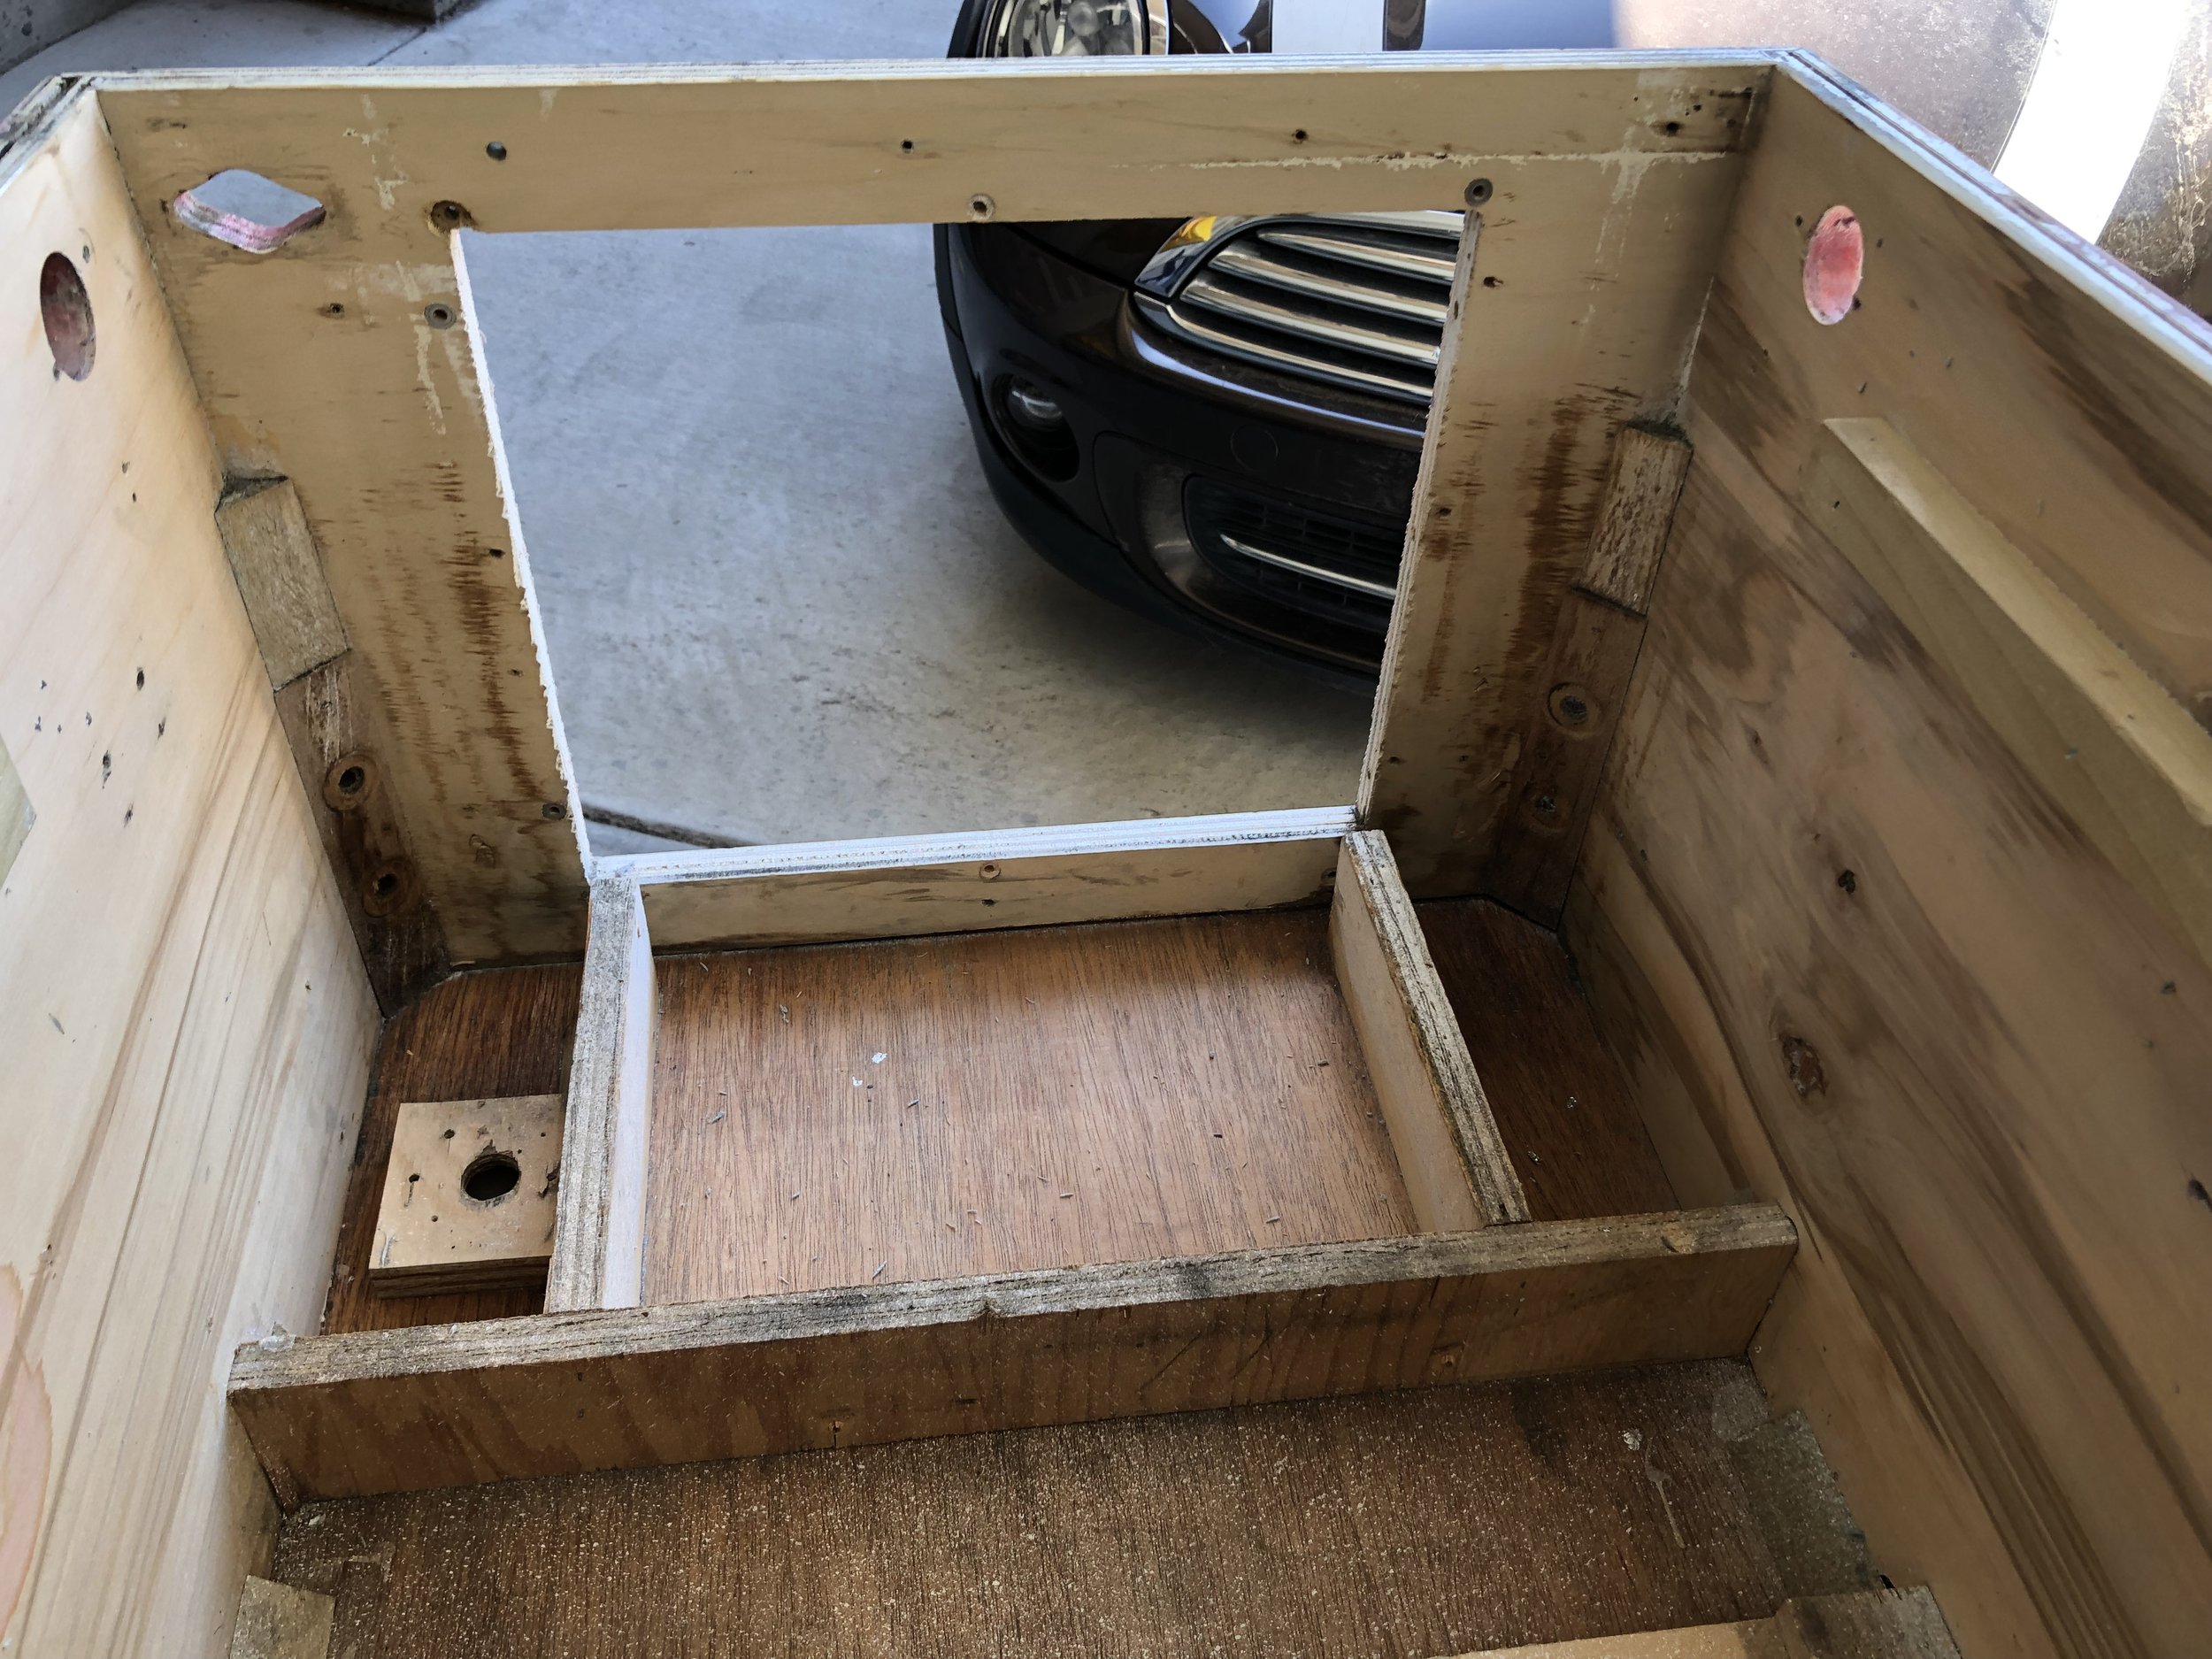
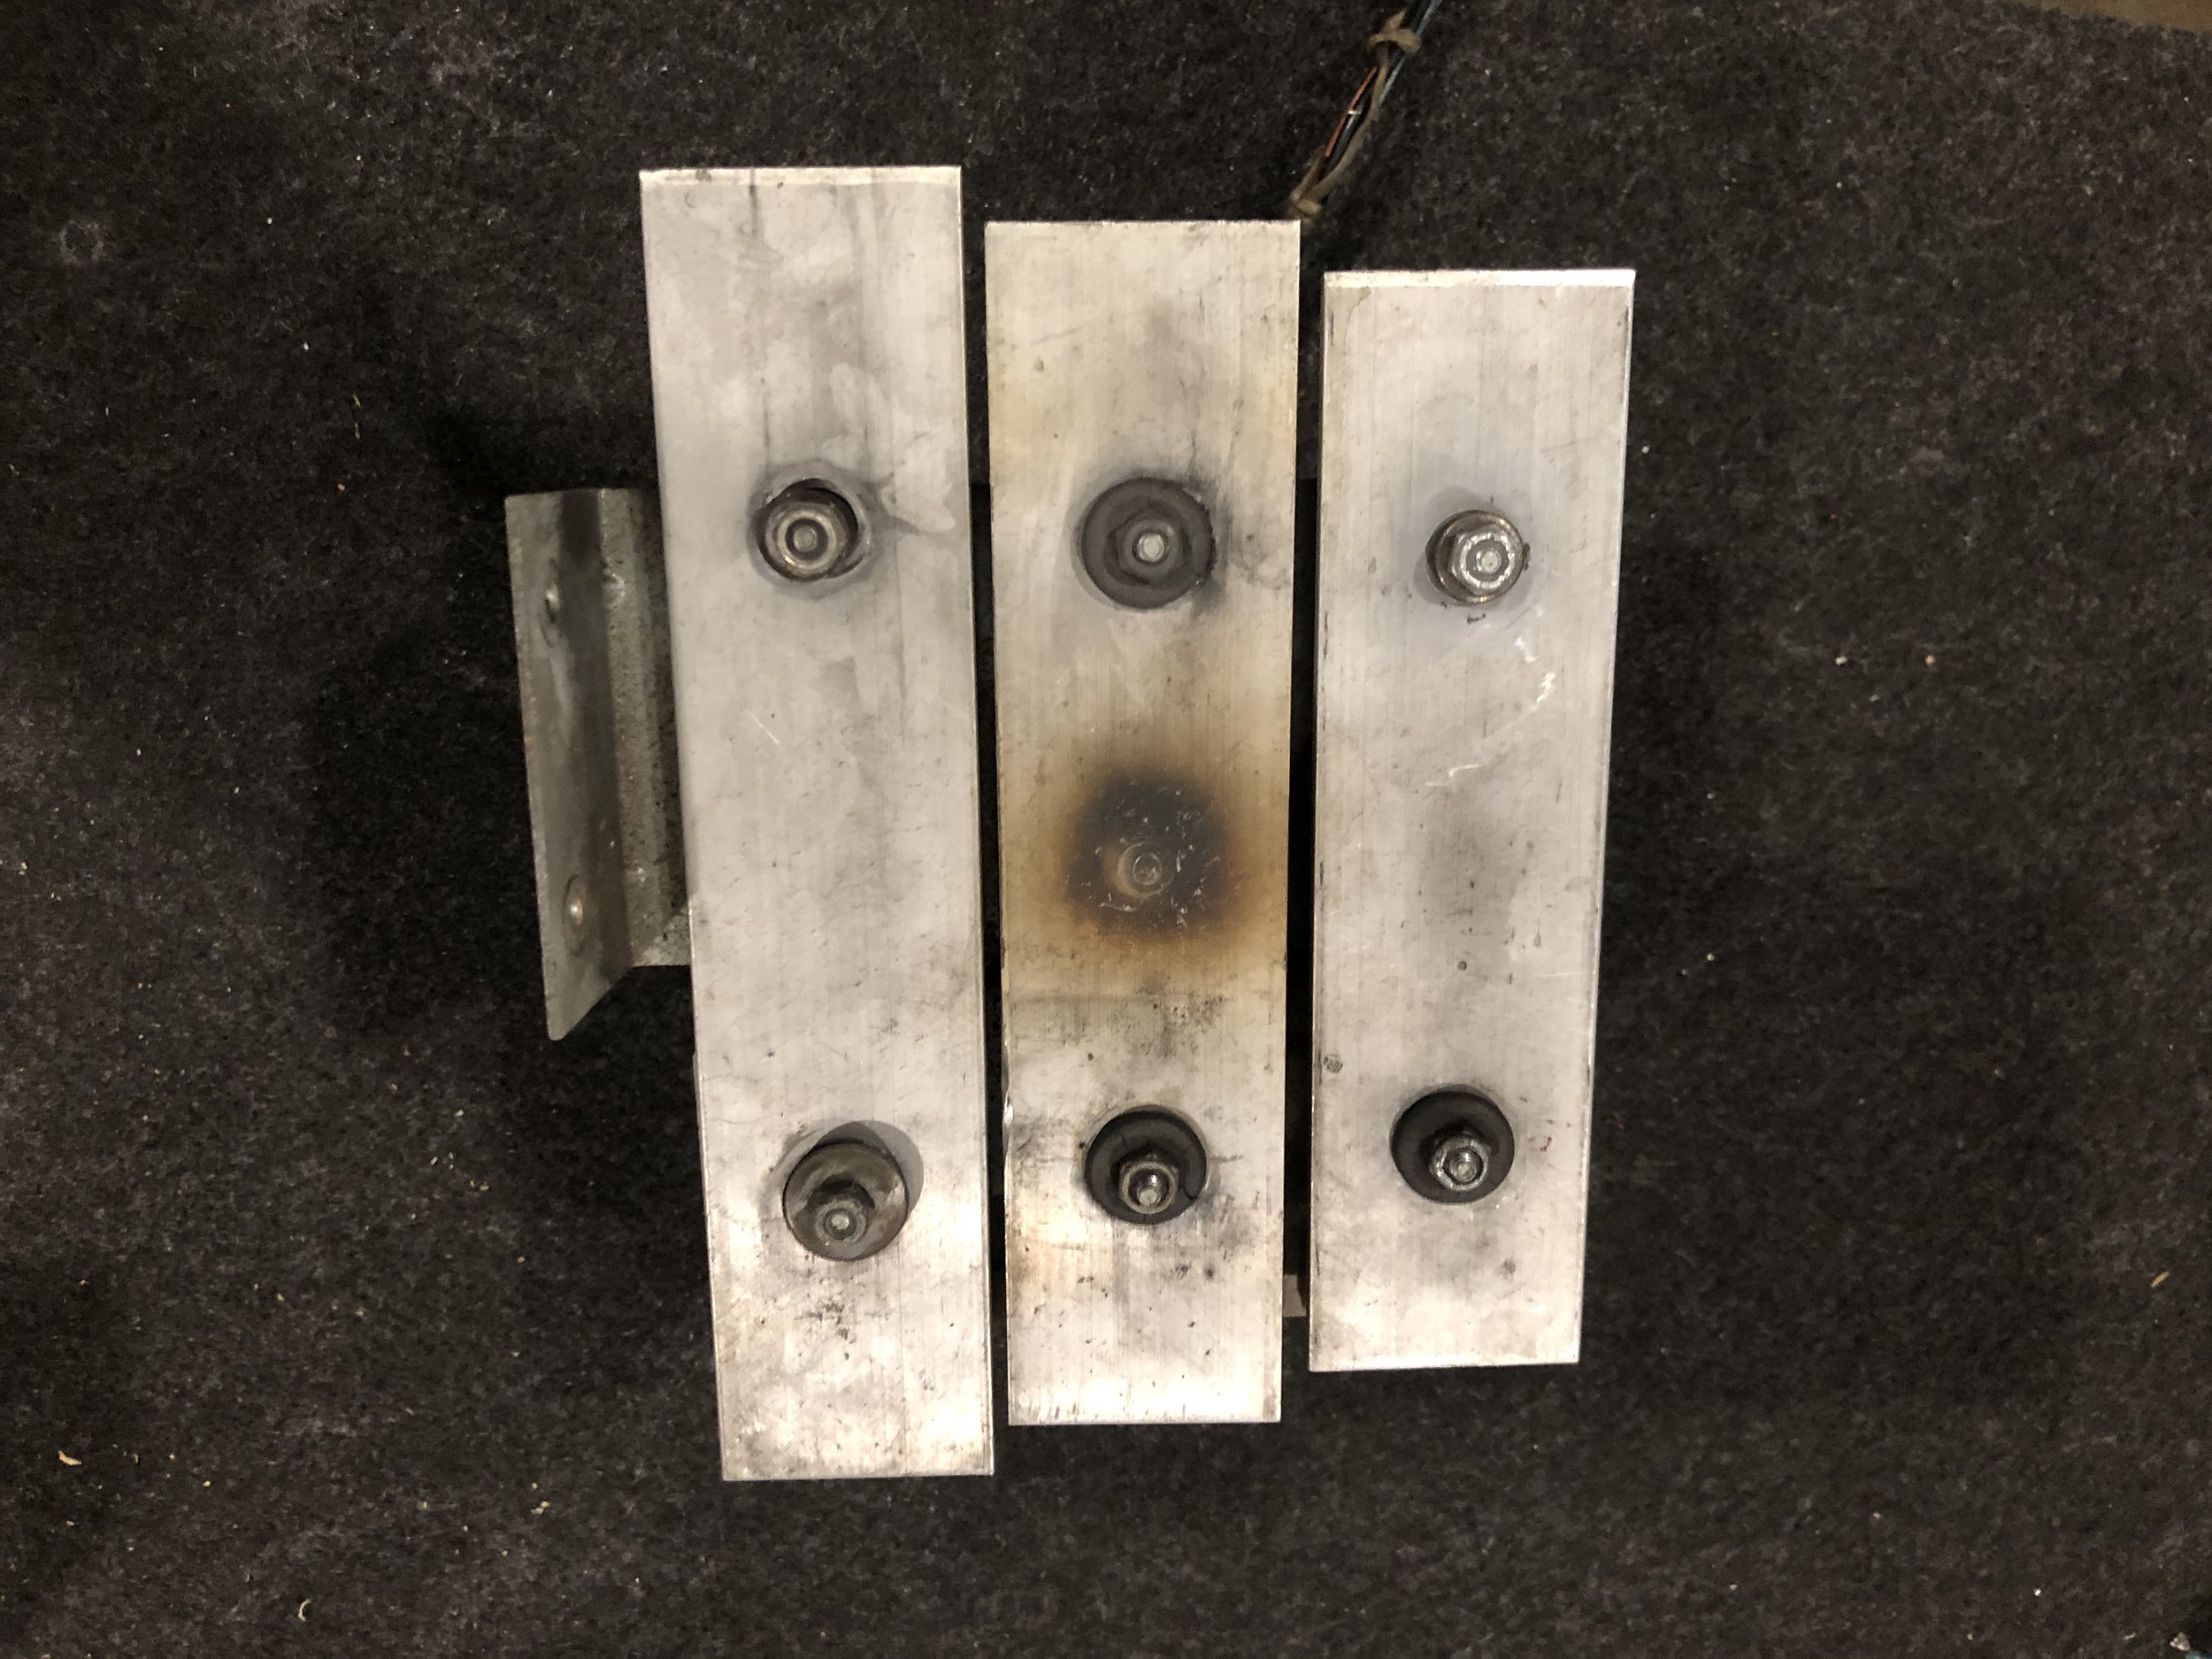
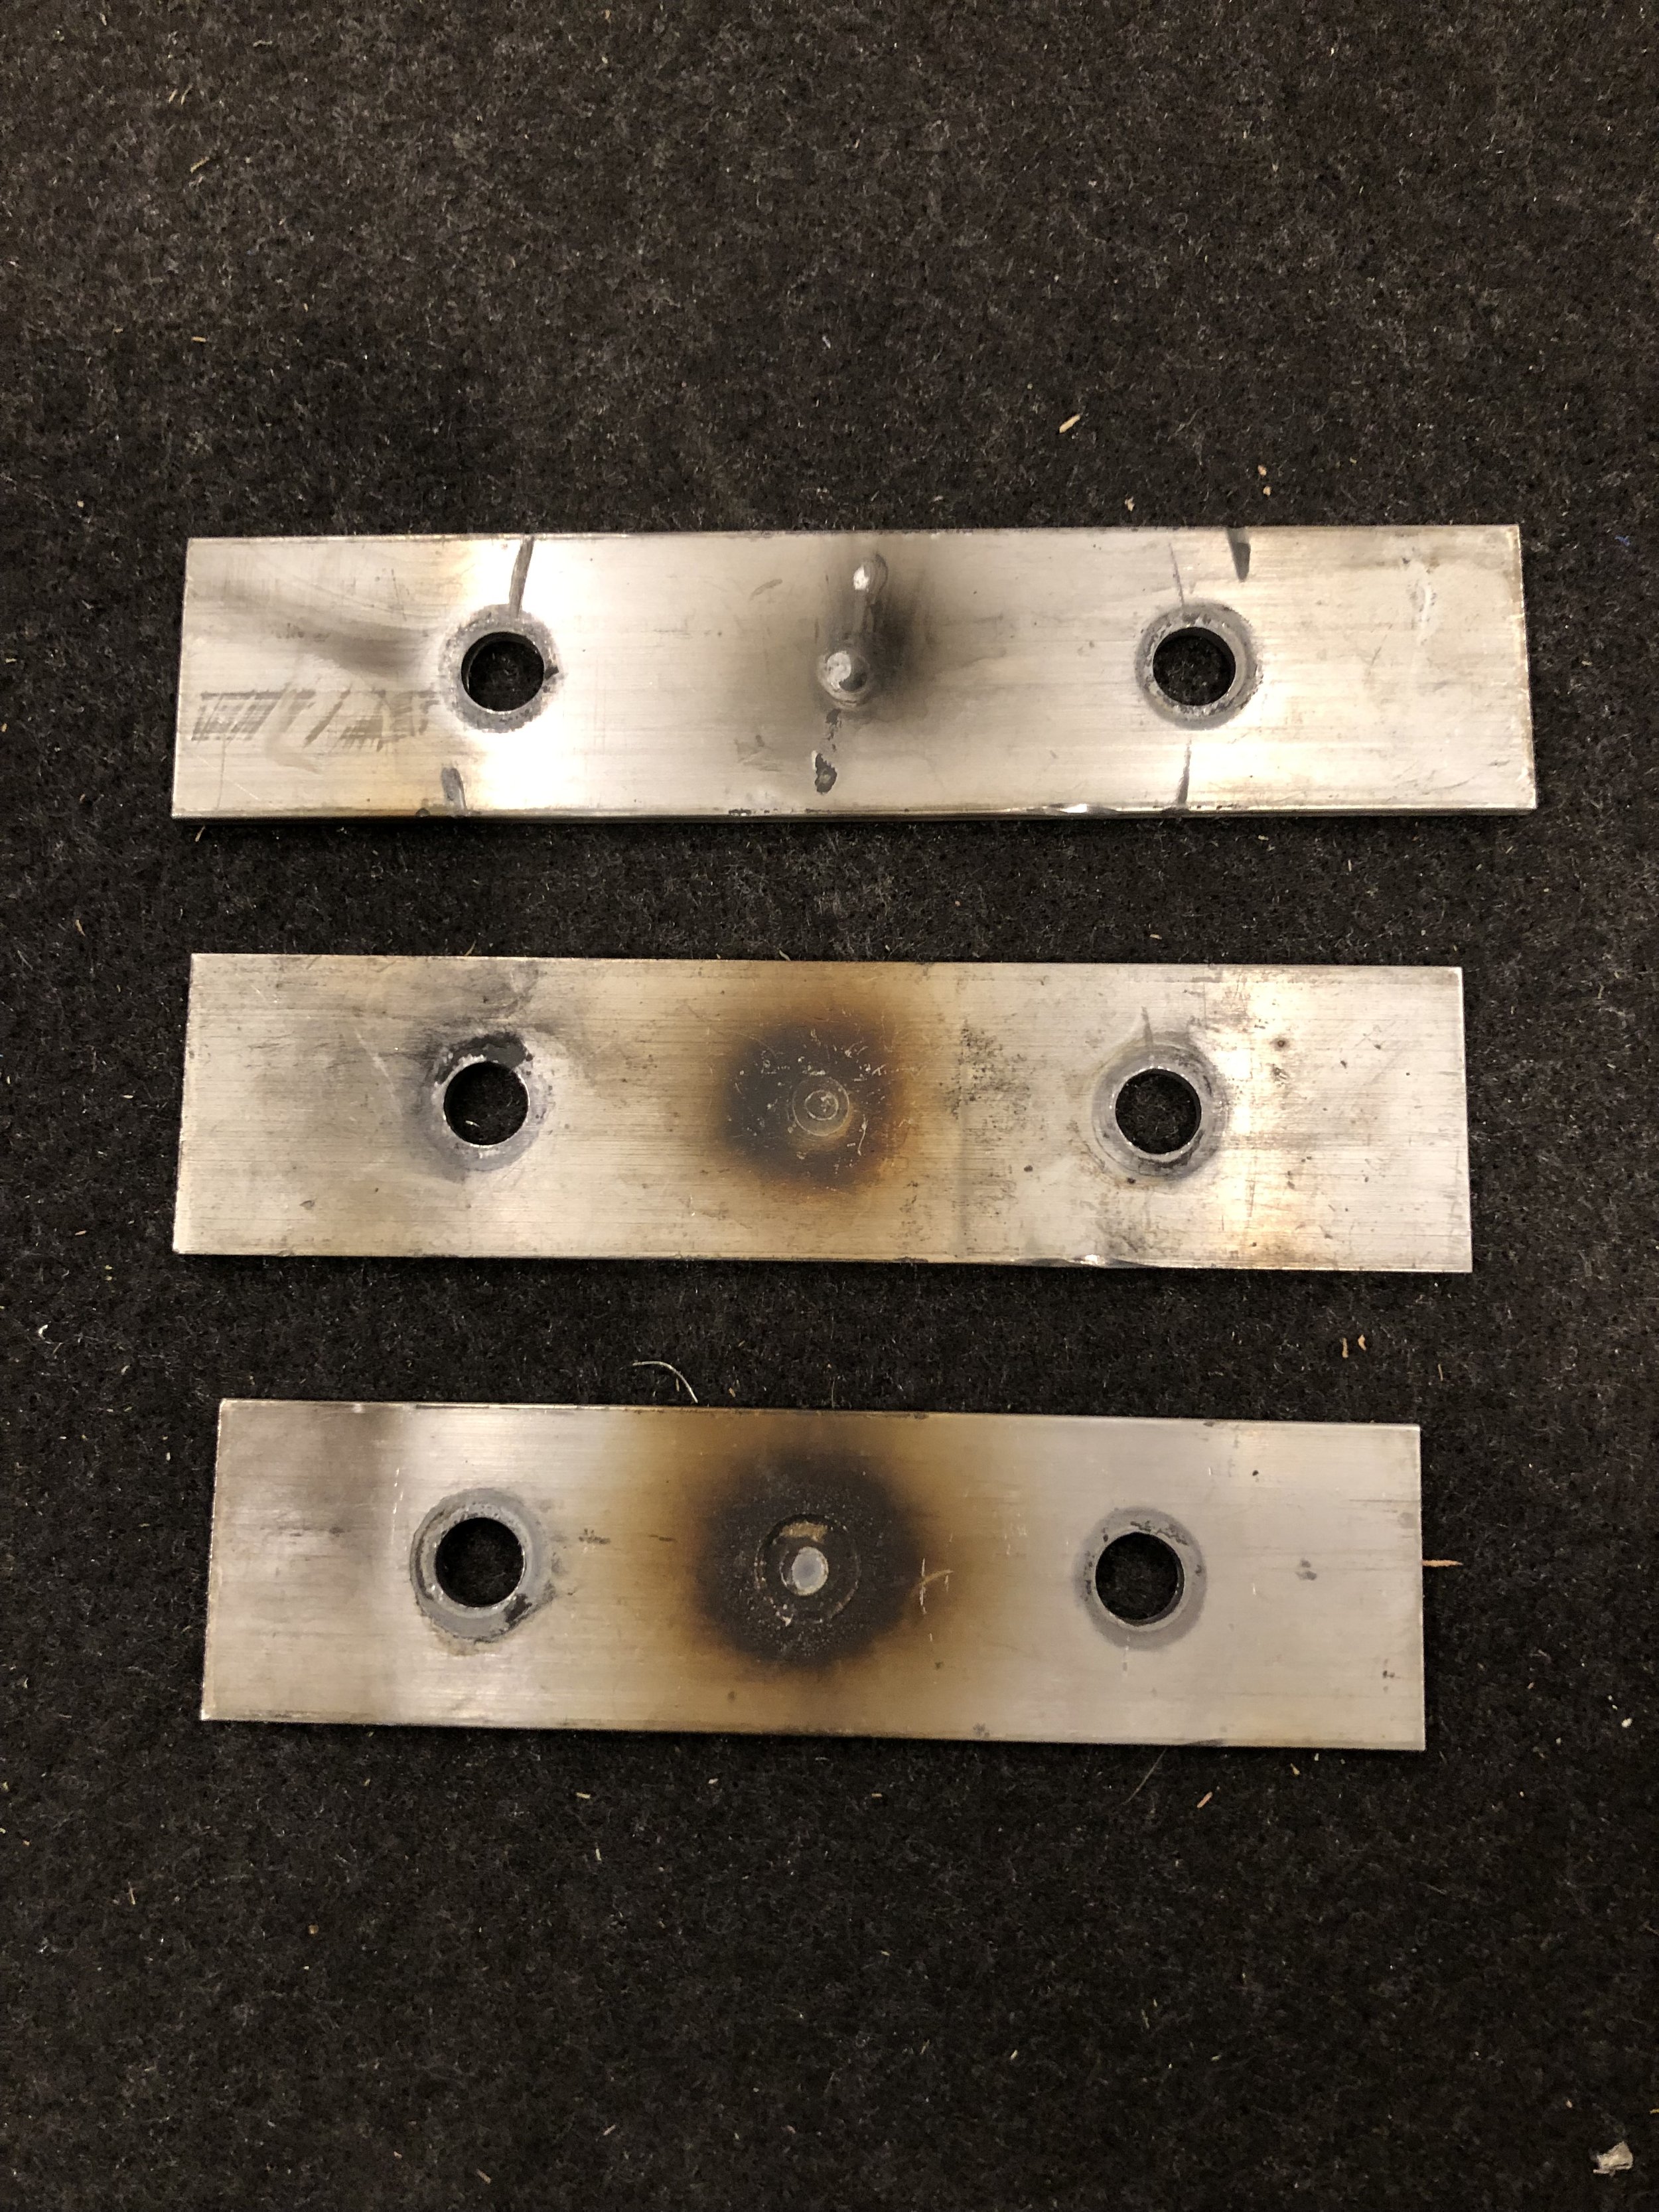
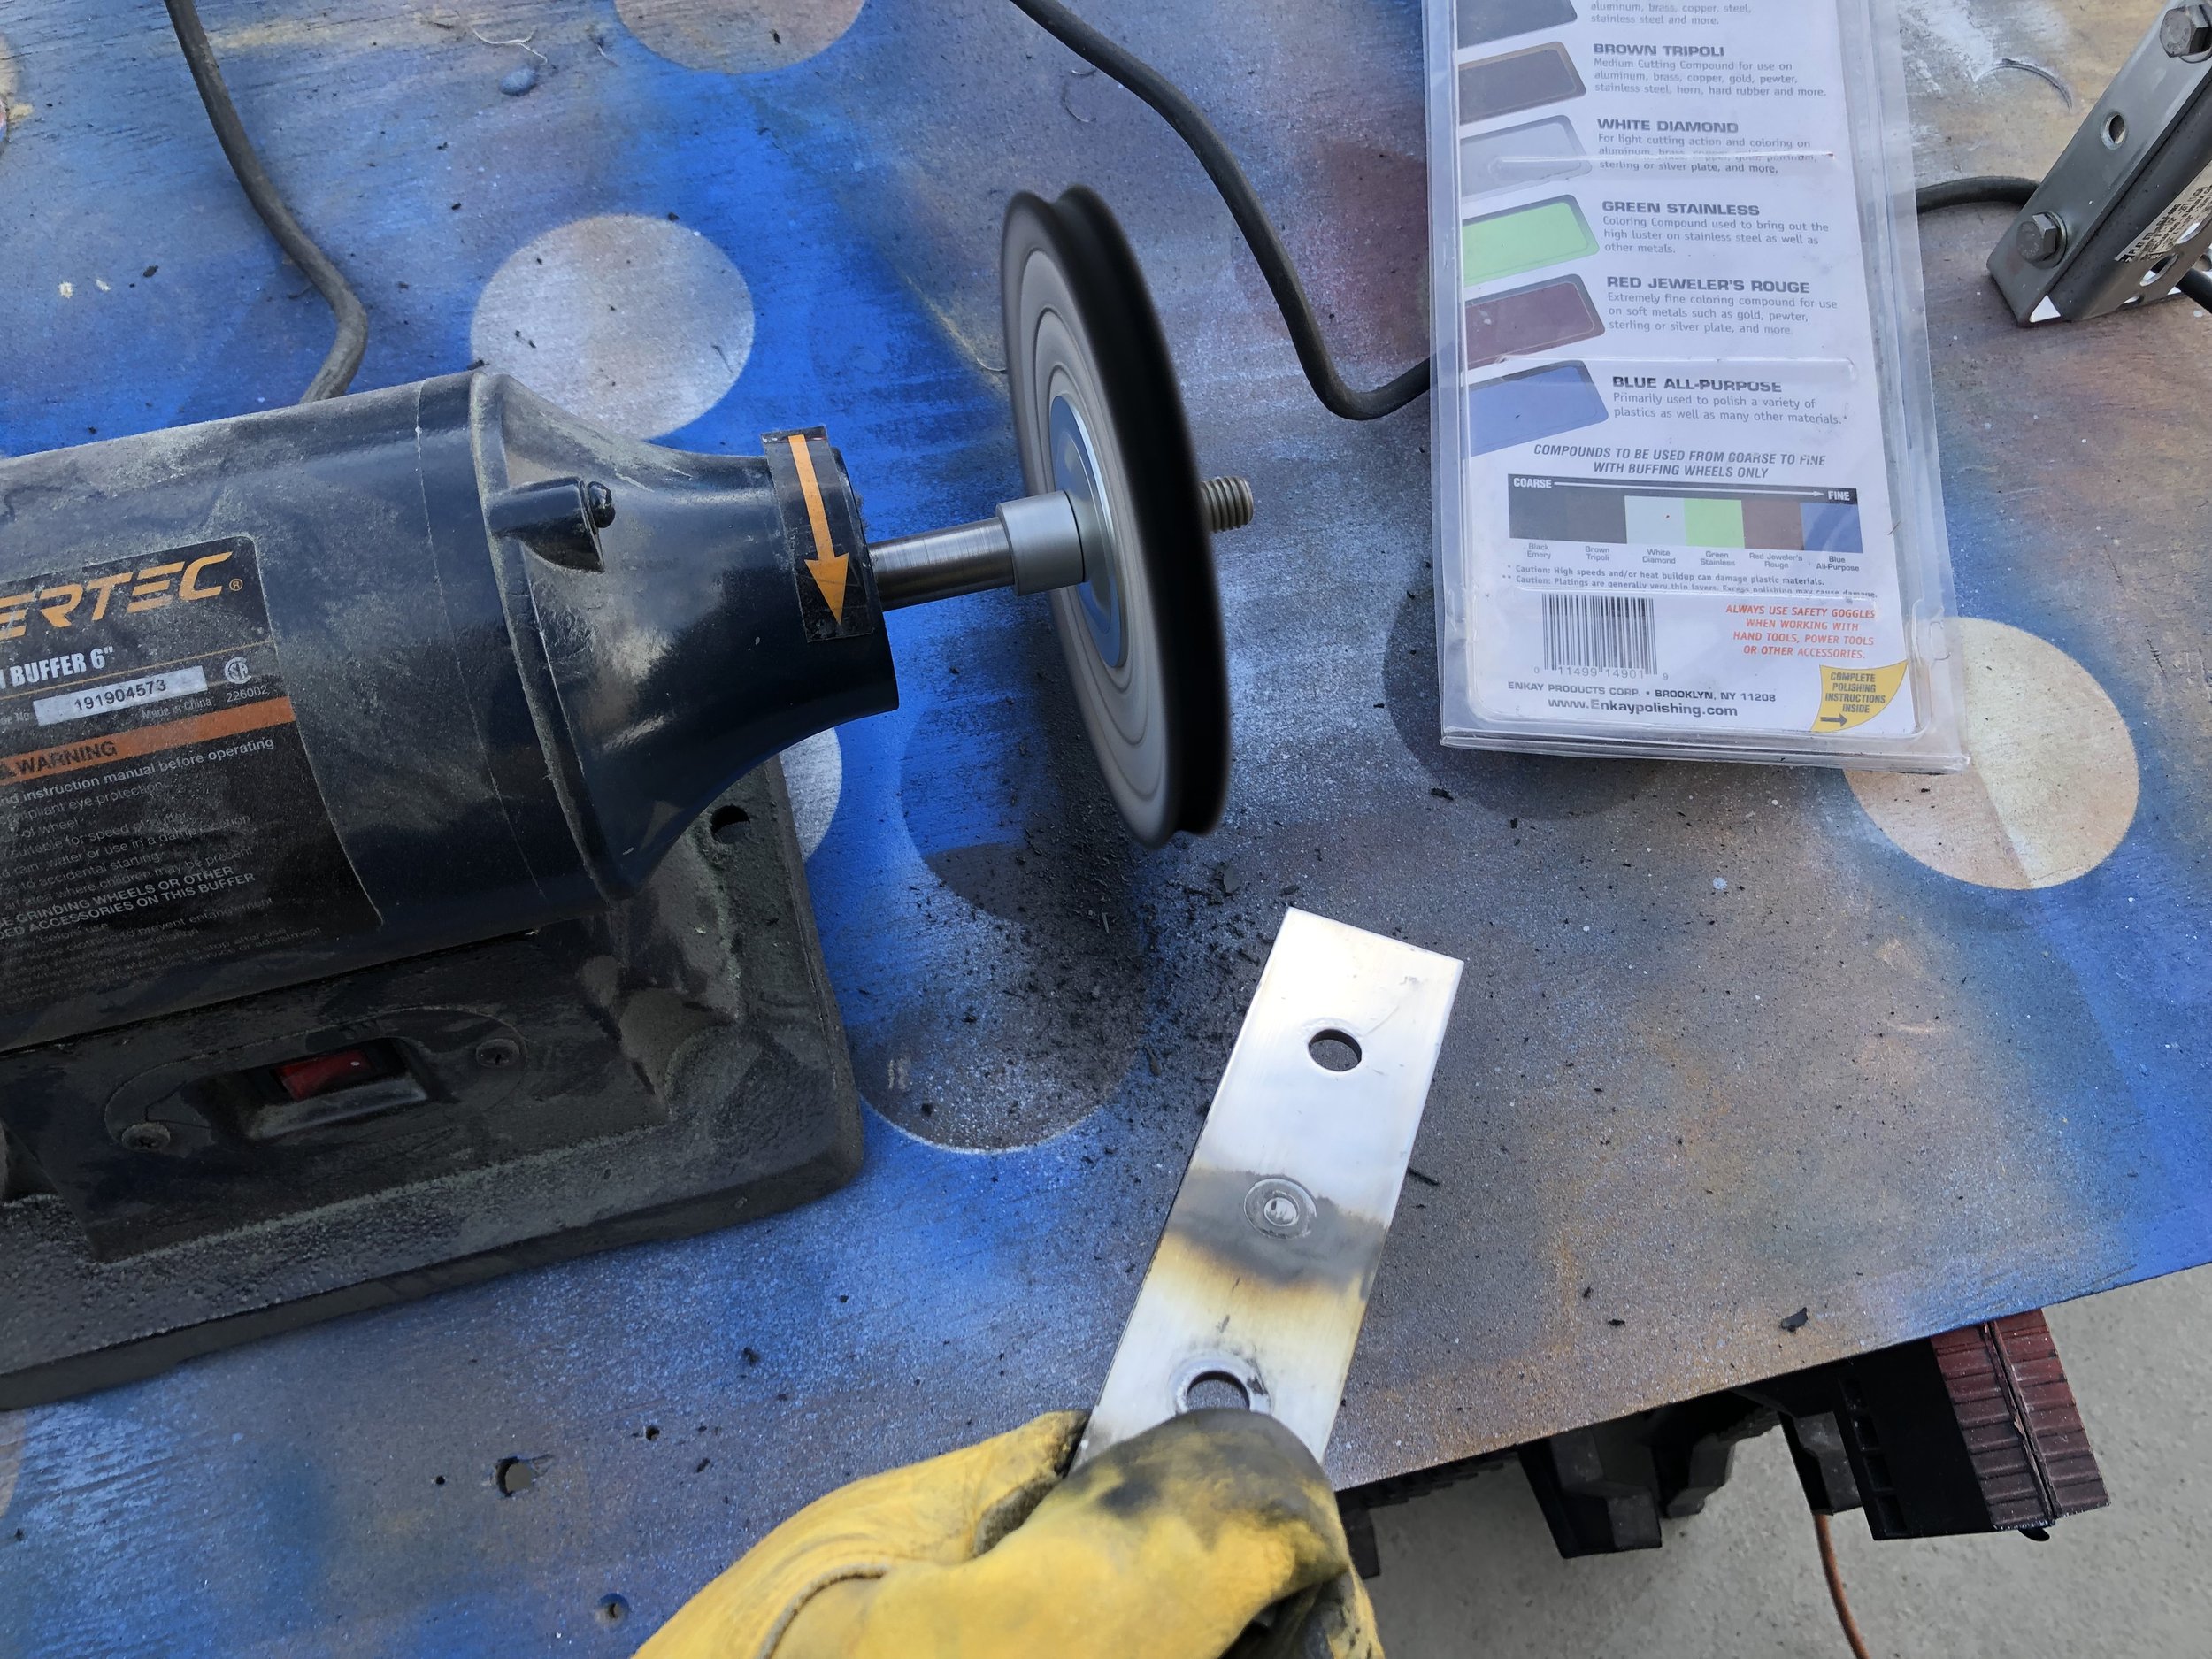
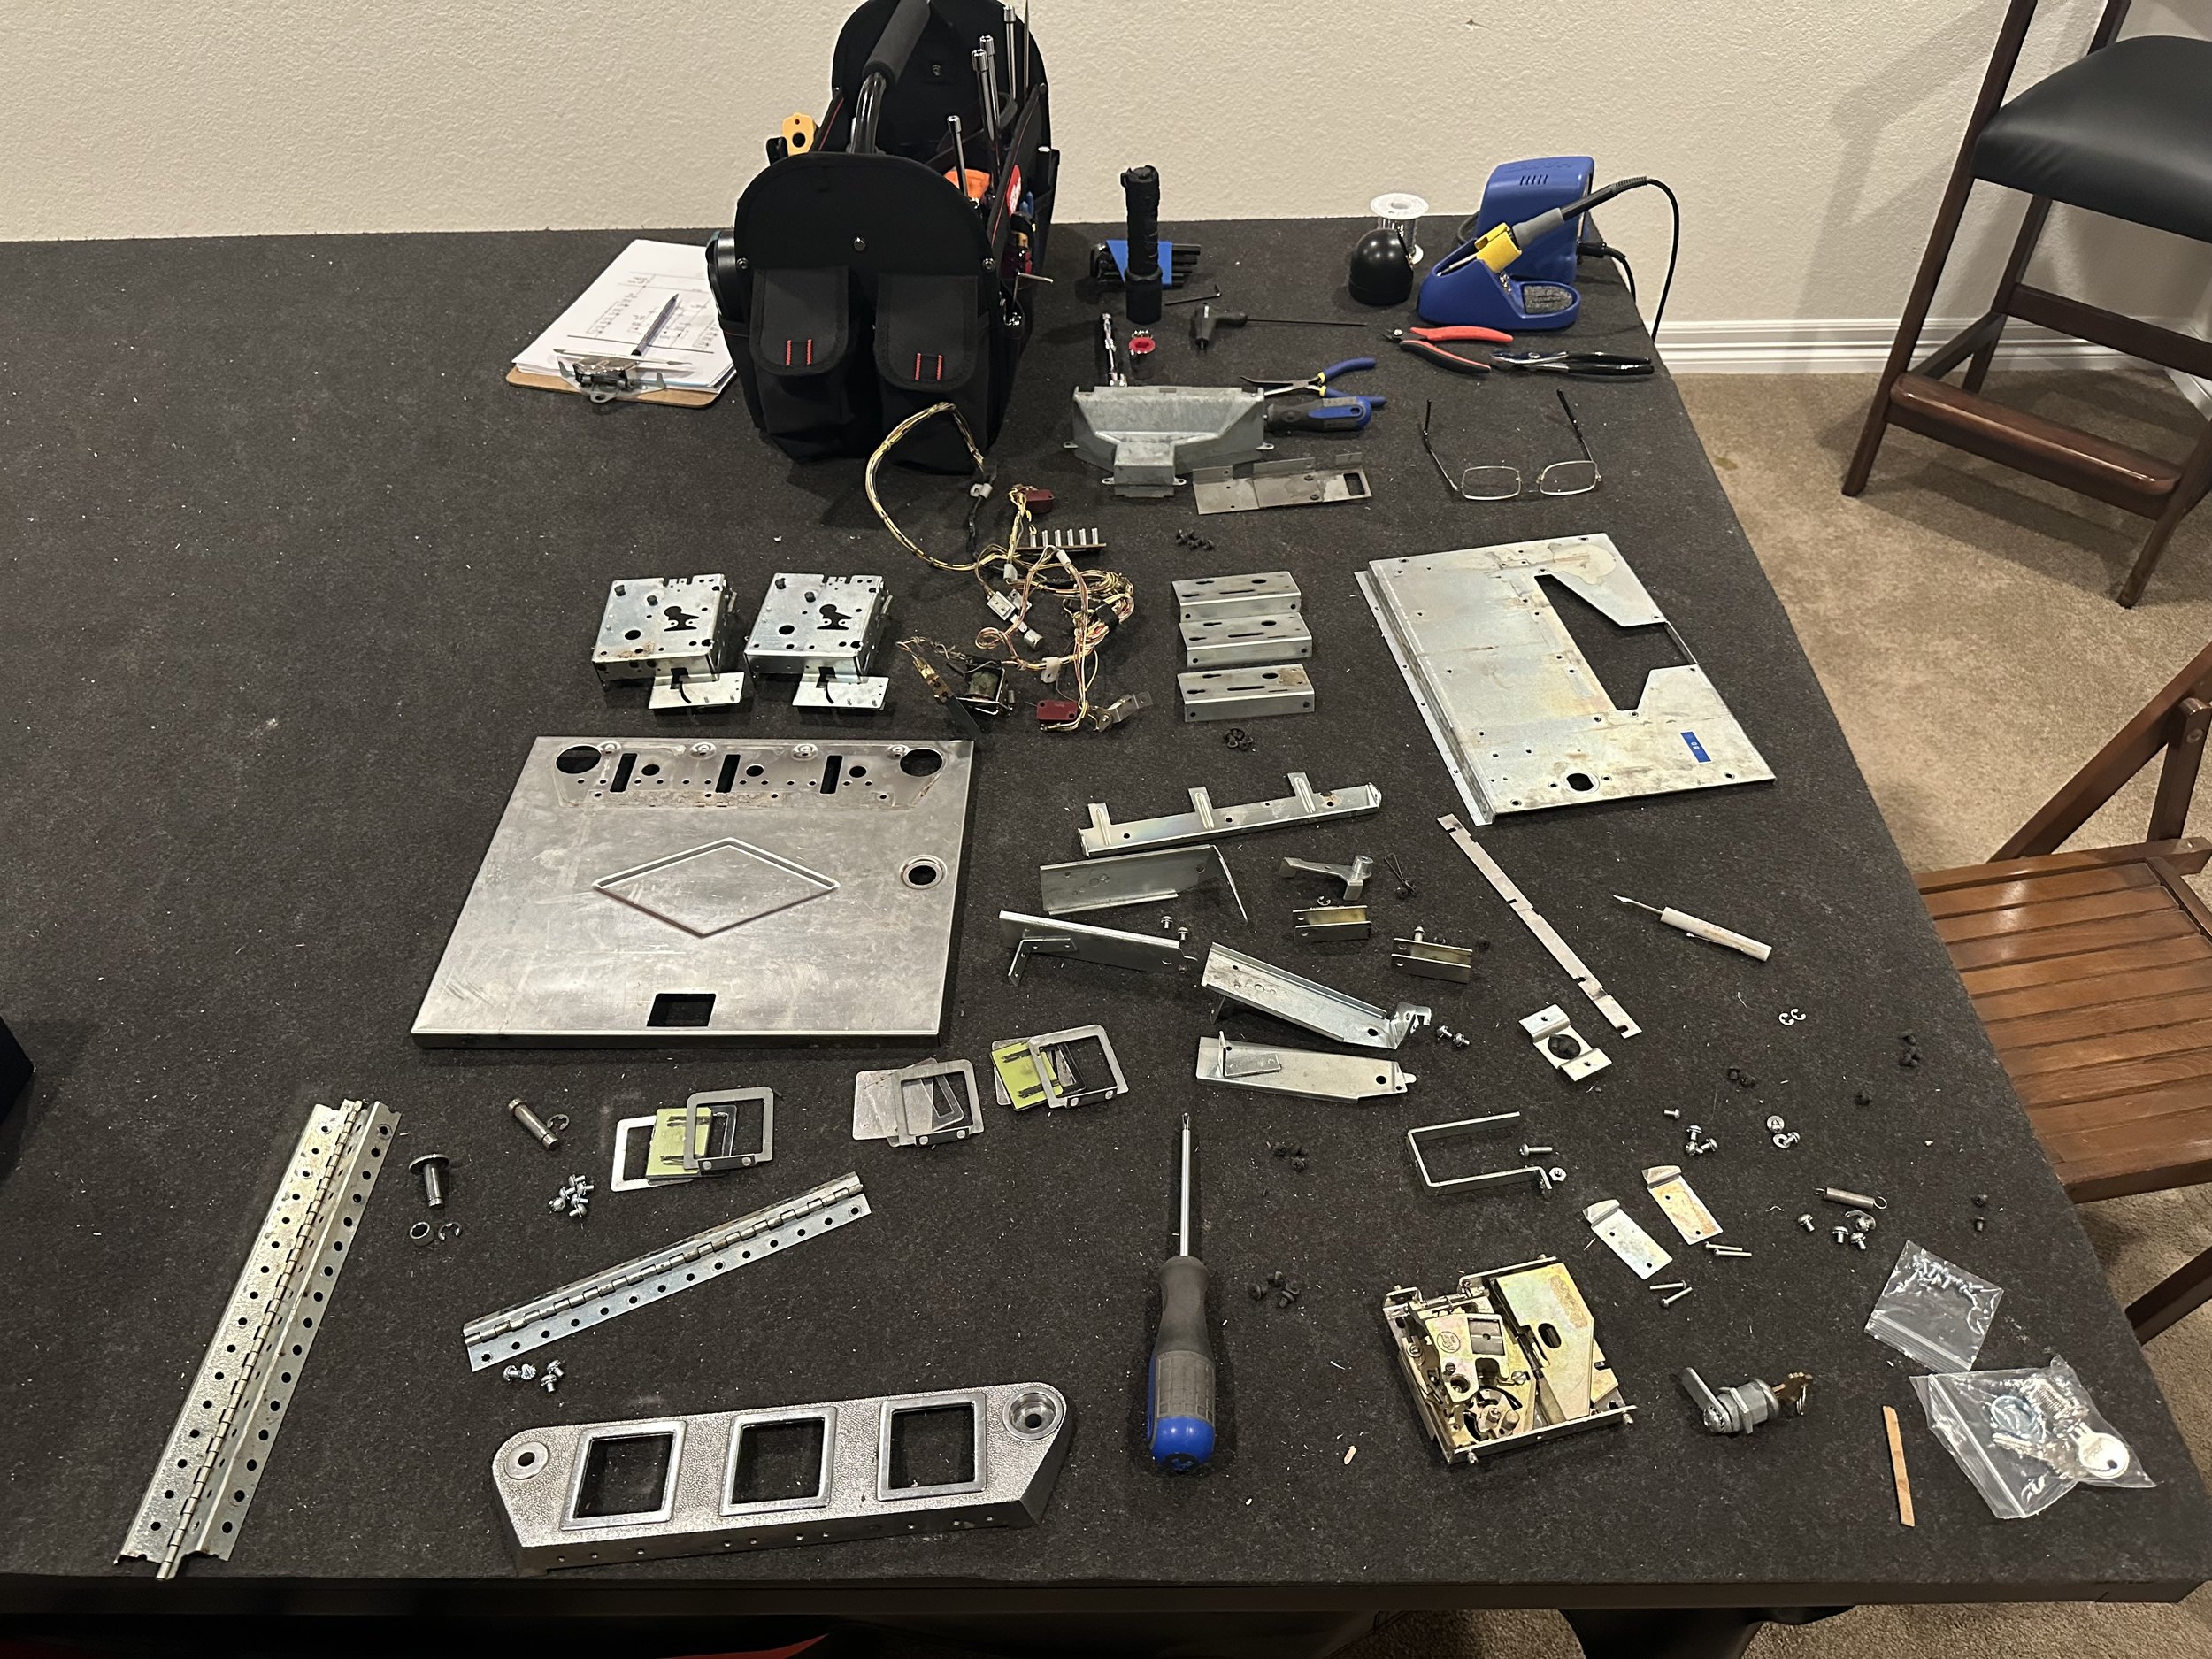
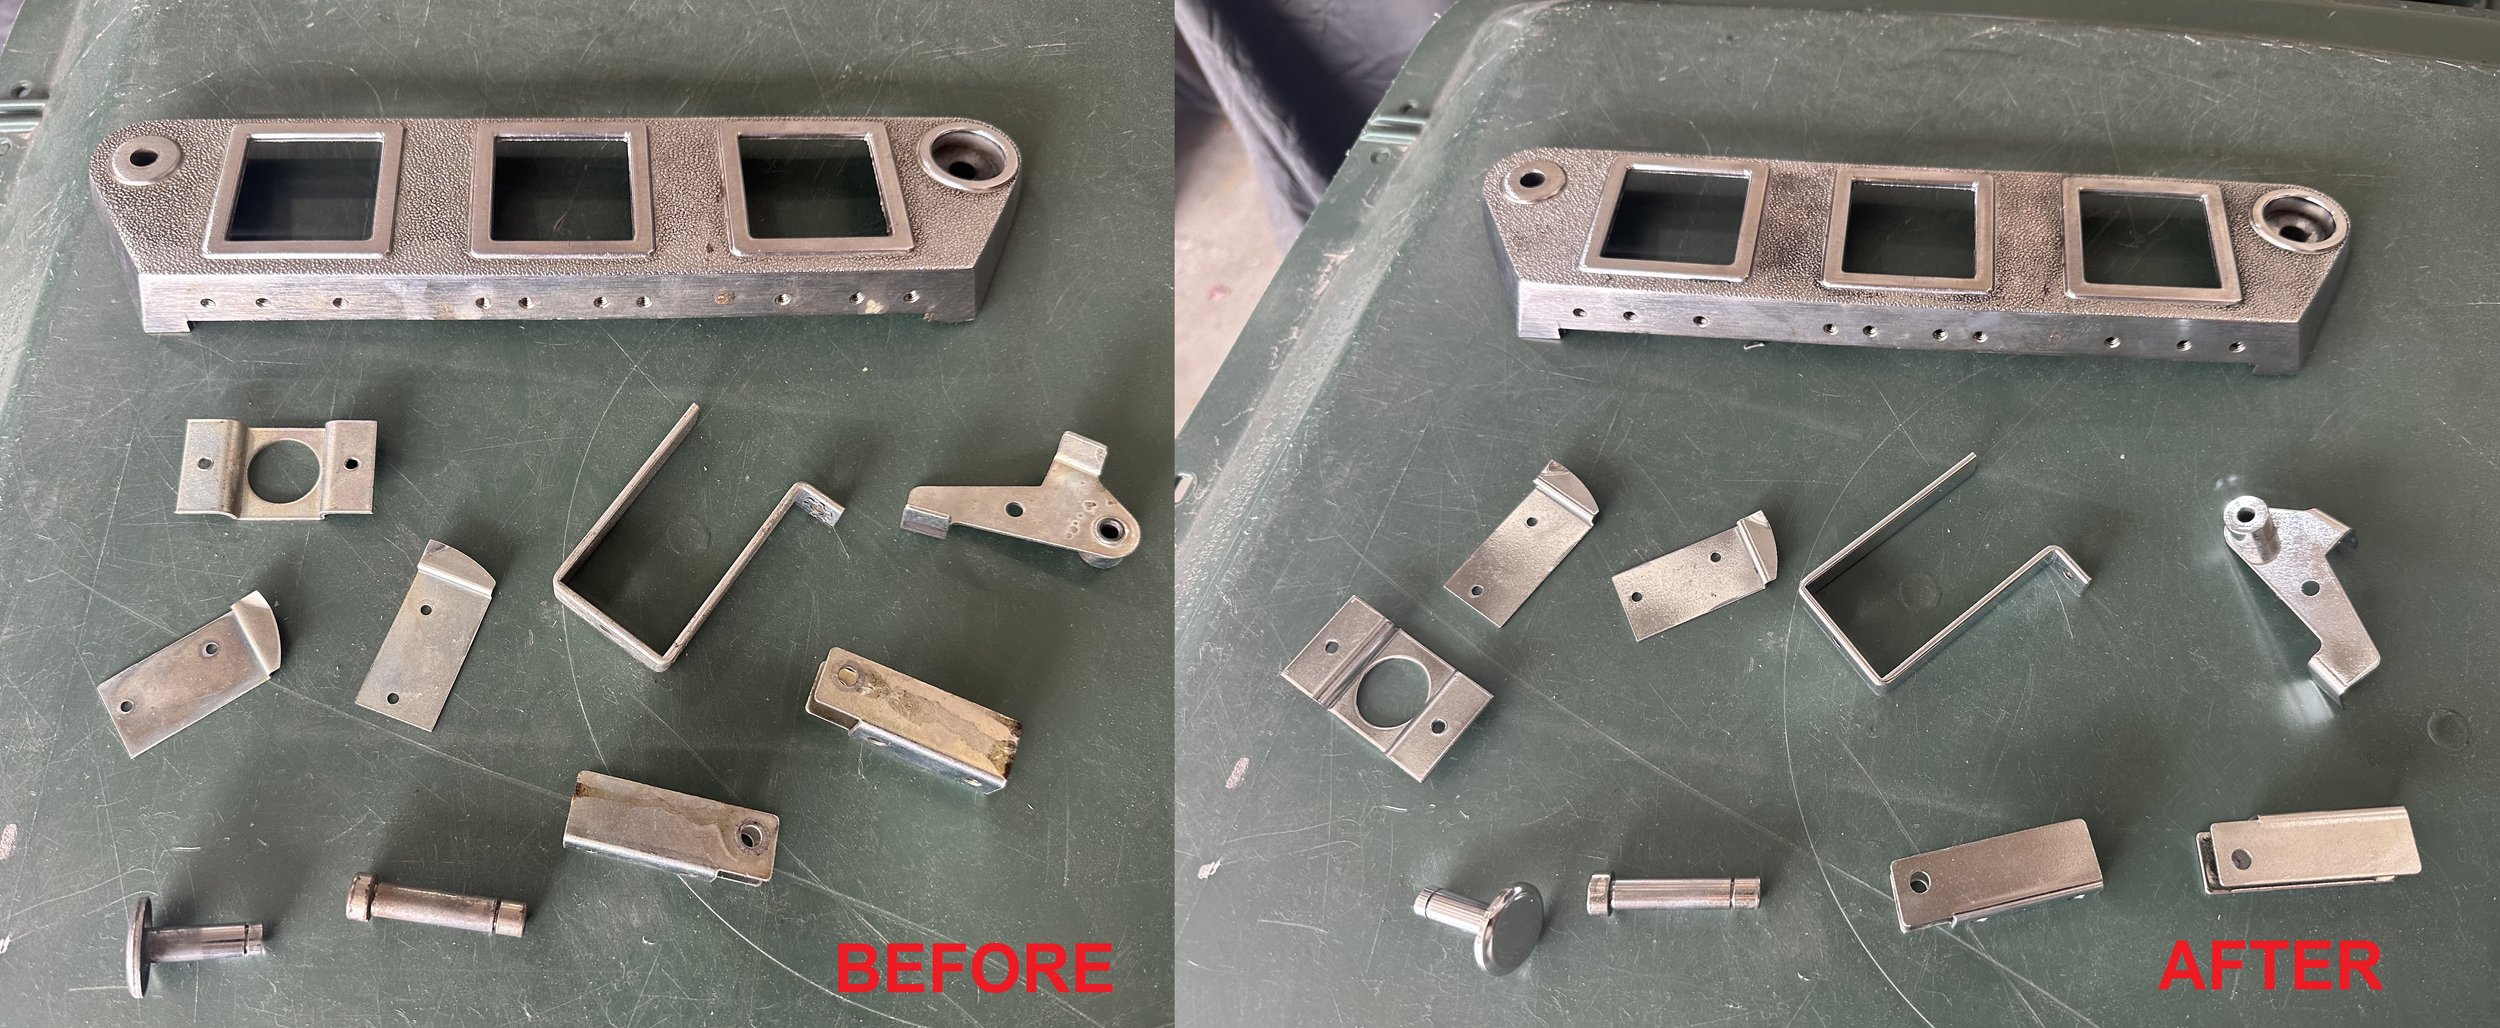
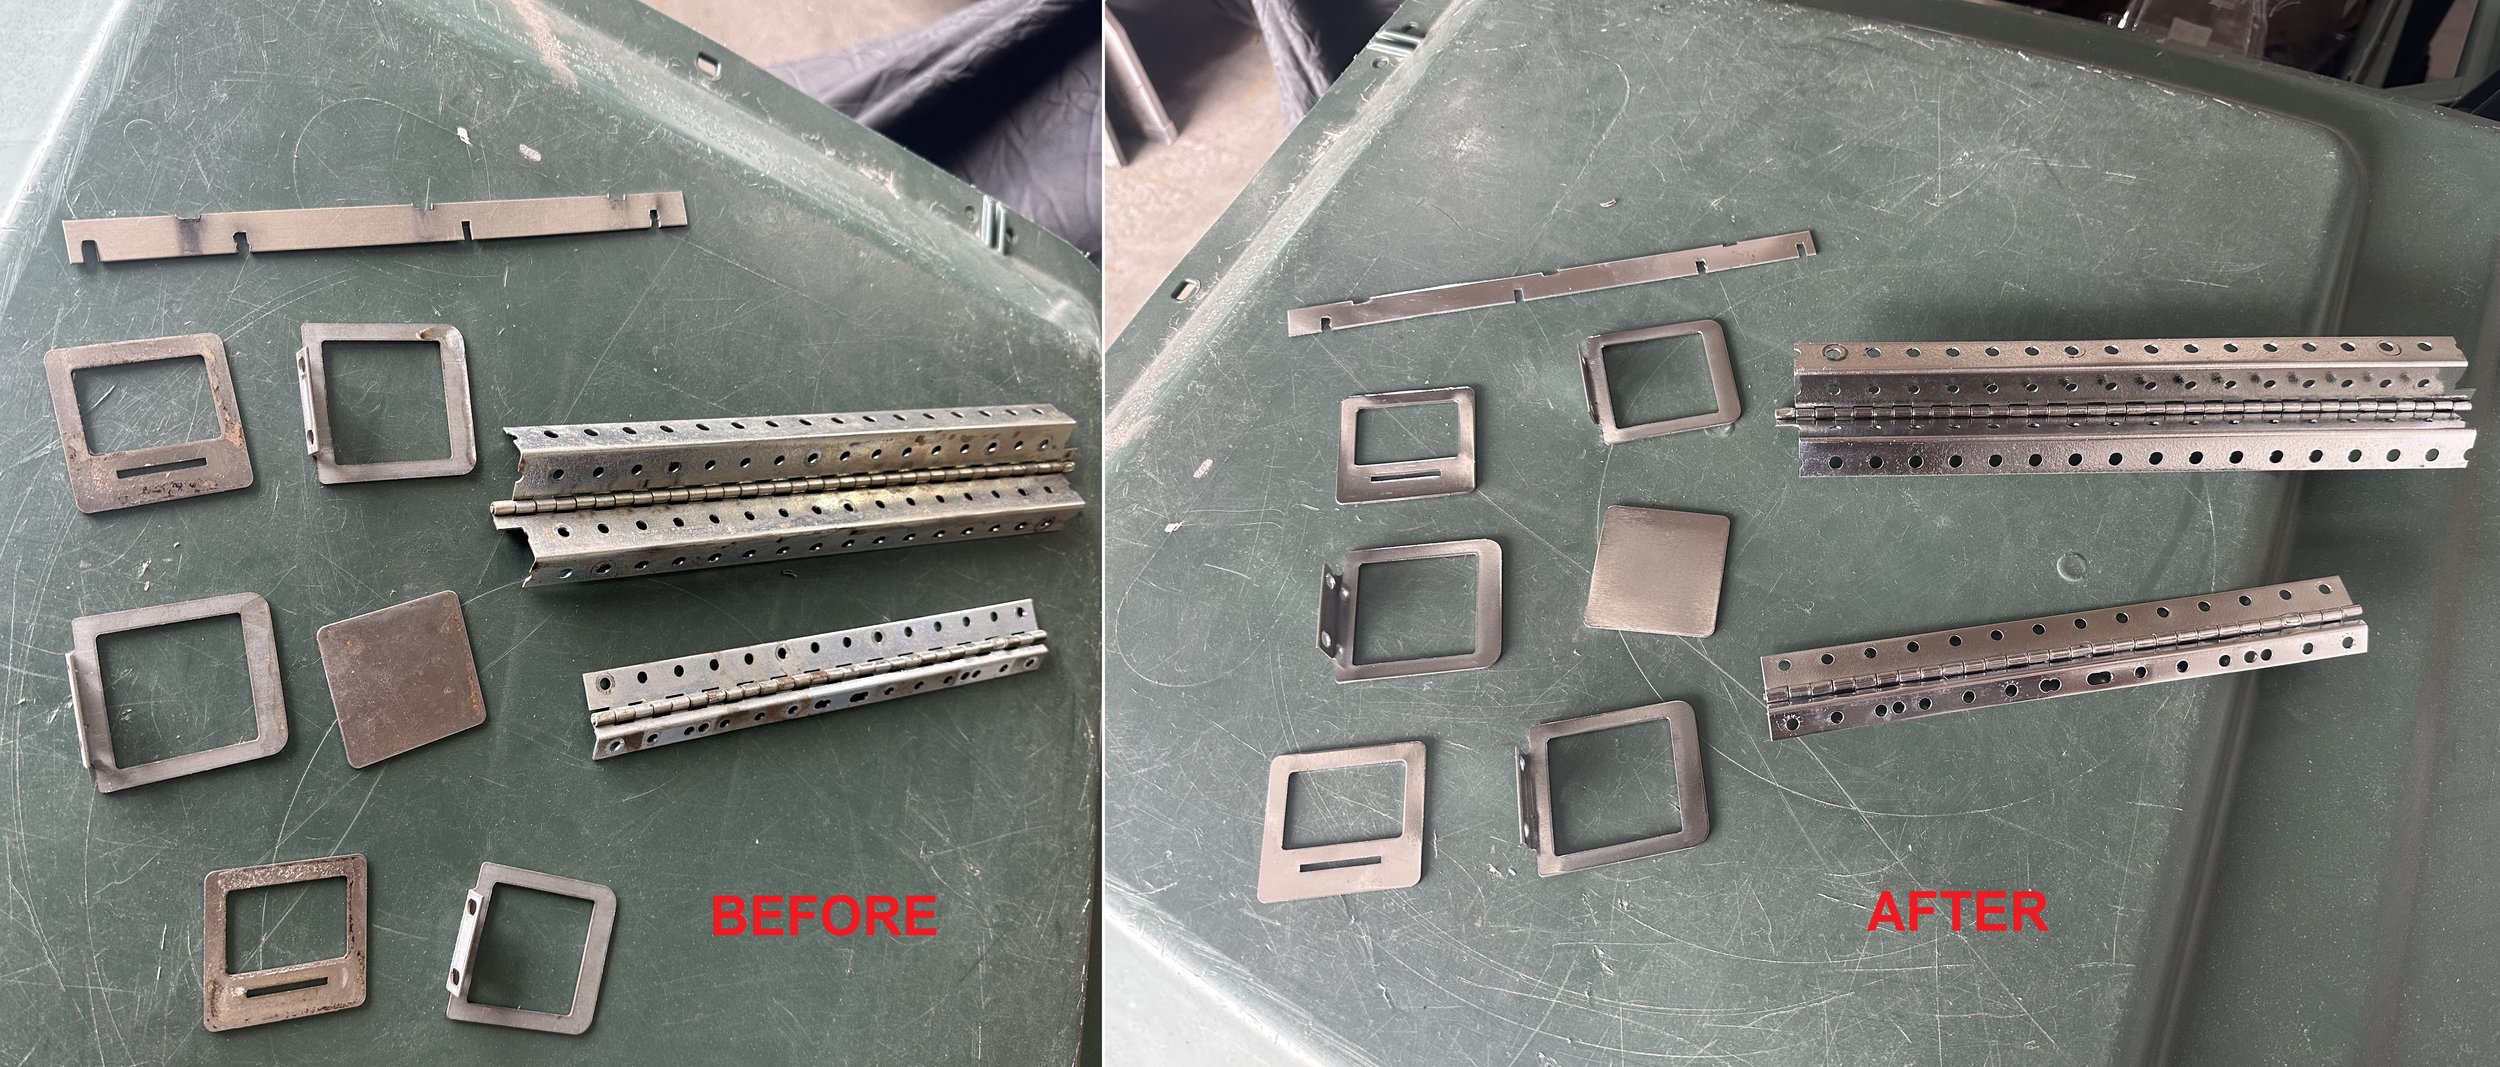
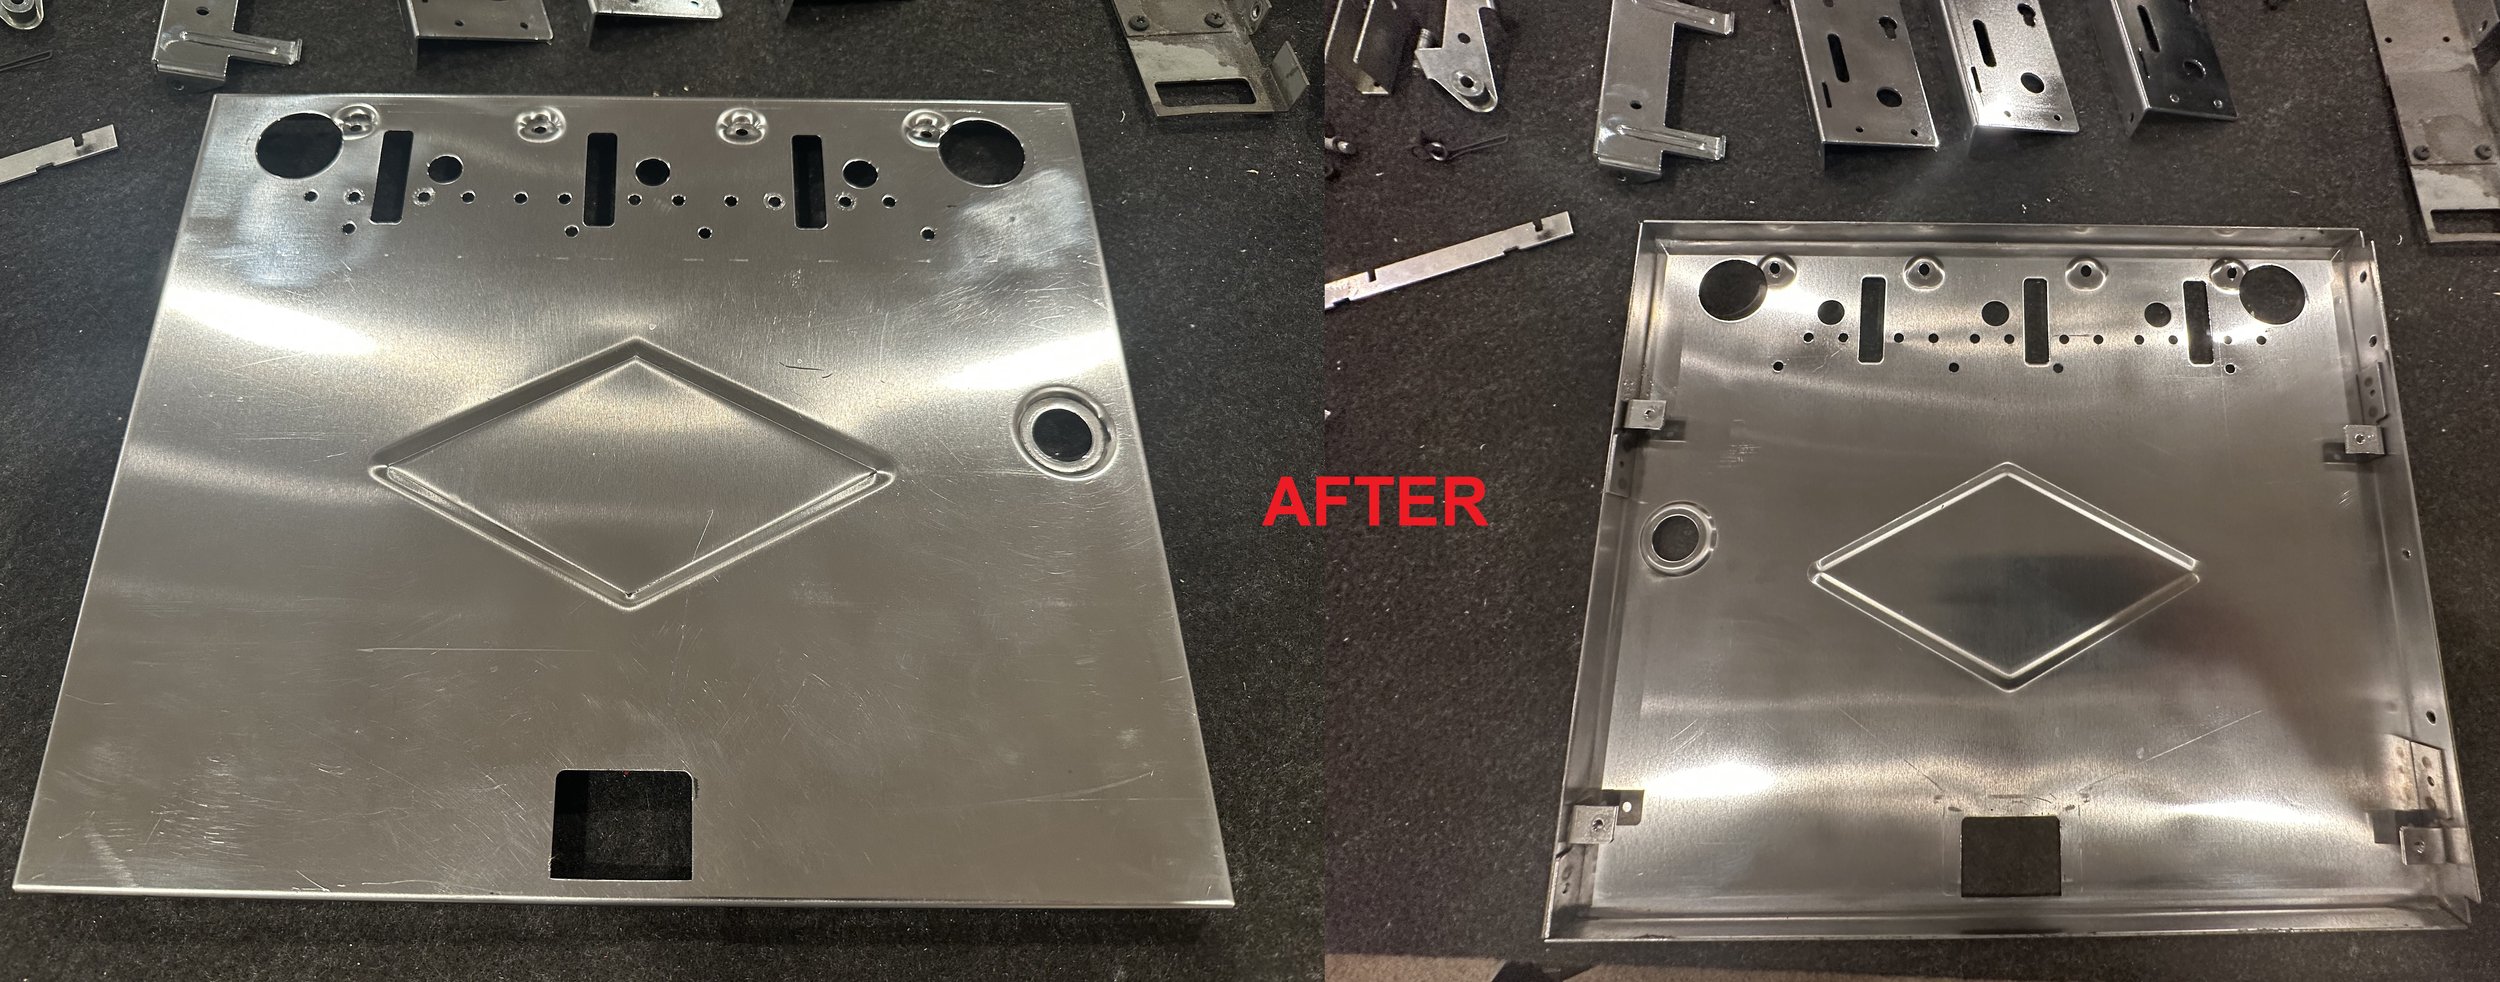
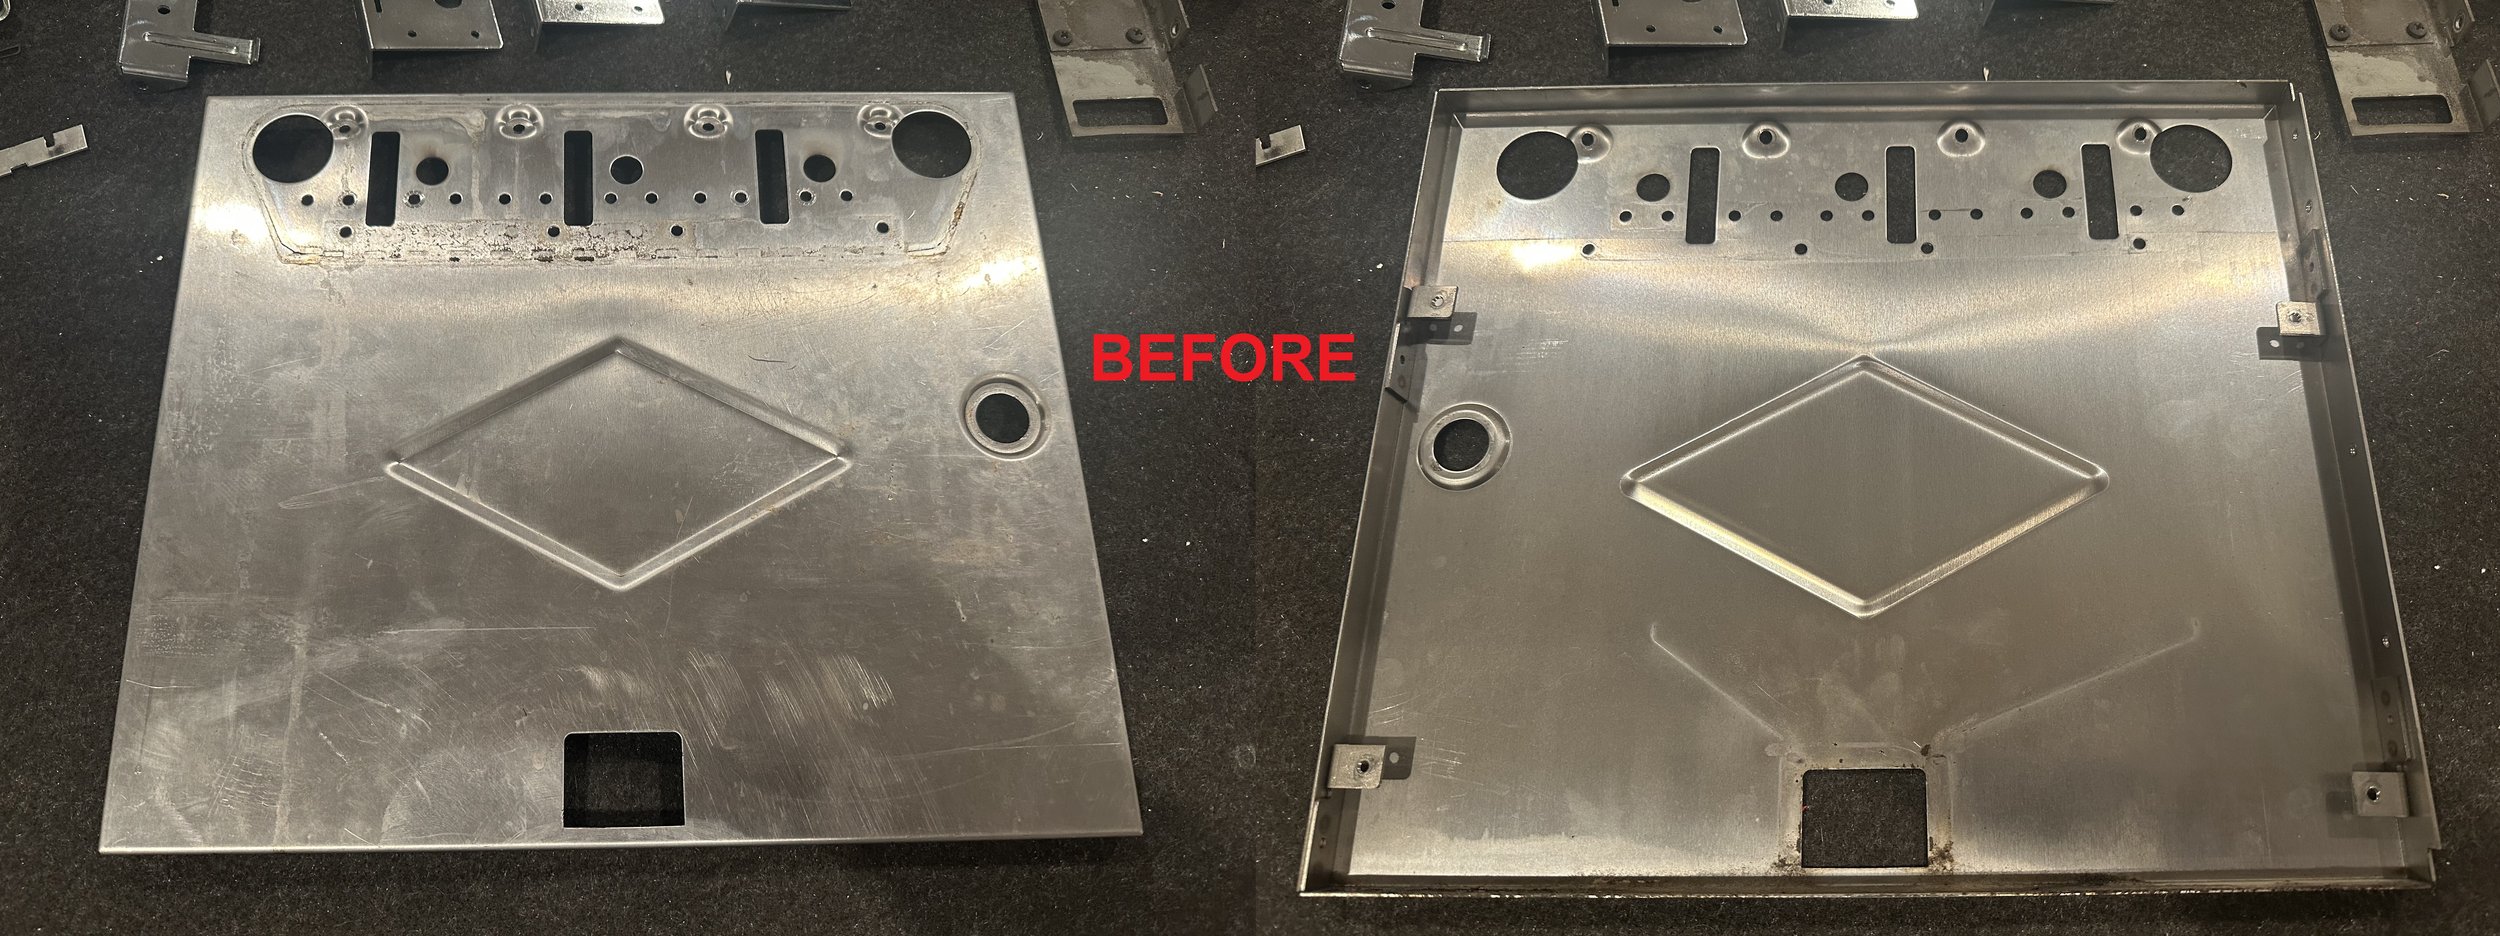
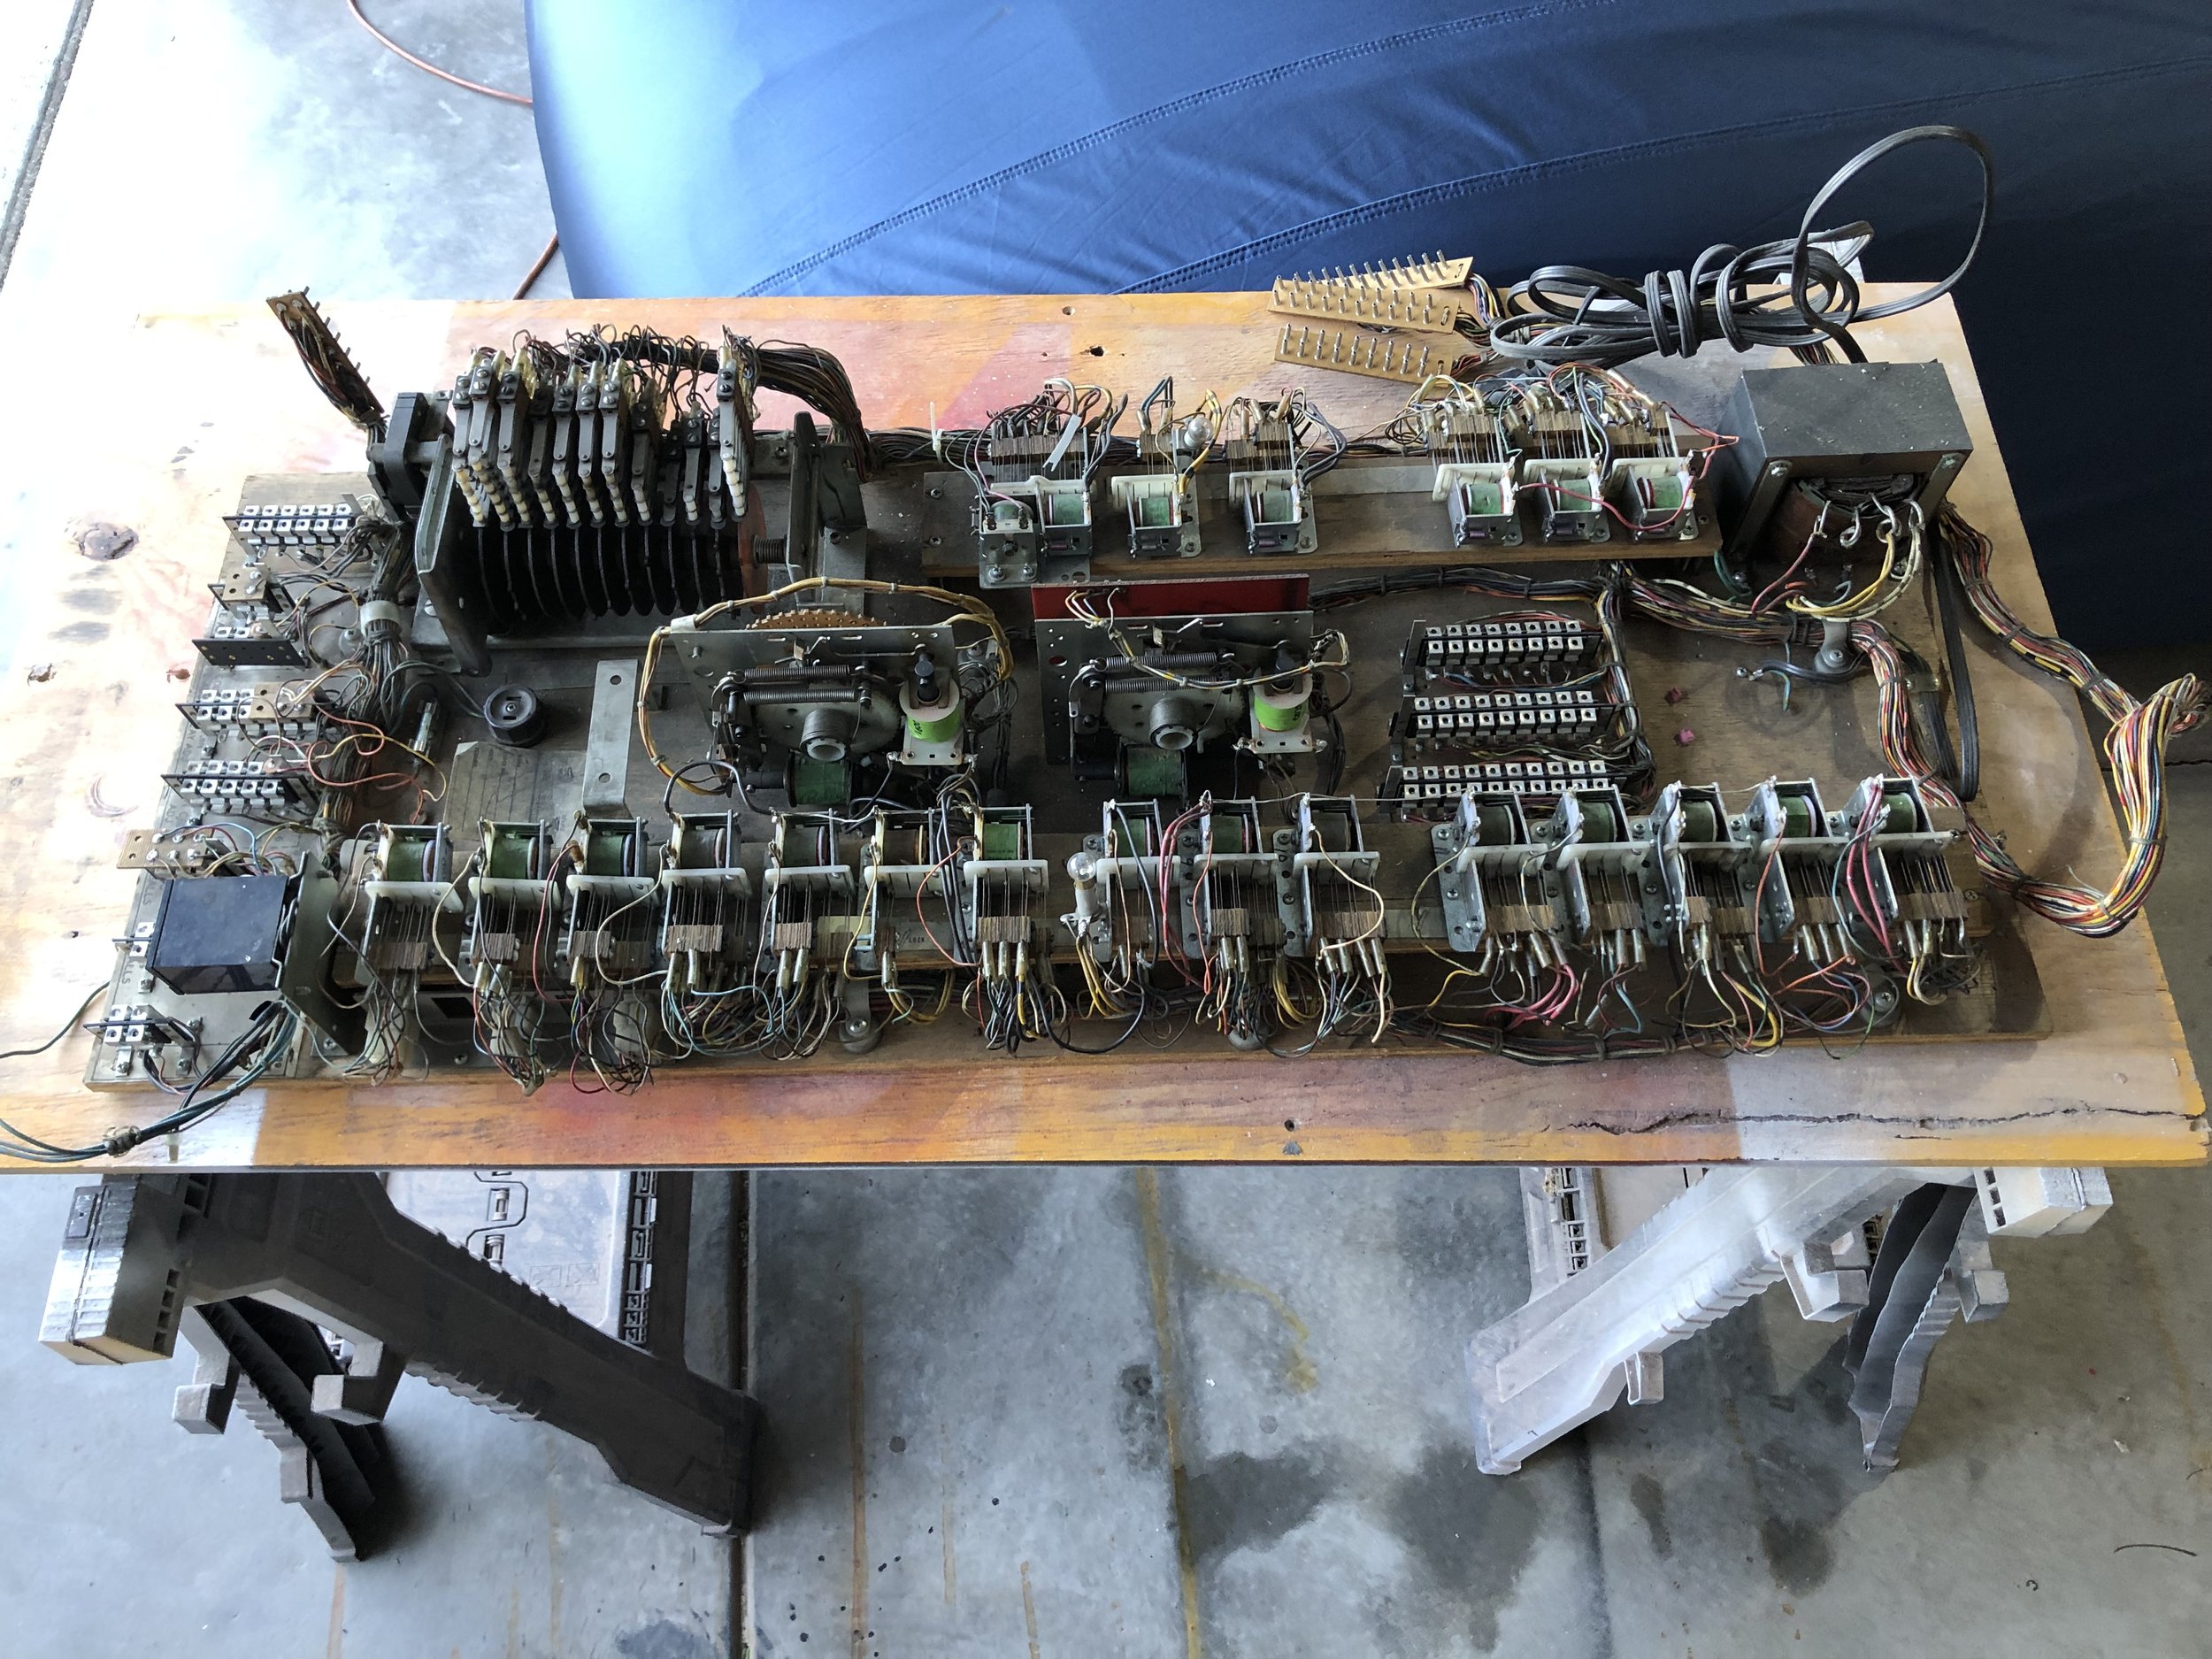
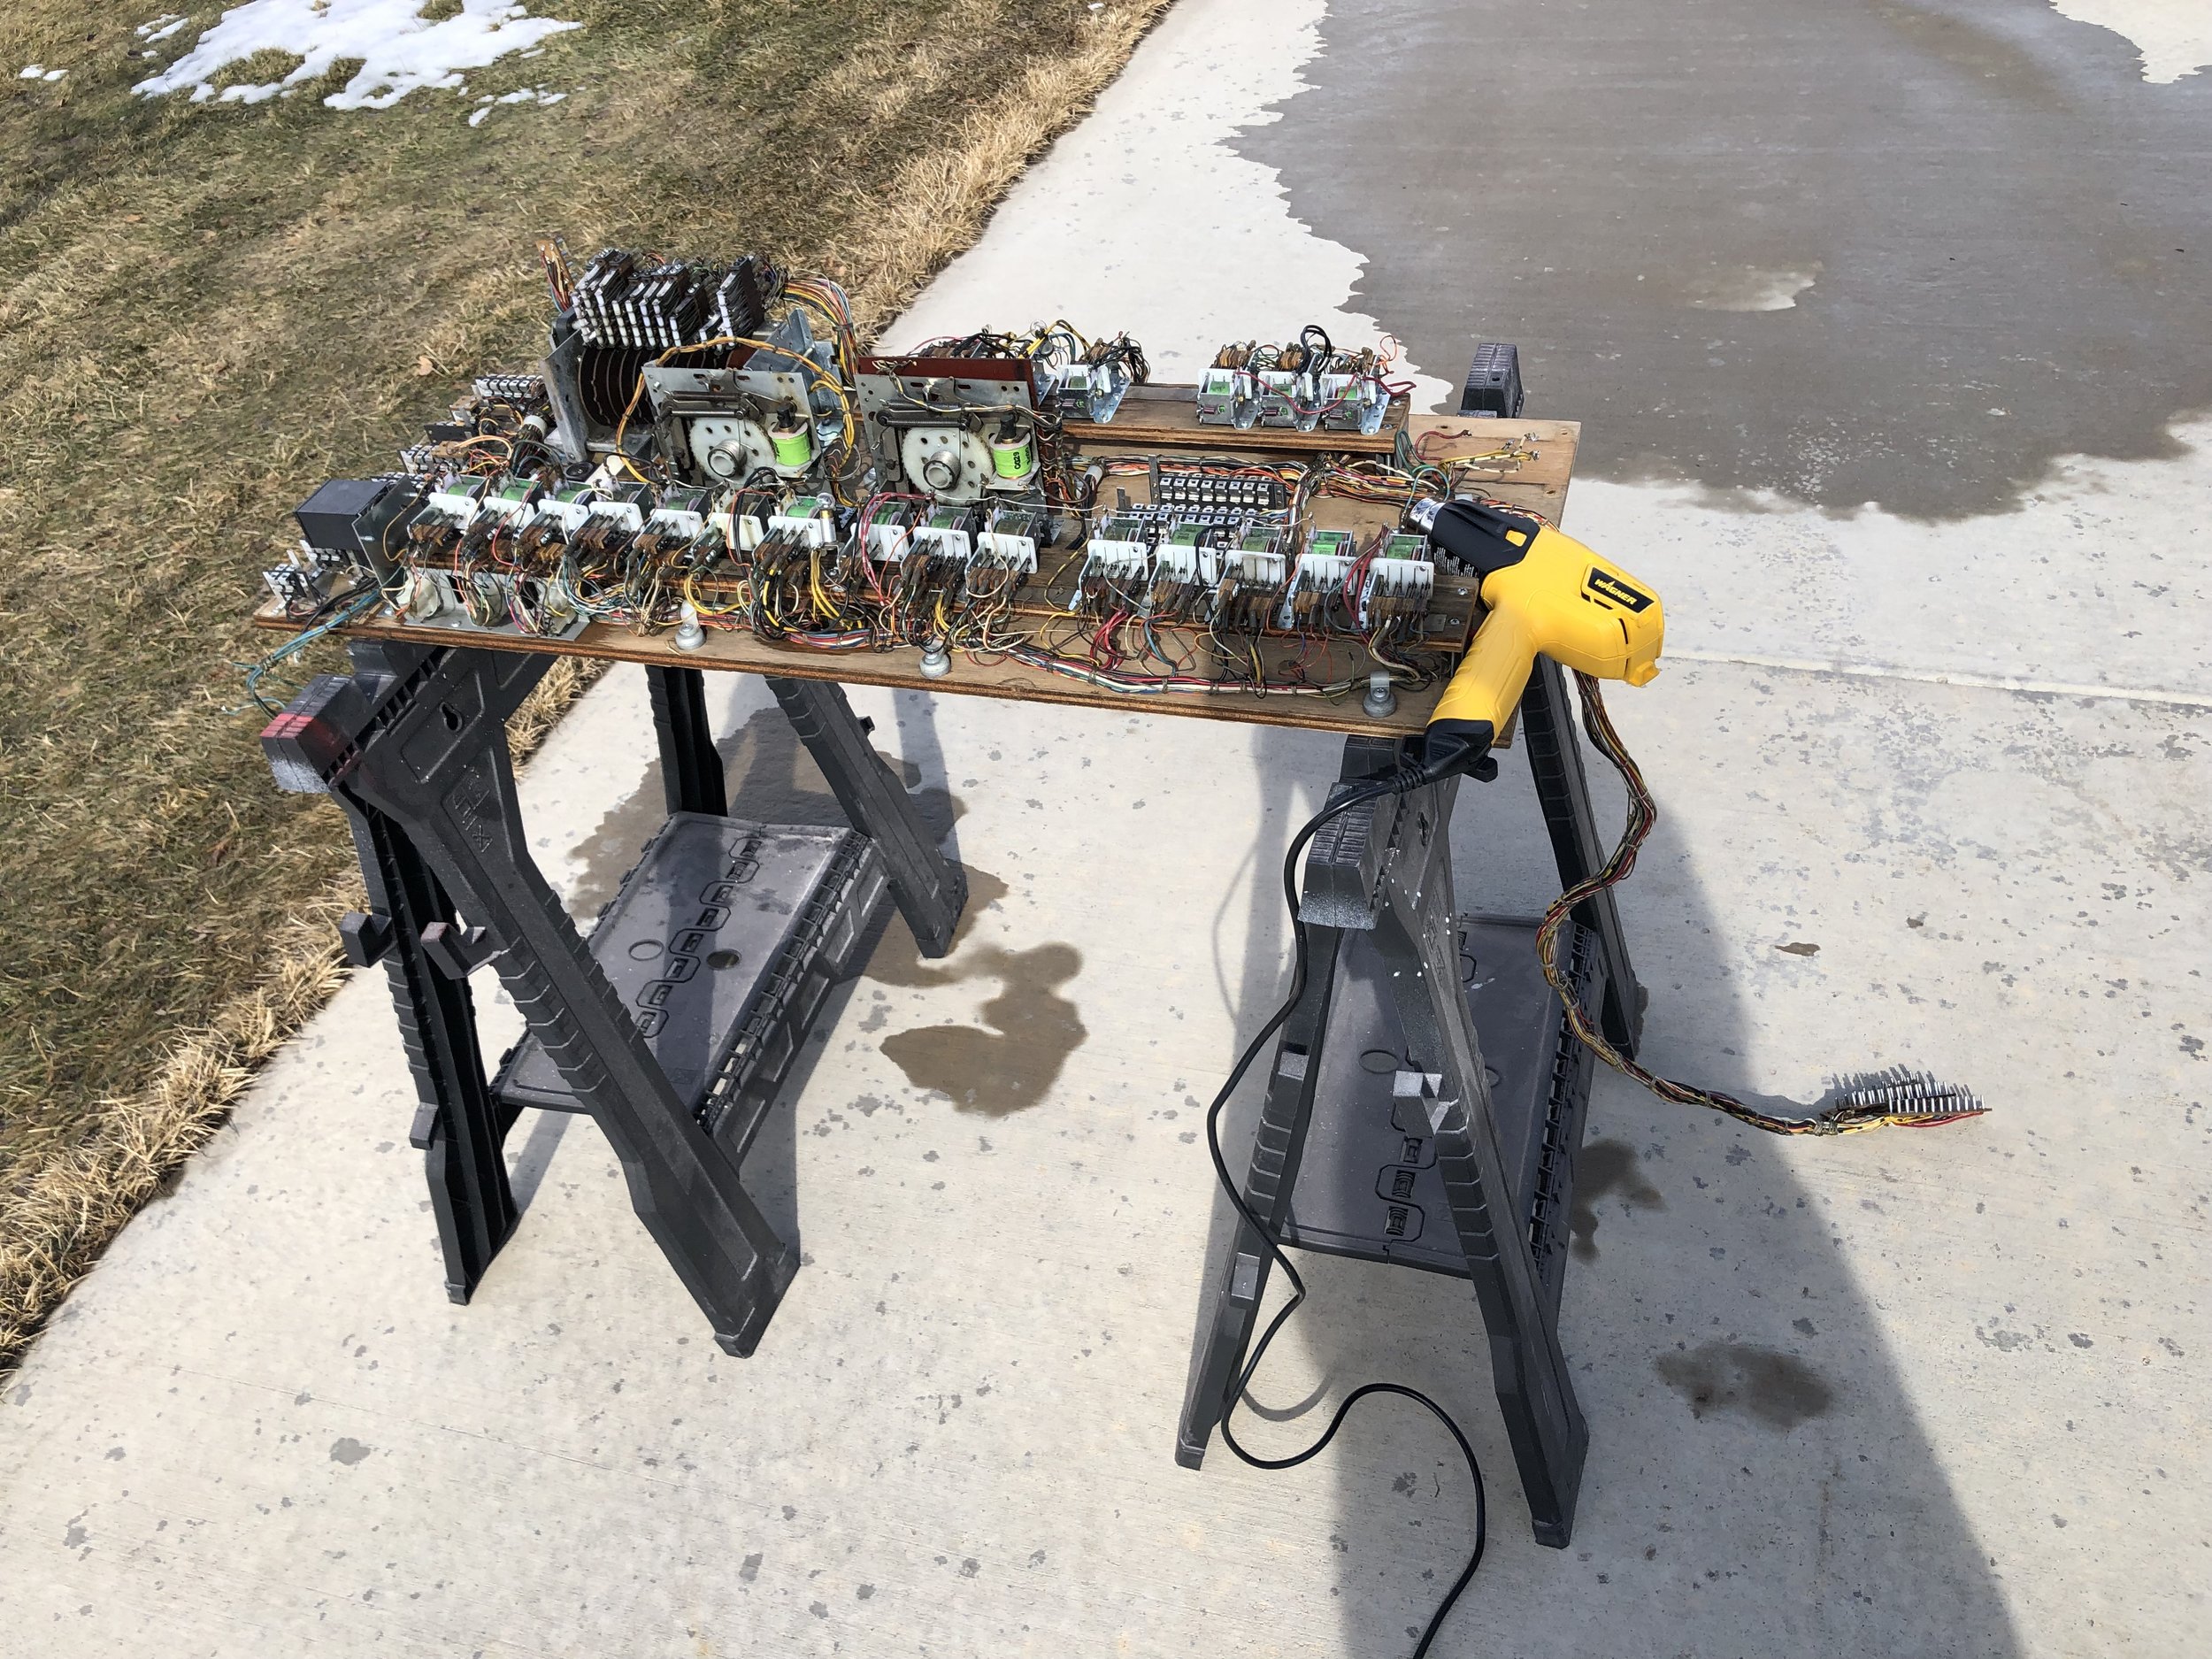
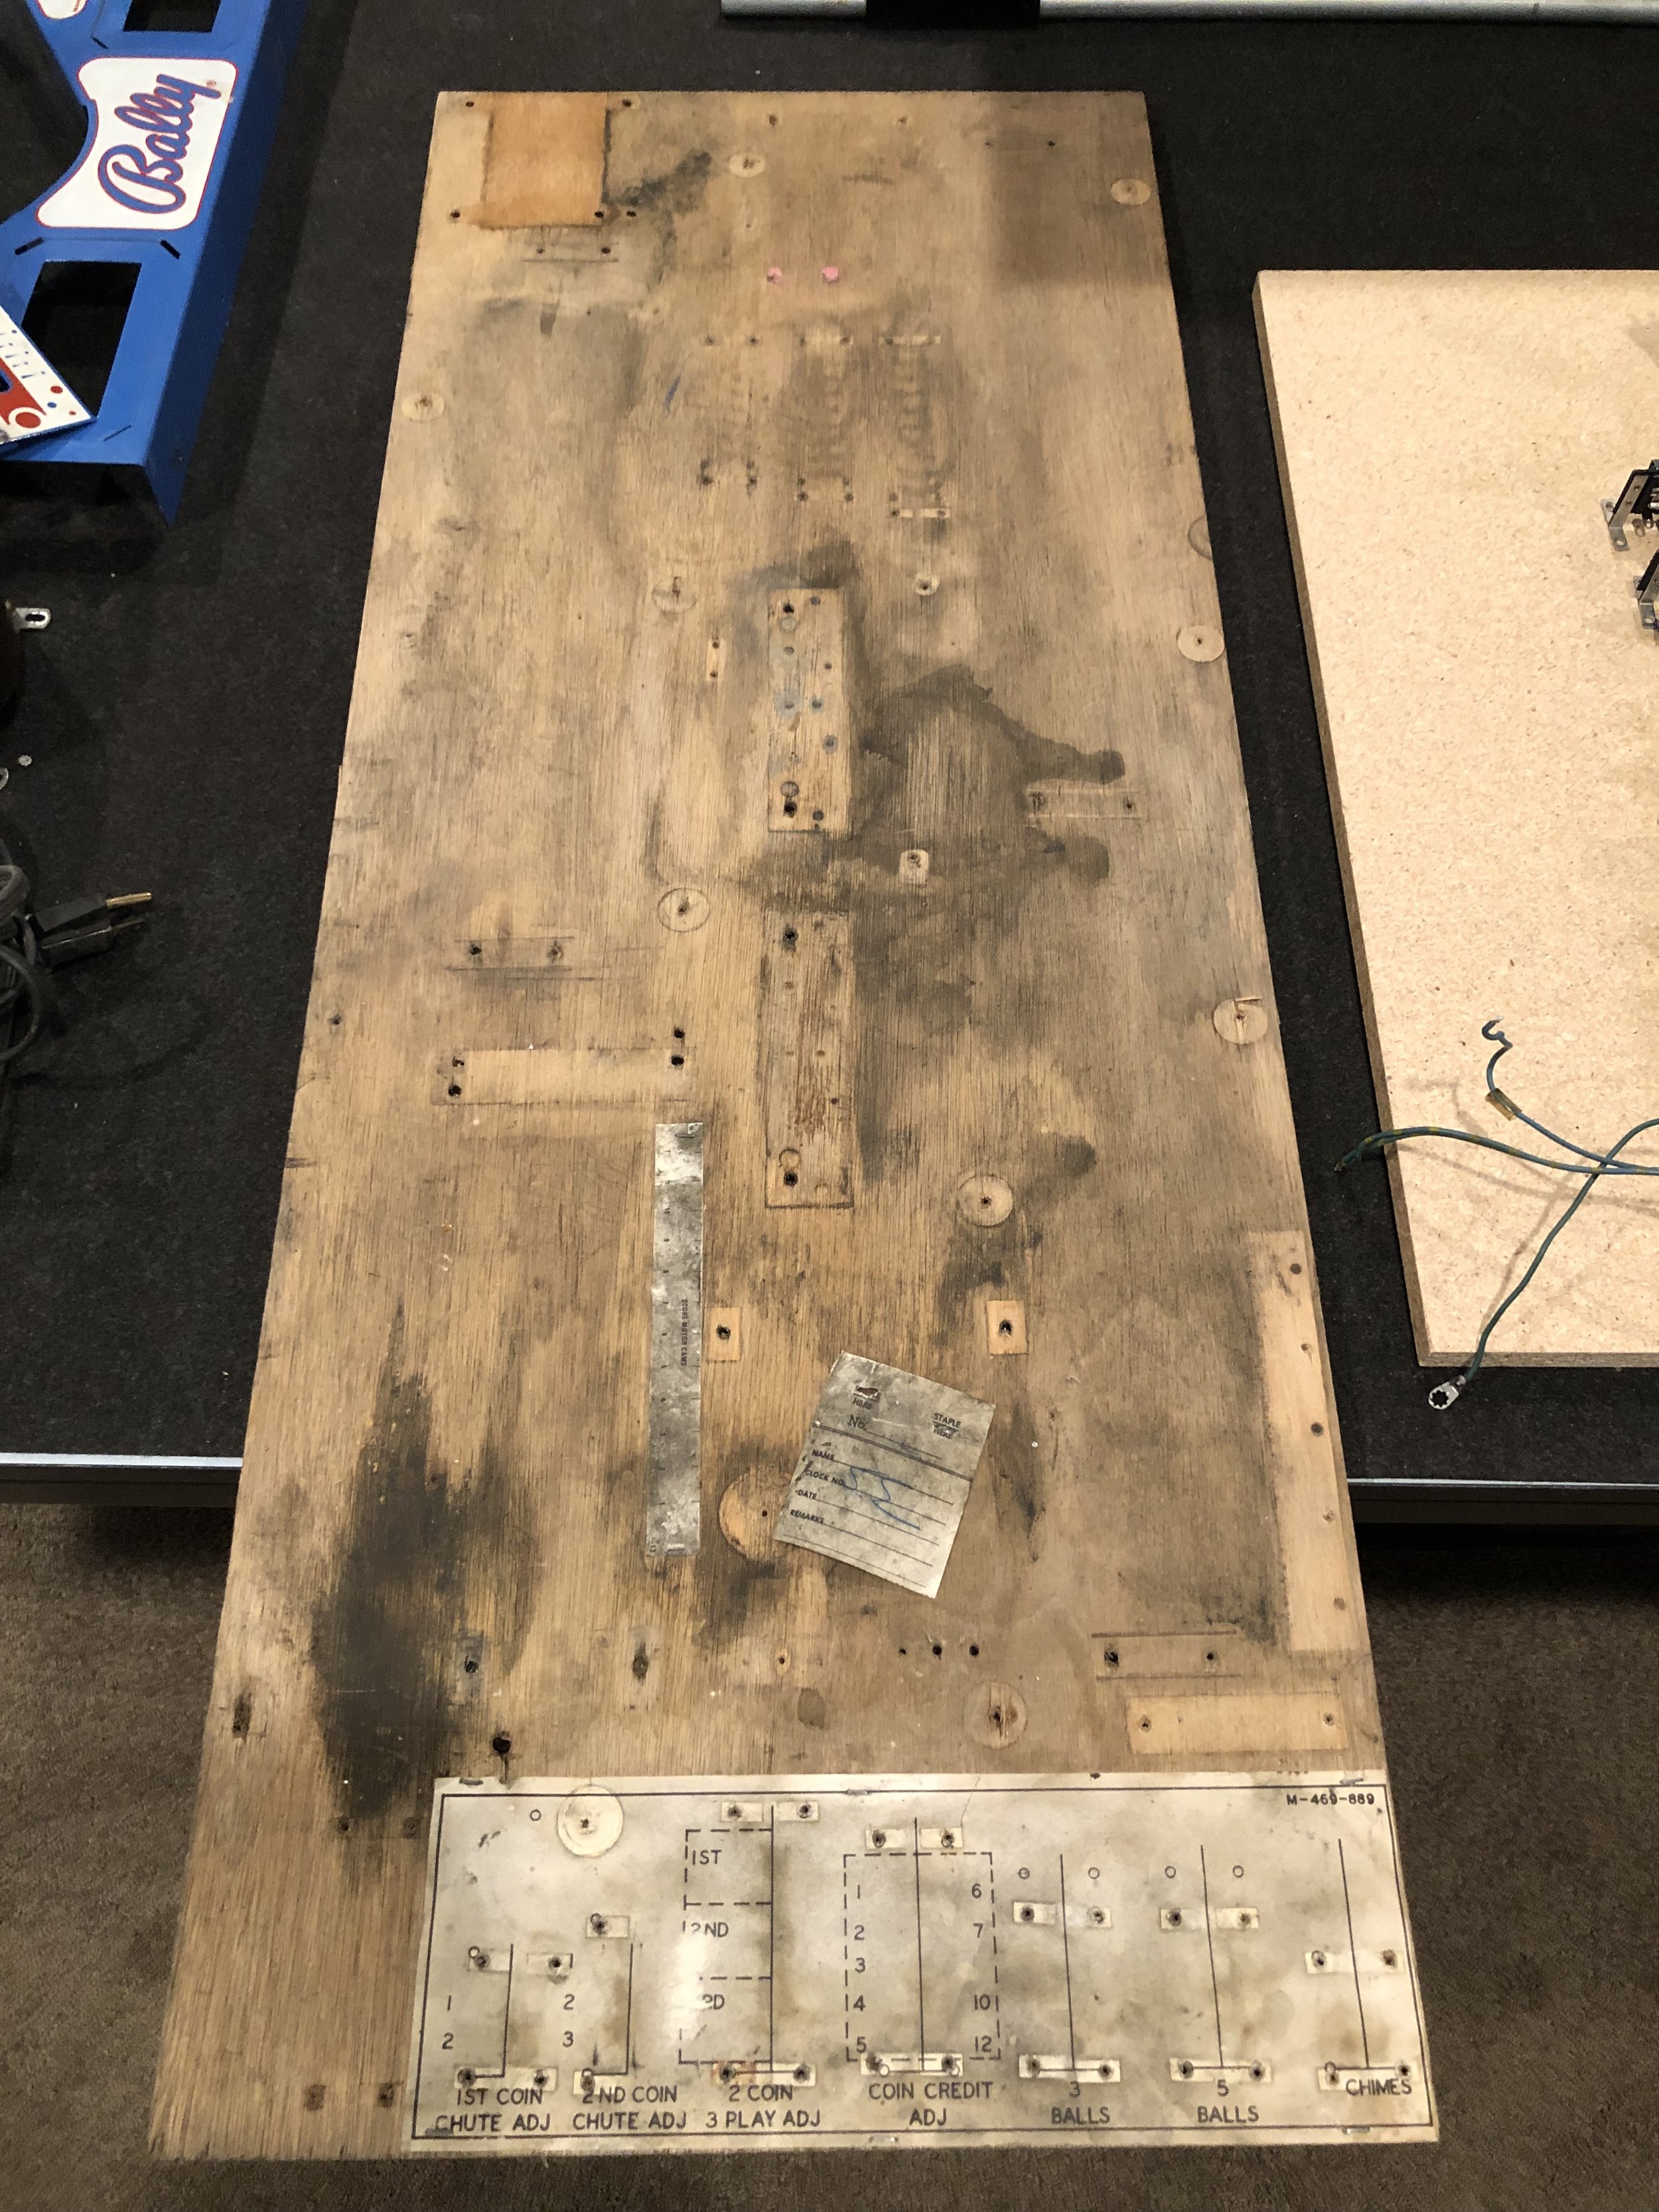
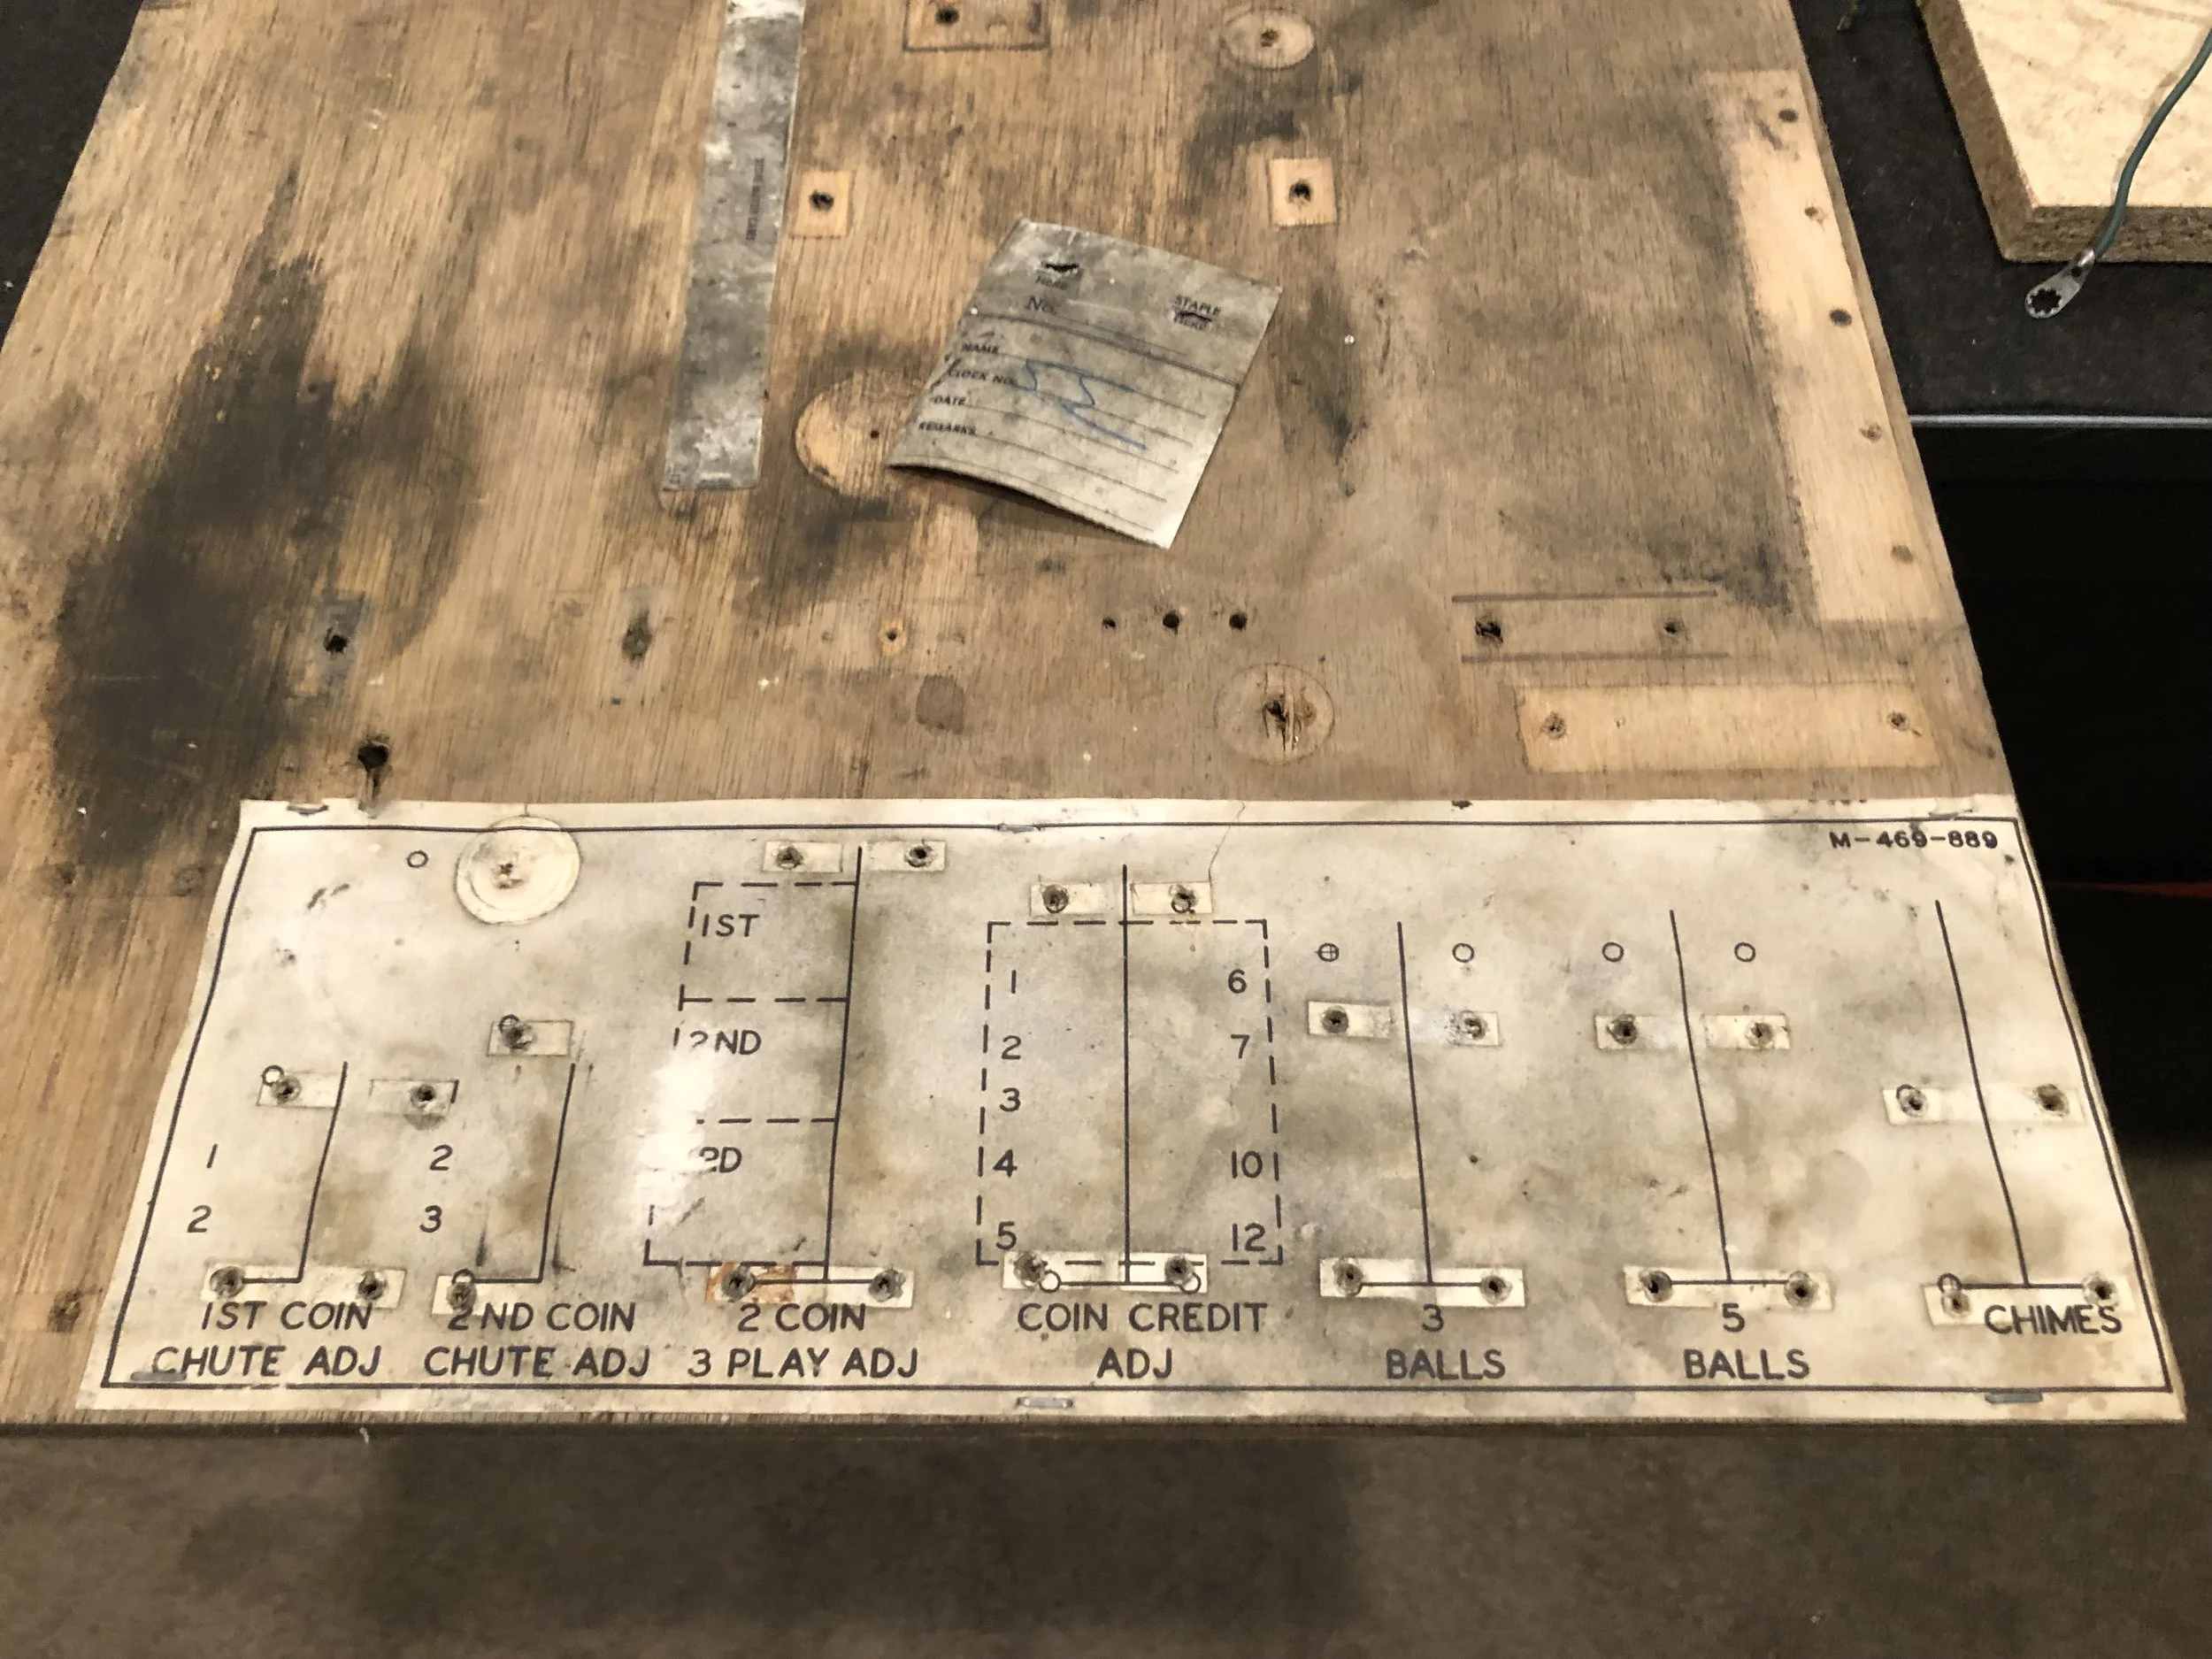
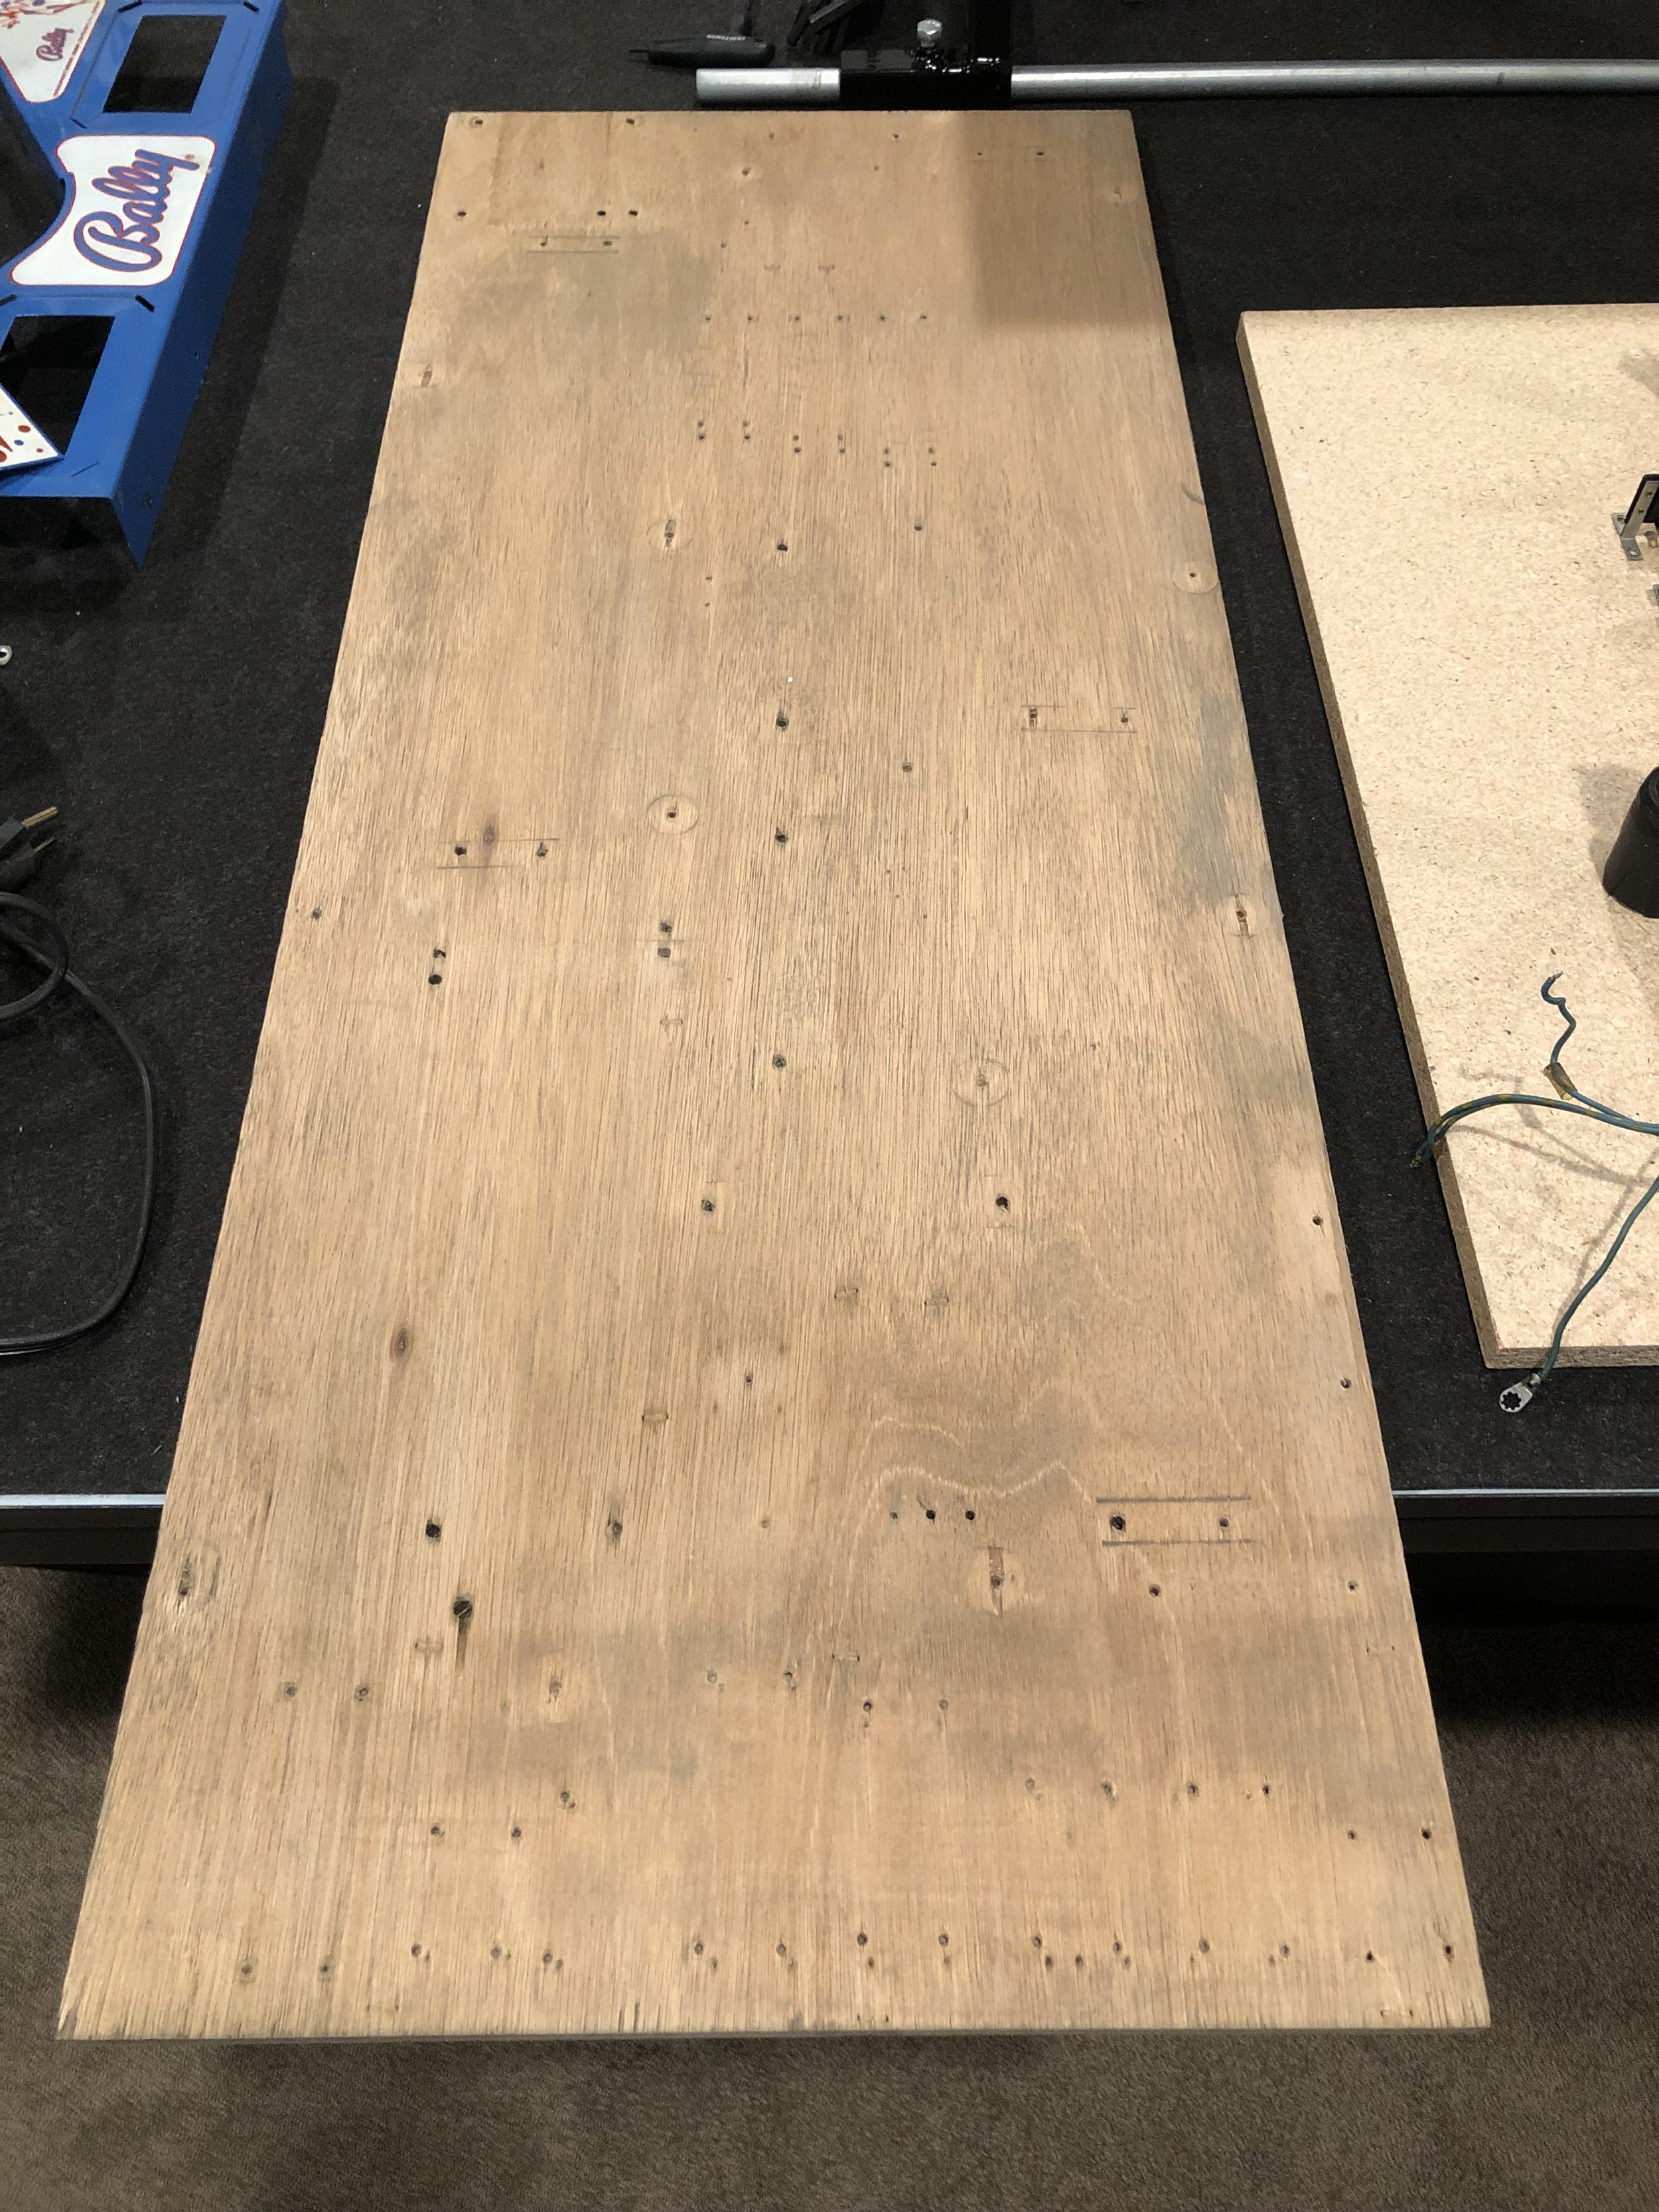
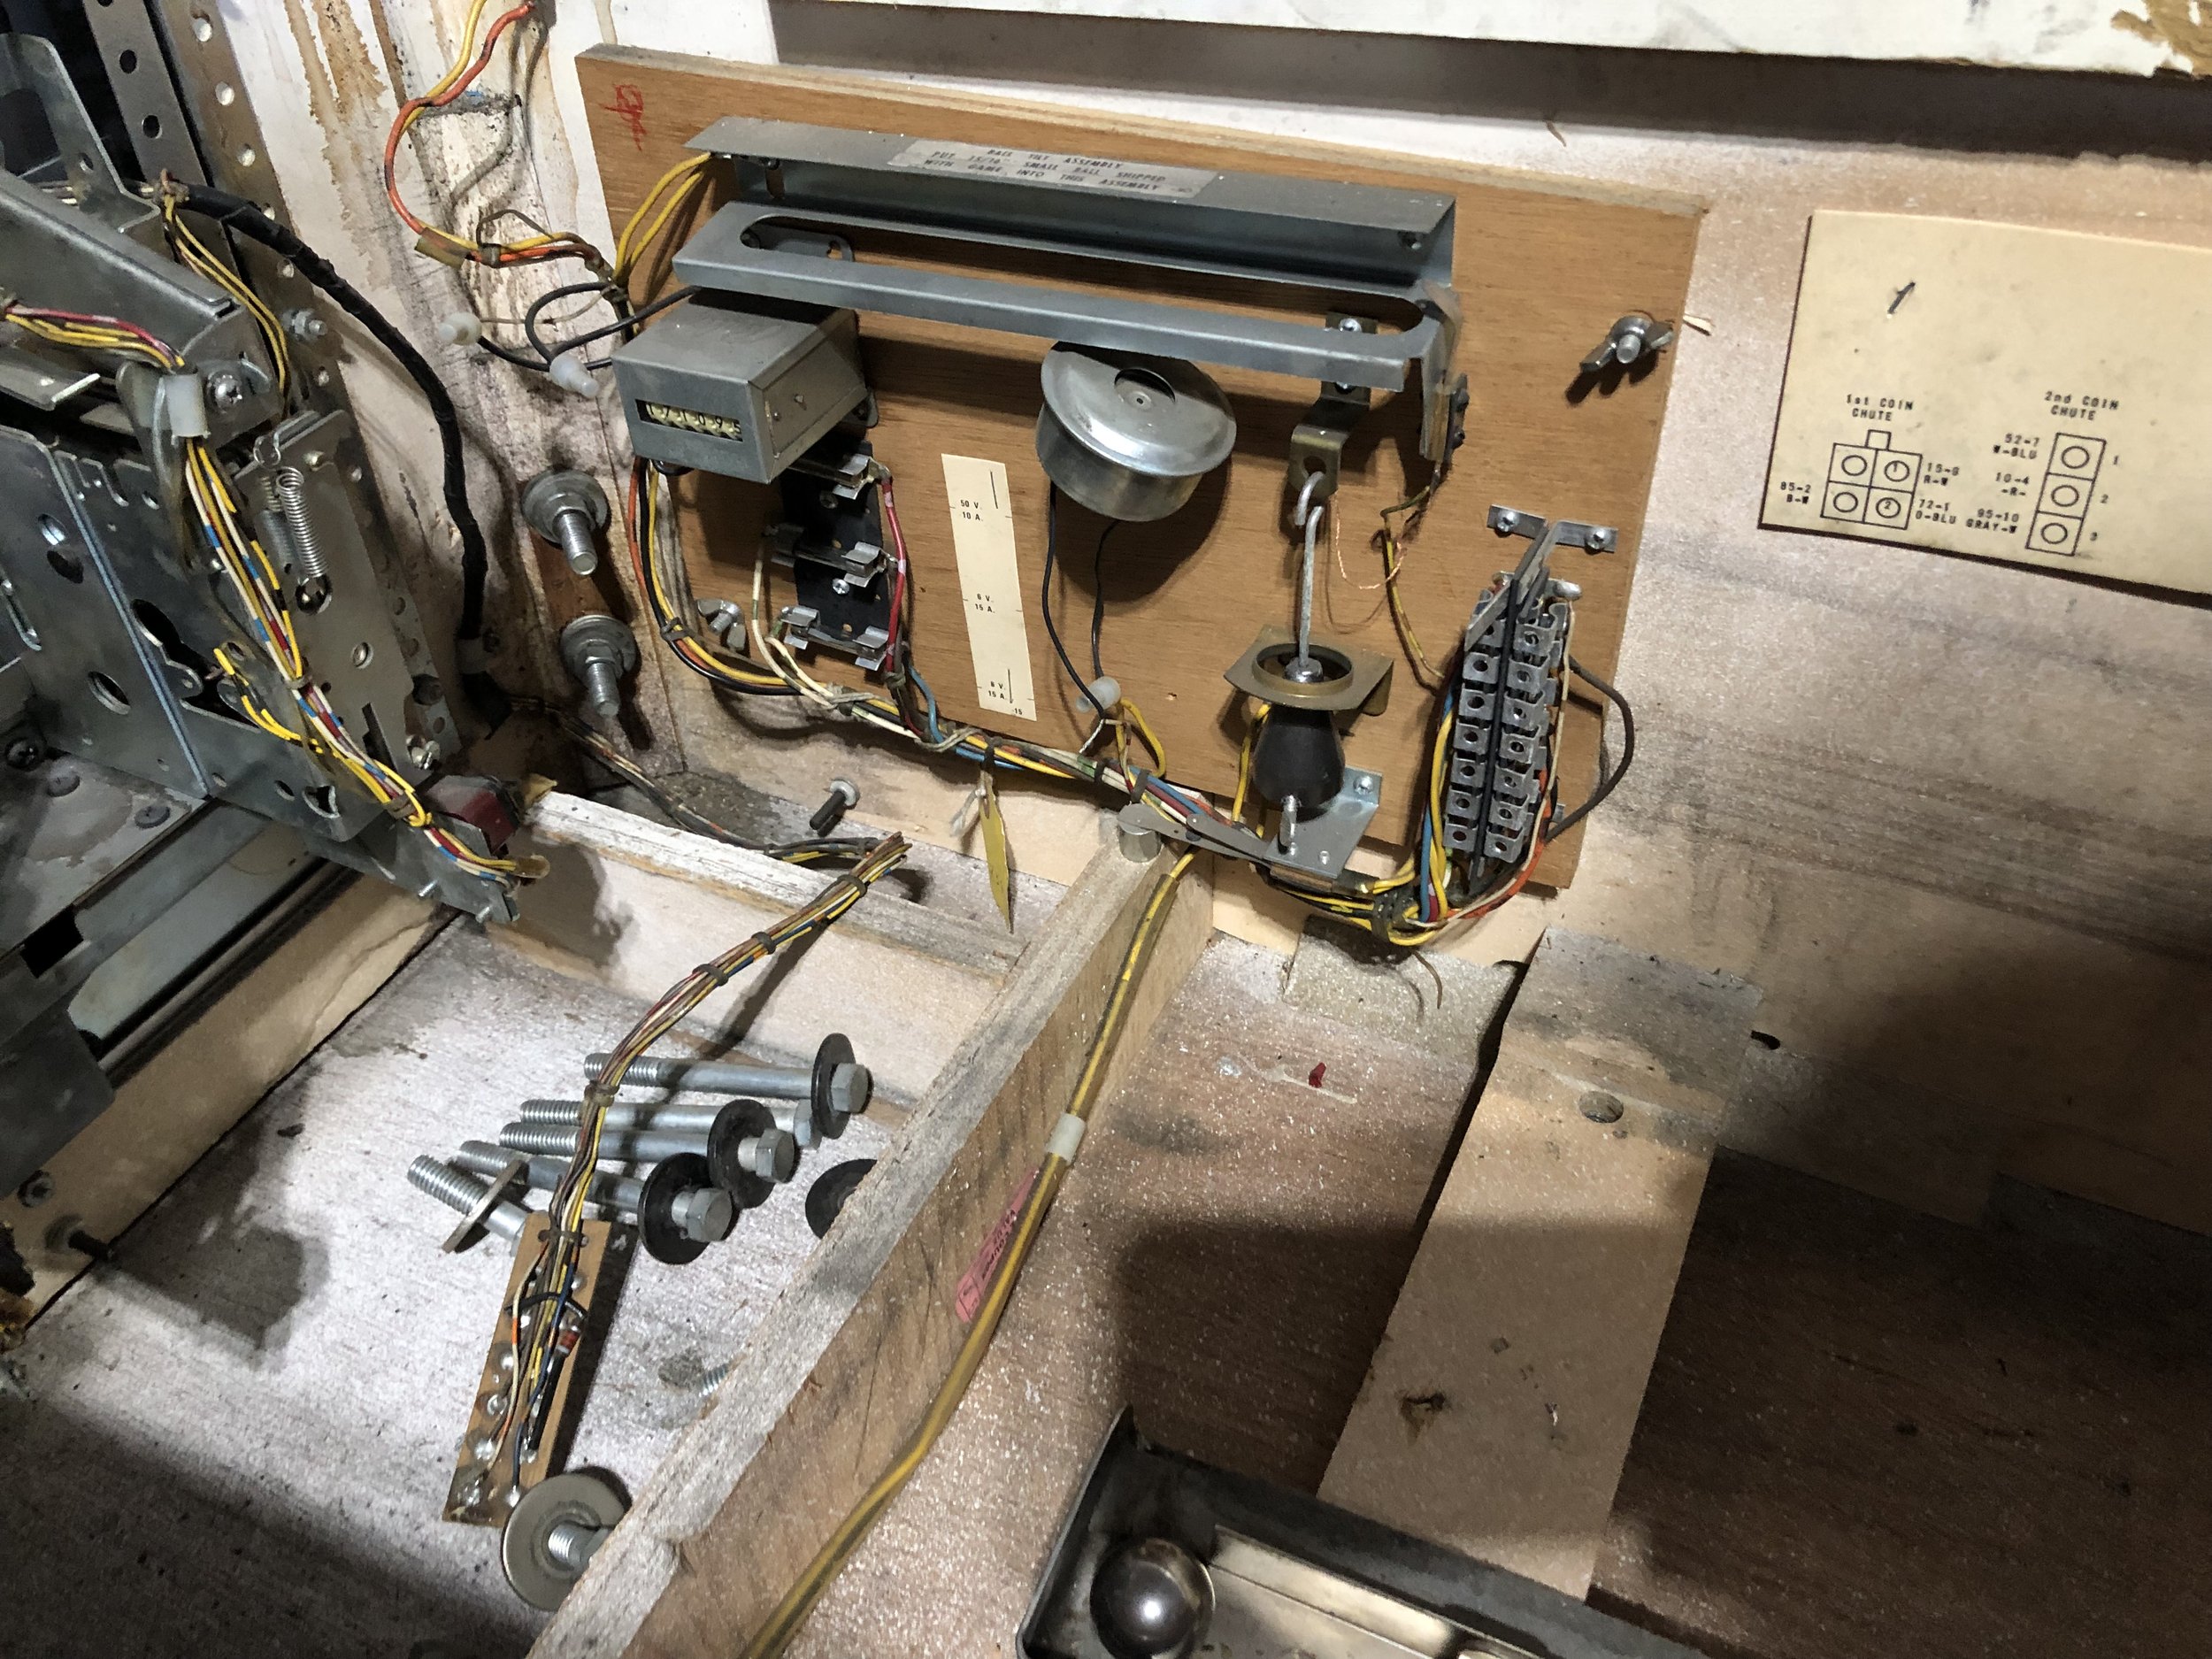
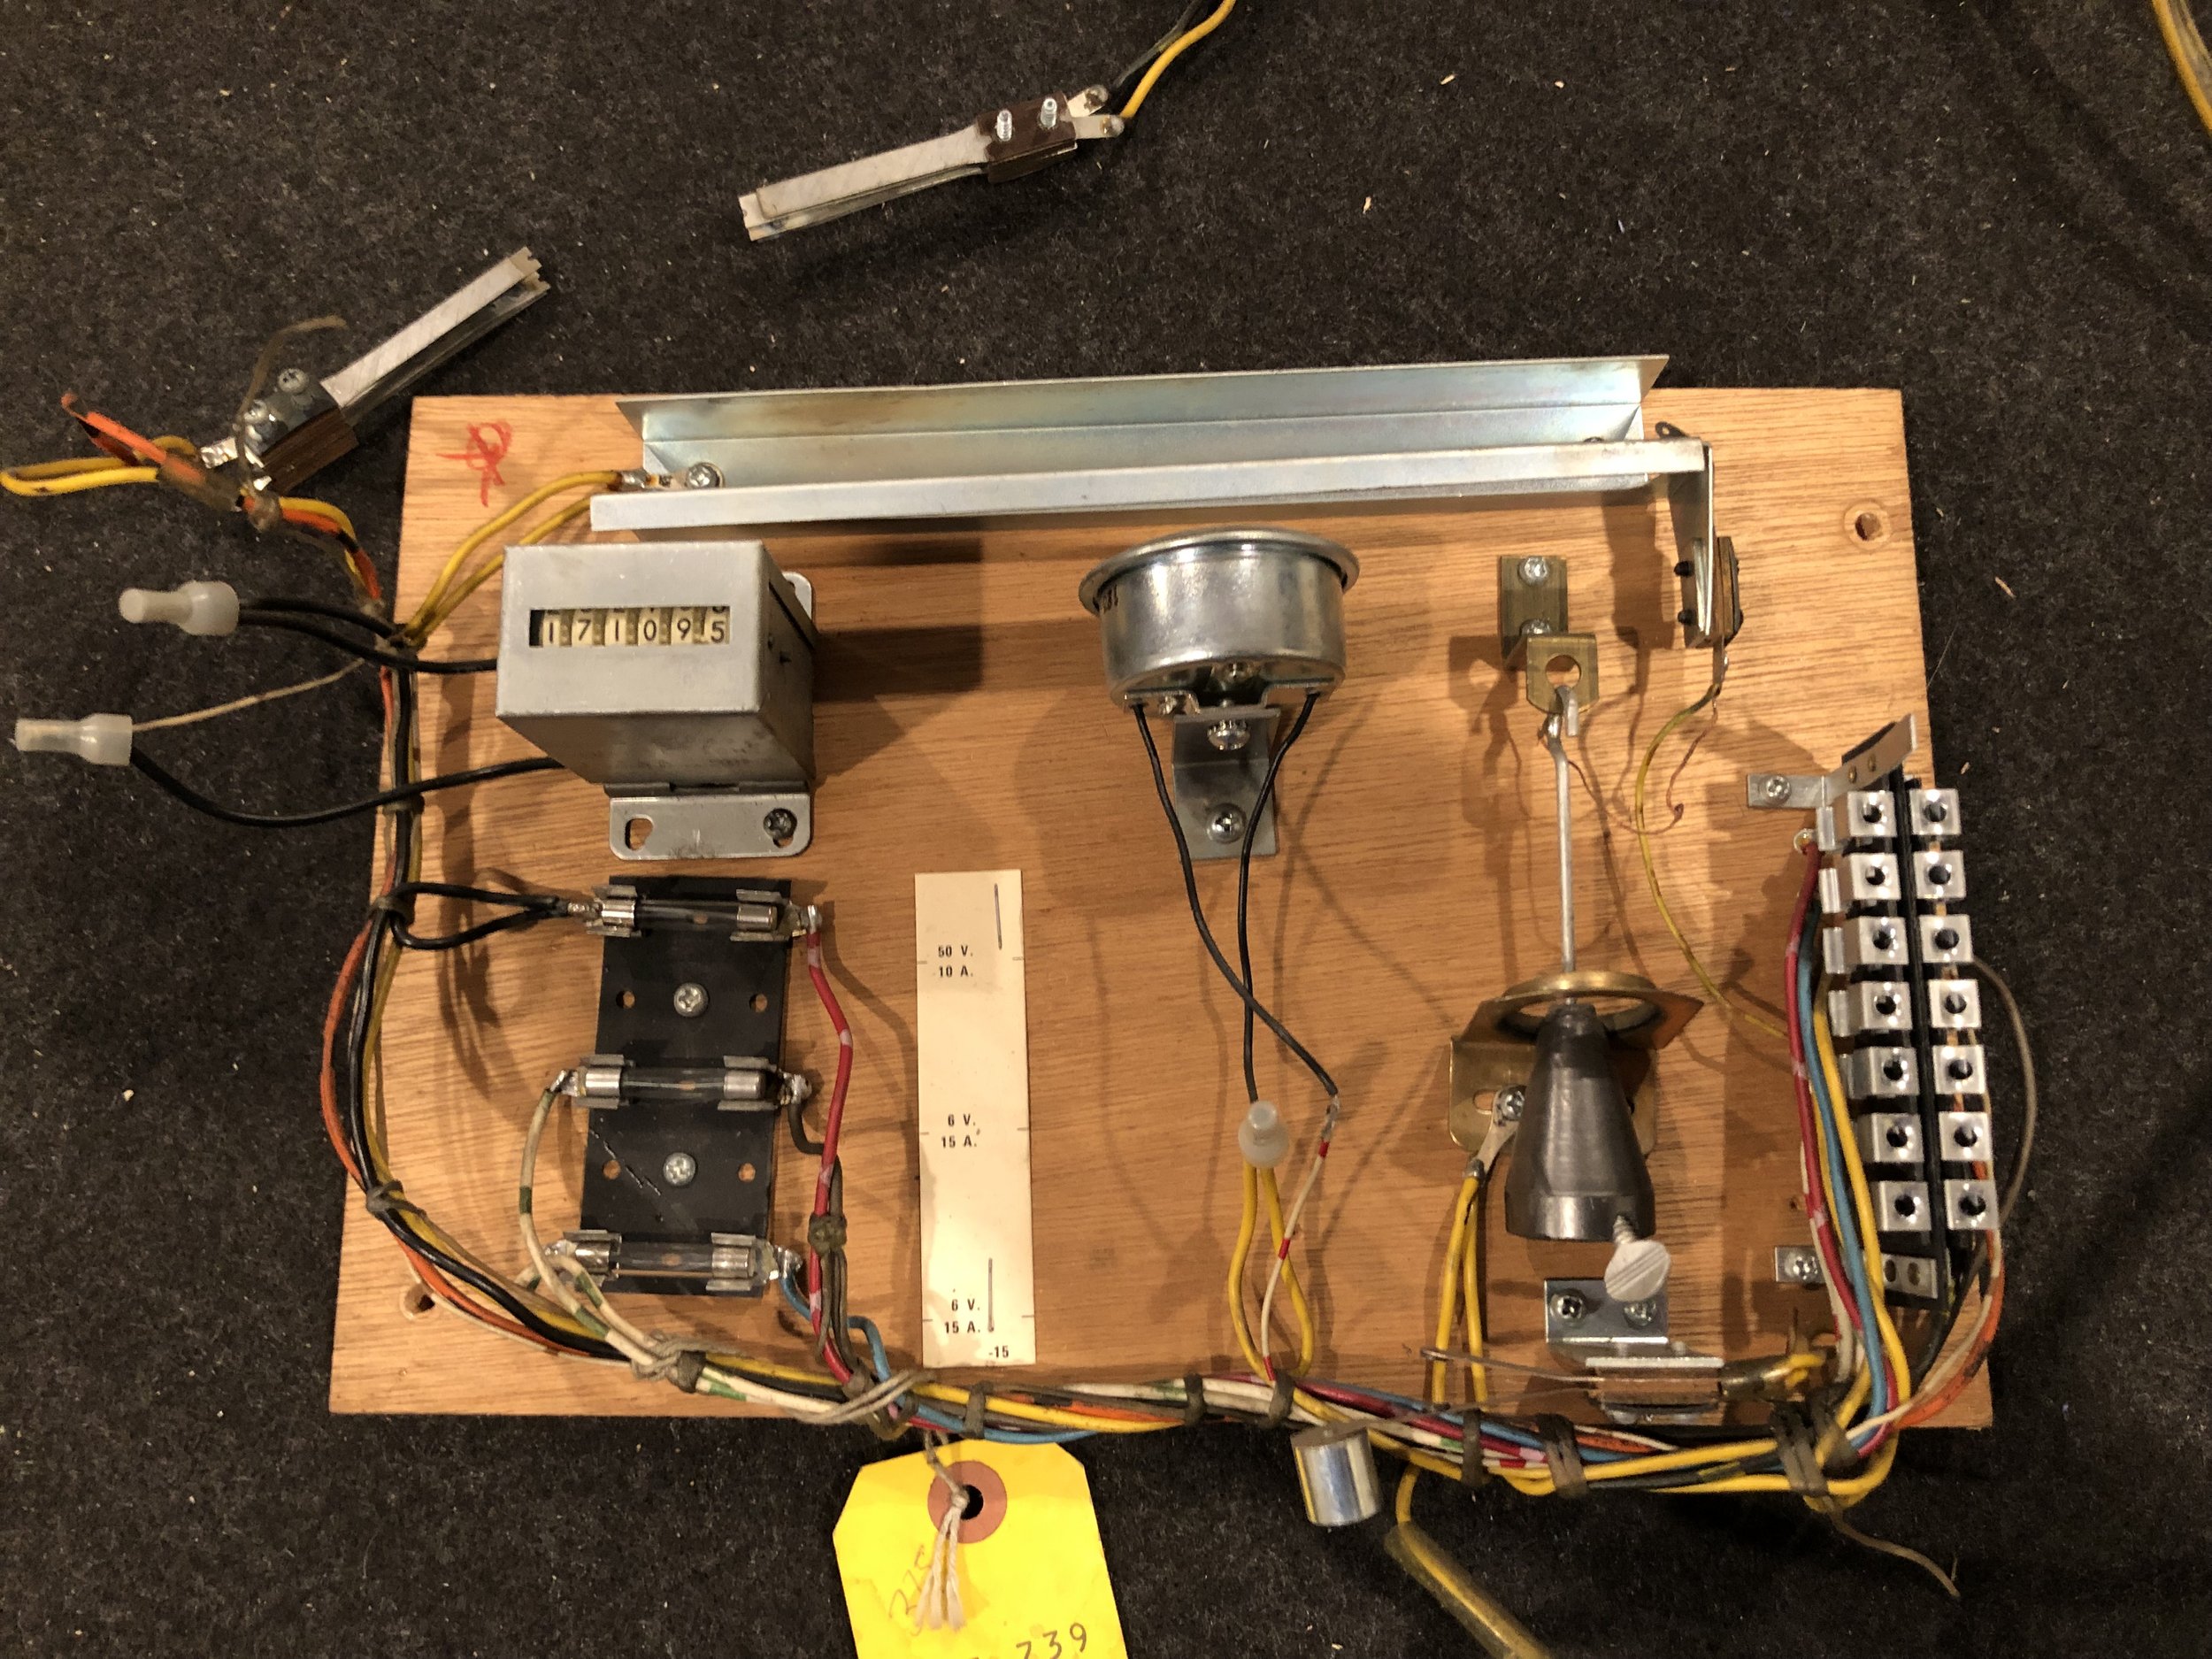
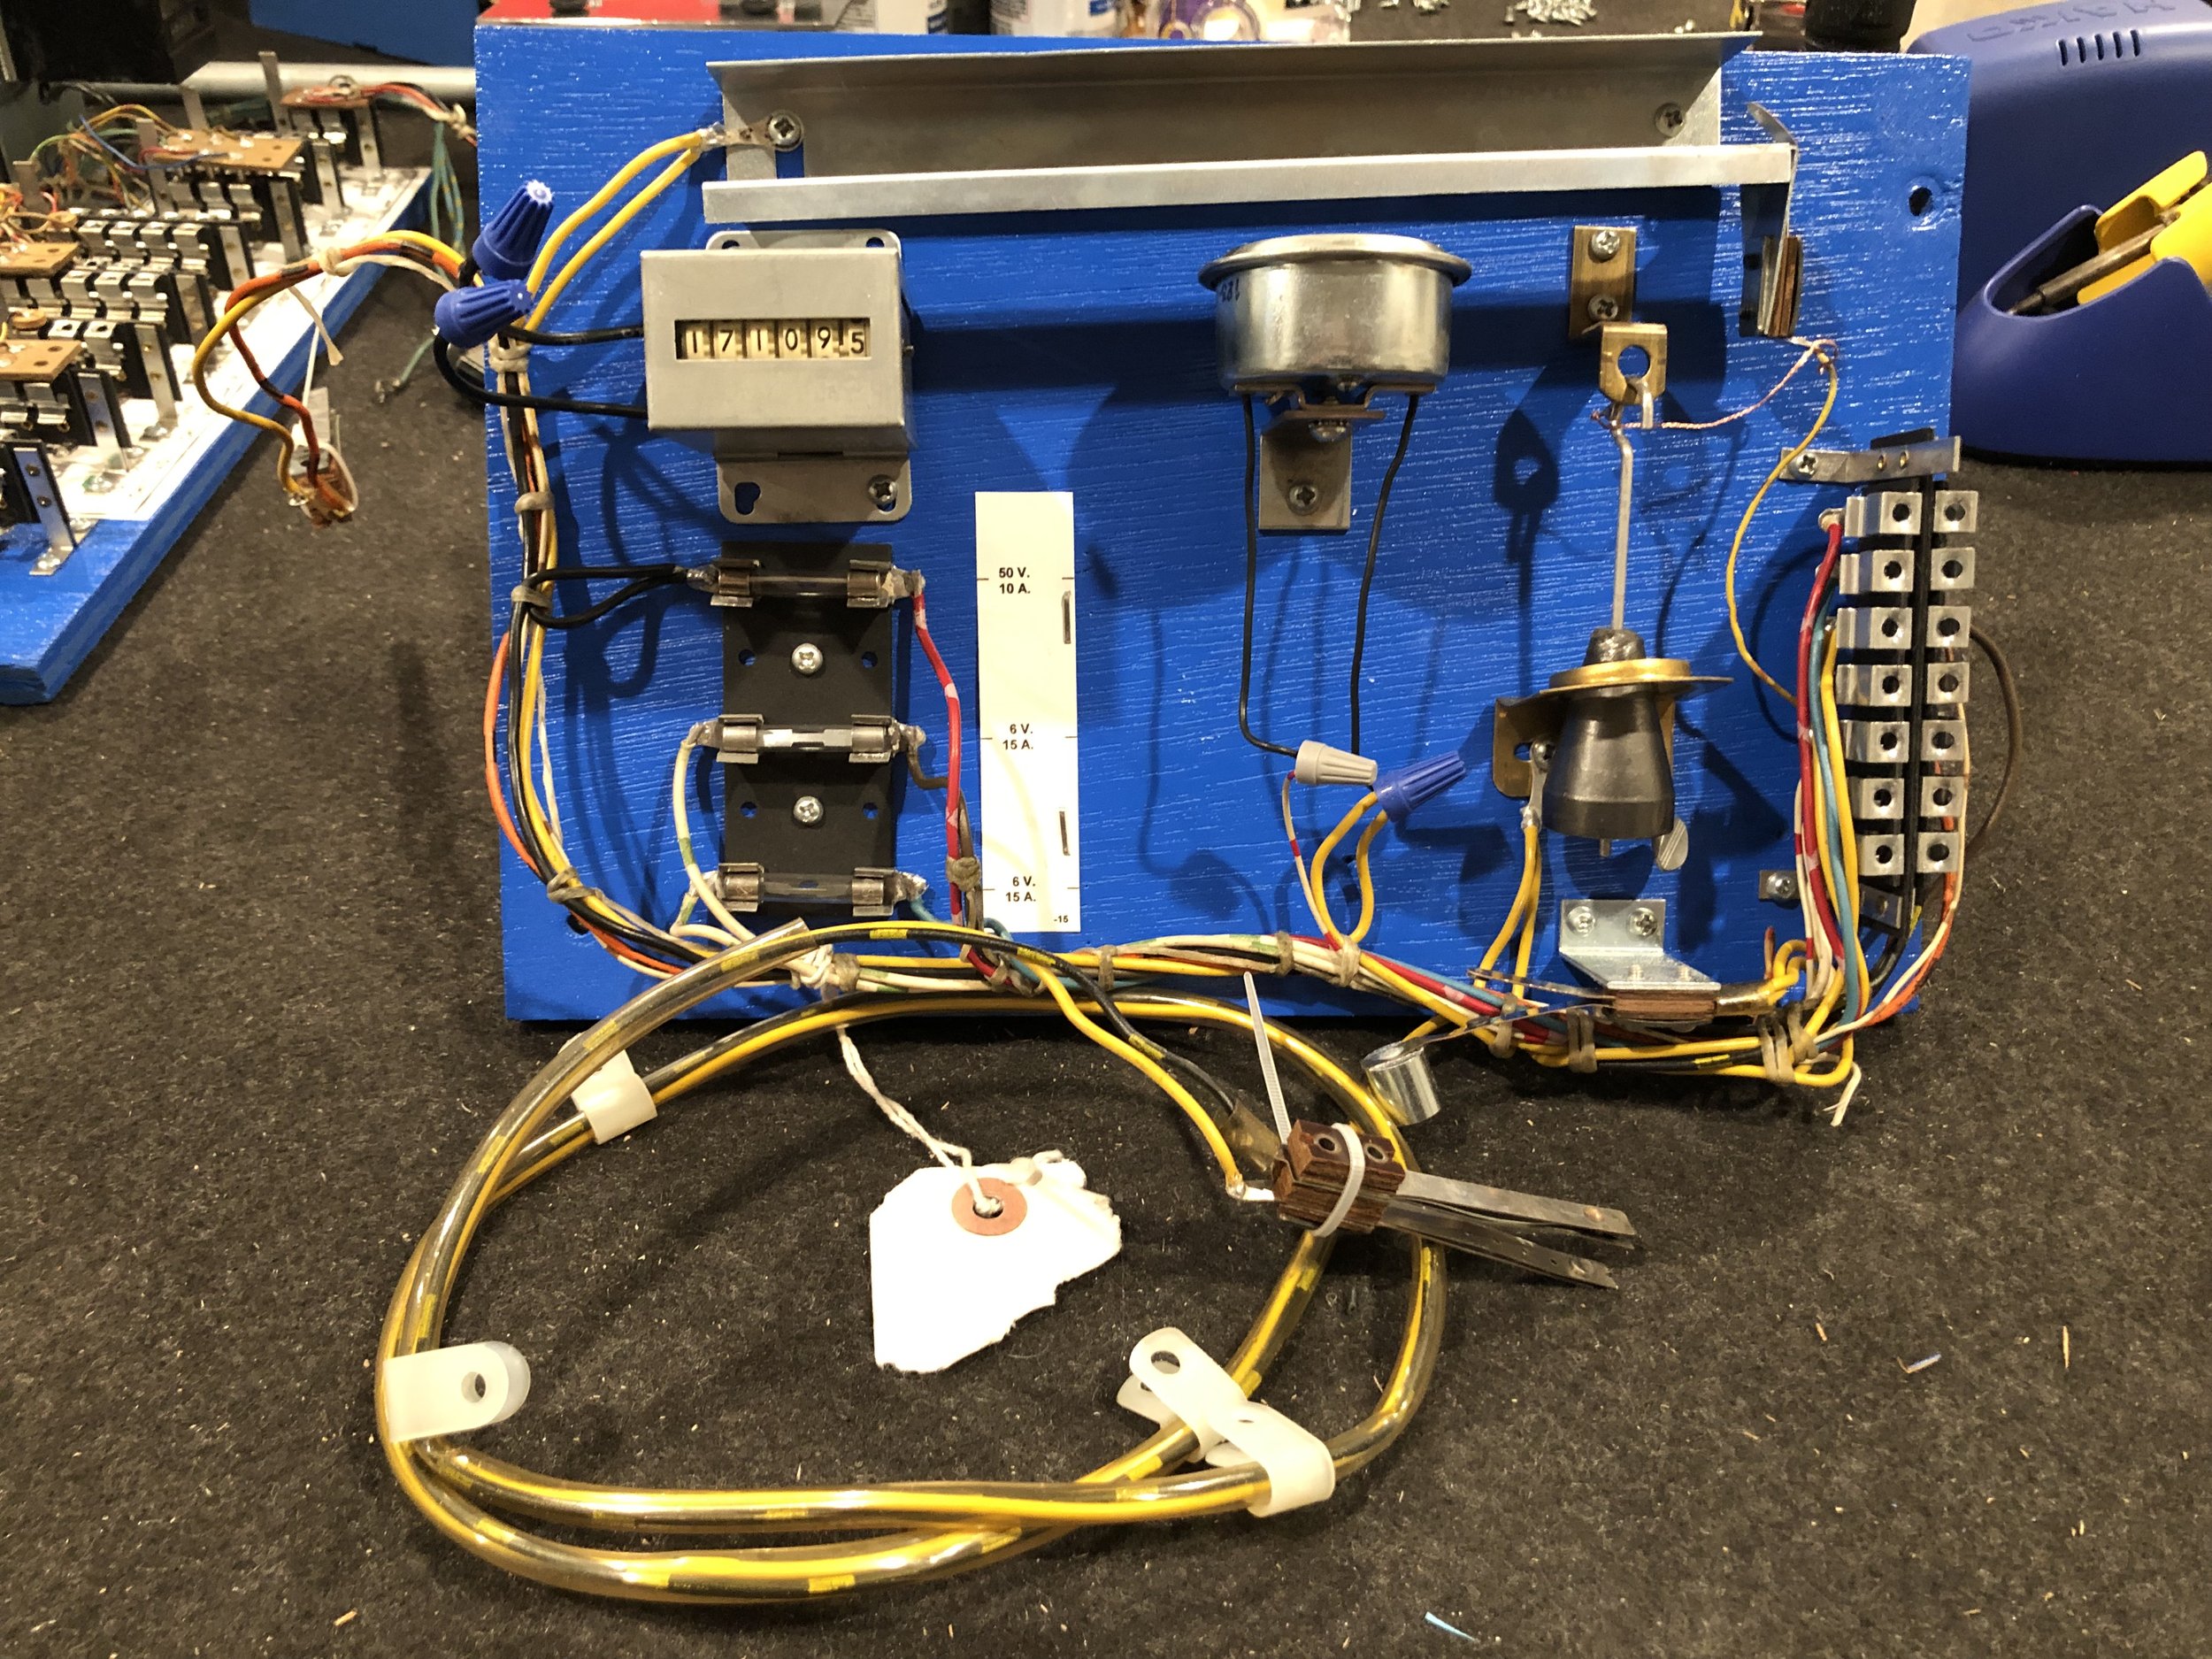
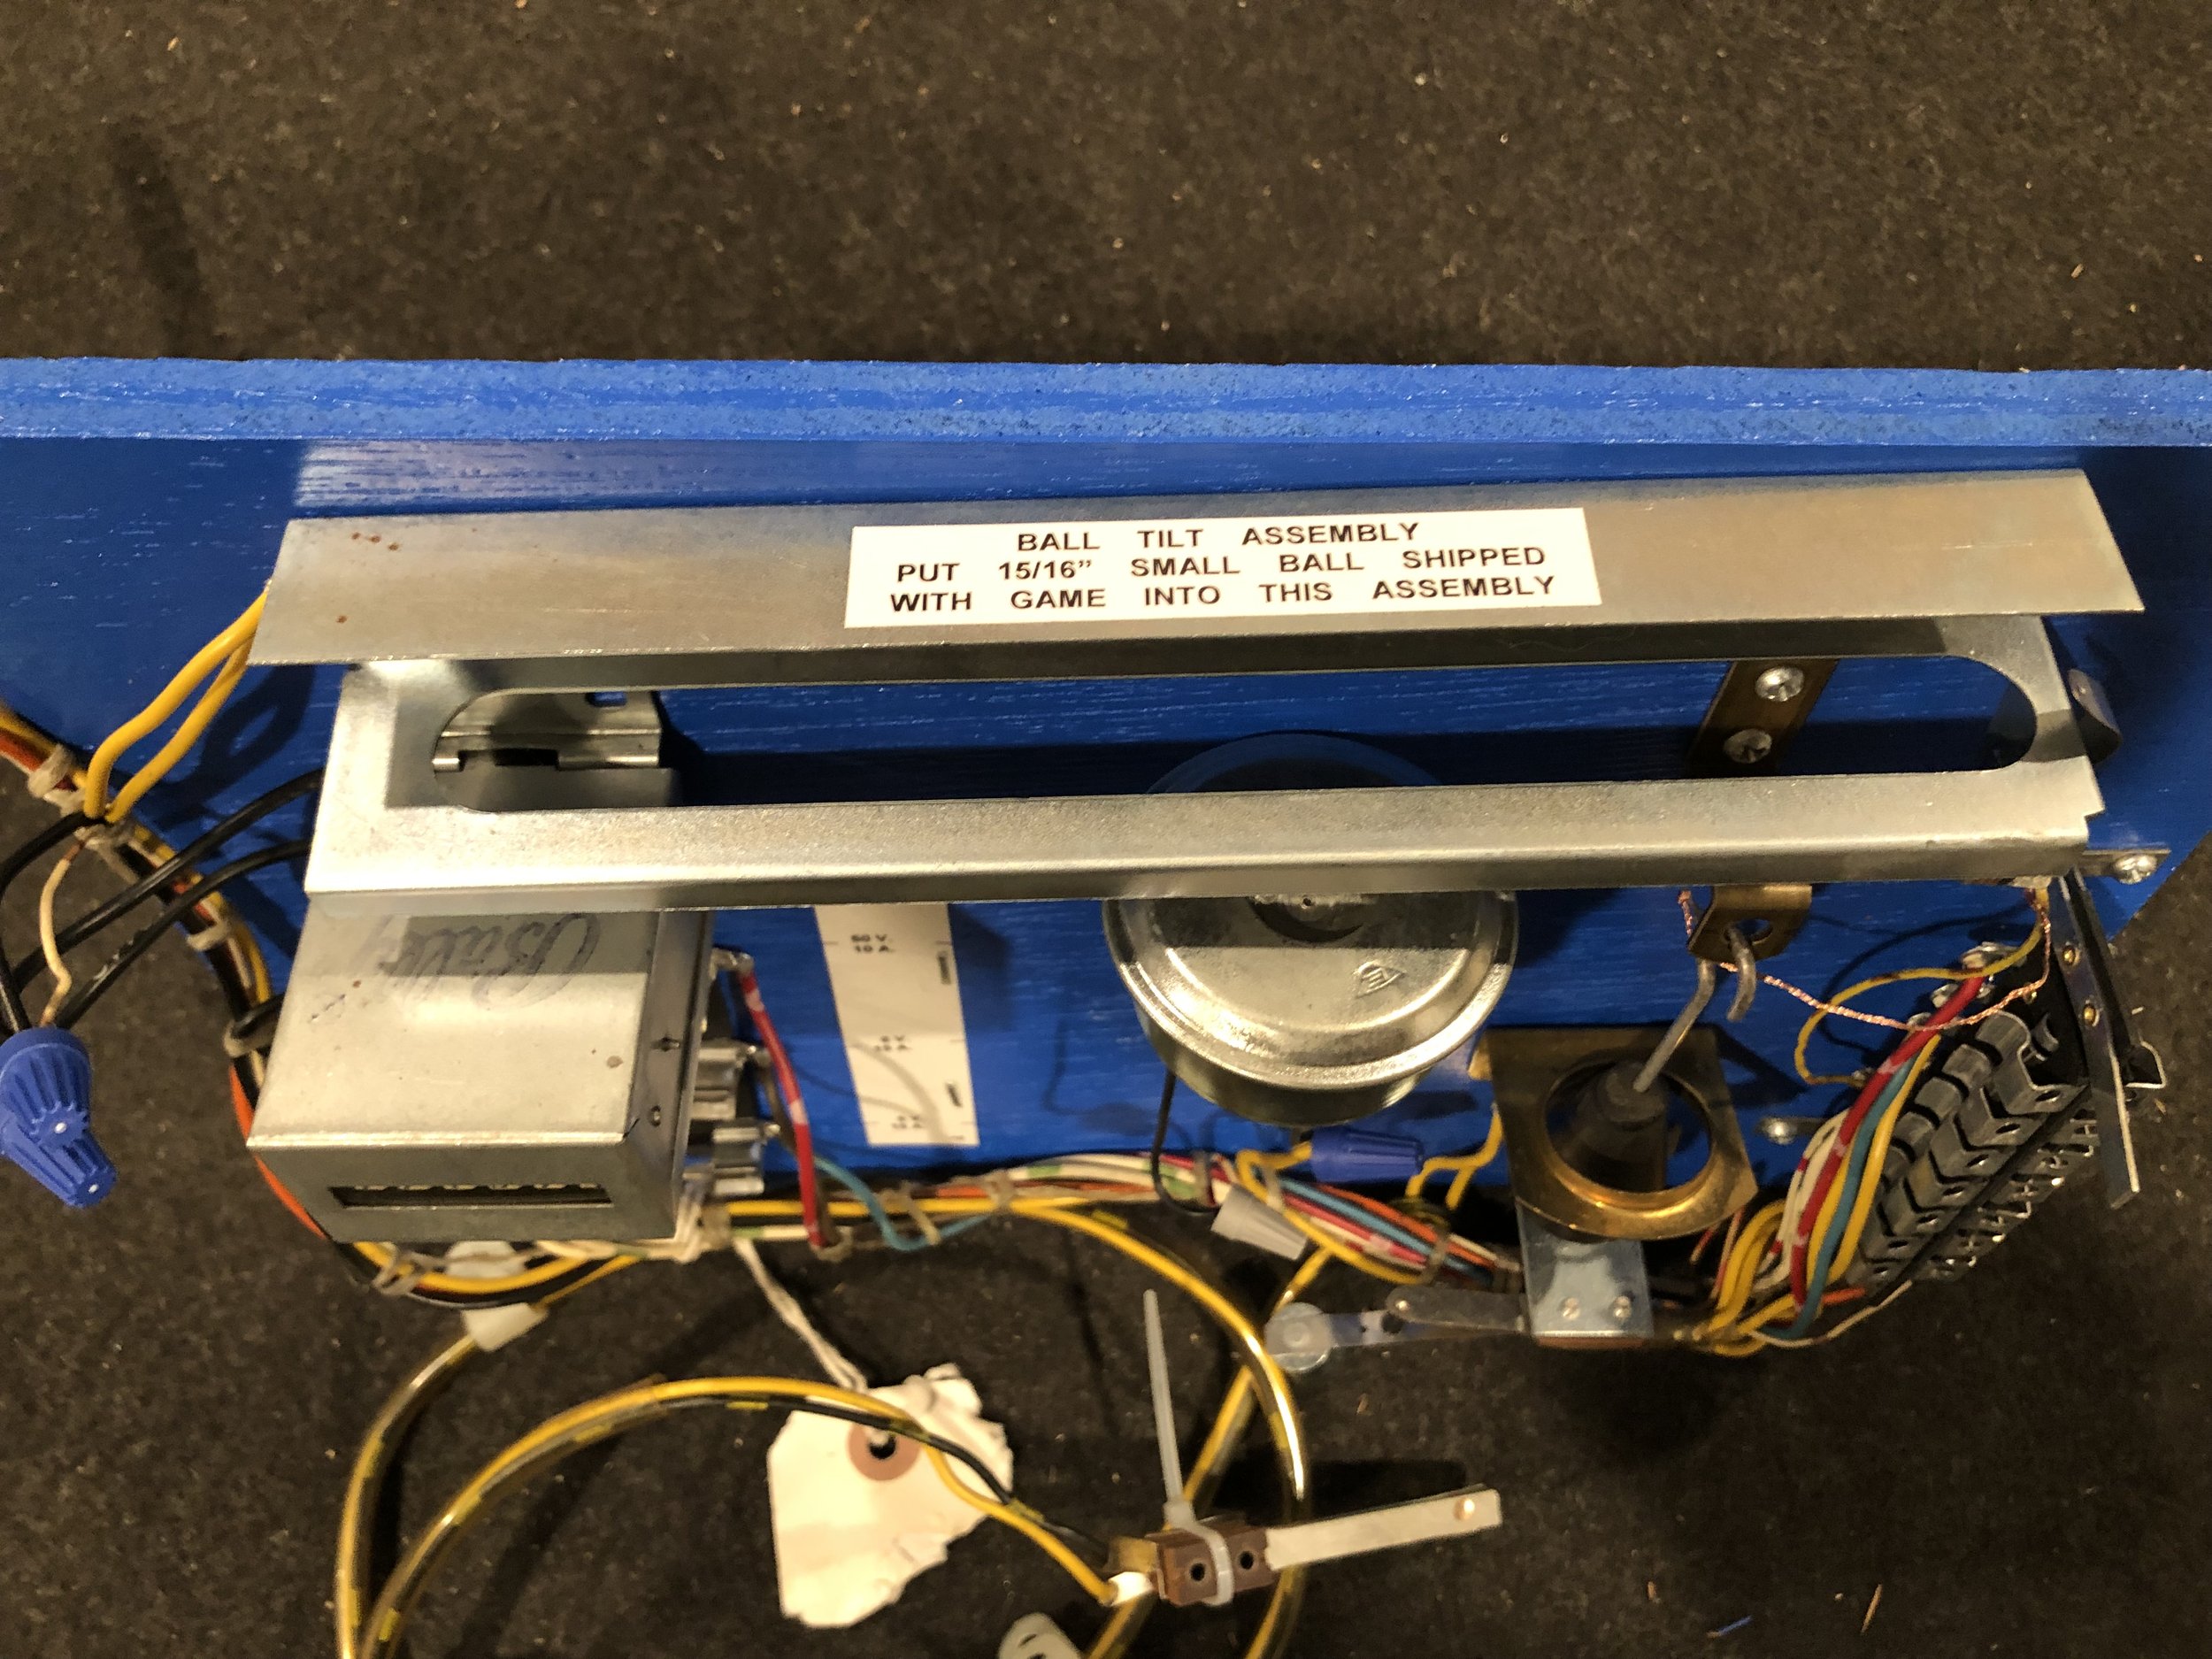
Everything was completely disassembled and either cleaned thoroughly or replaced with new parts. Small metal pieces got cleaned and polished in tumblers as well as with a bench buffer wheel. Larger metal pieces were cleaned and polished by hand. The wire harness was soaked in Mean Green degreaser fluid and then went thru a rinse cycle in the dishwasher. The main EM board at the bottom of the cabinet received the same Mean Green degreaser treatment and got rinsed with a hose out in the driveway (with drying instigated with a heat gun on low) and then all of the electronics were removed from the EM board so the board could be sanded and repainted.
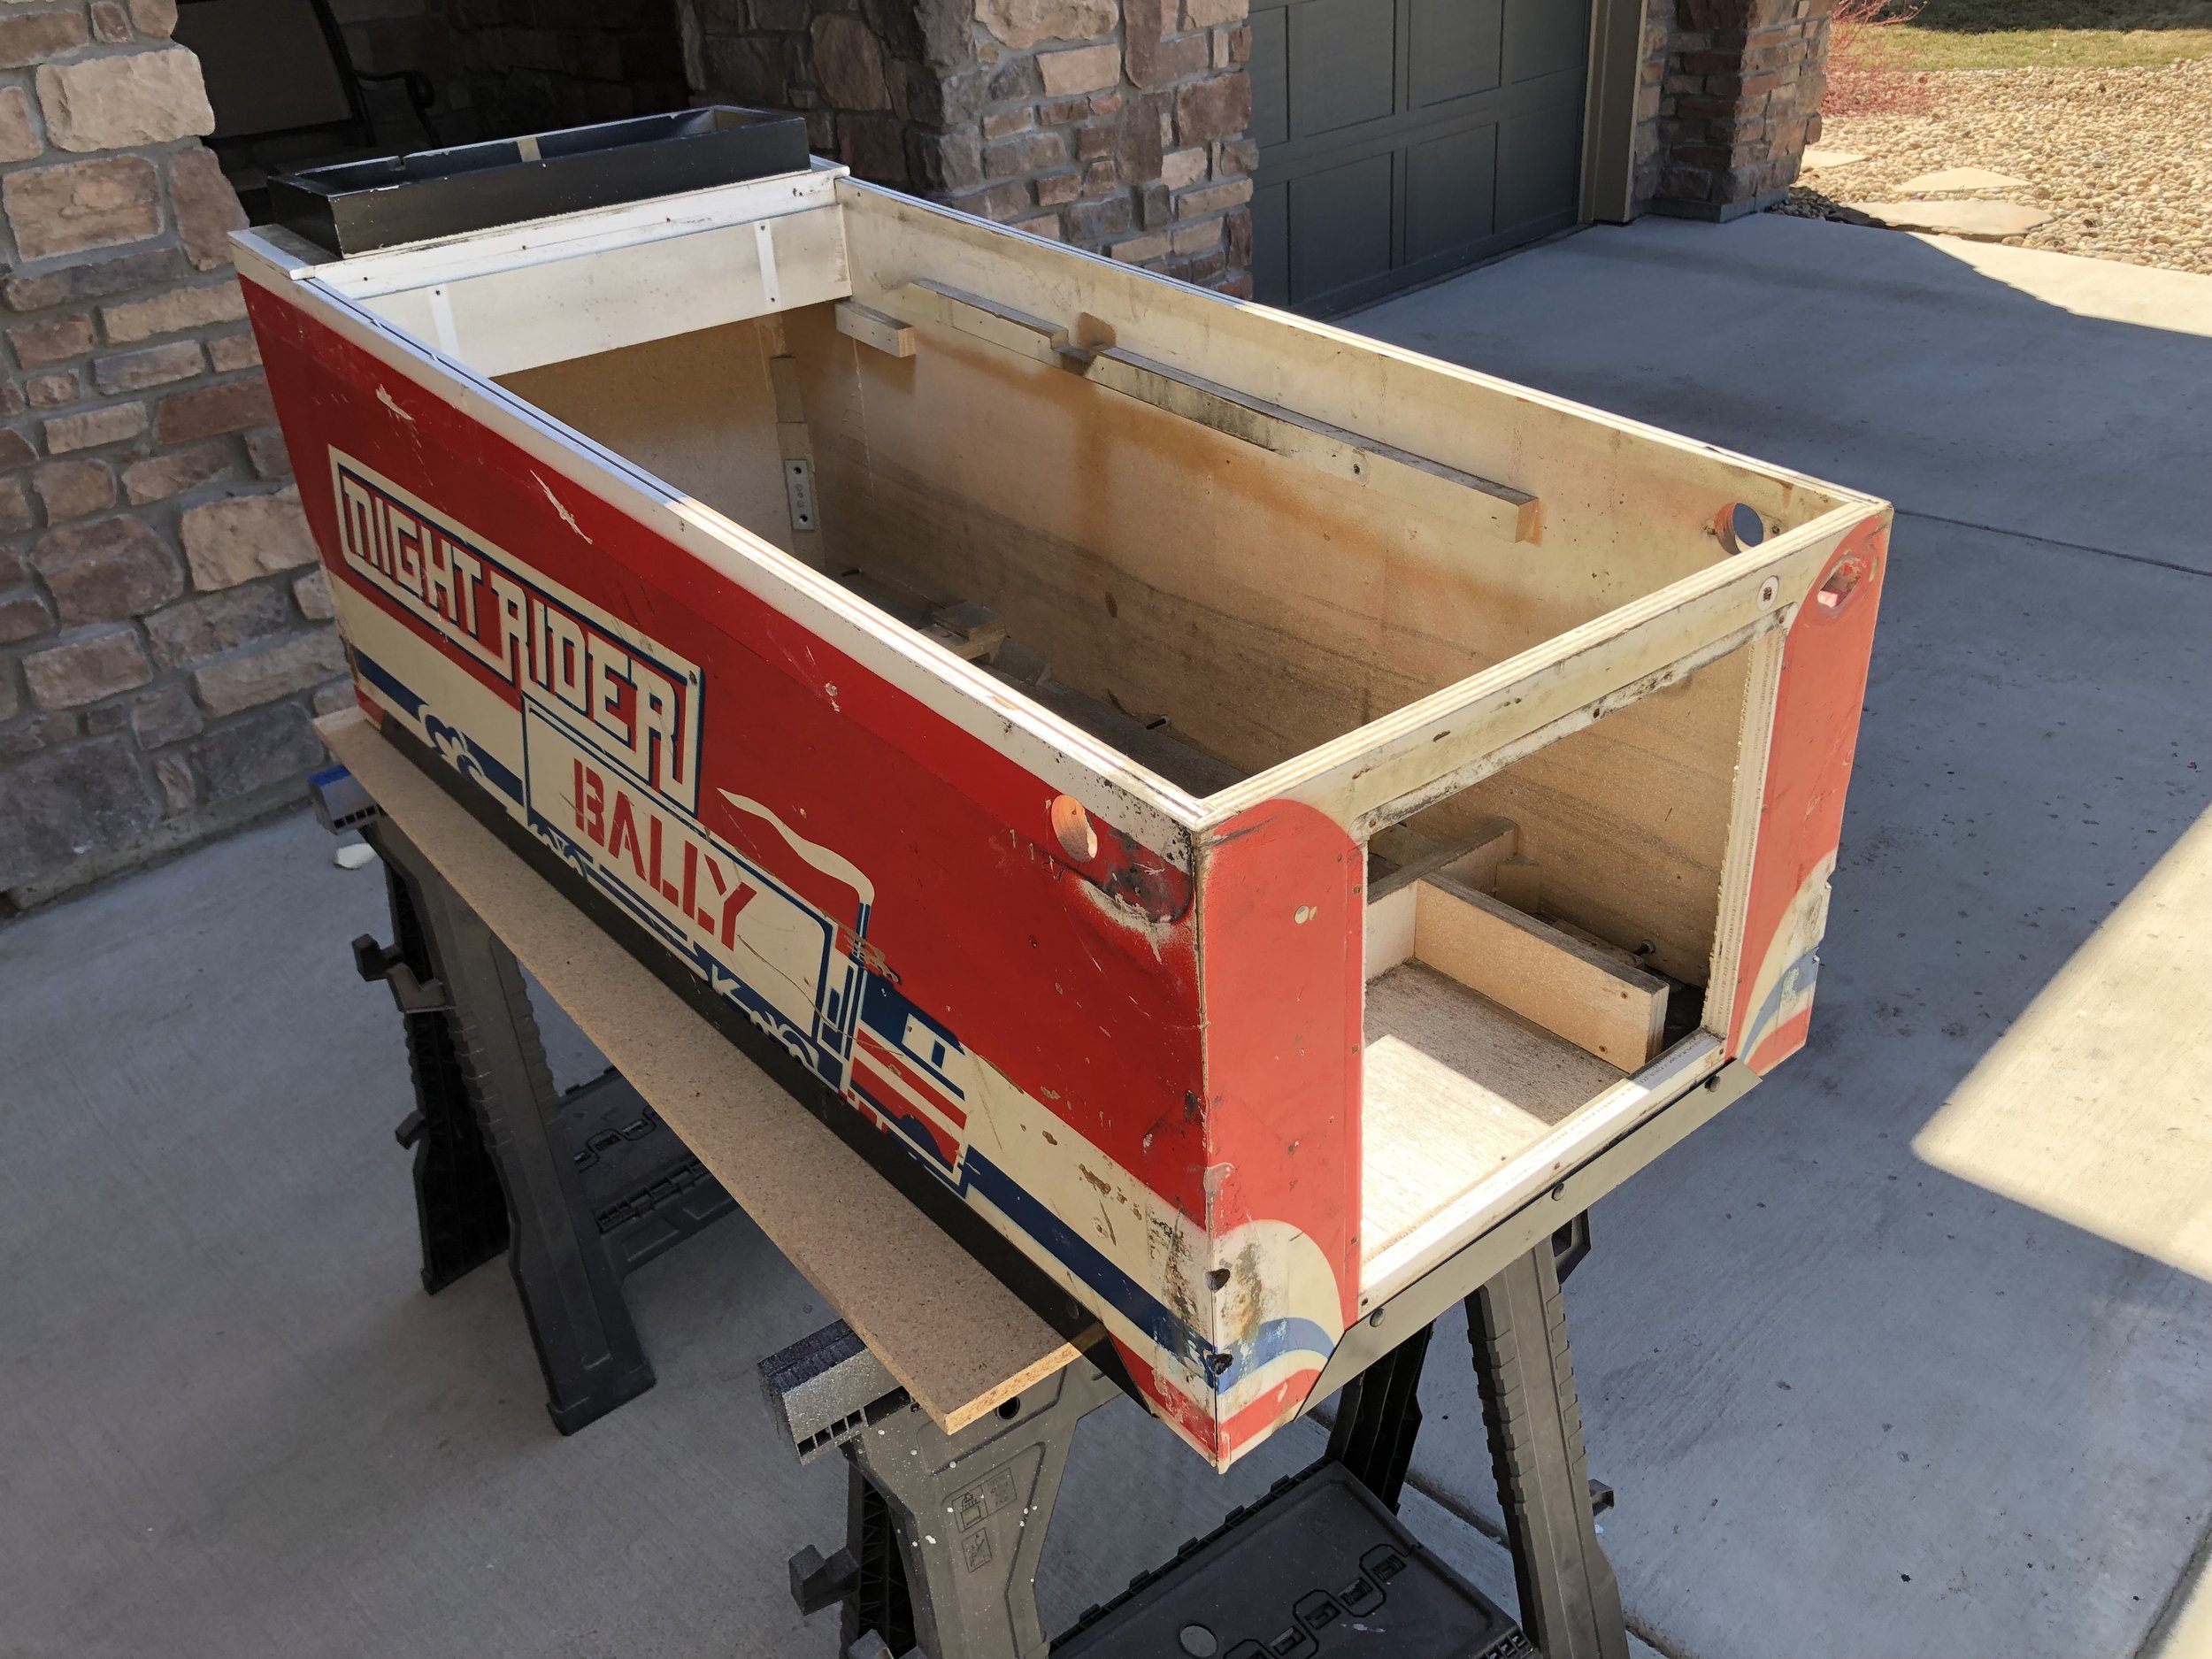
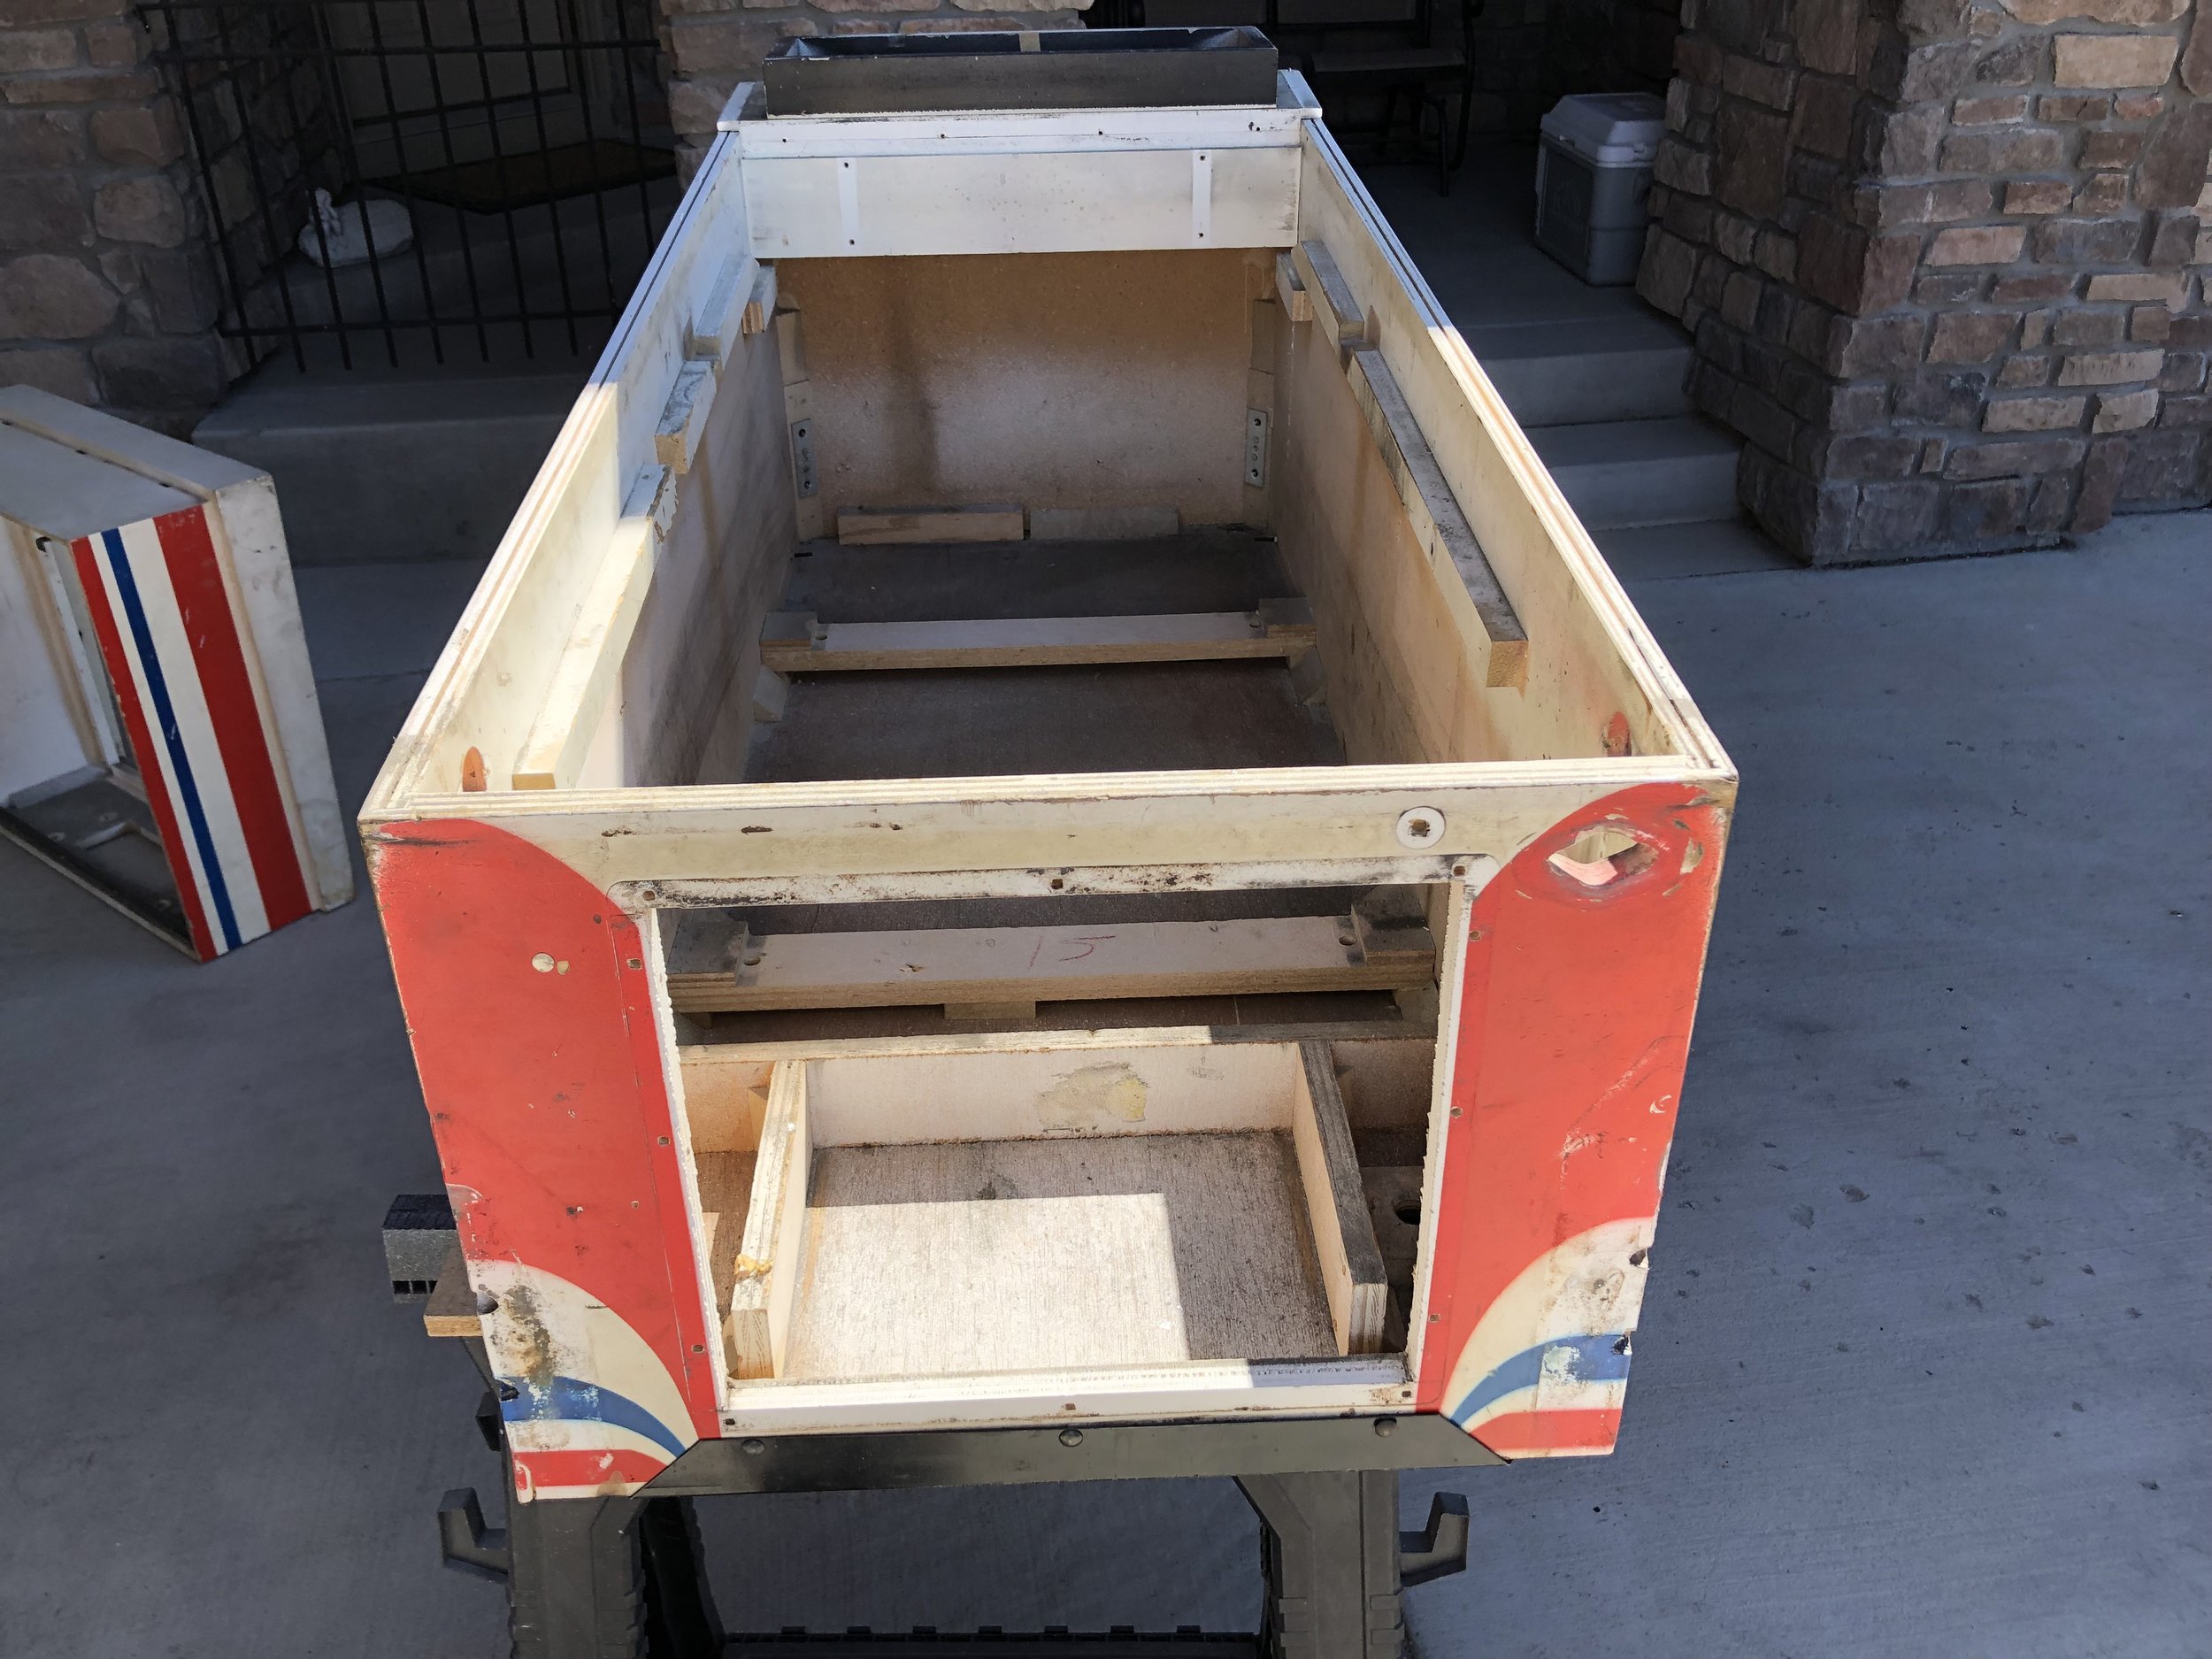
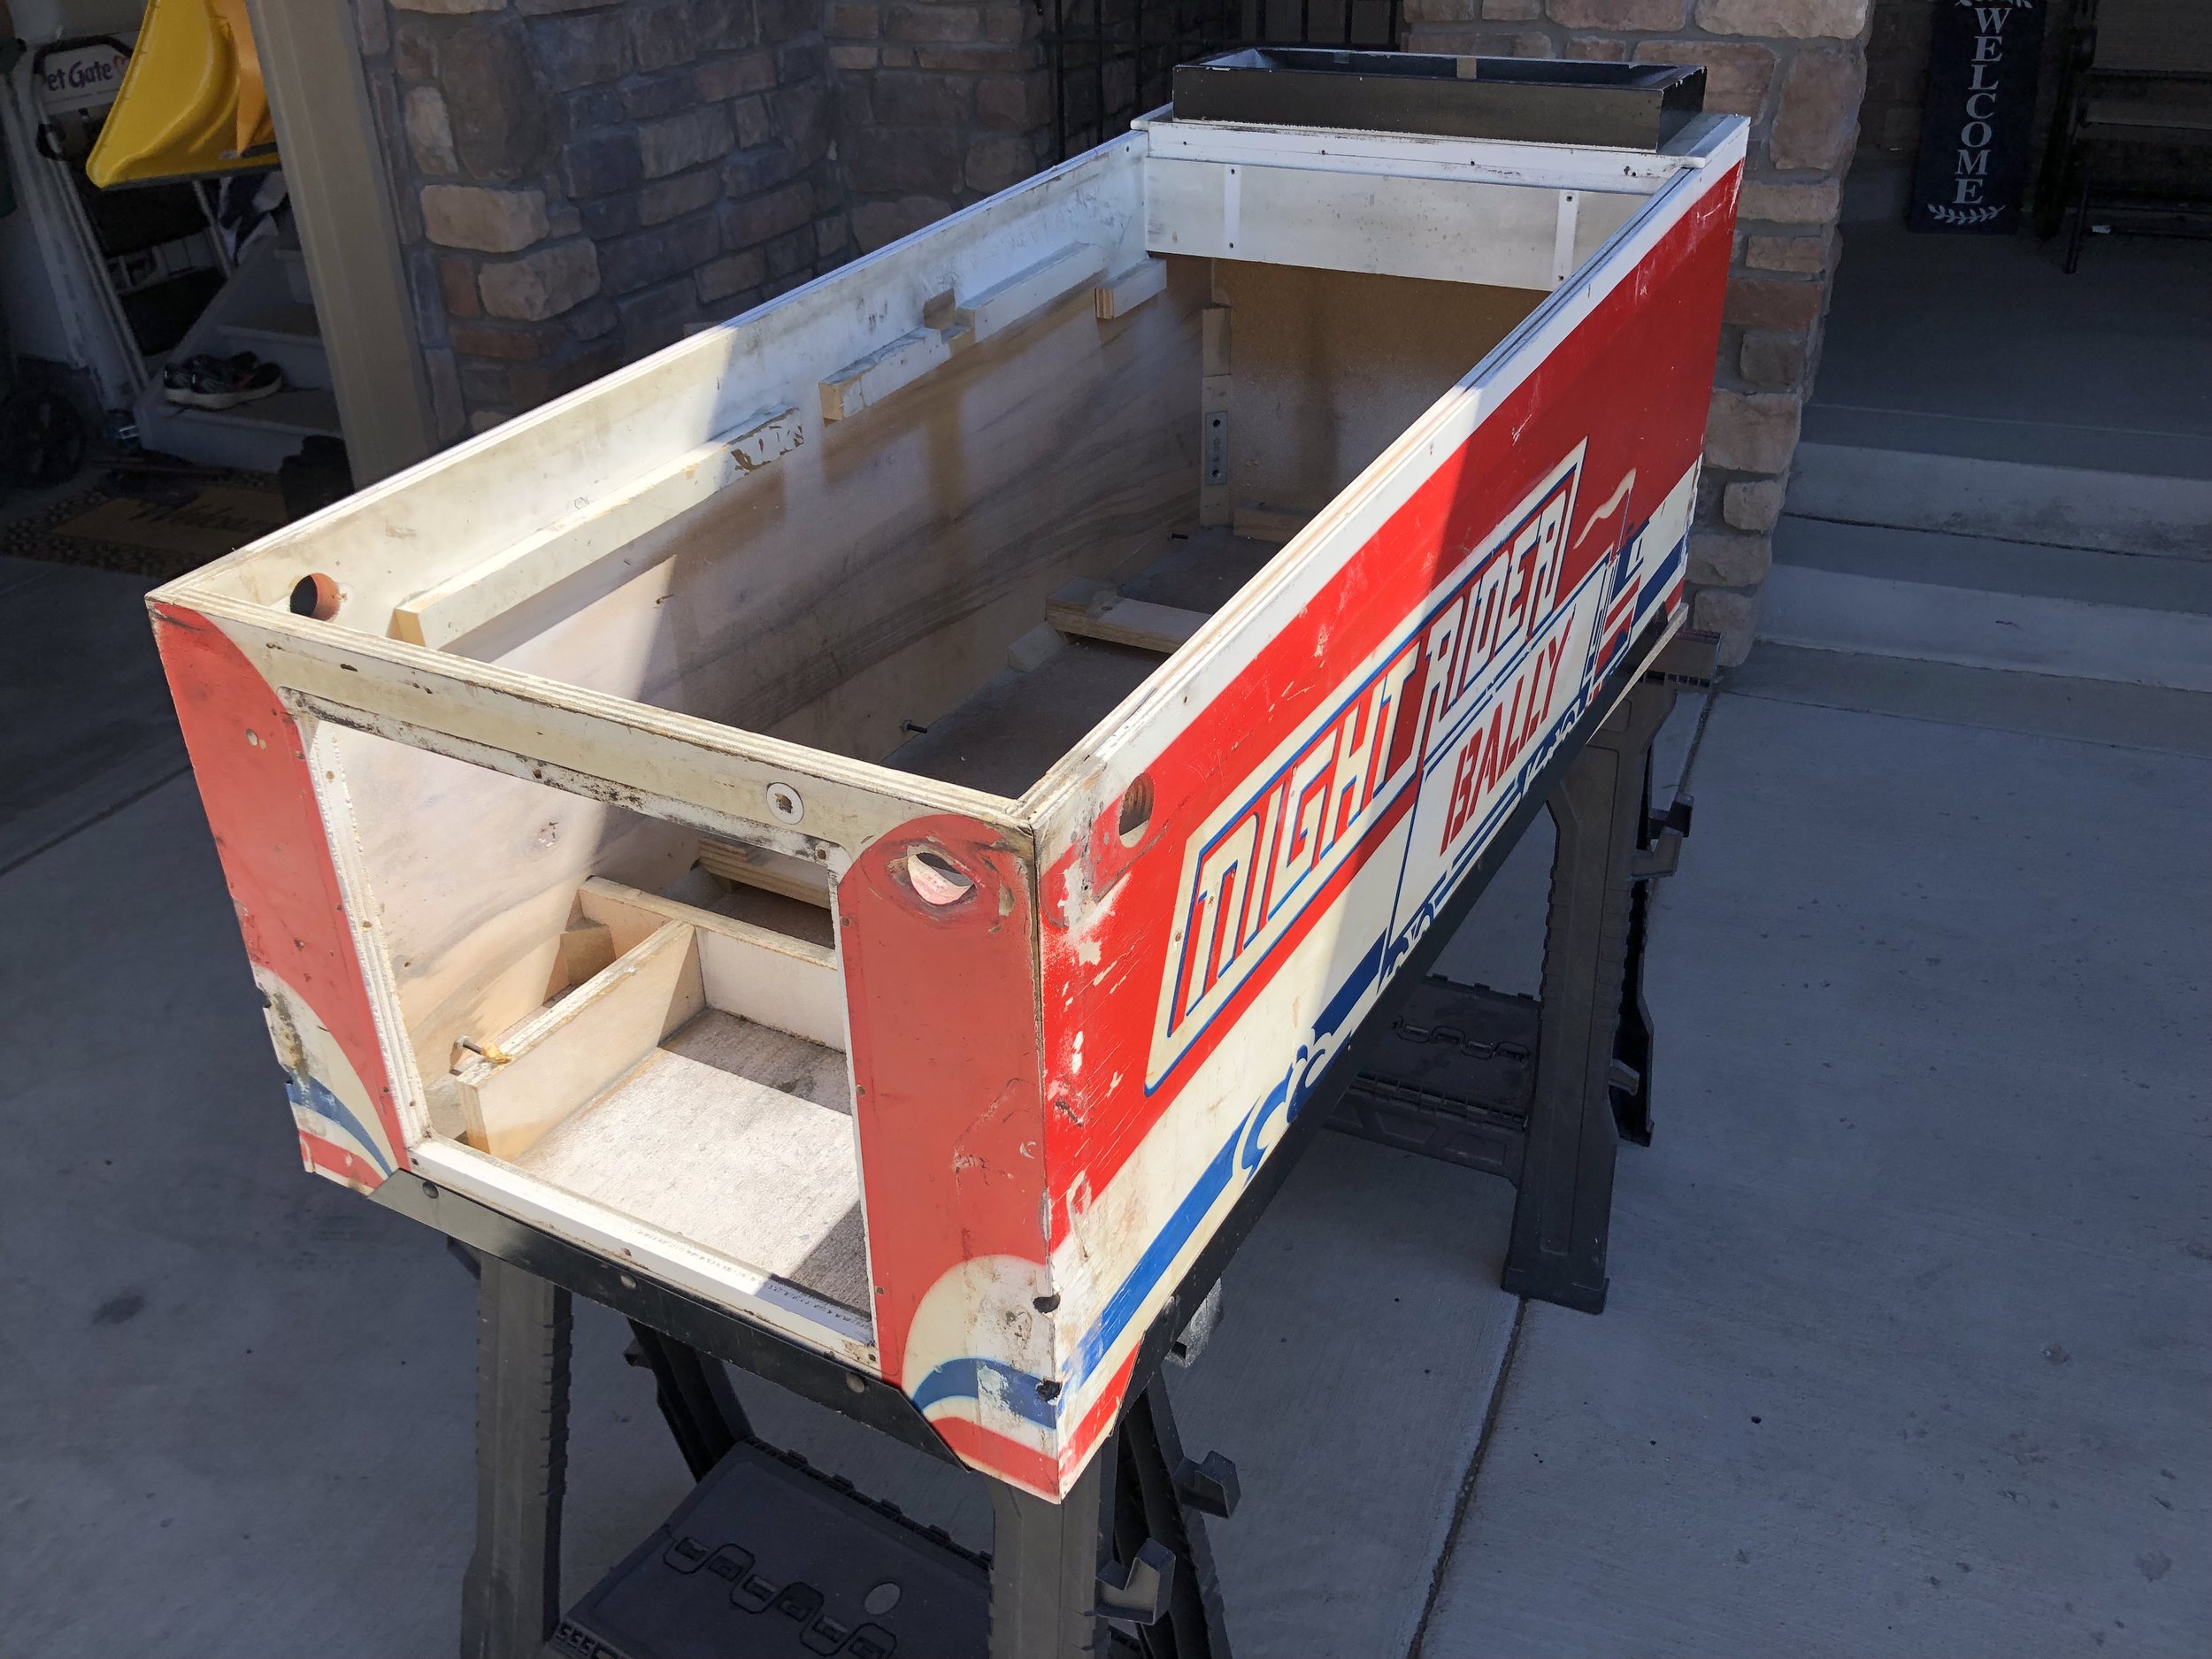
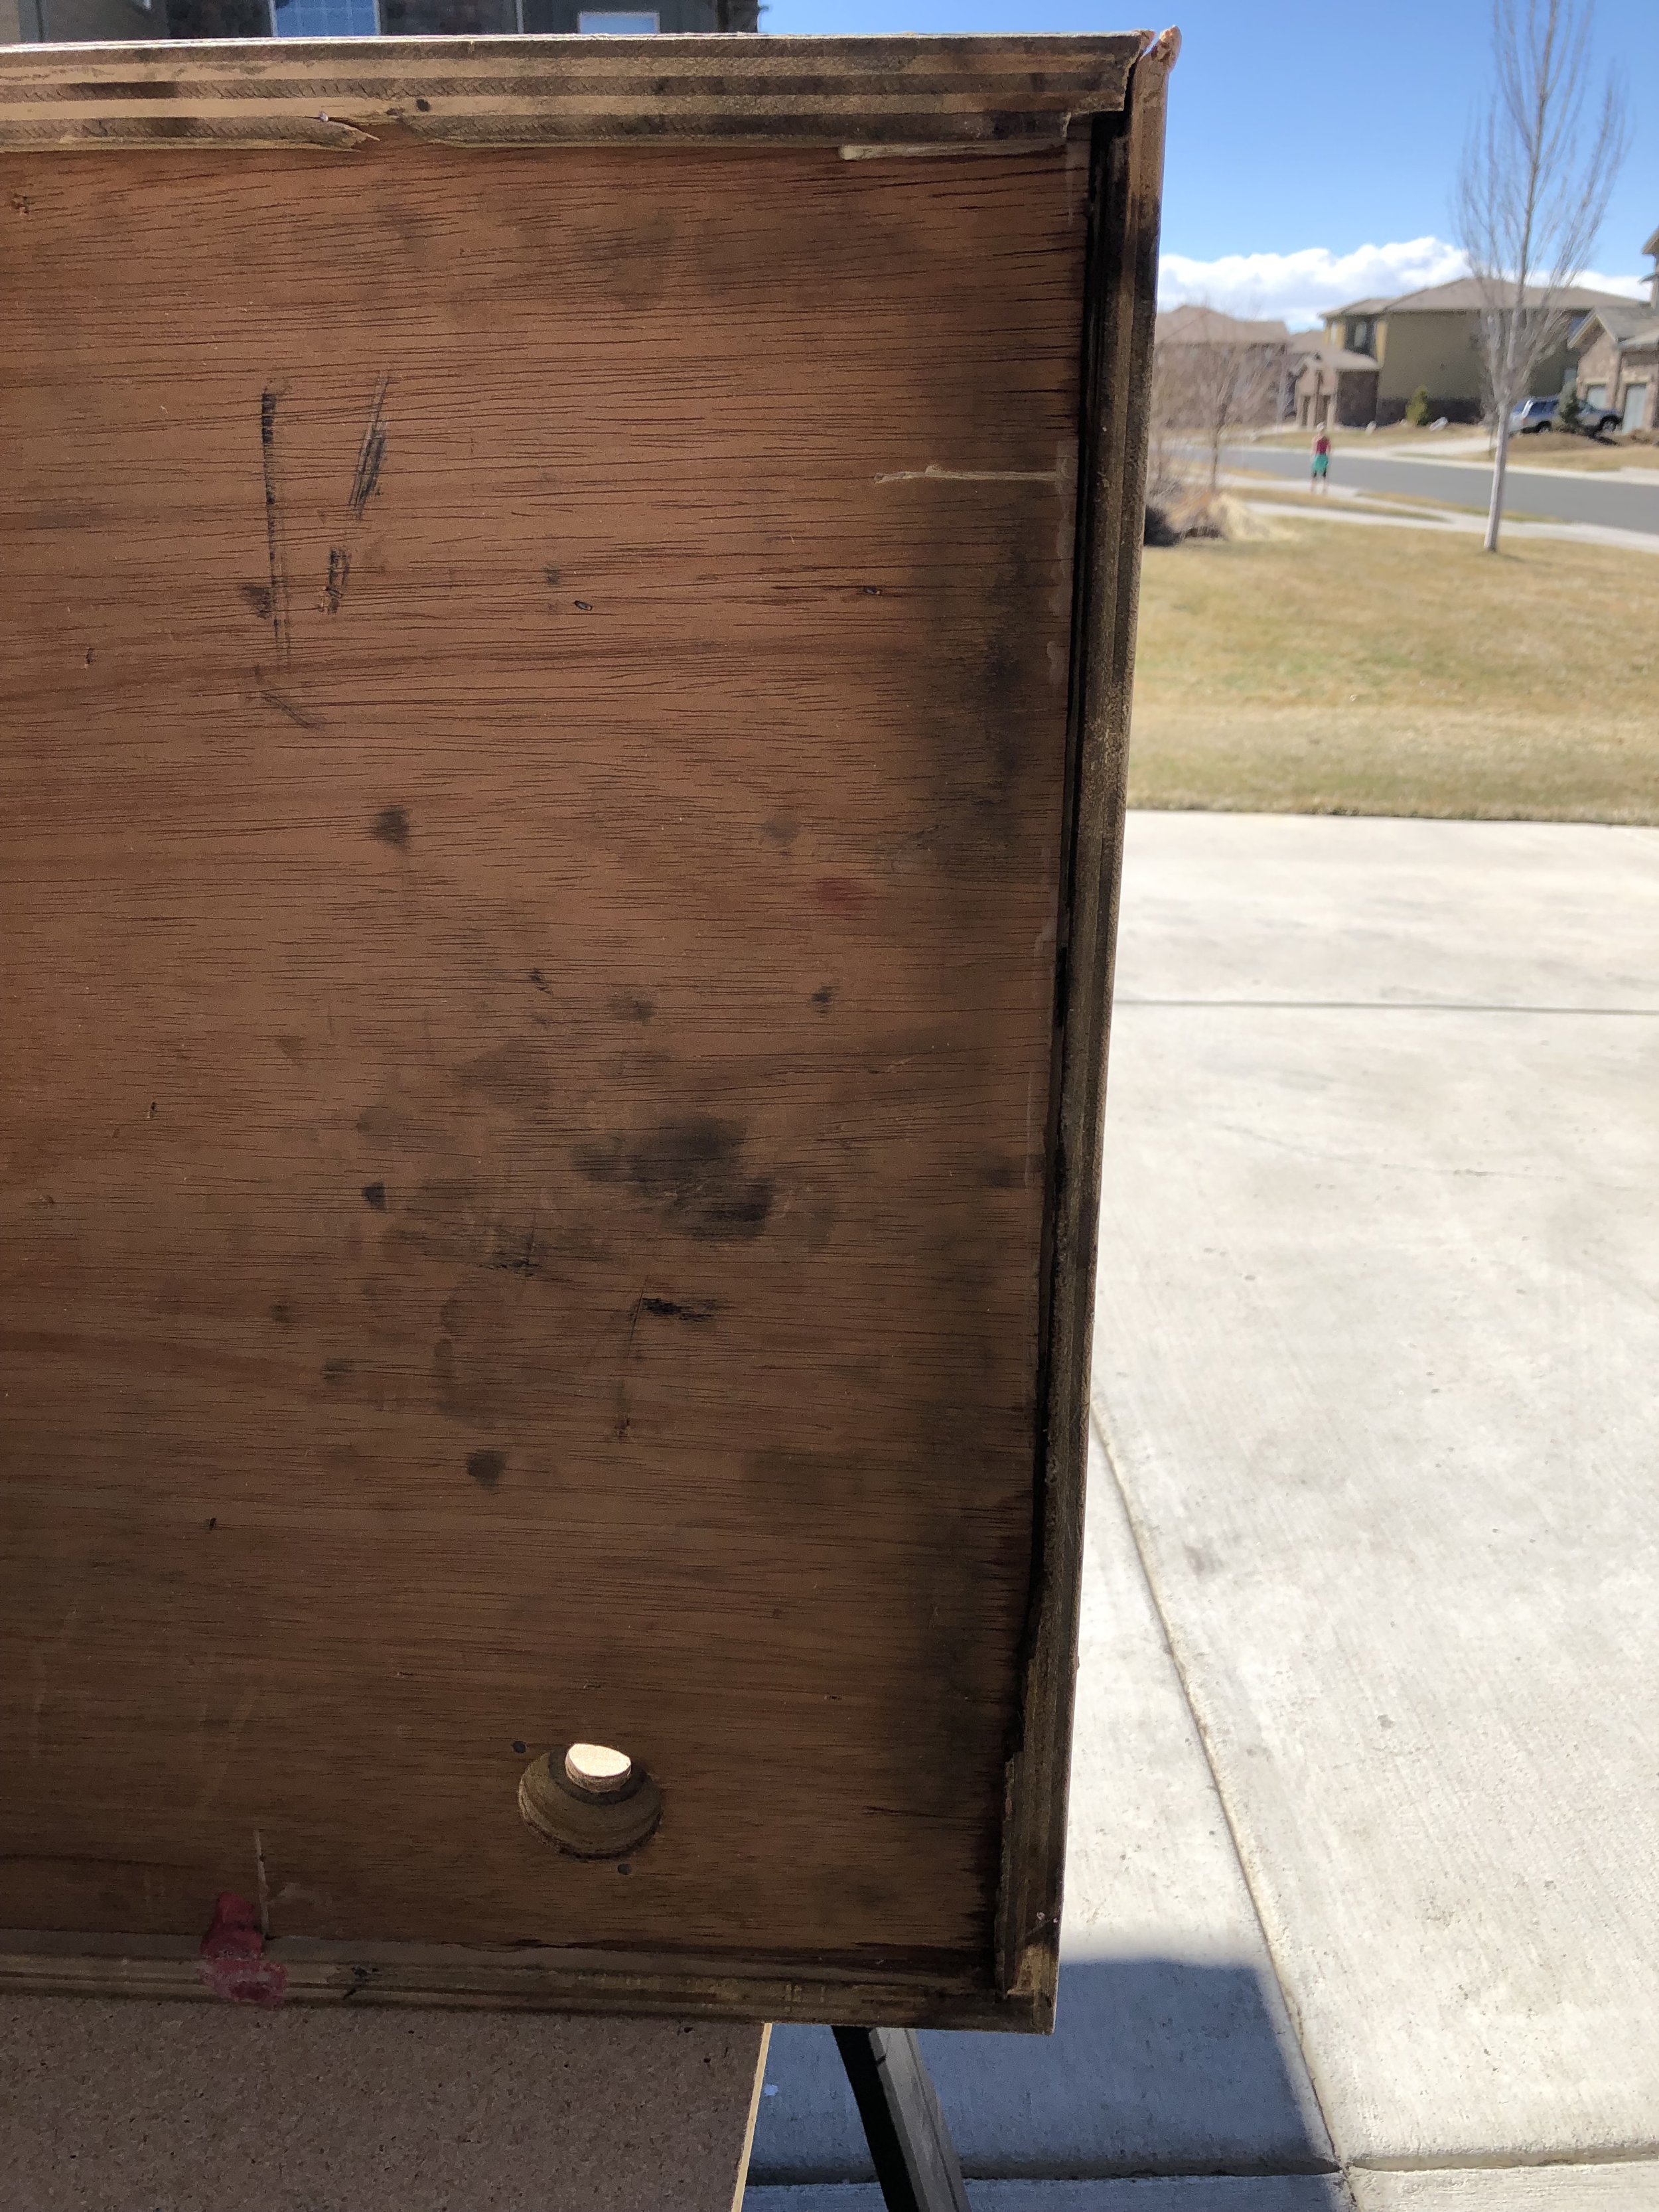
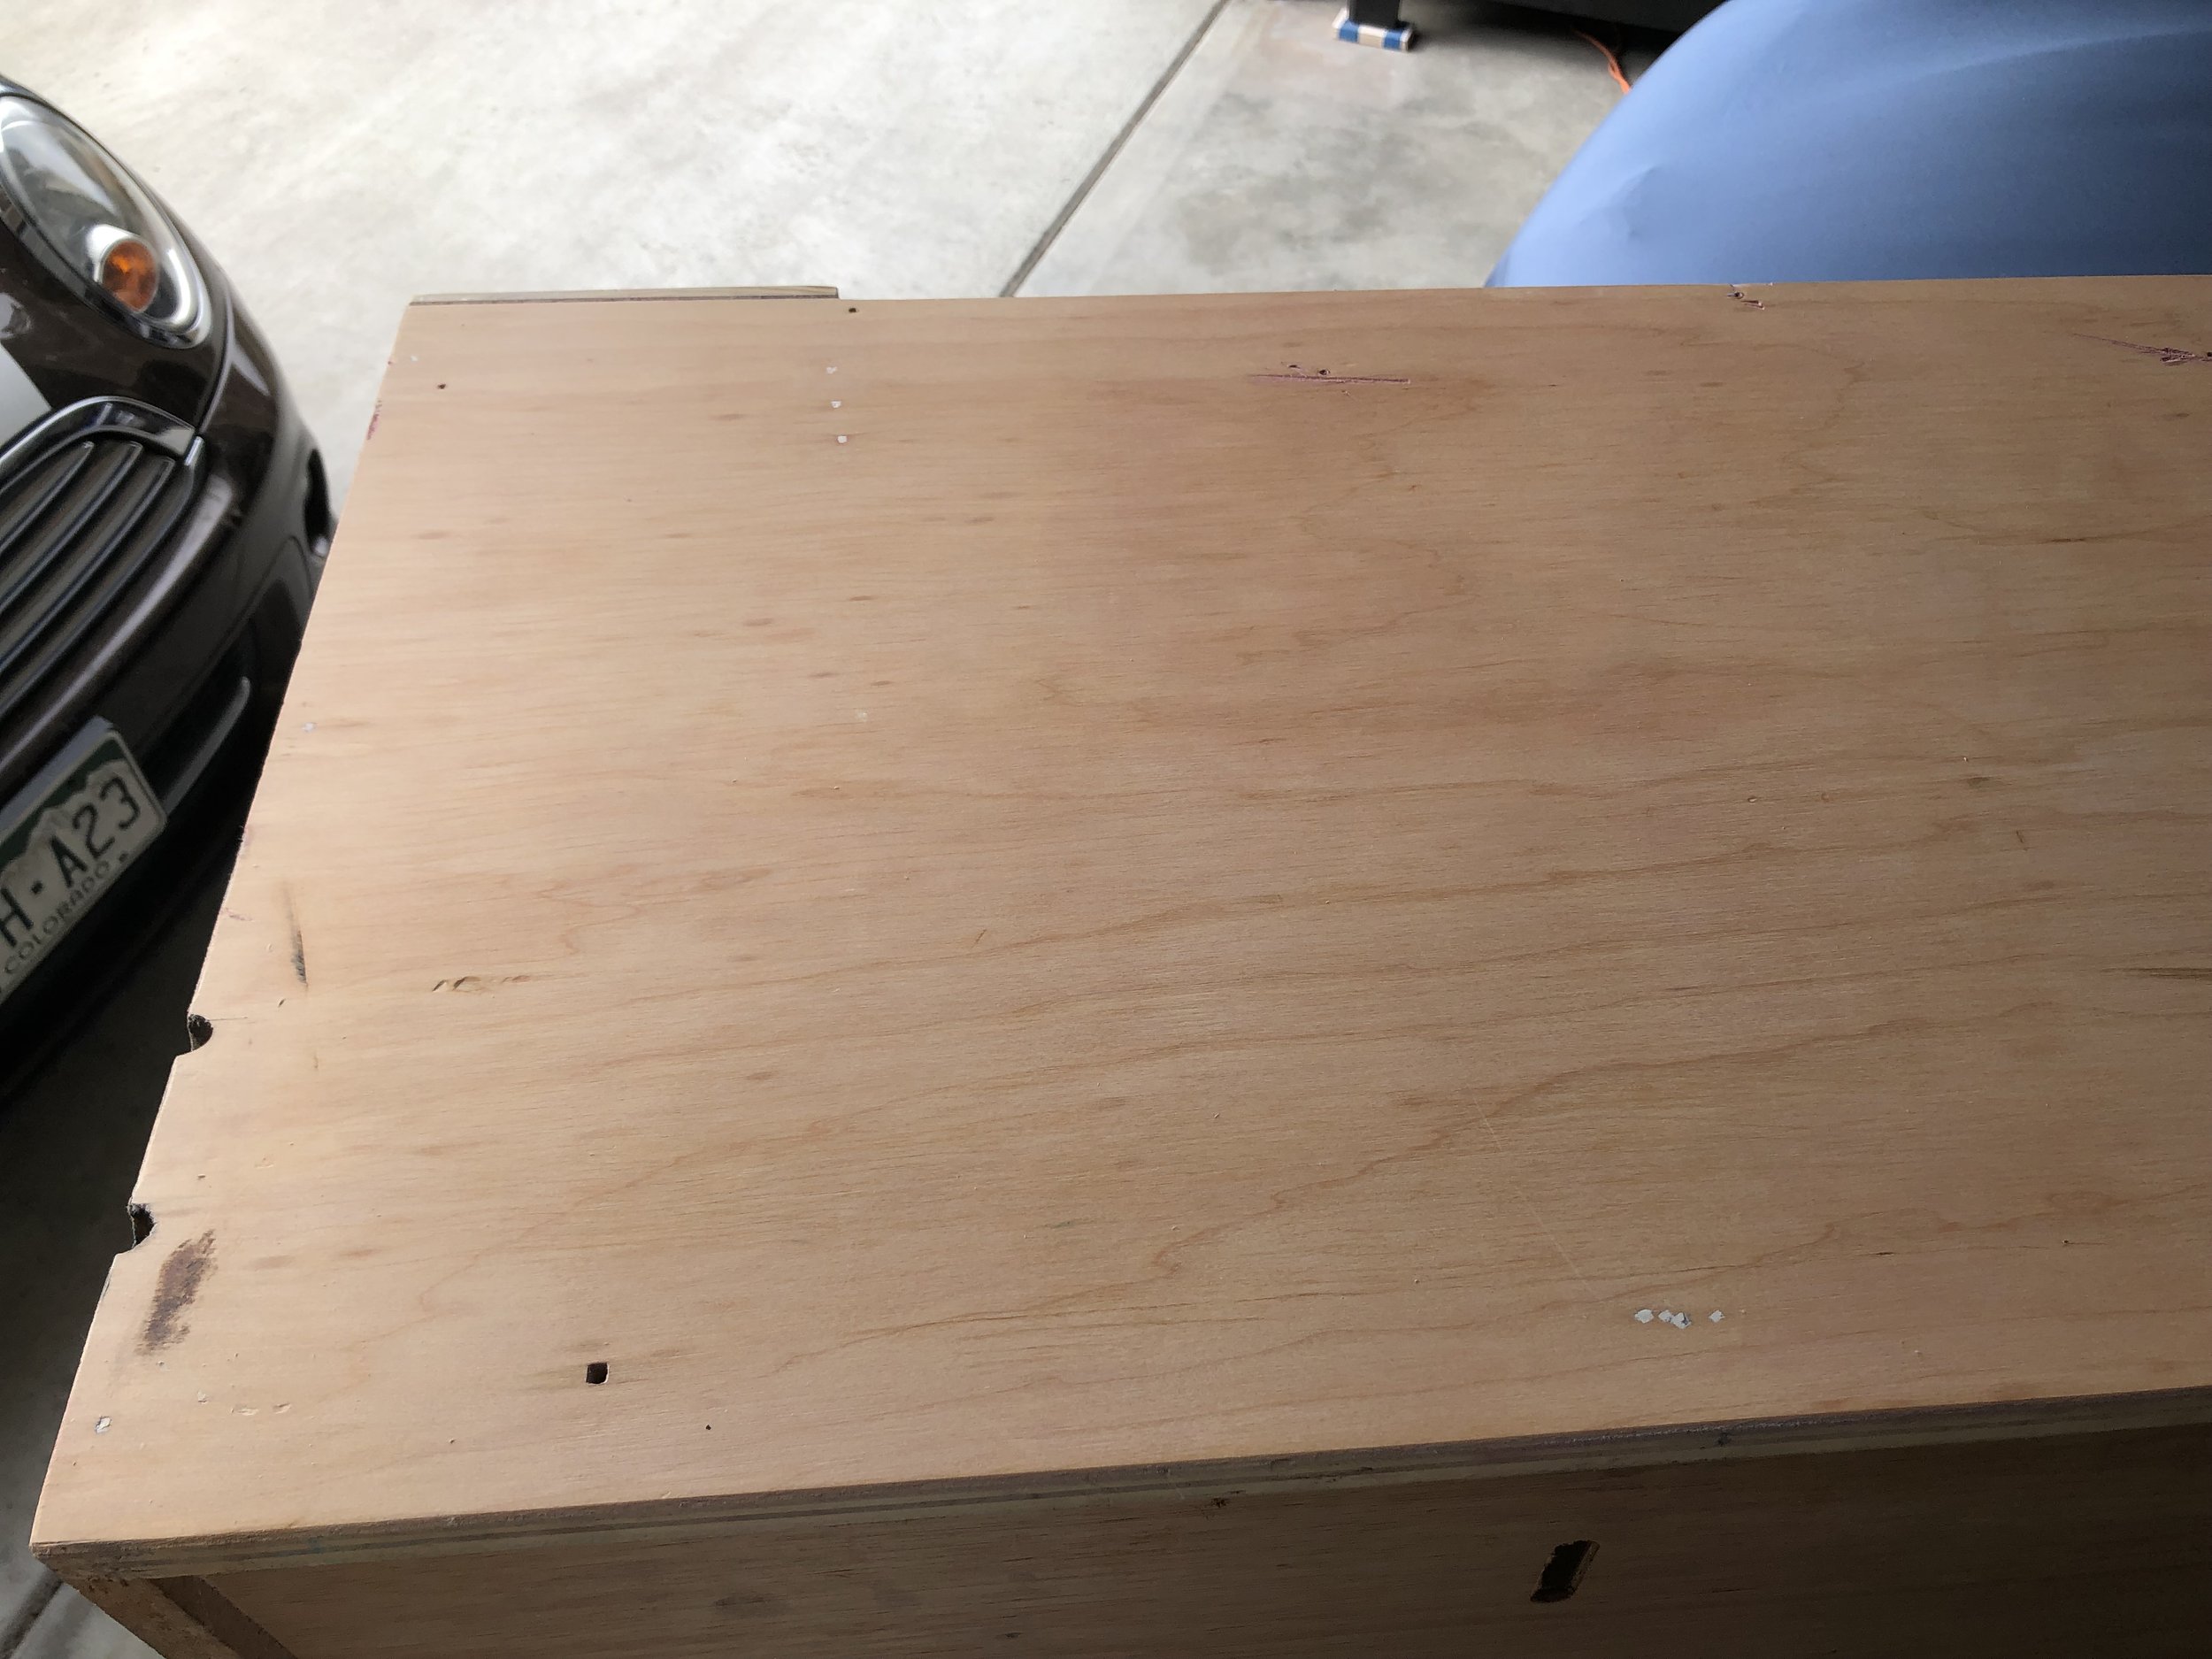
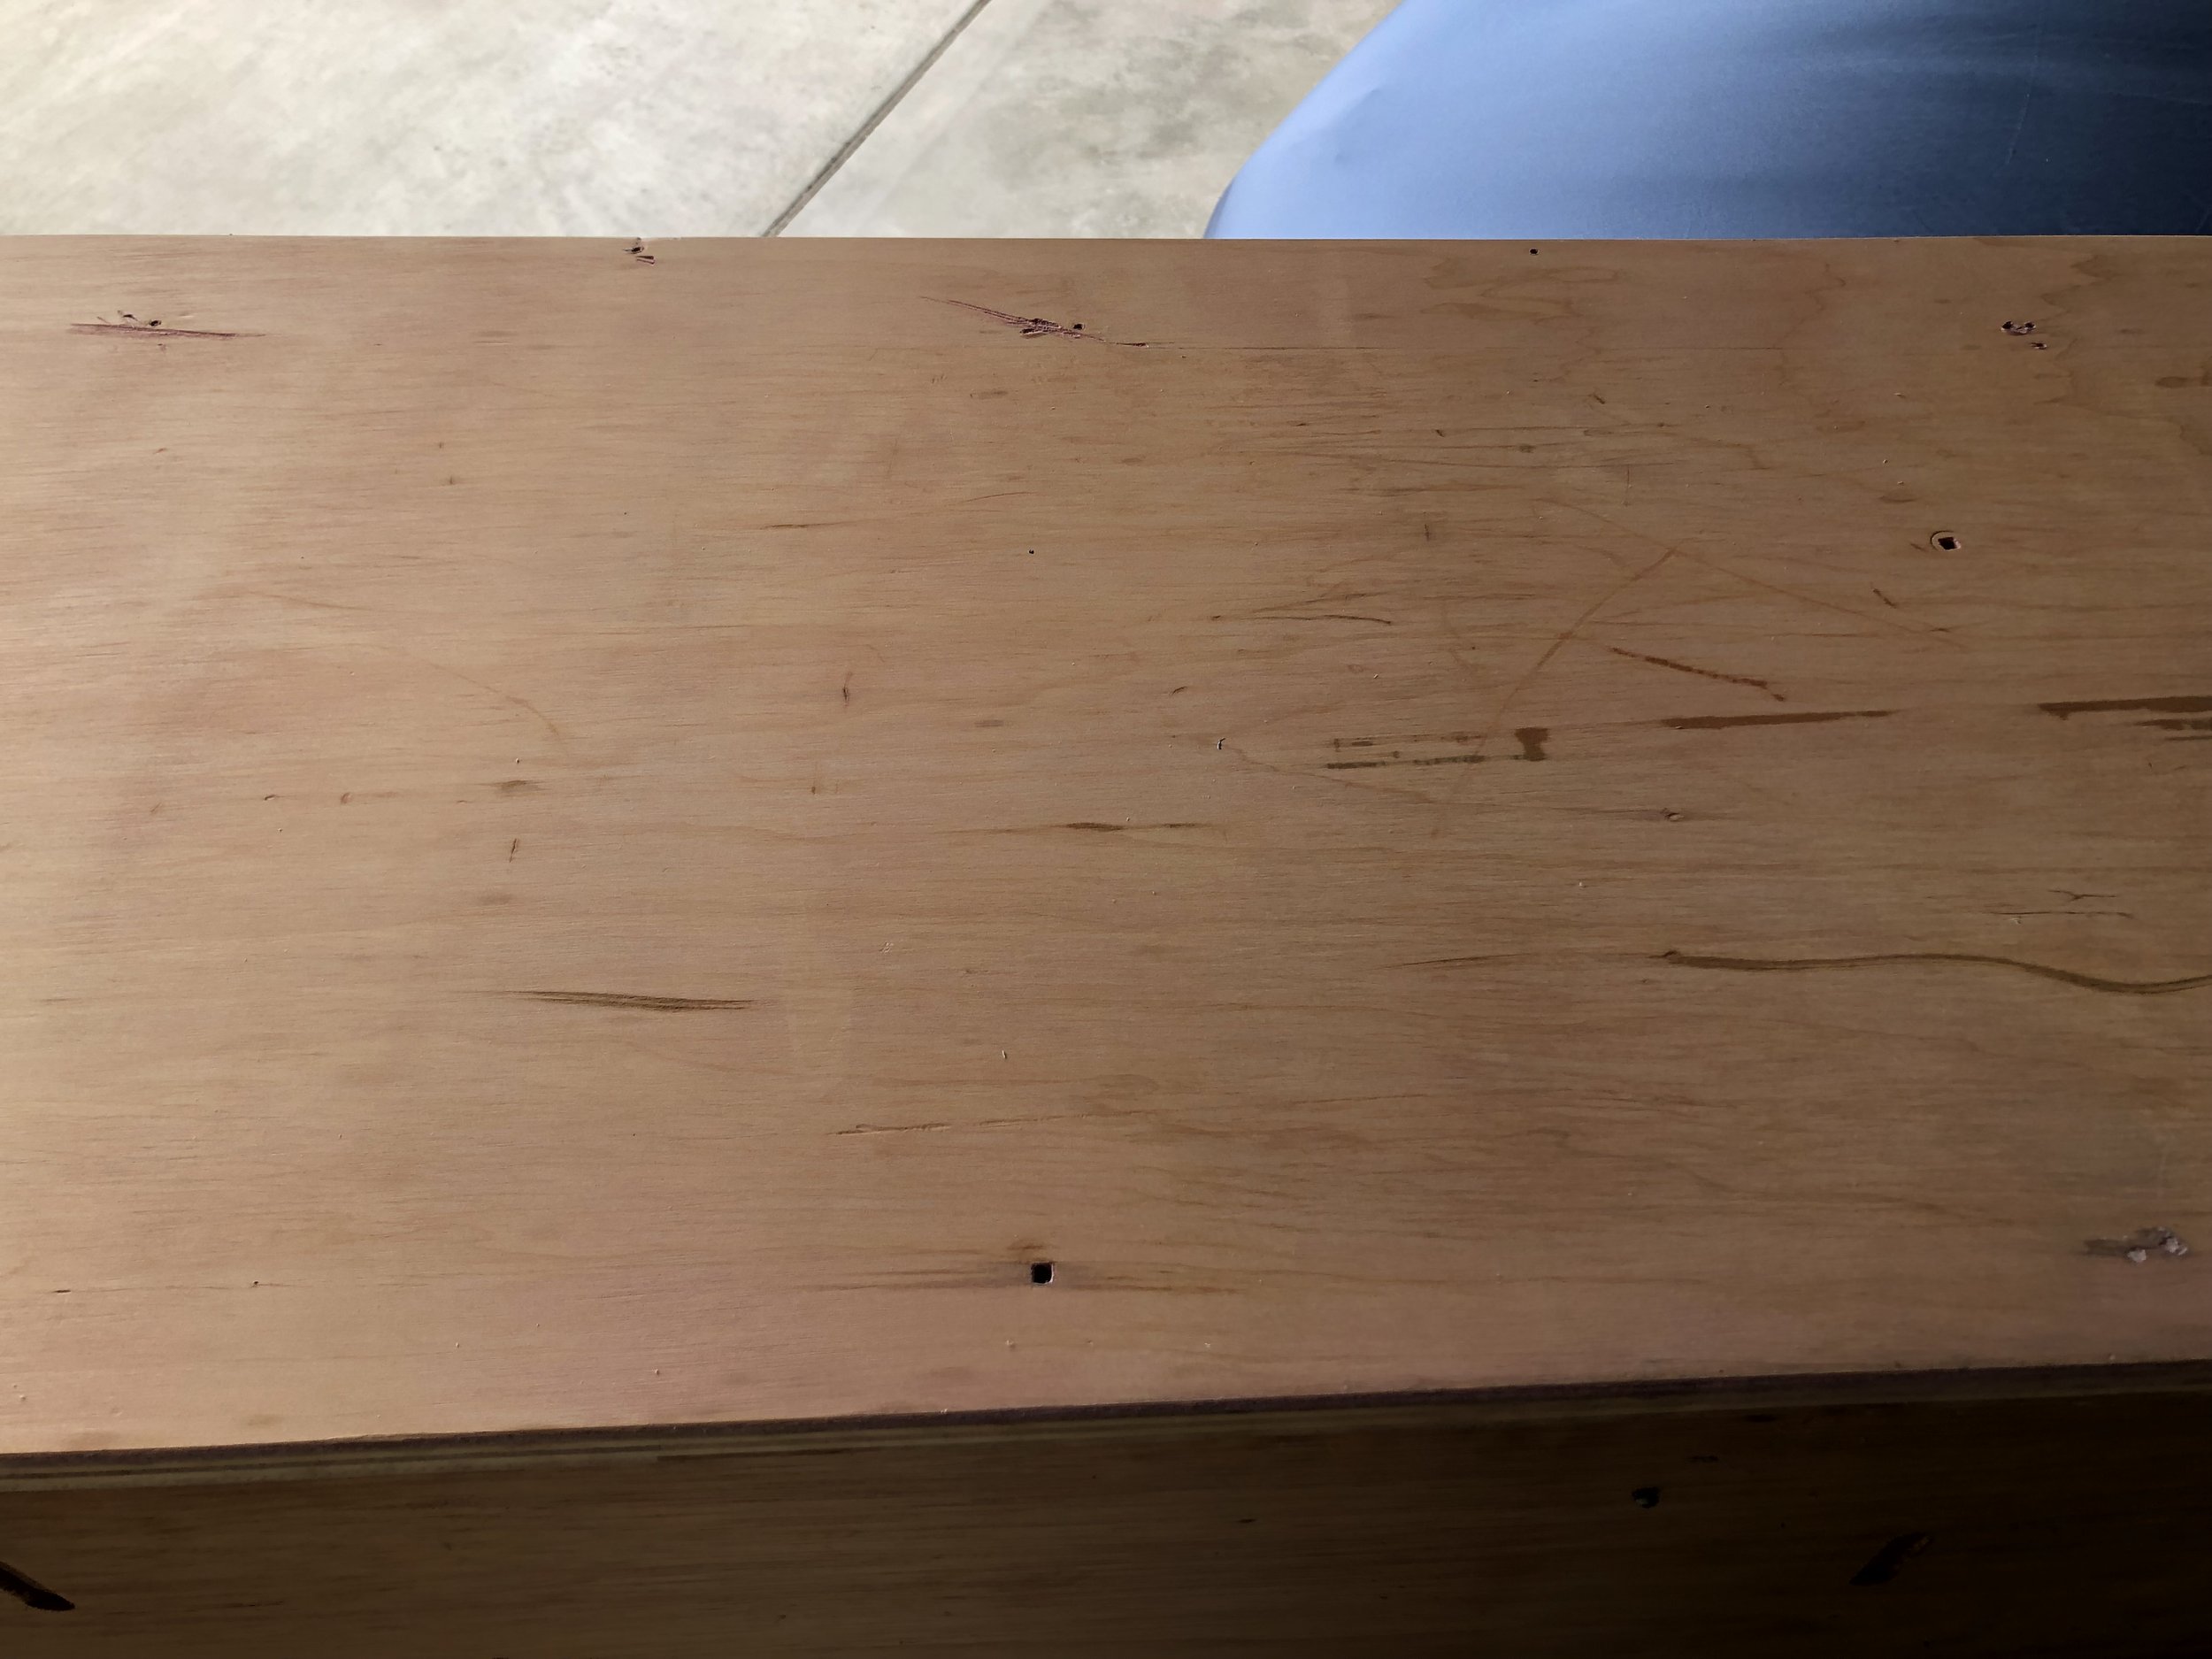
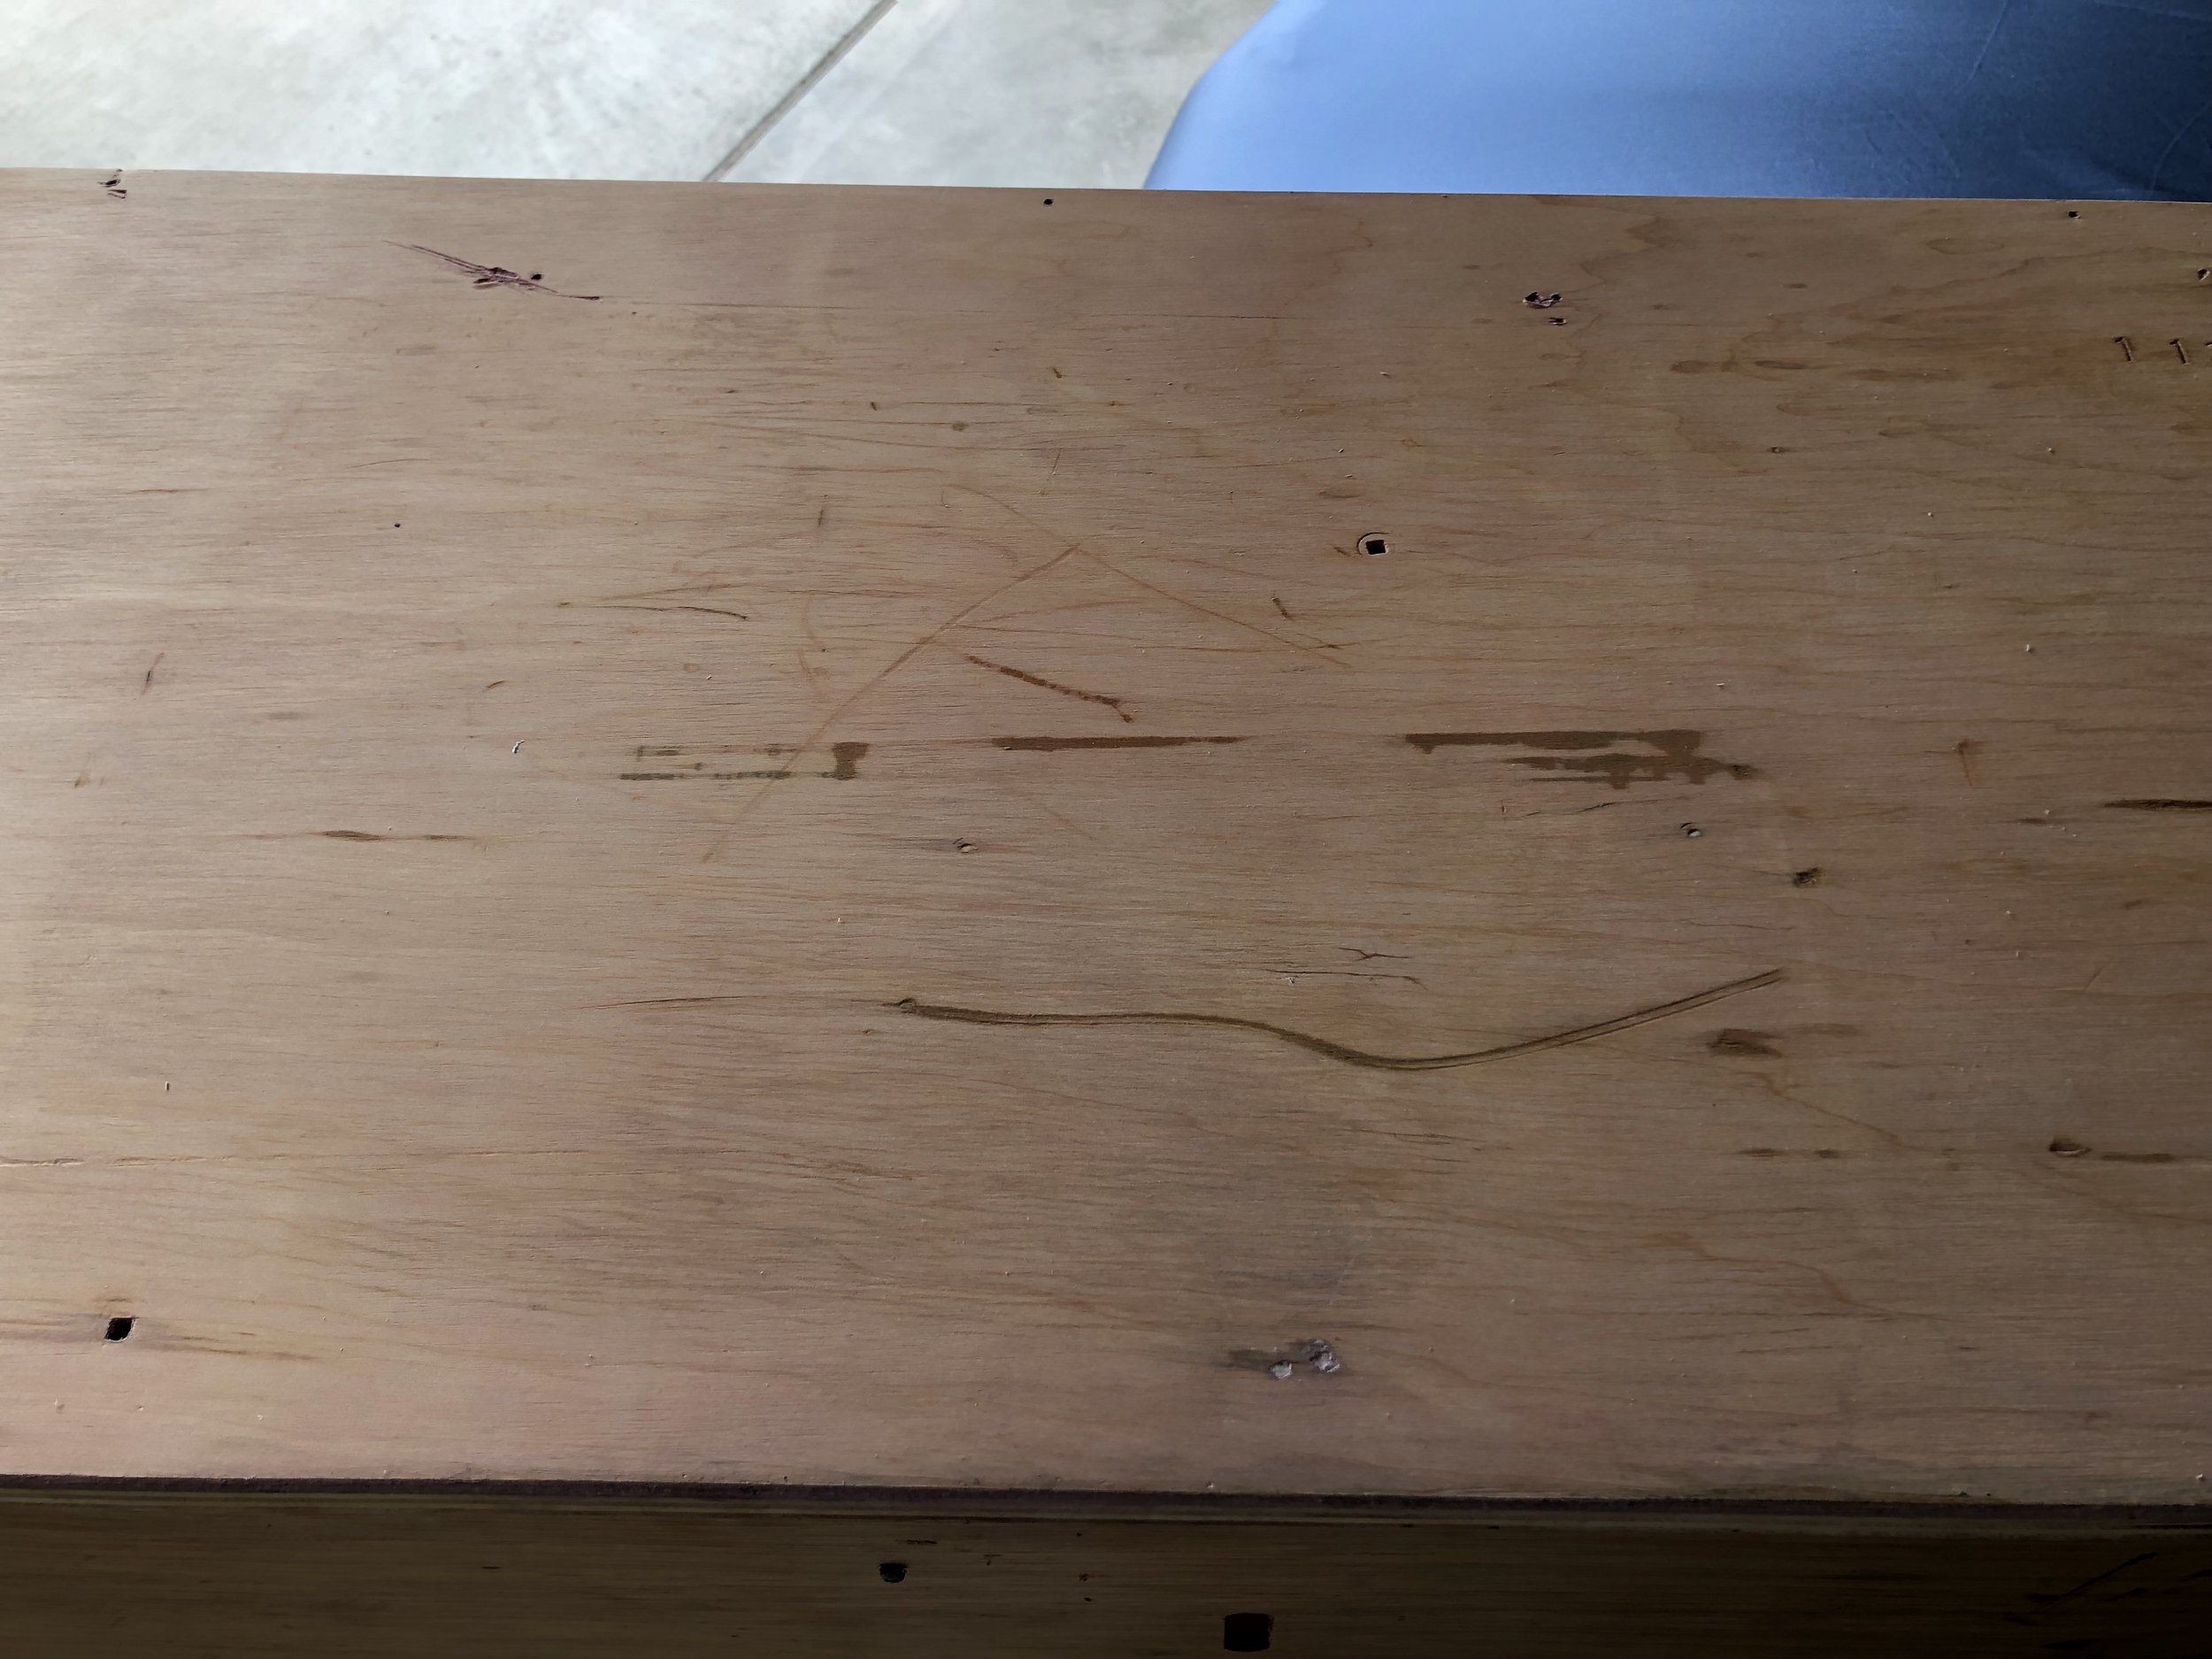
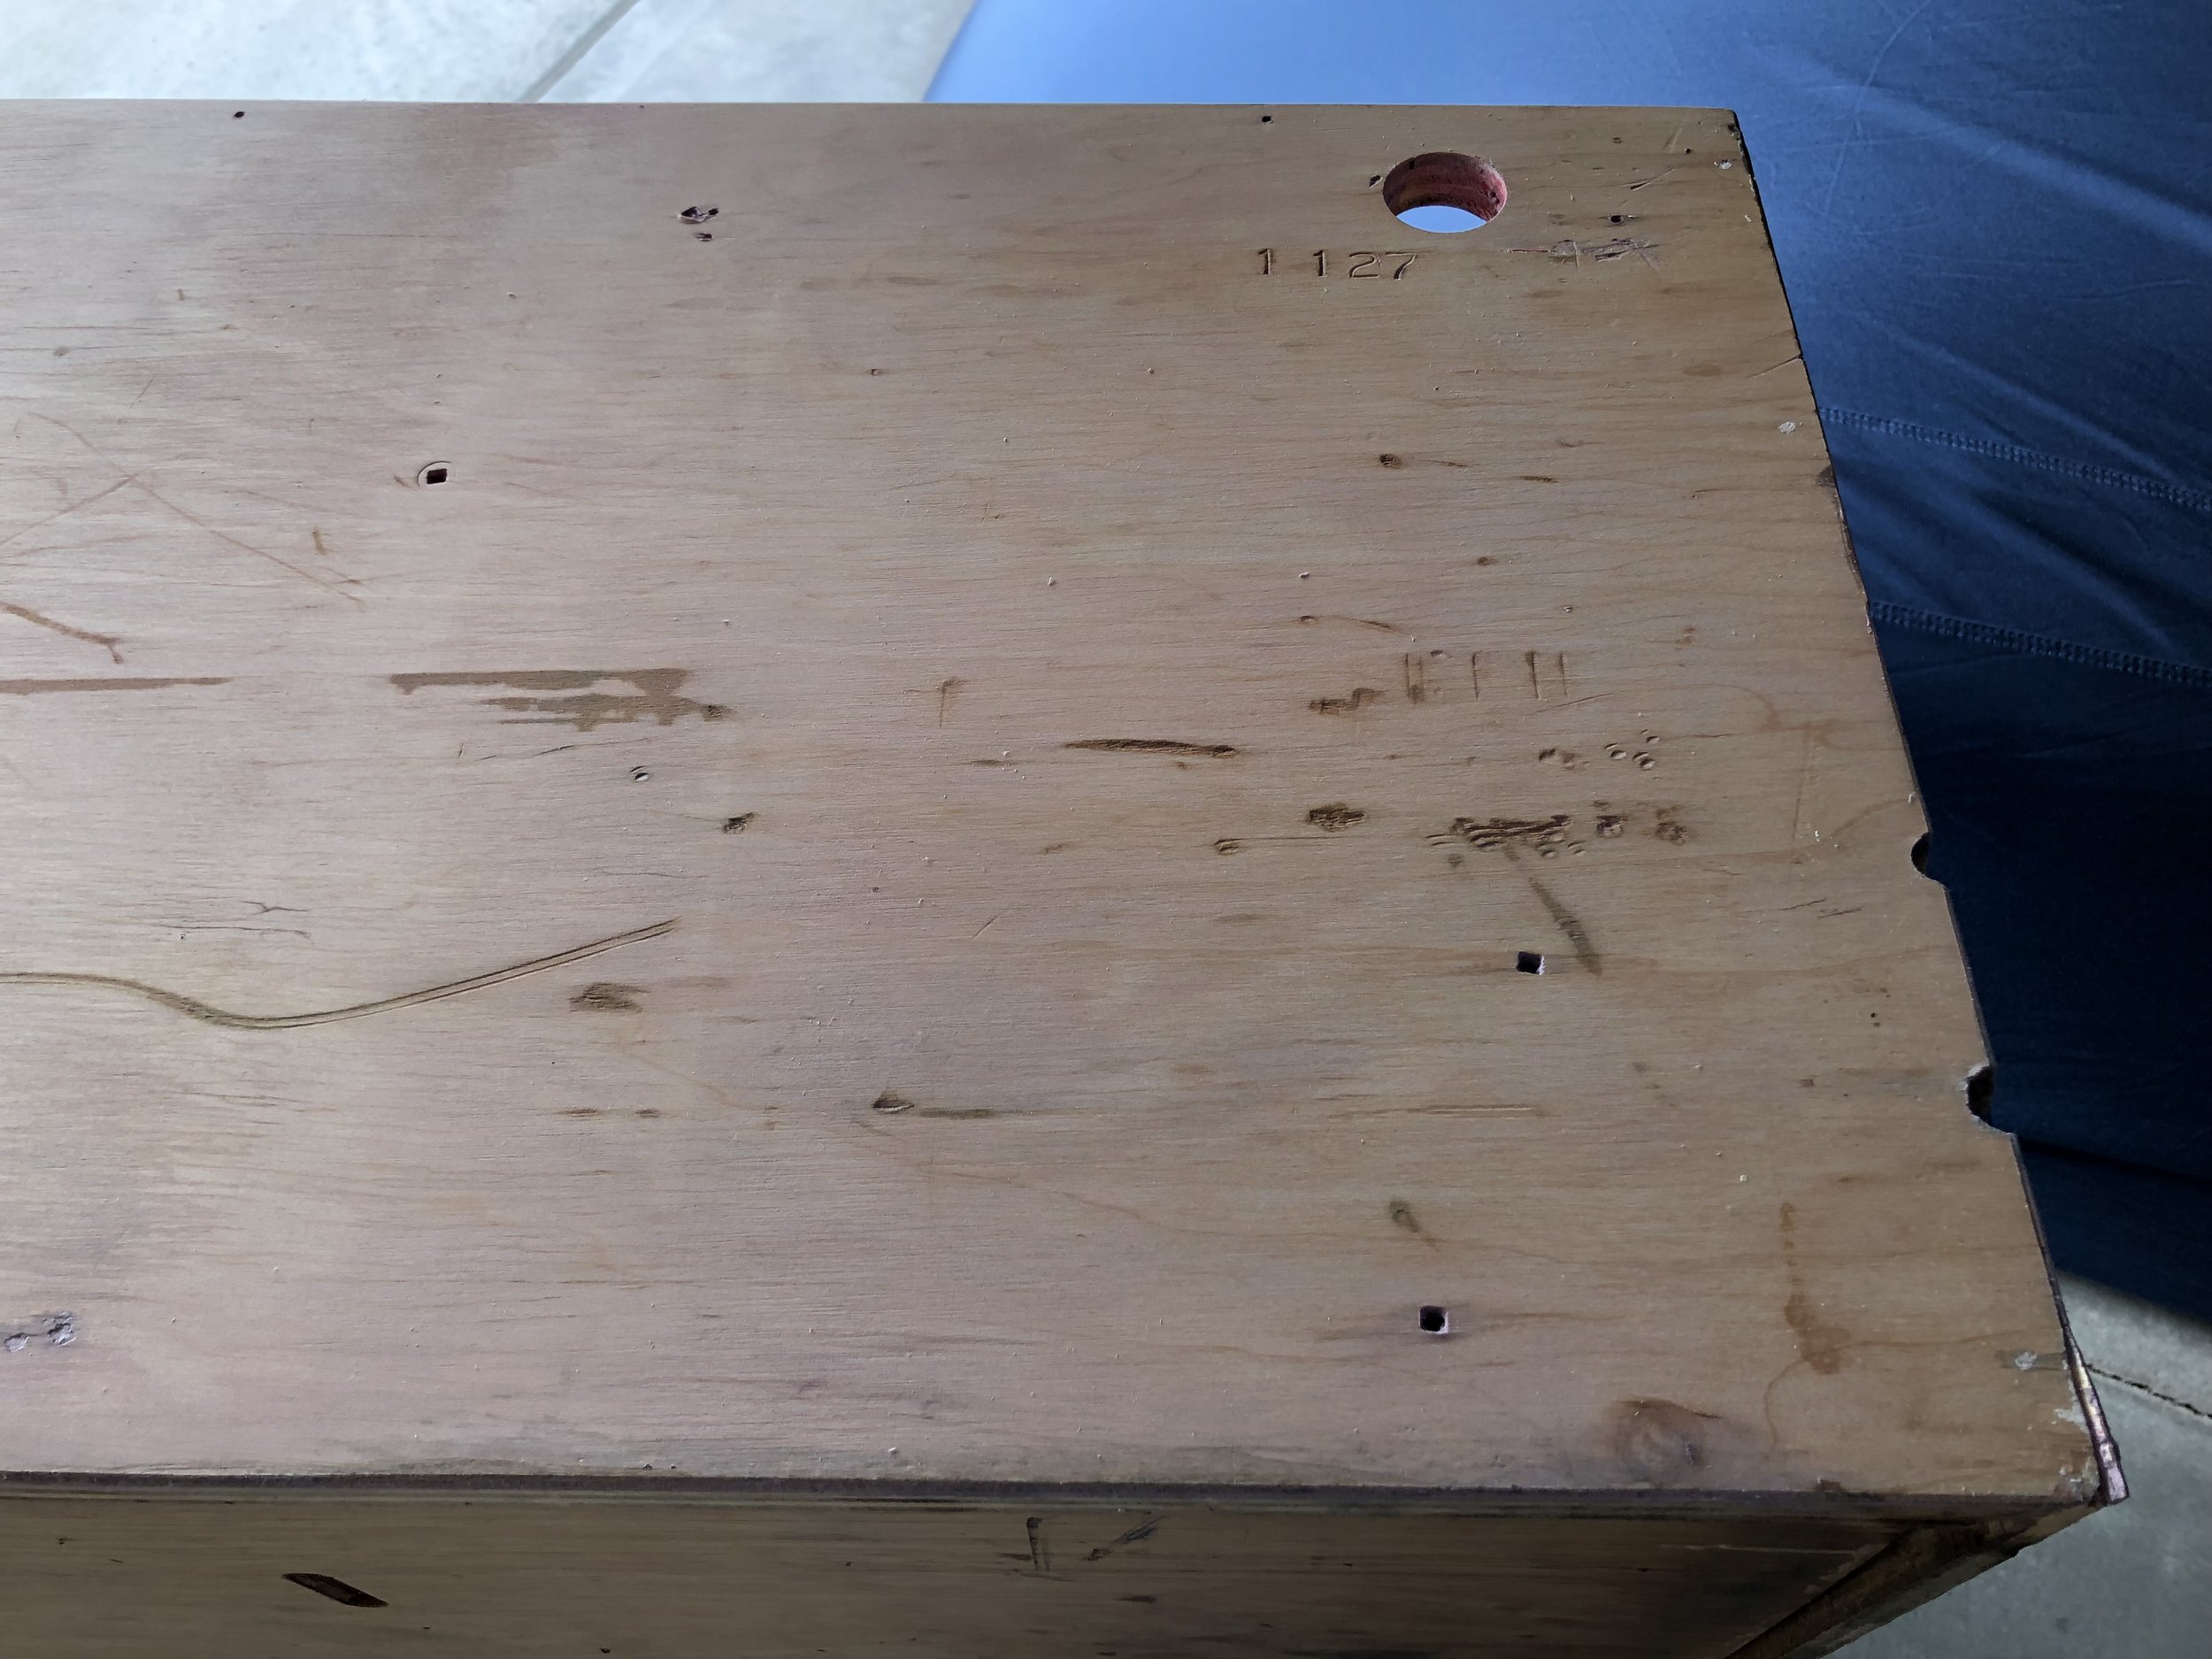
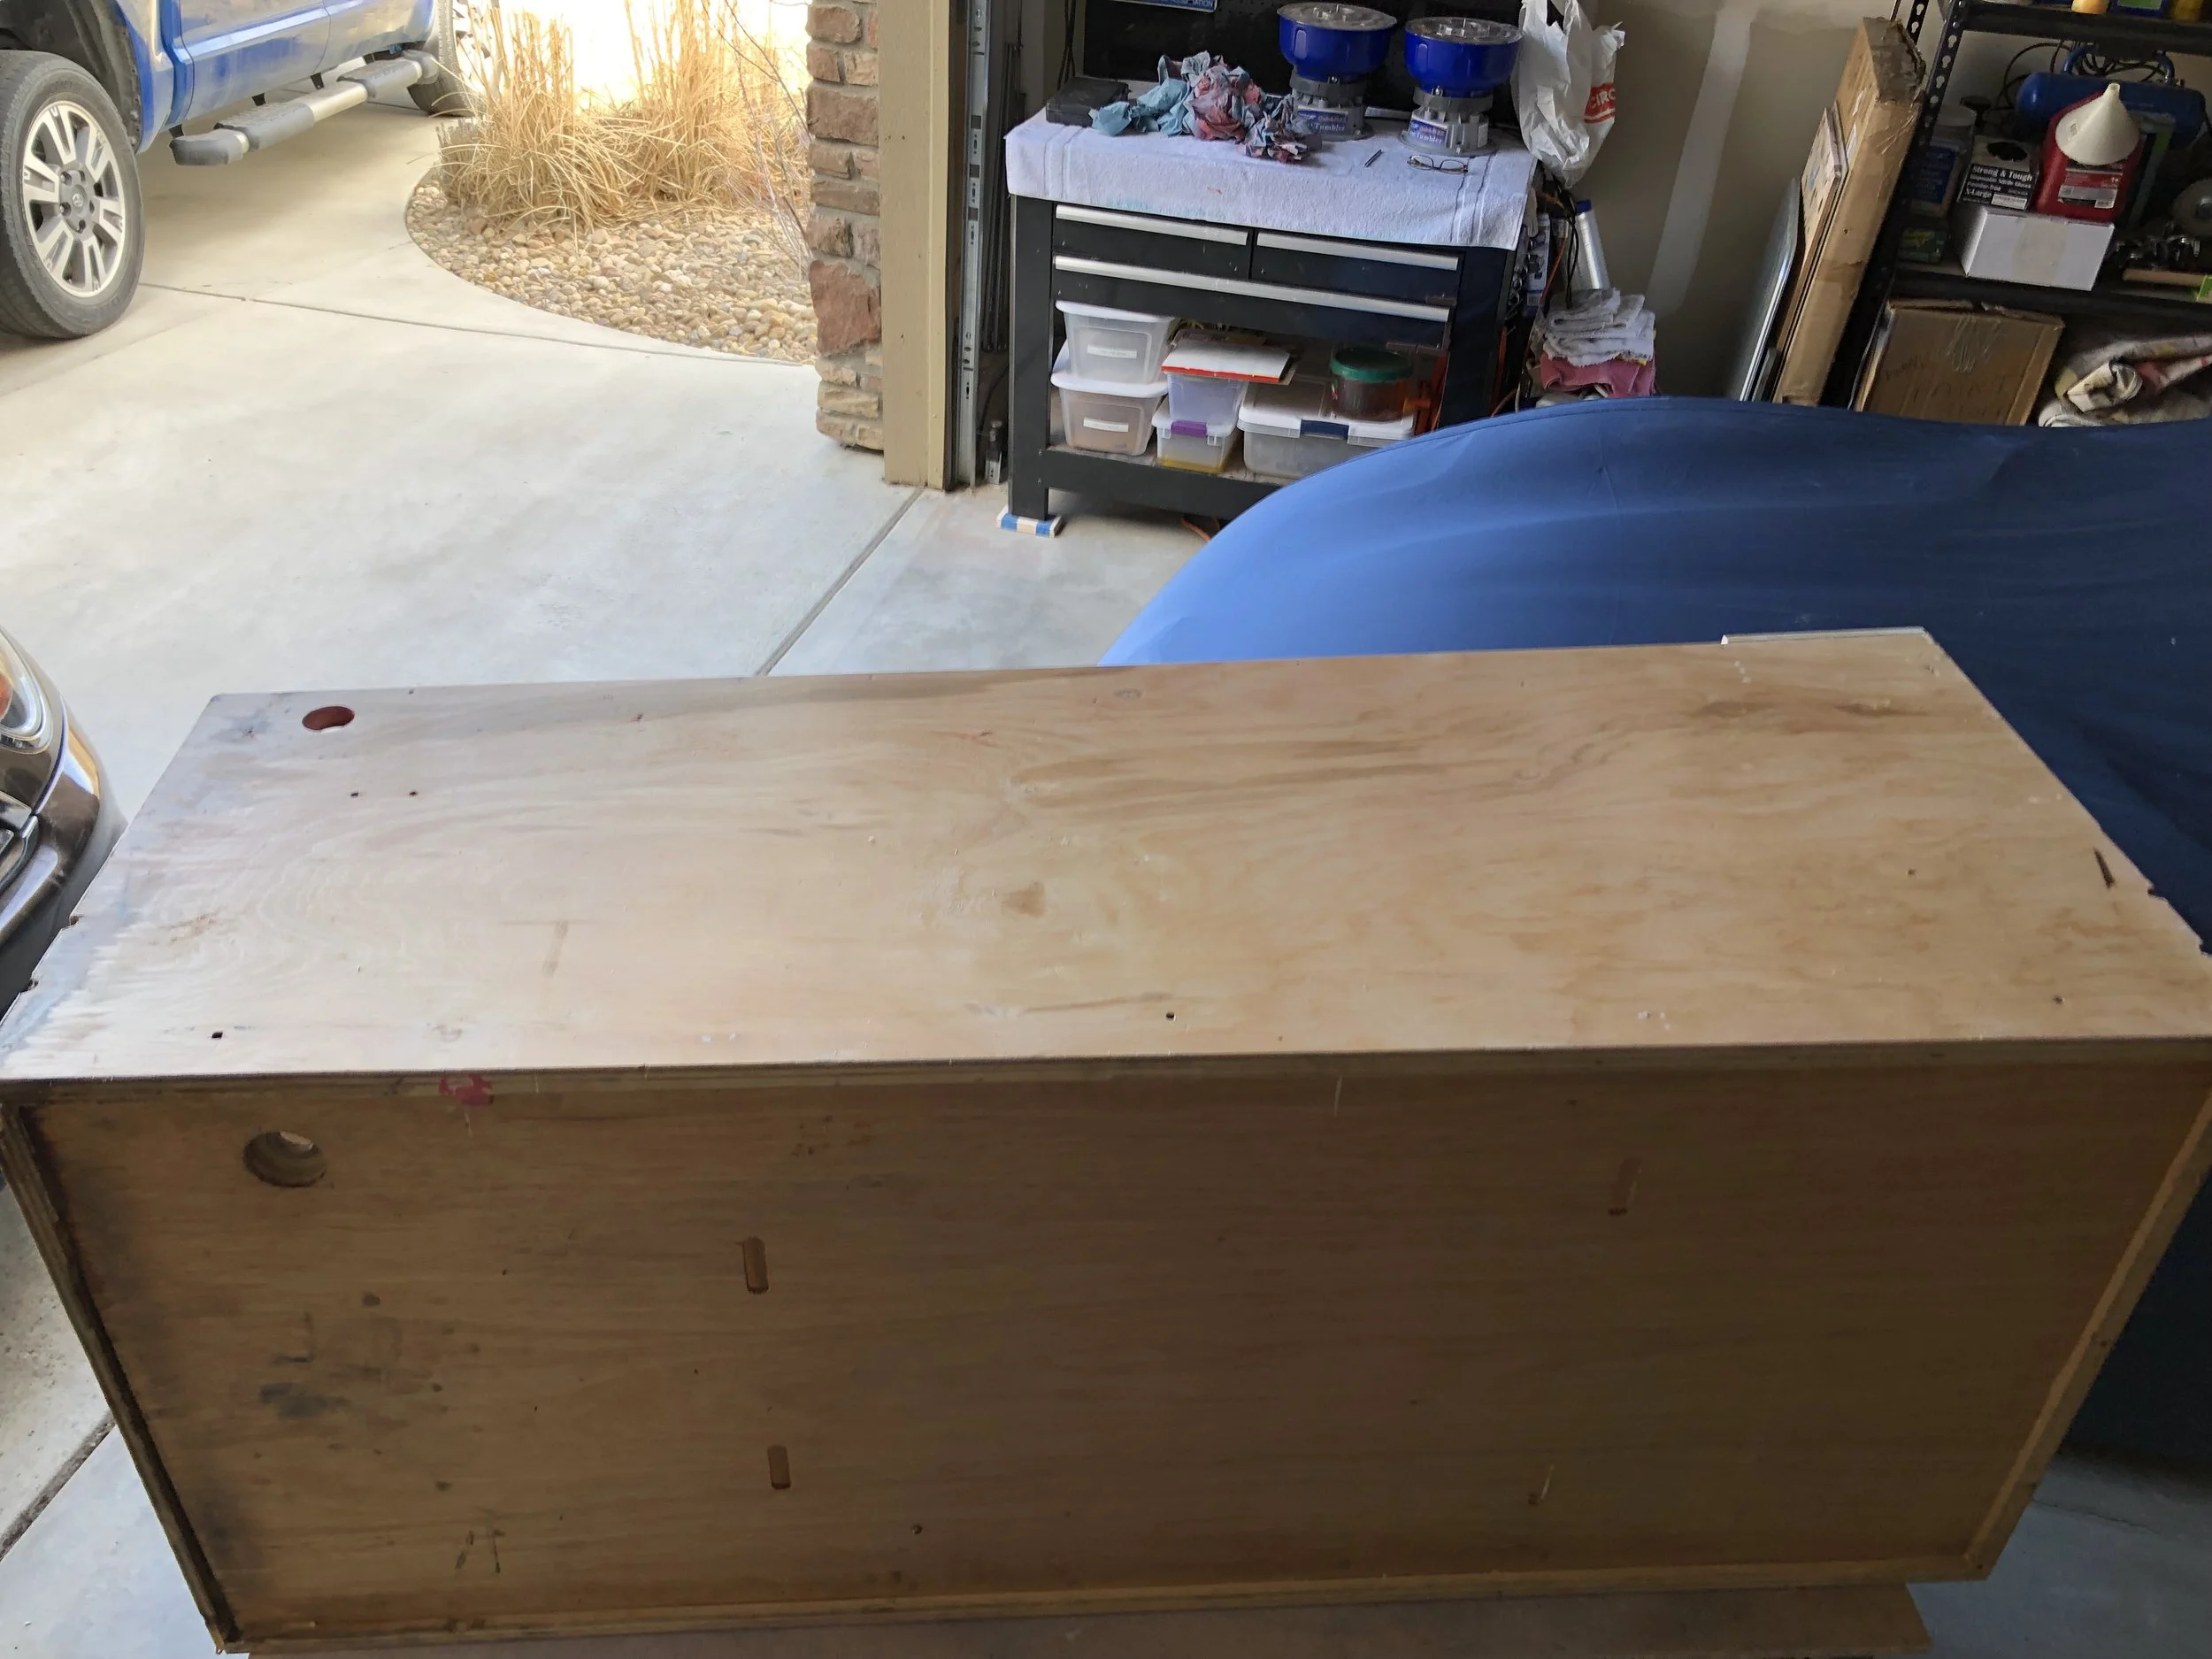
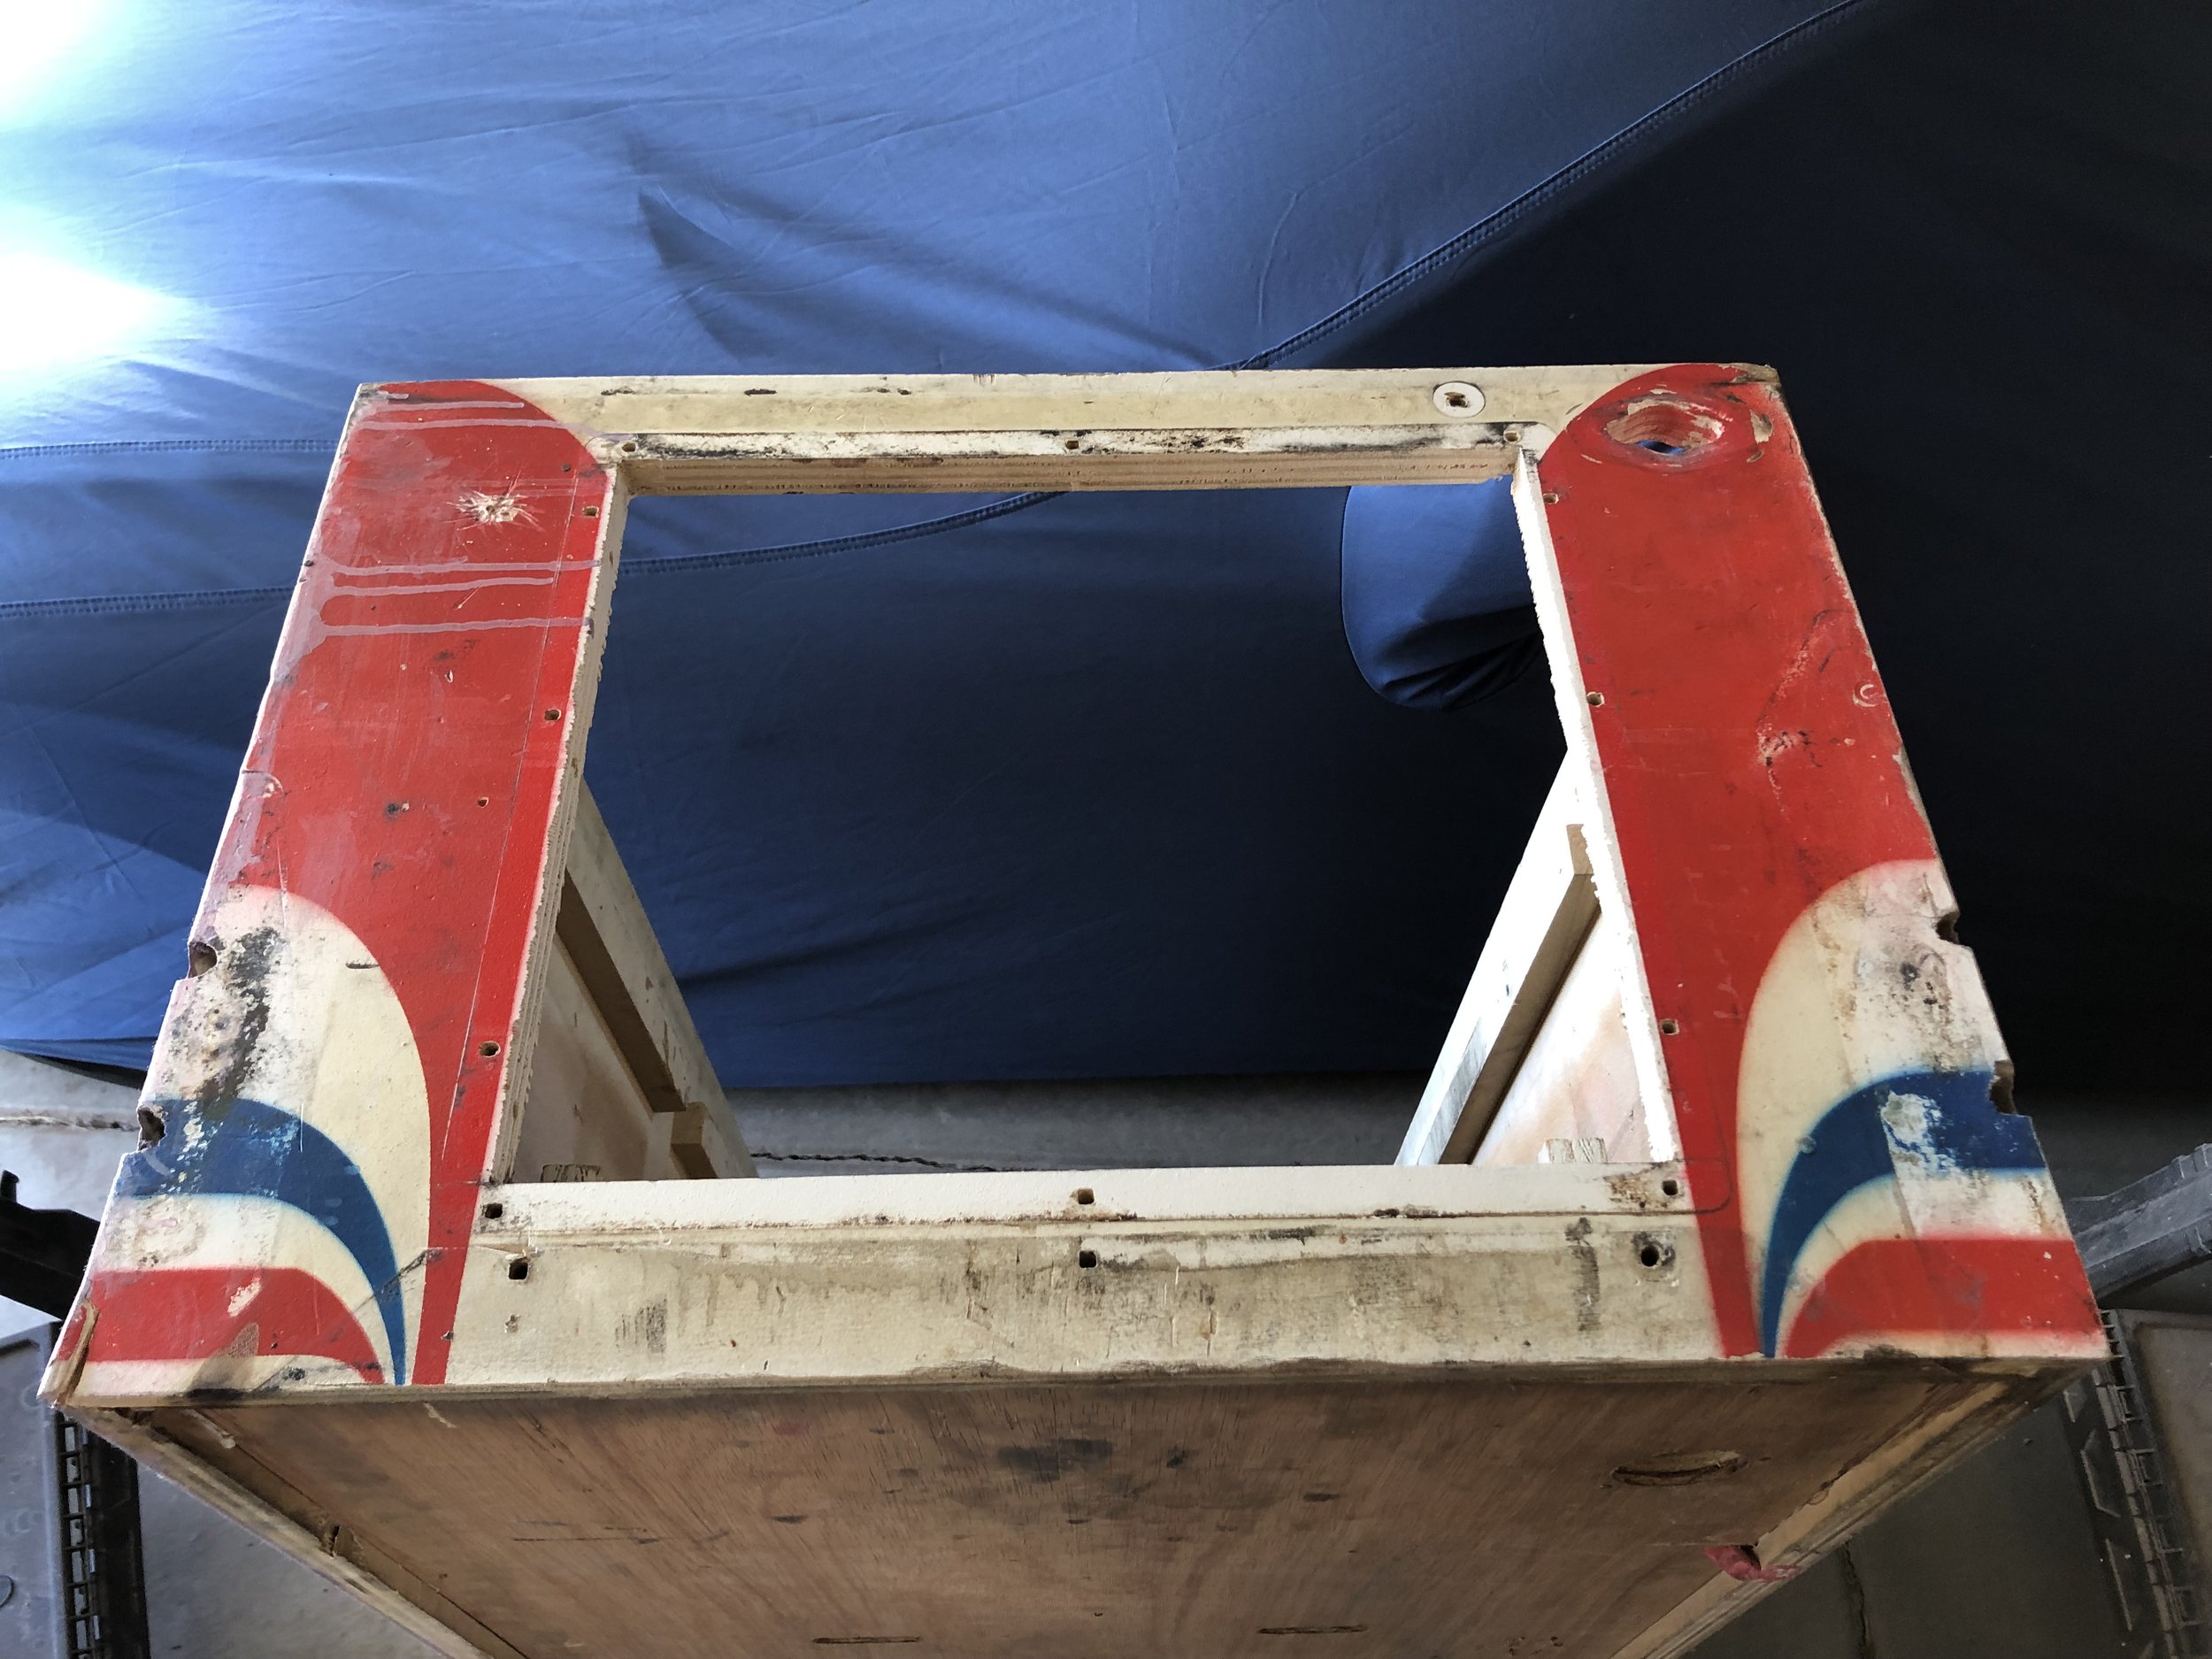
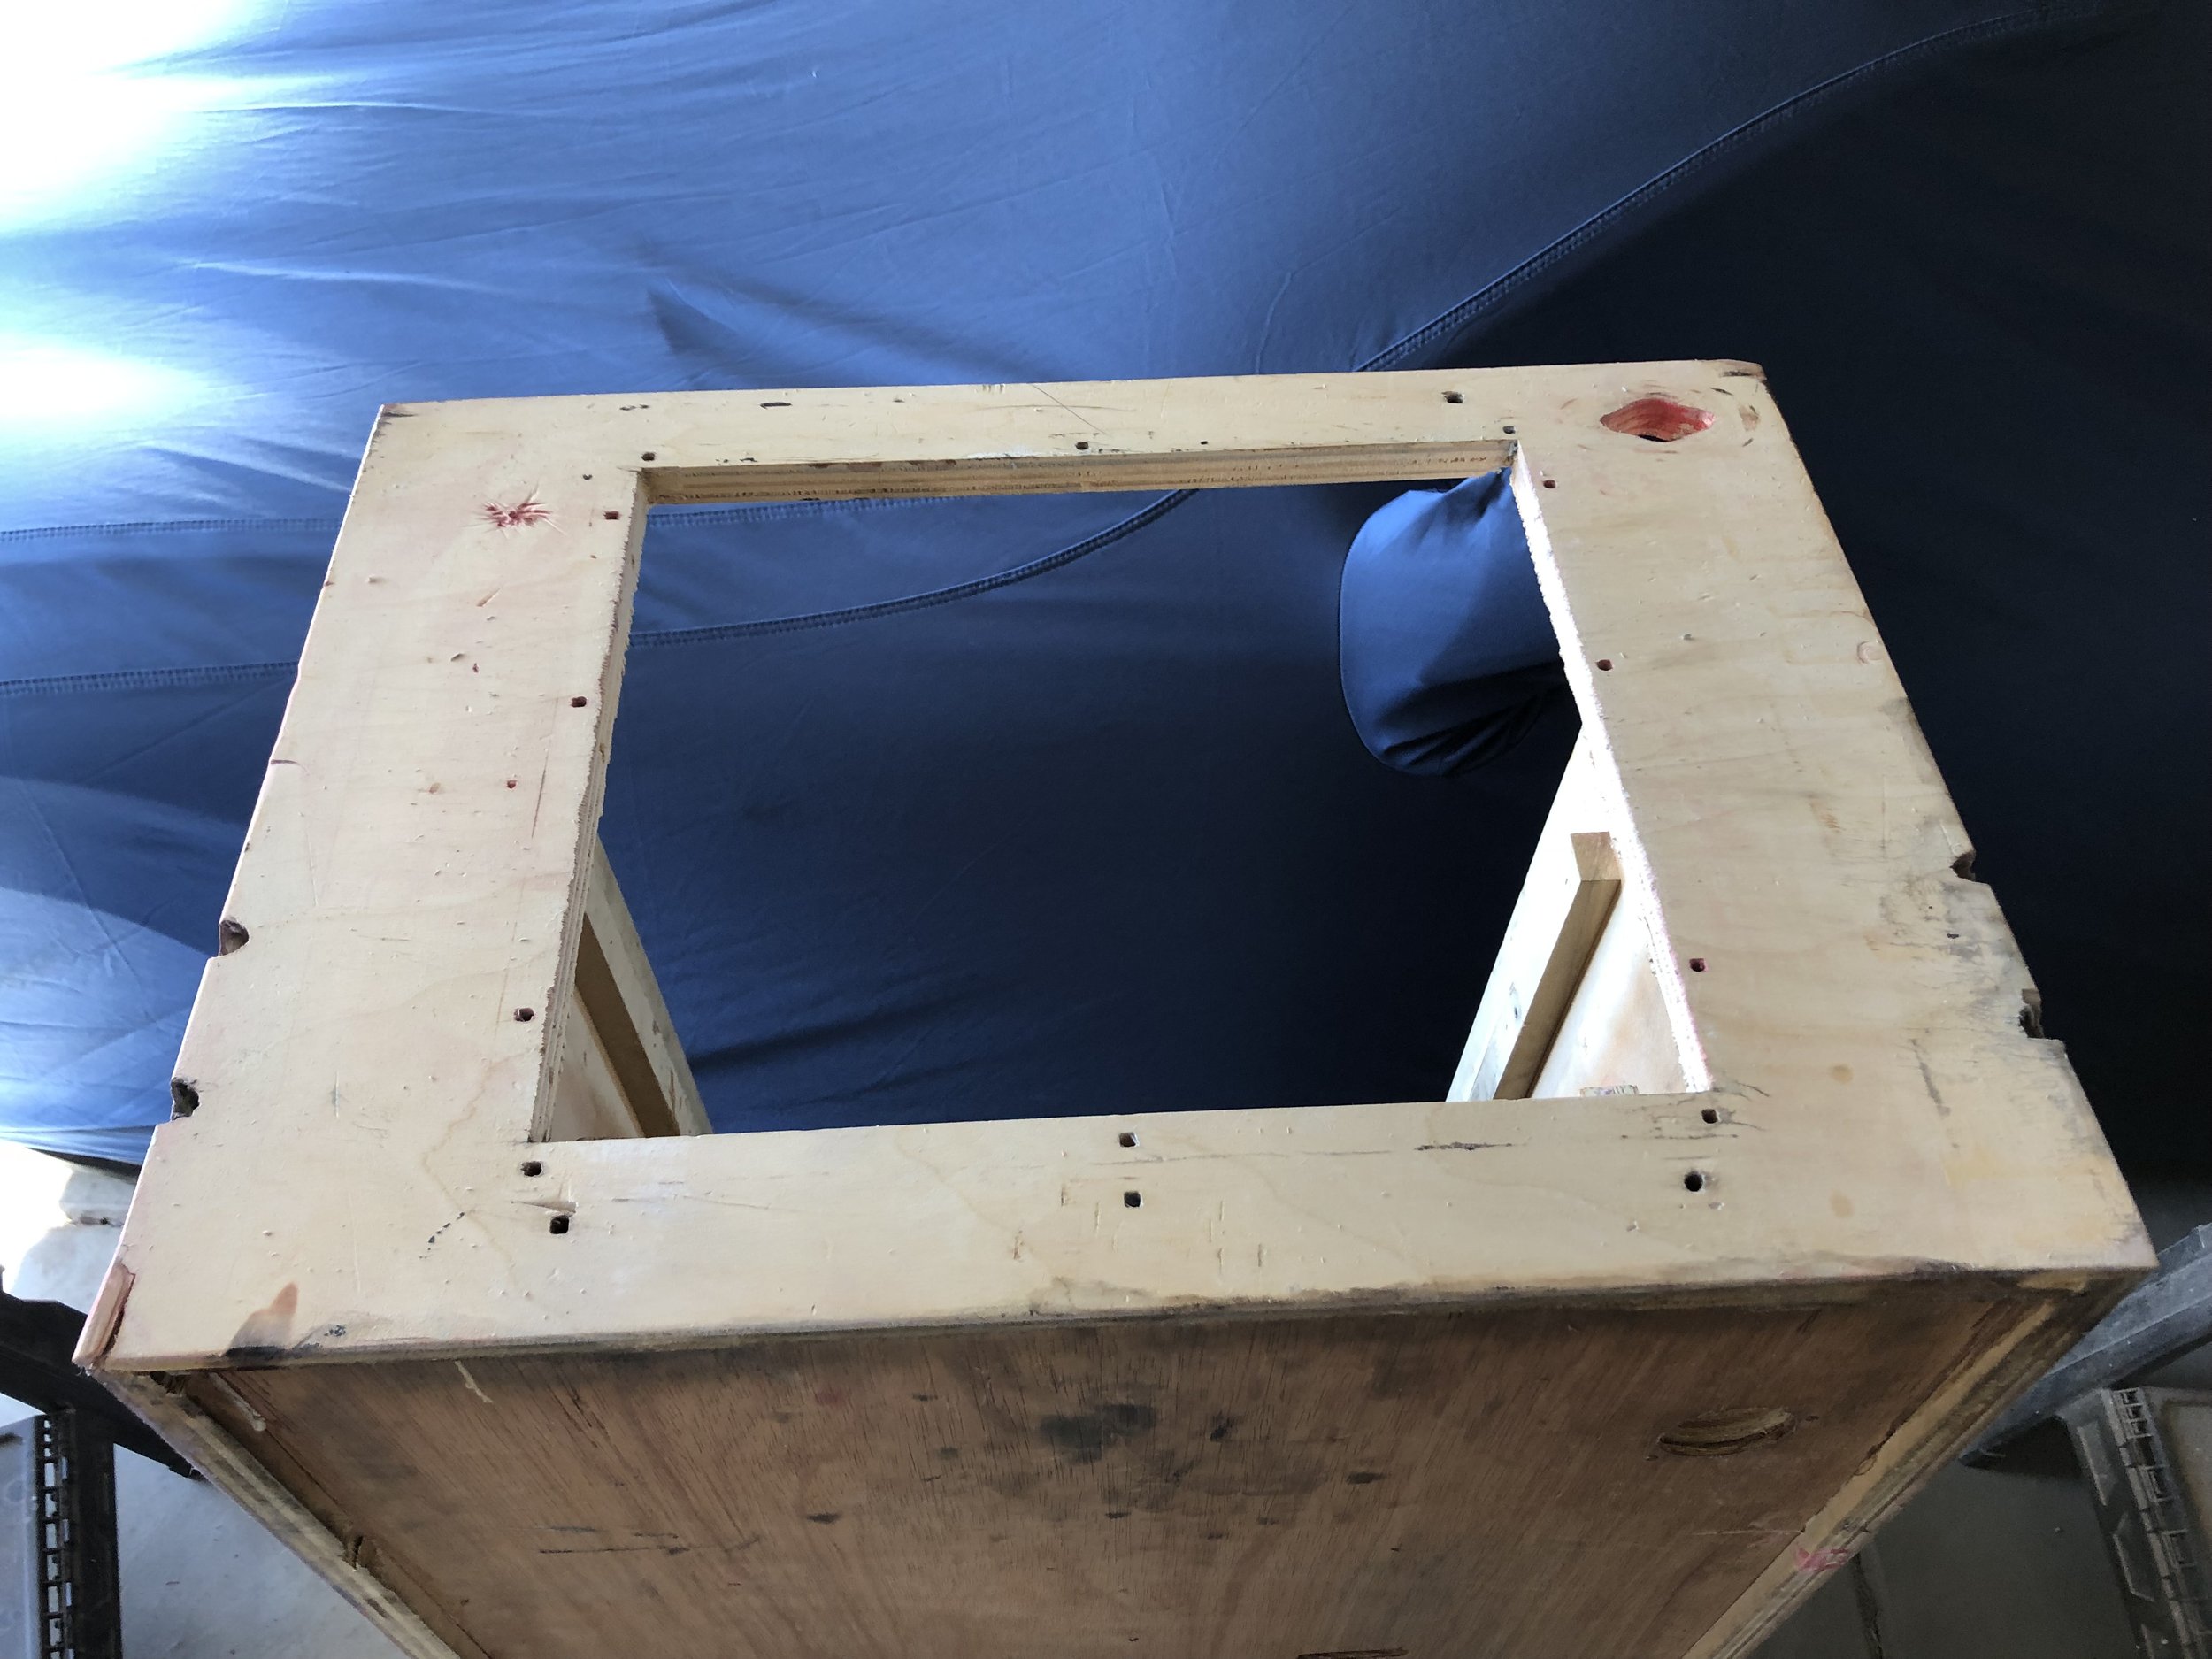
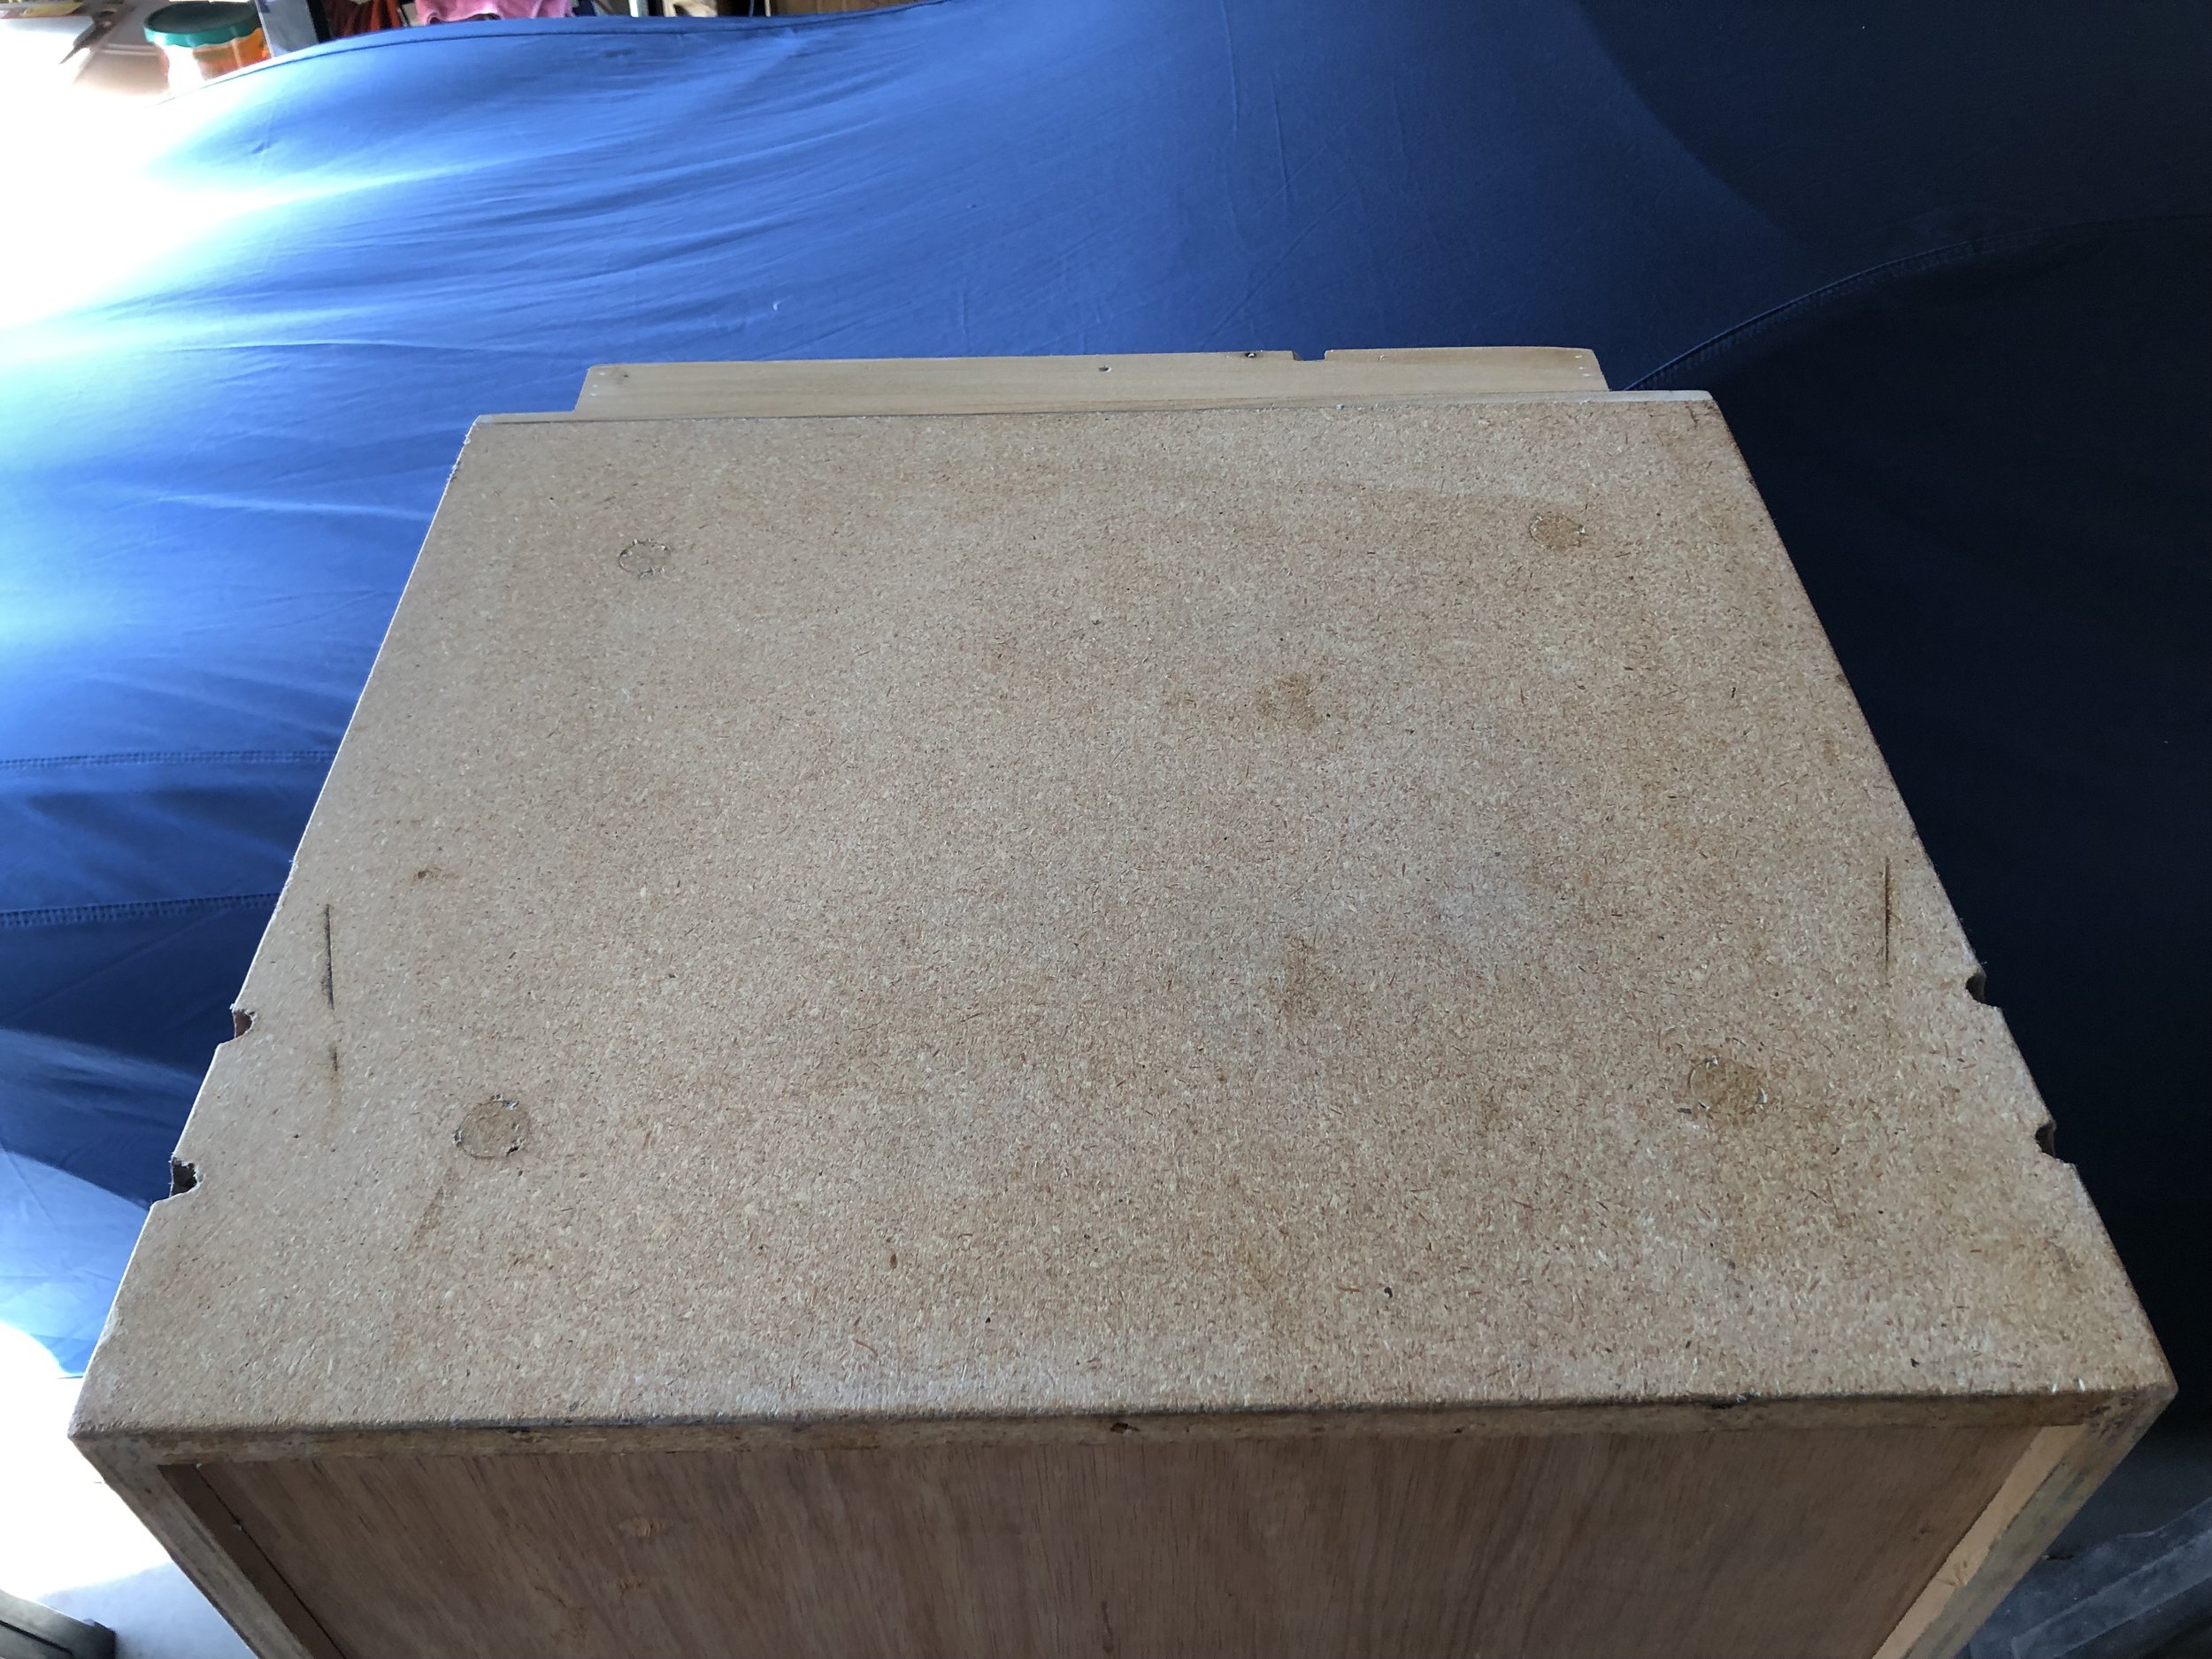
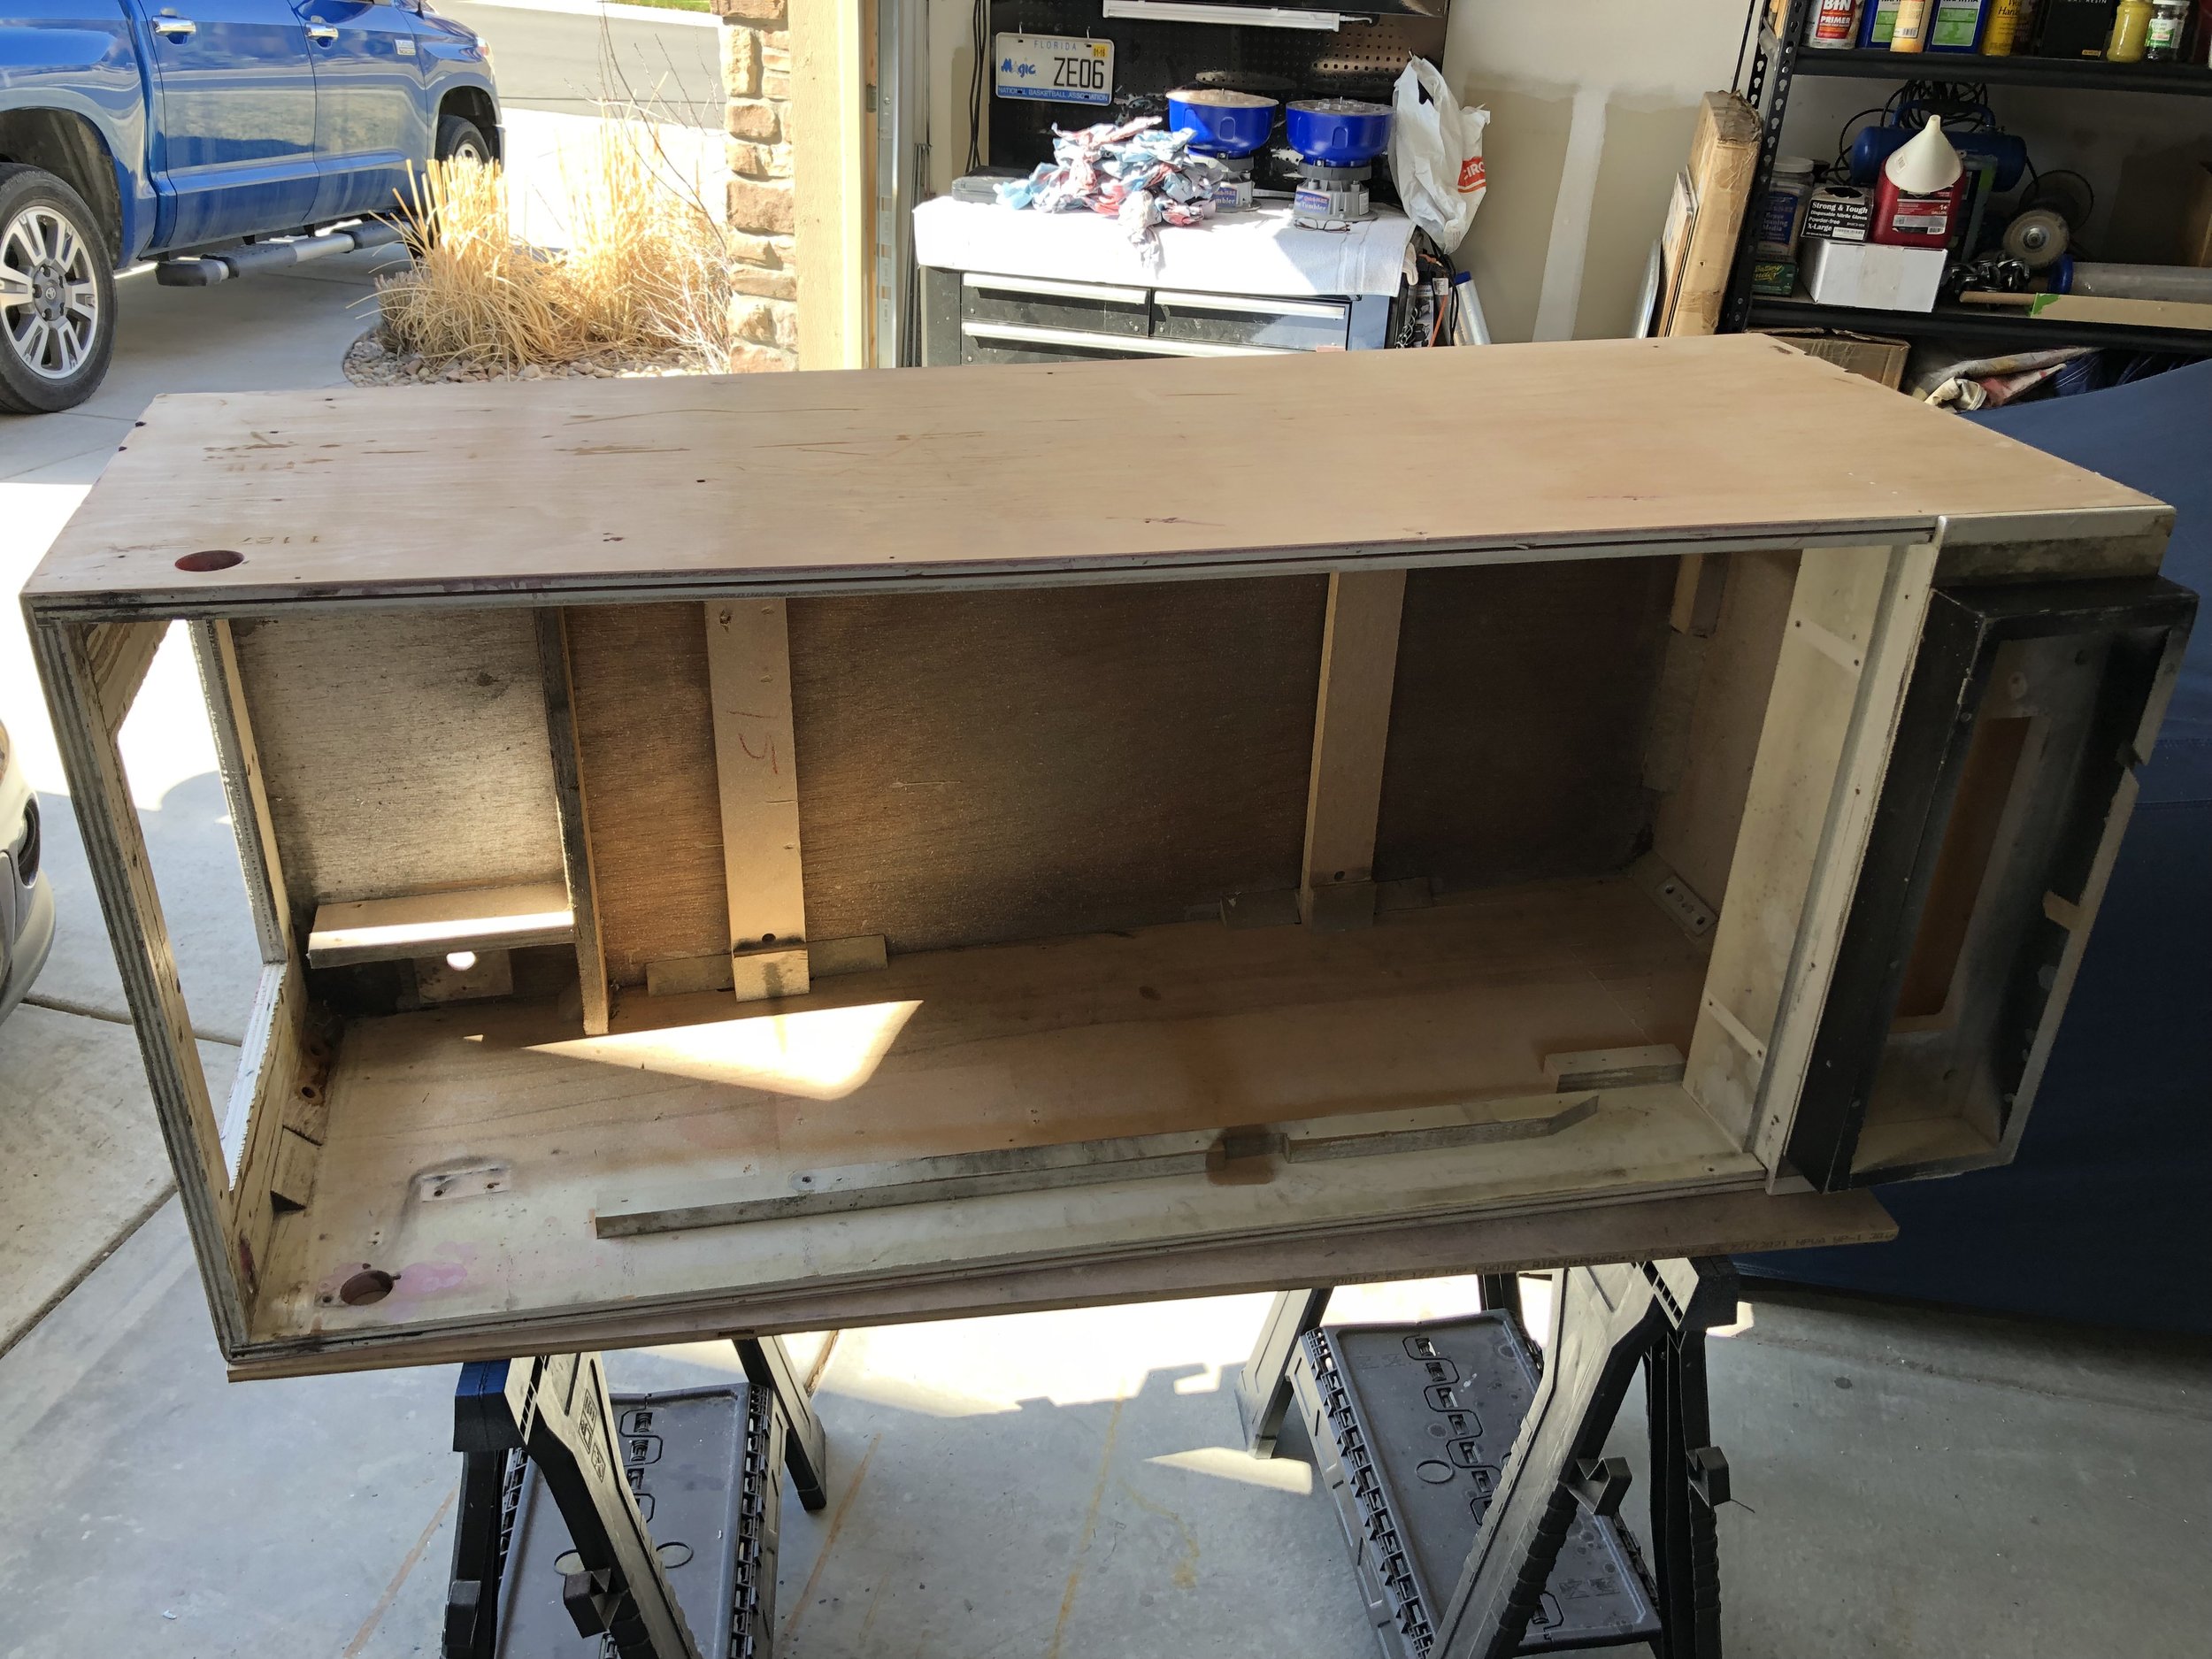
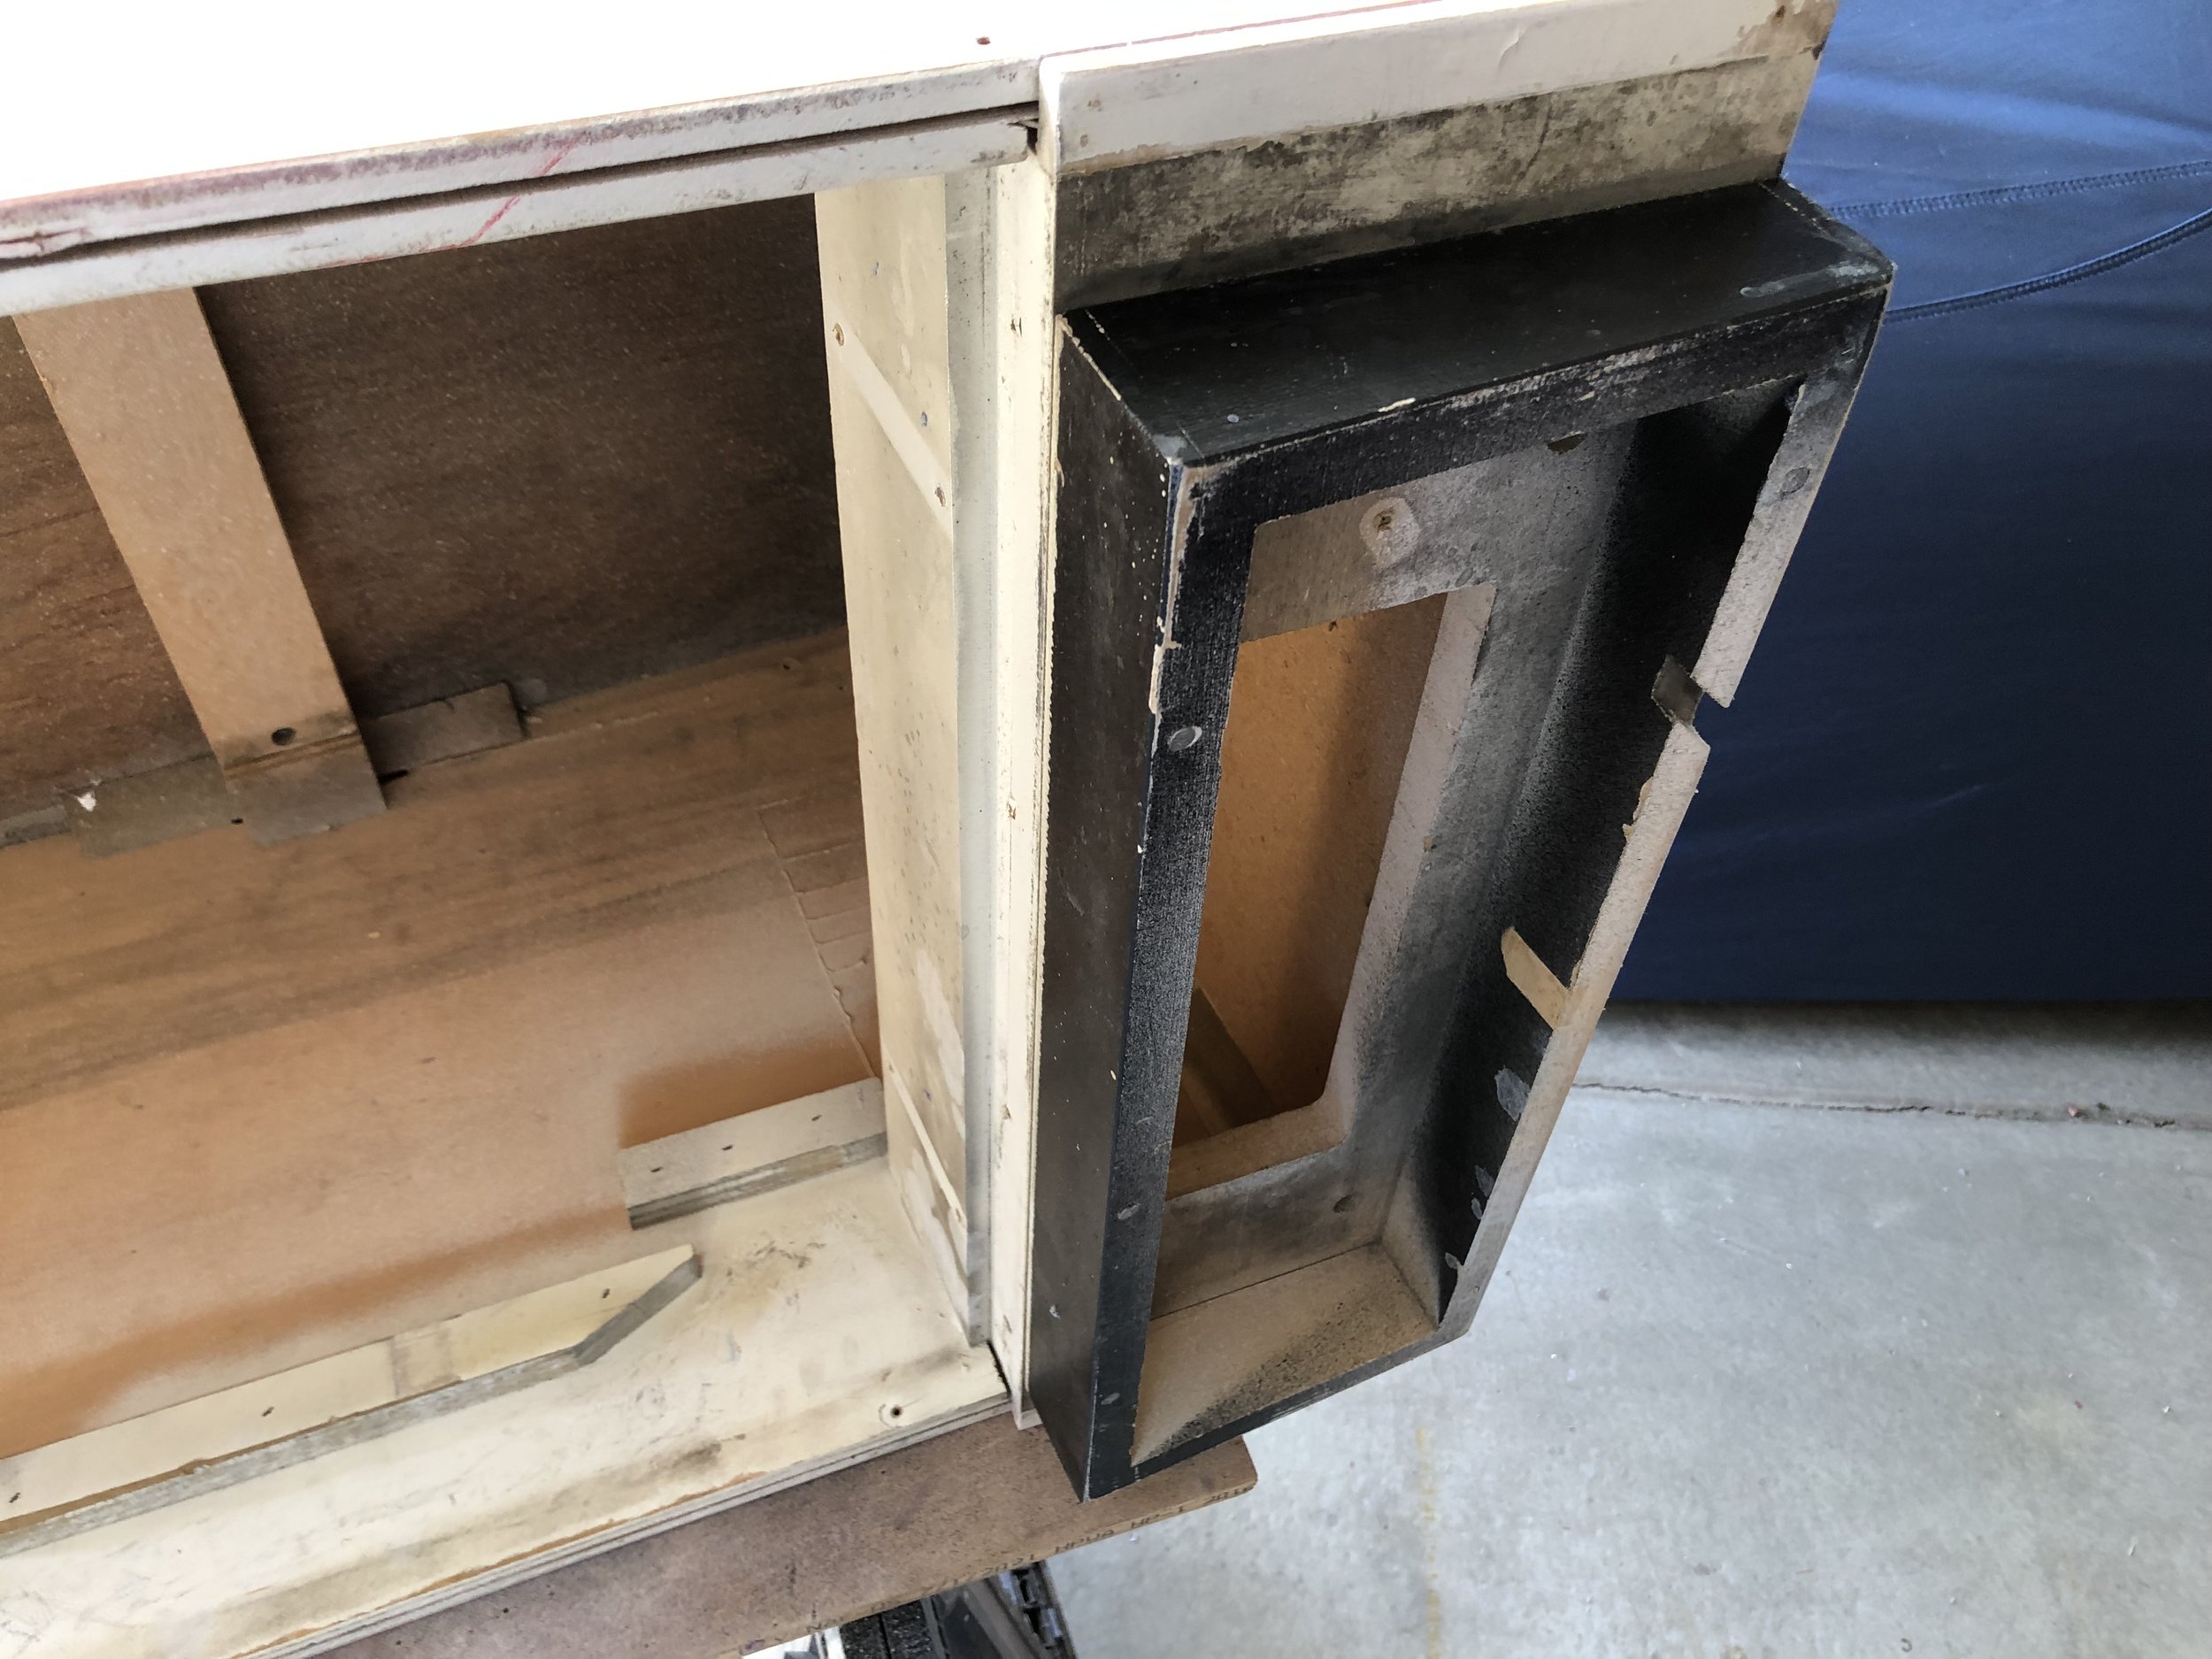
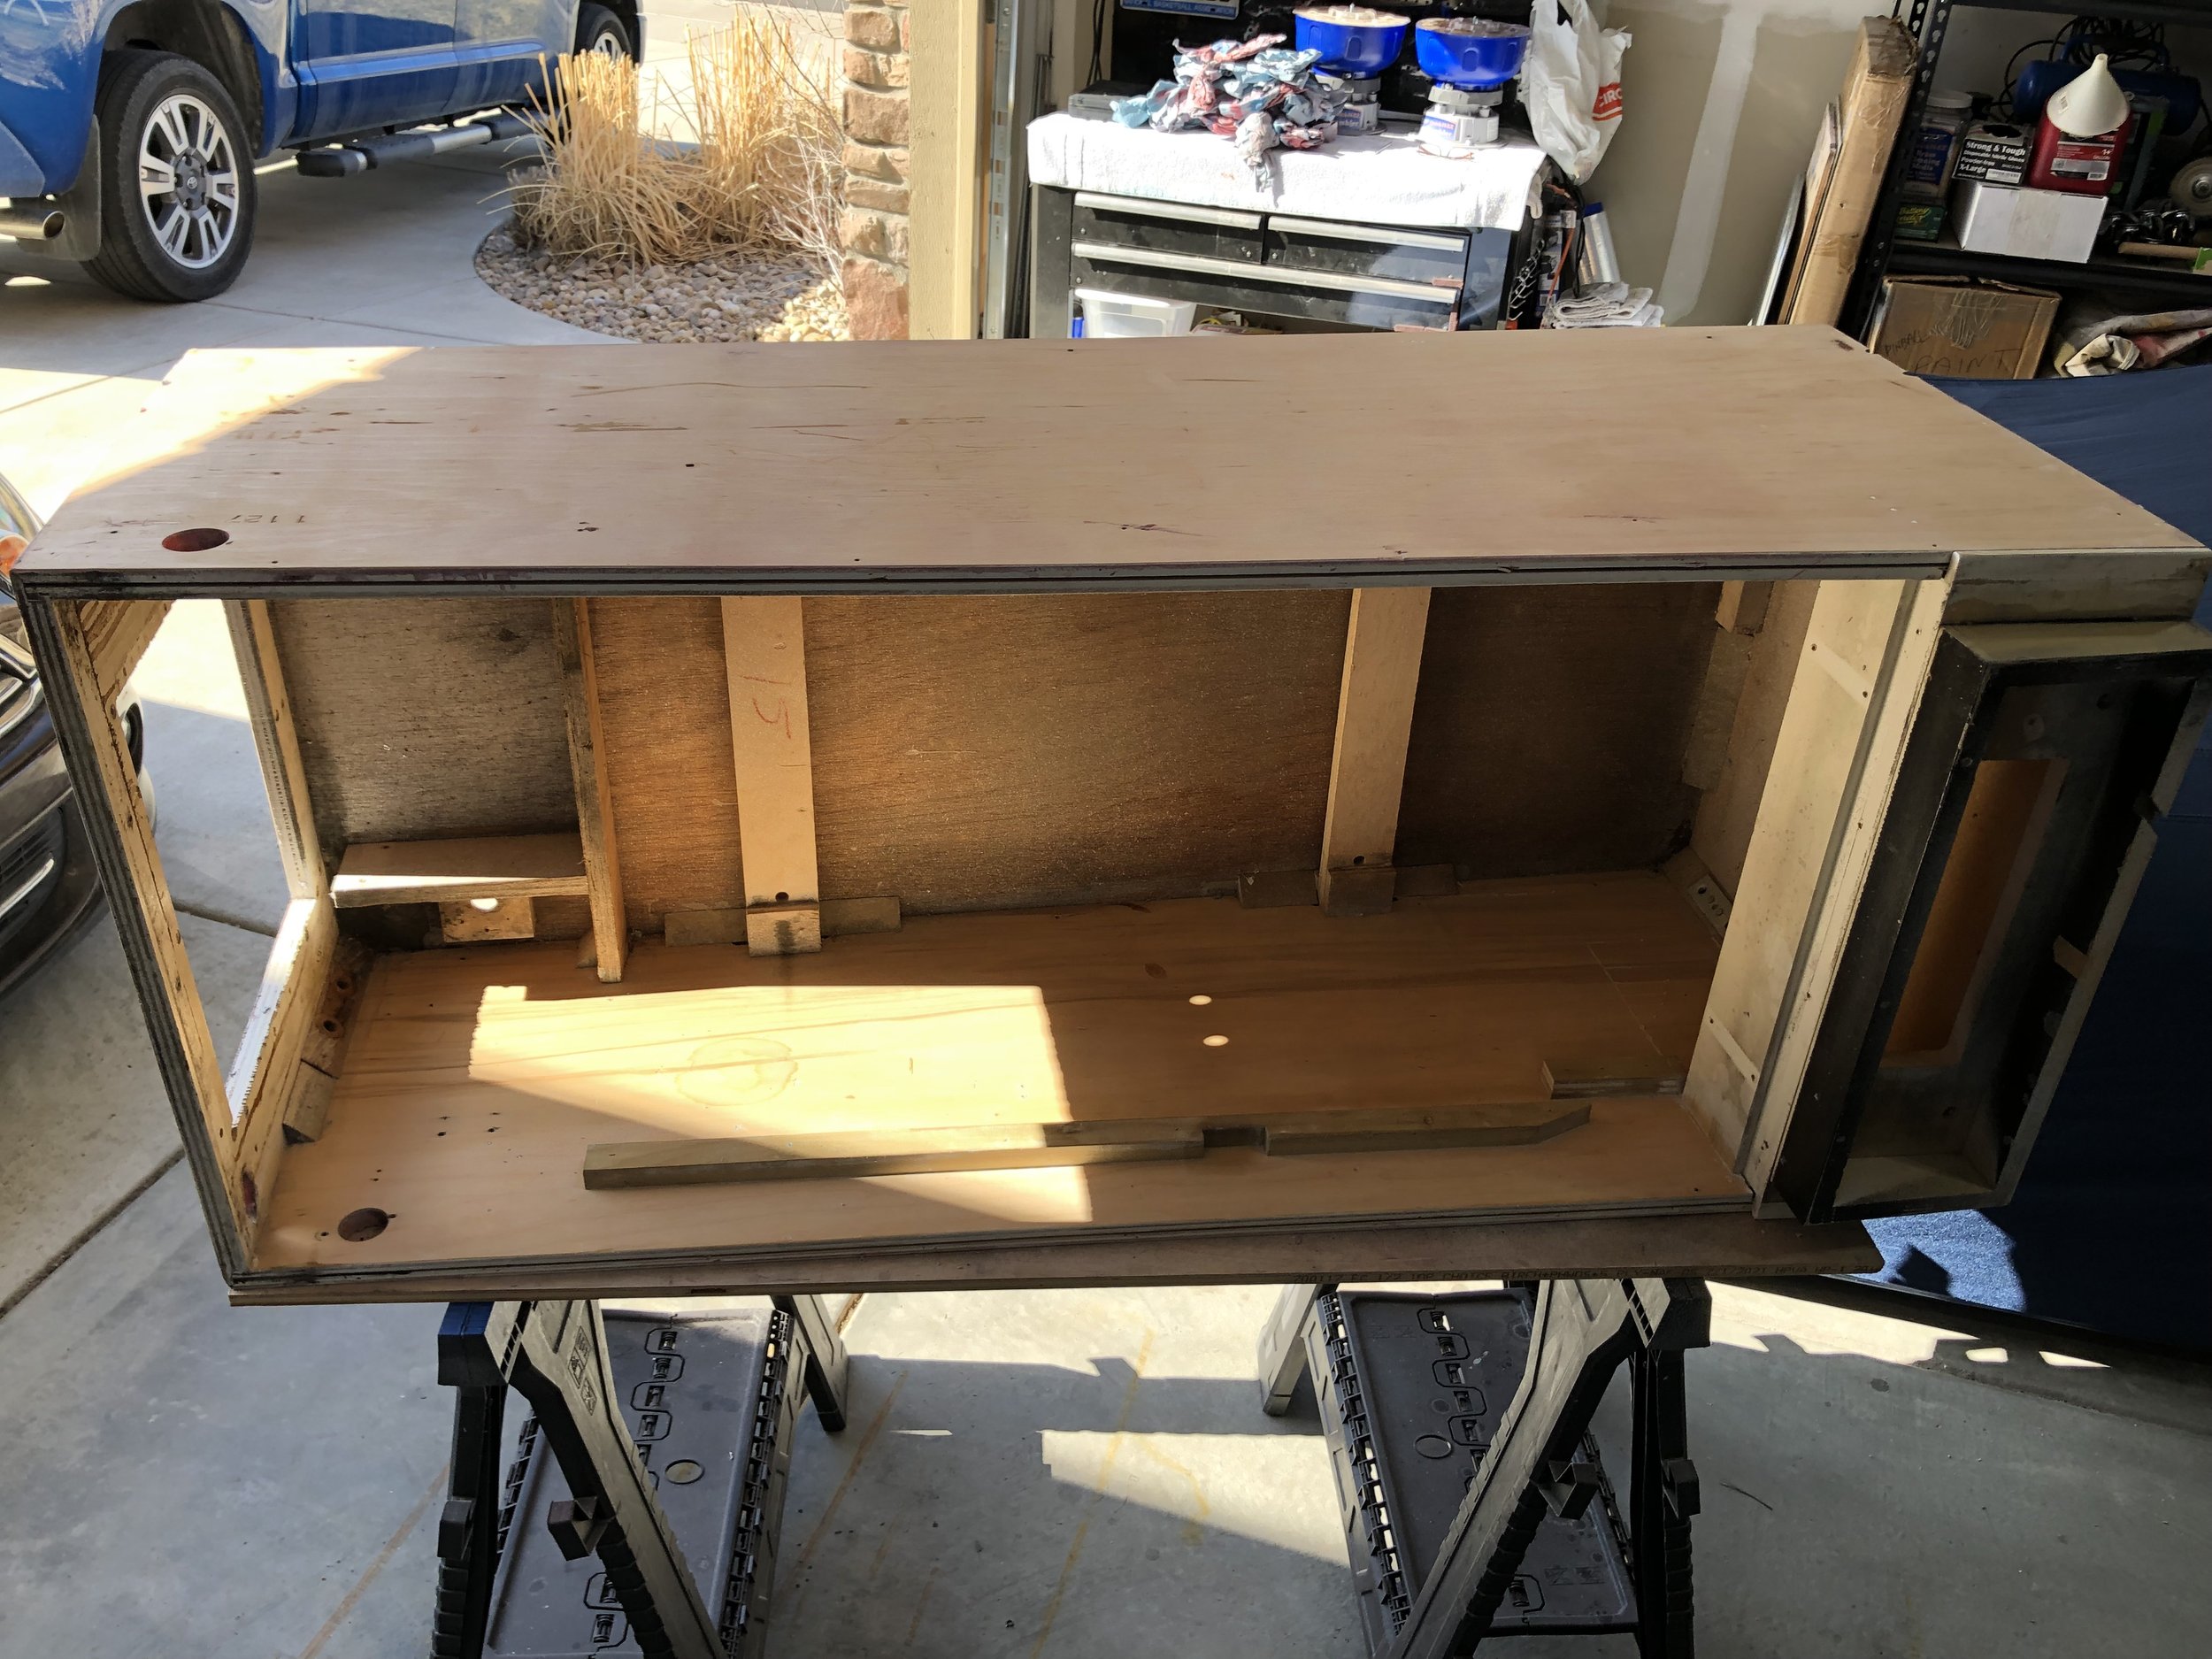
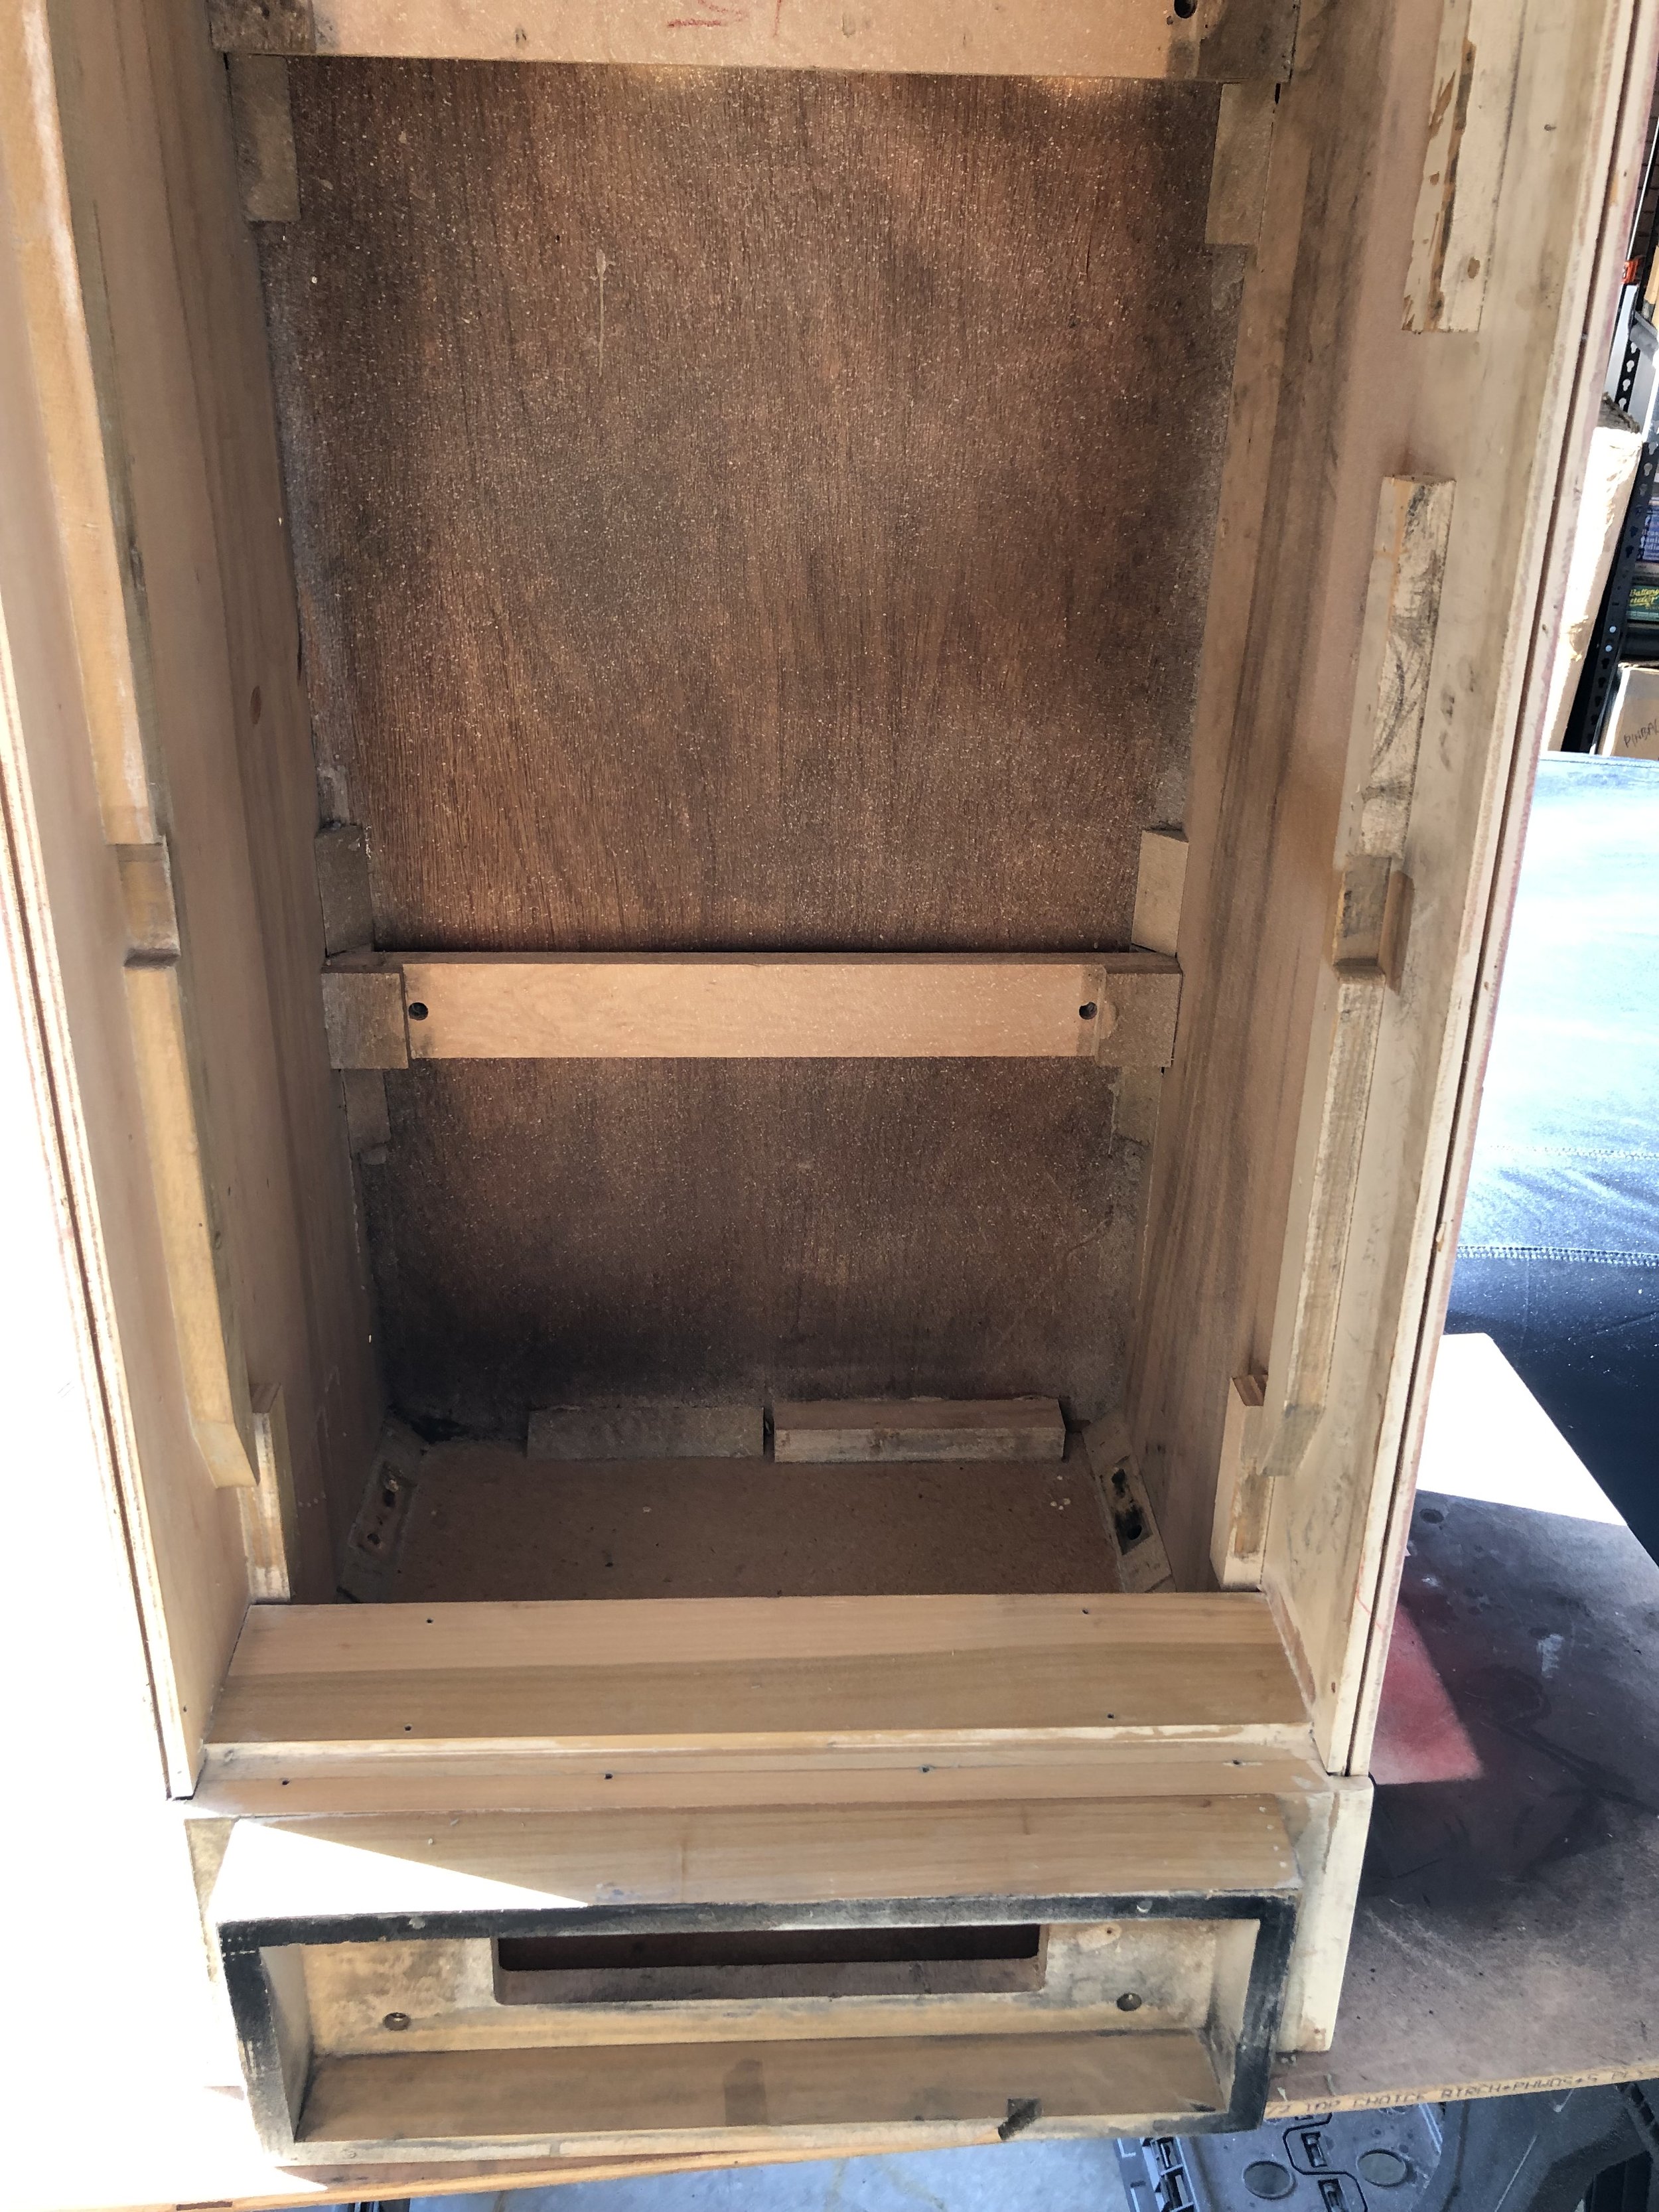
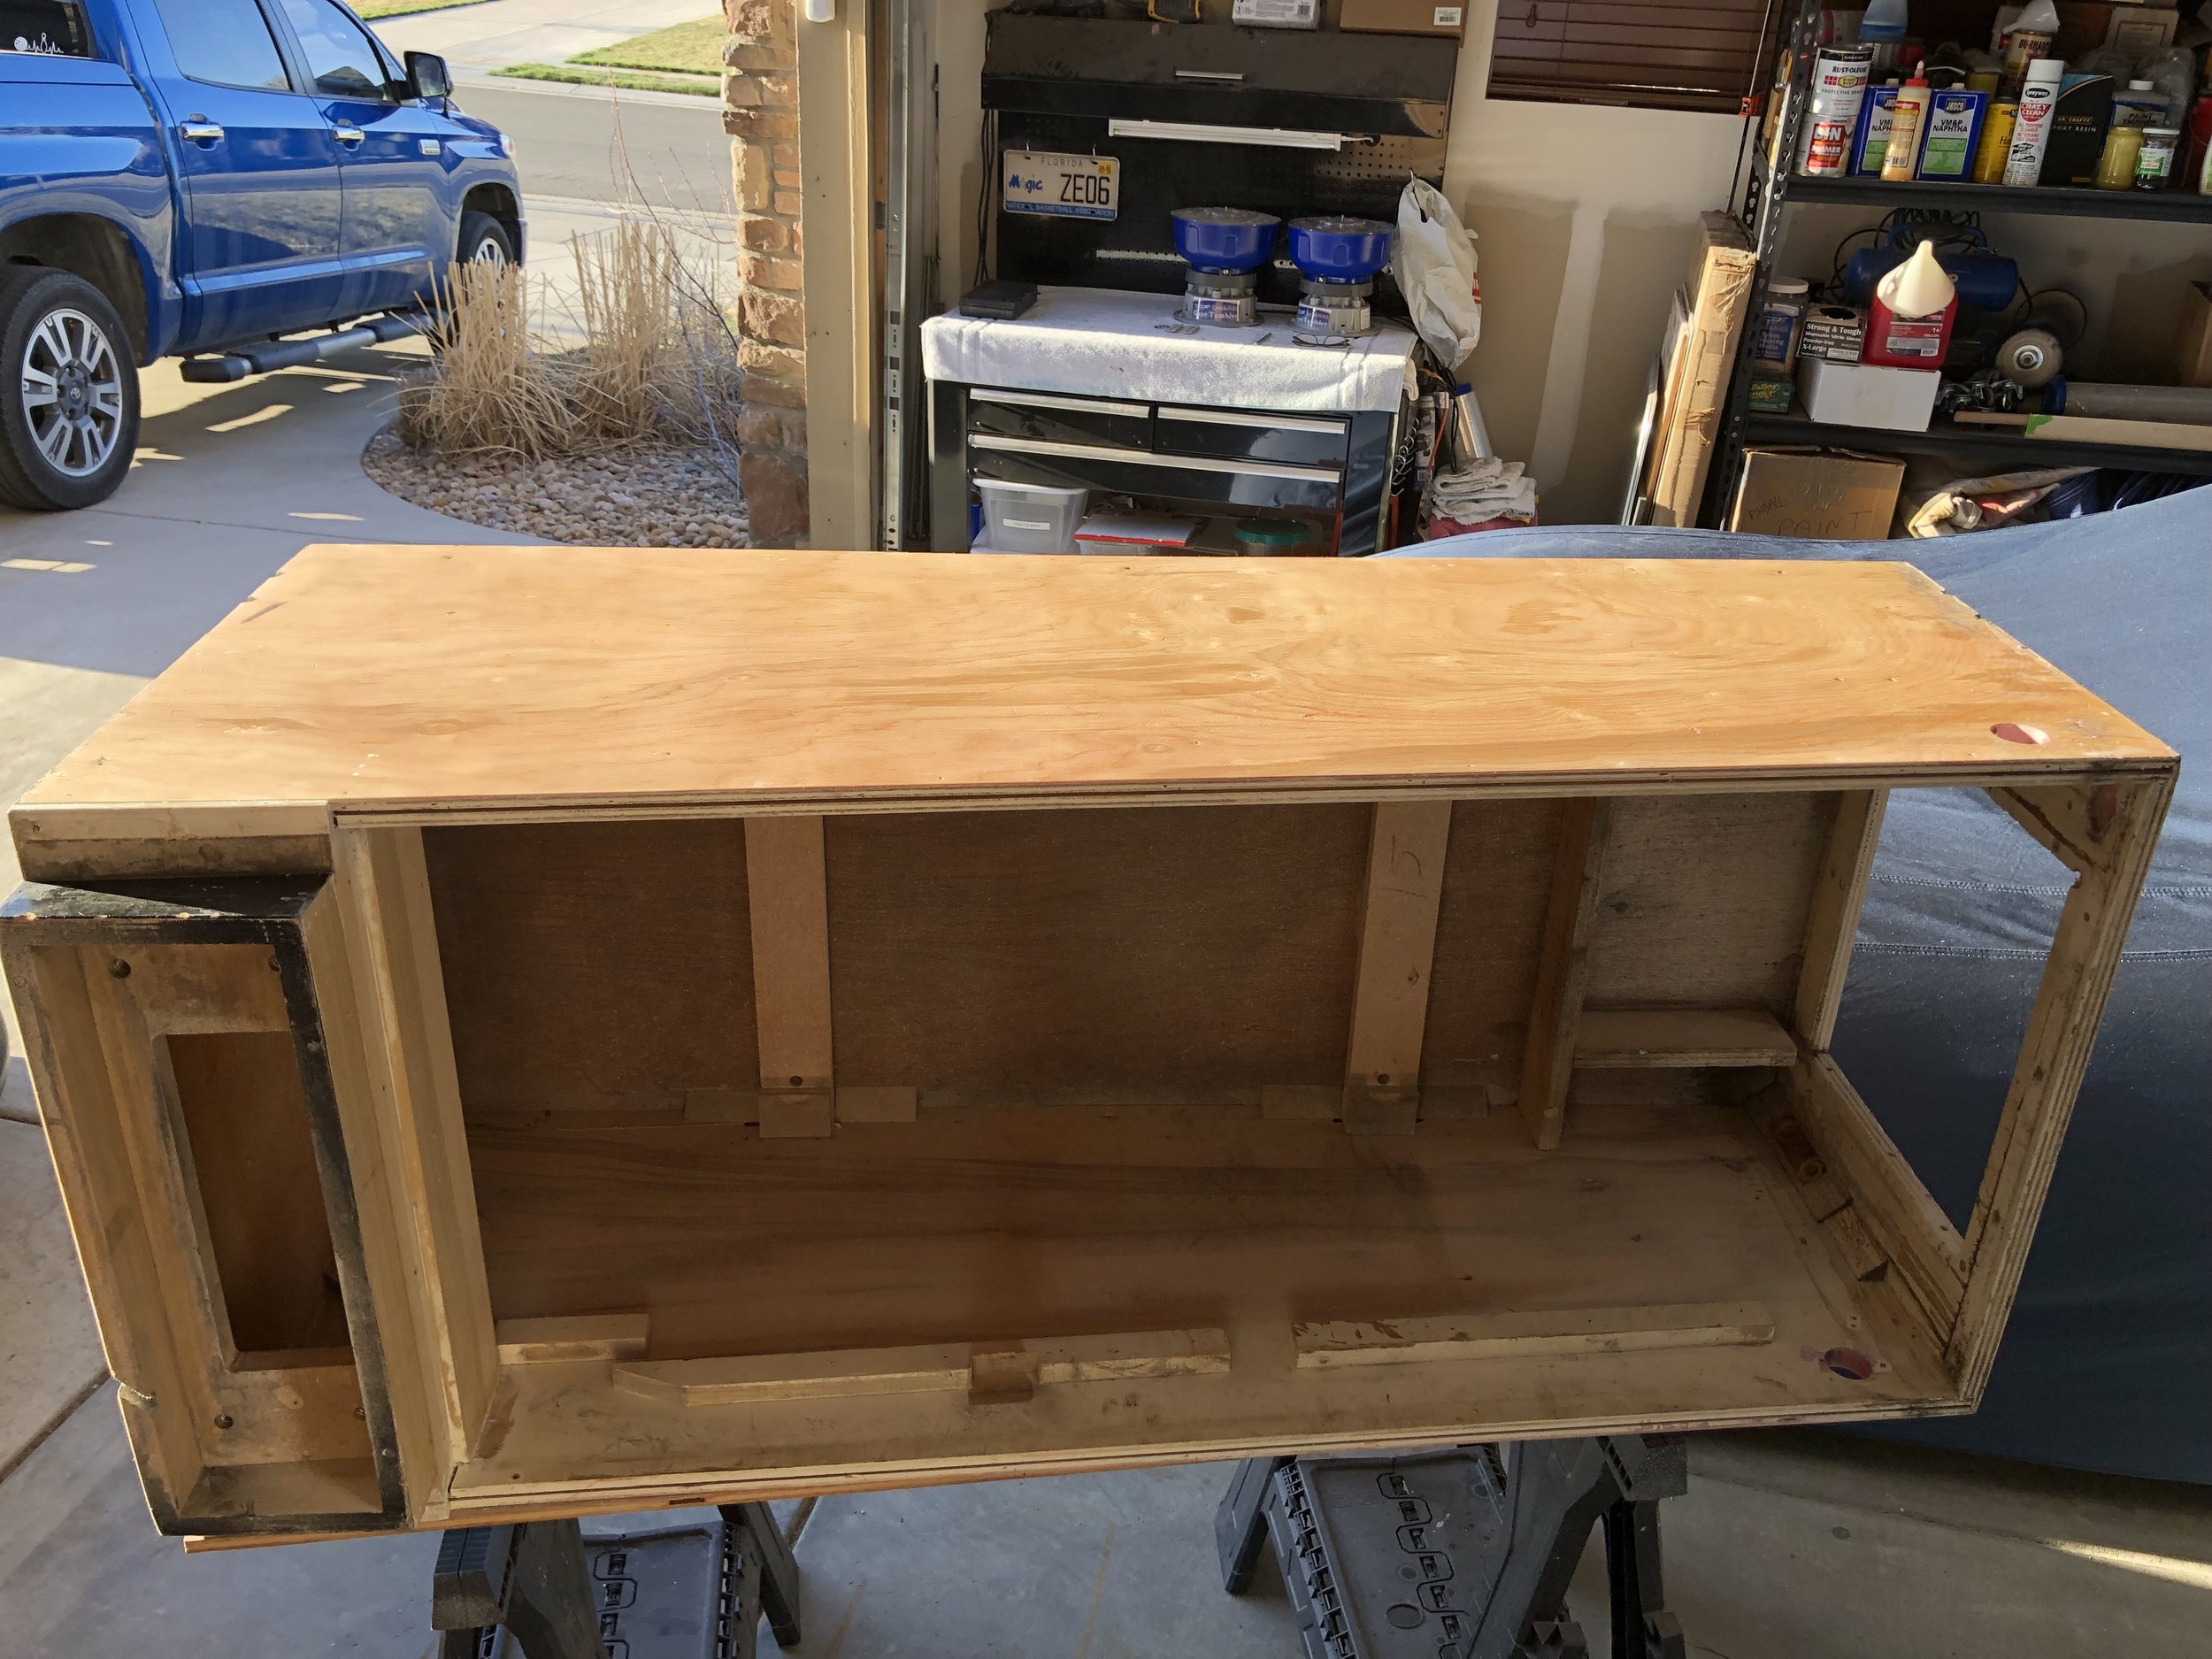
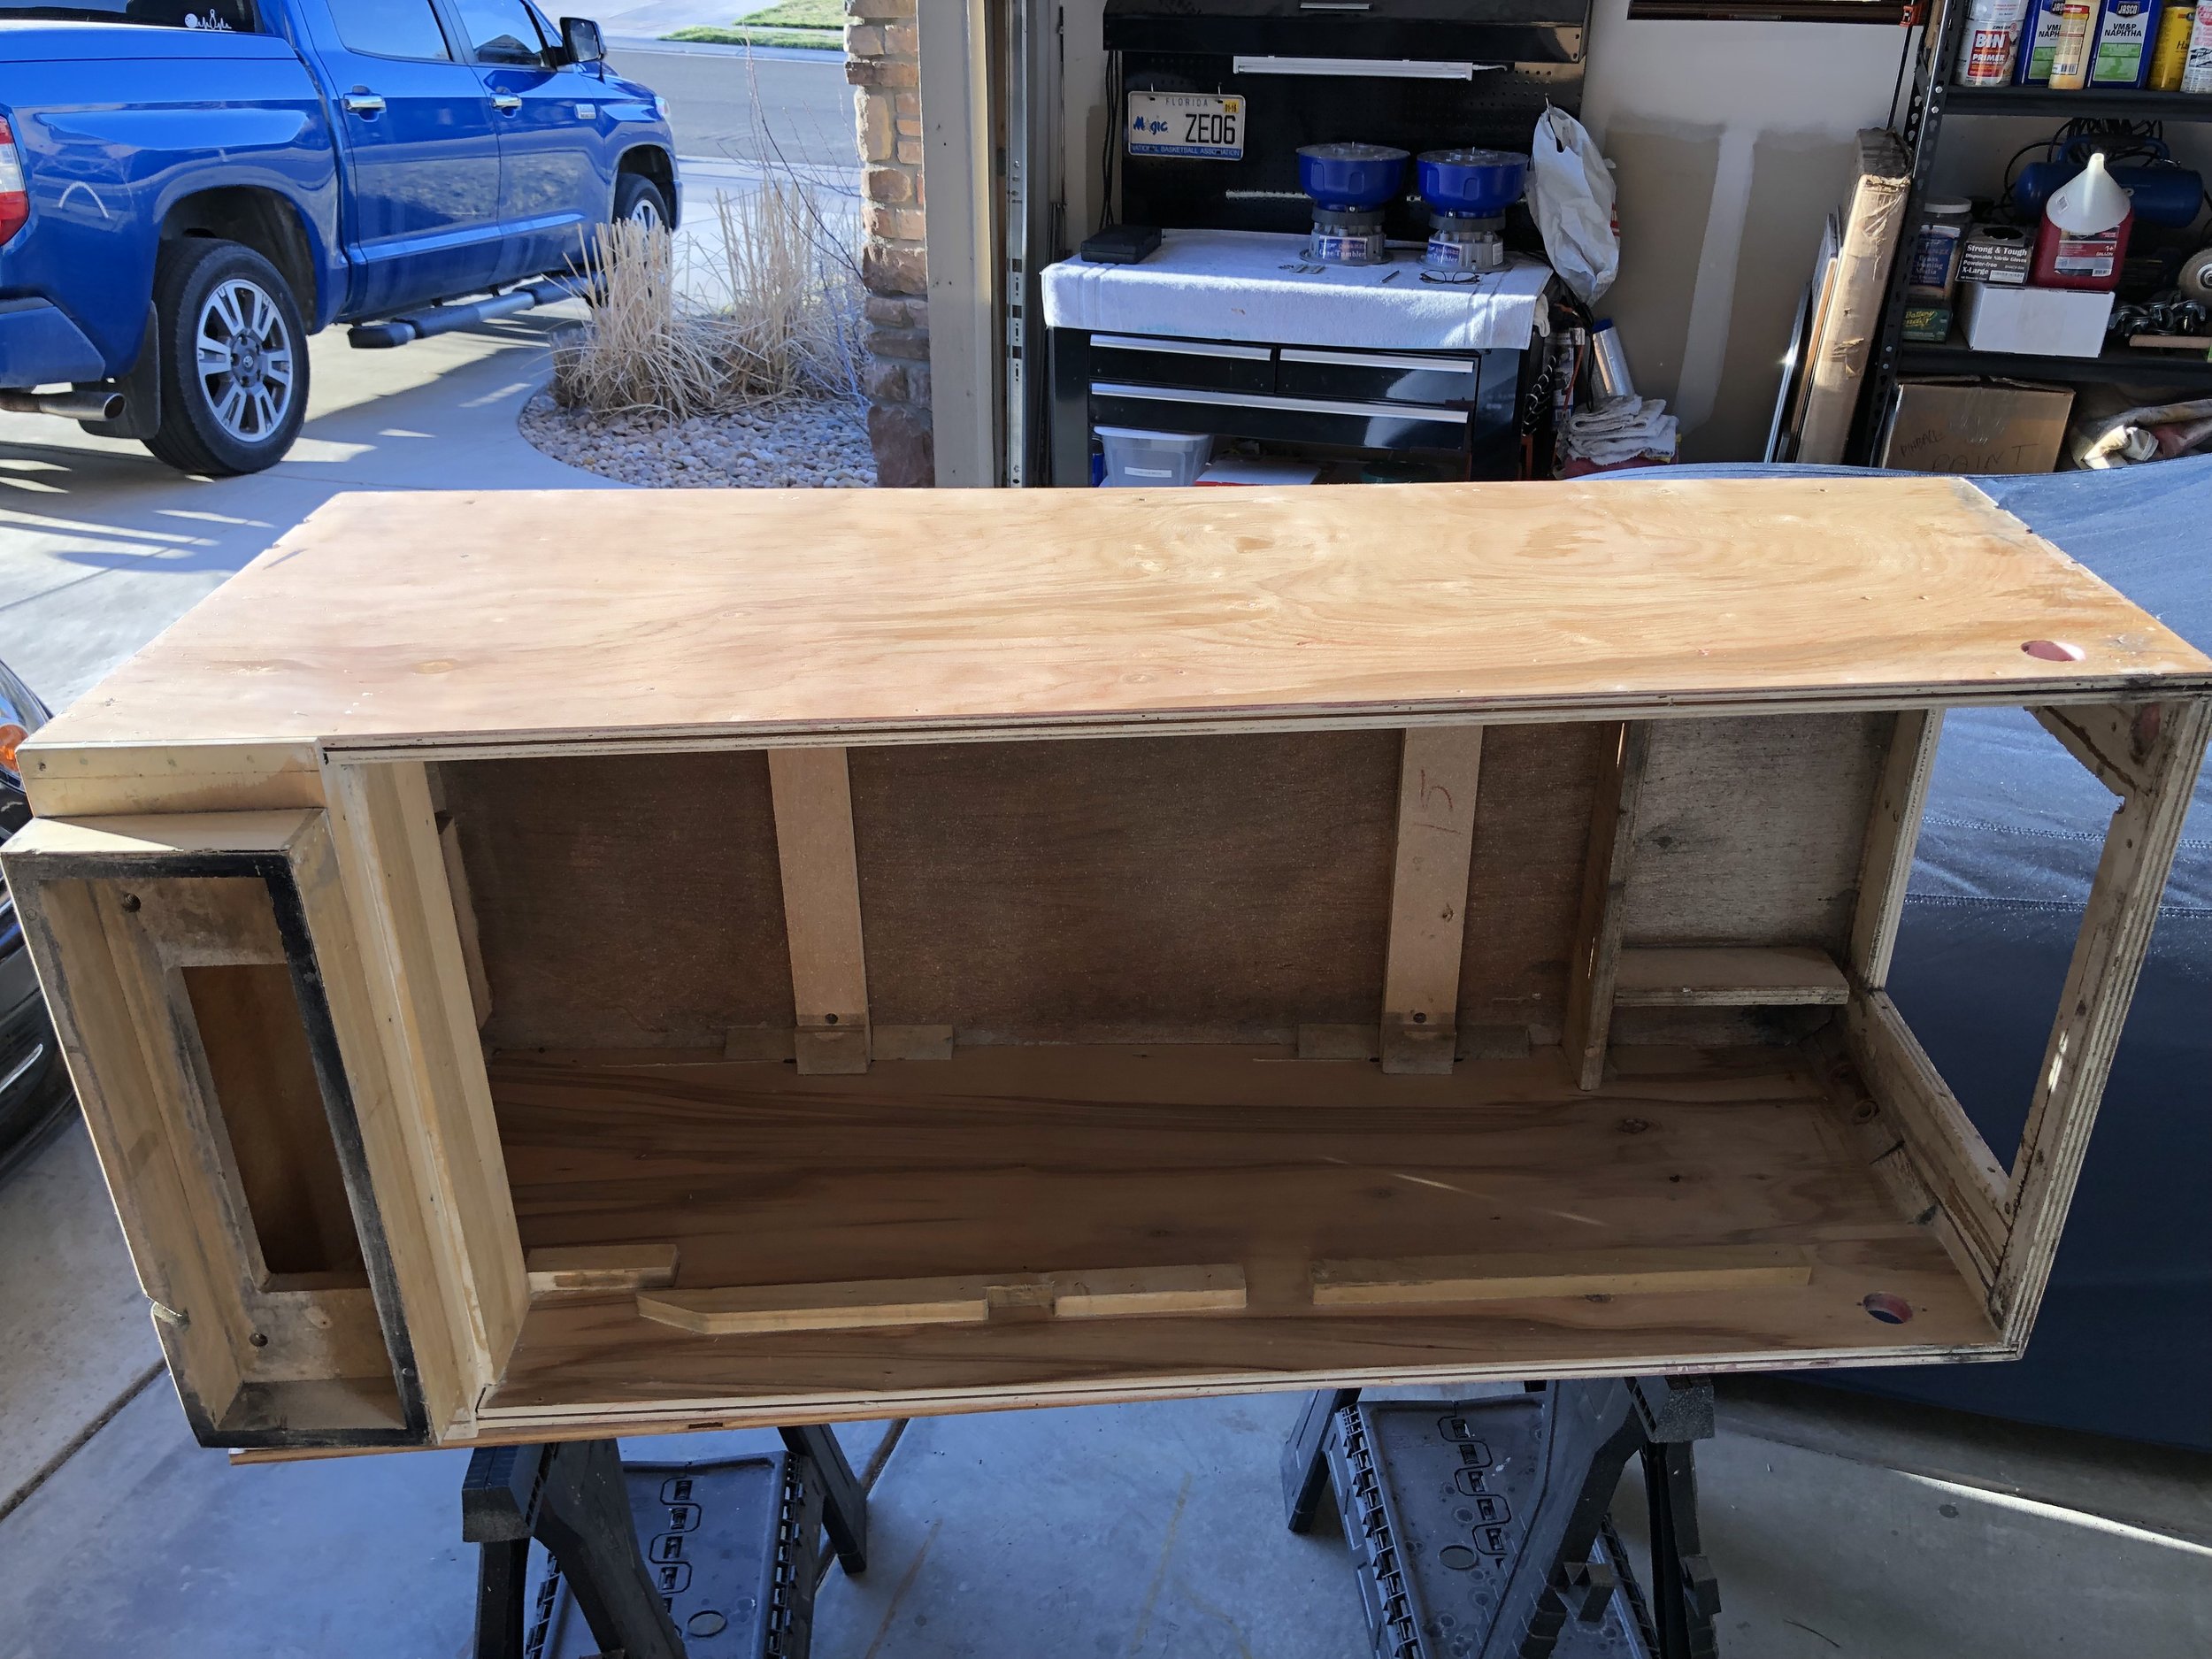
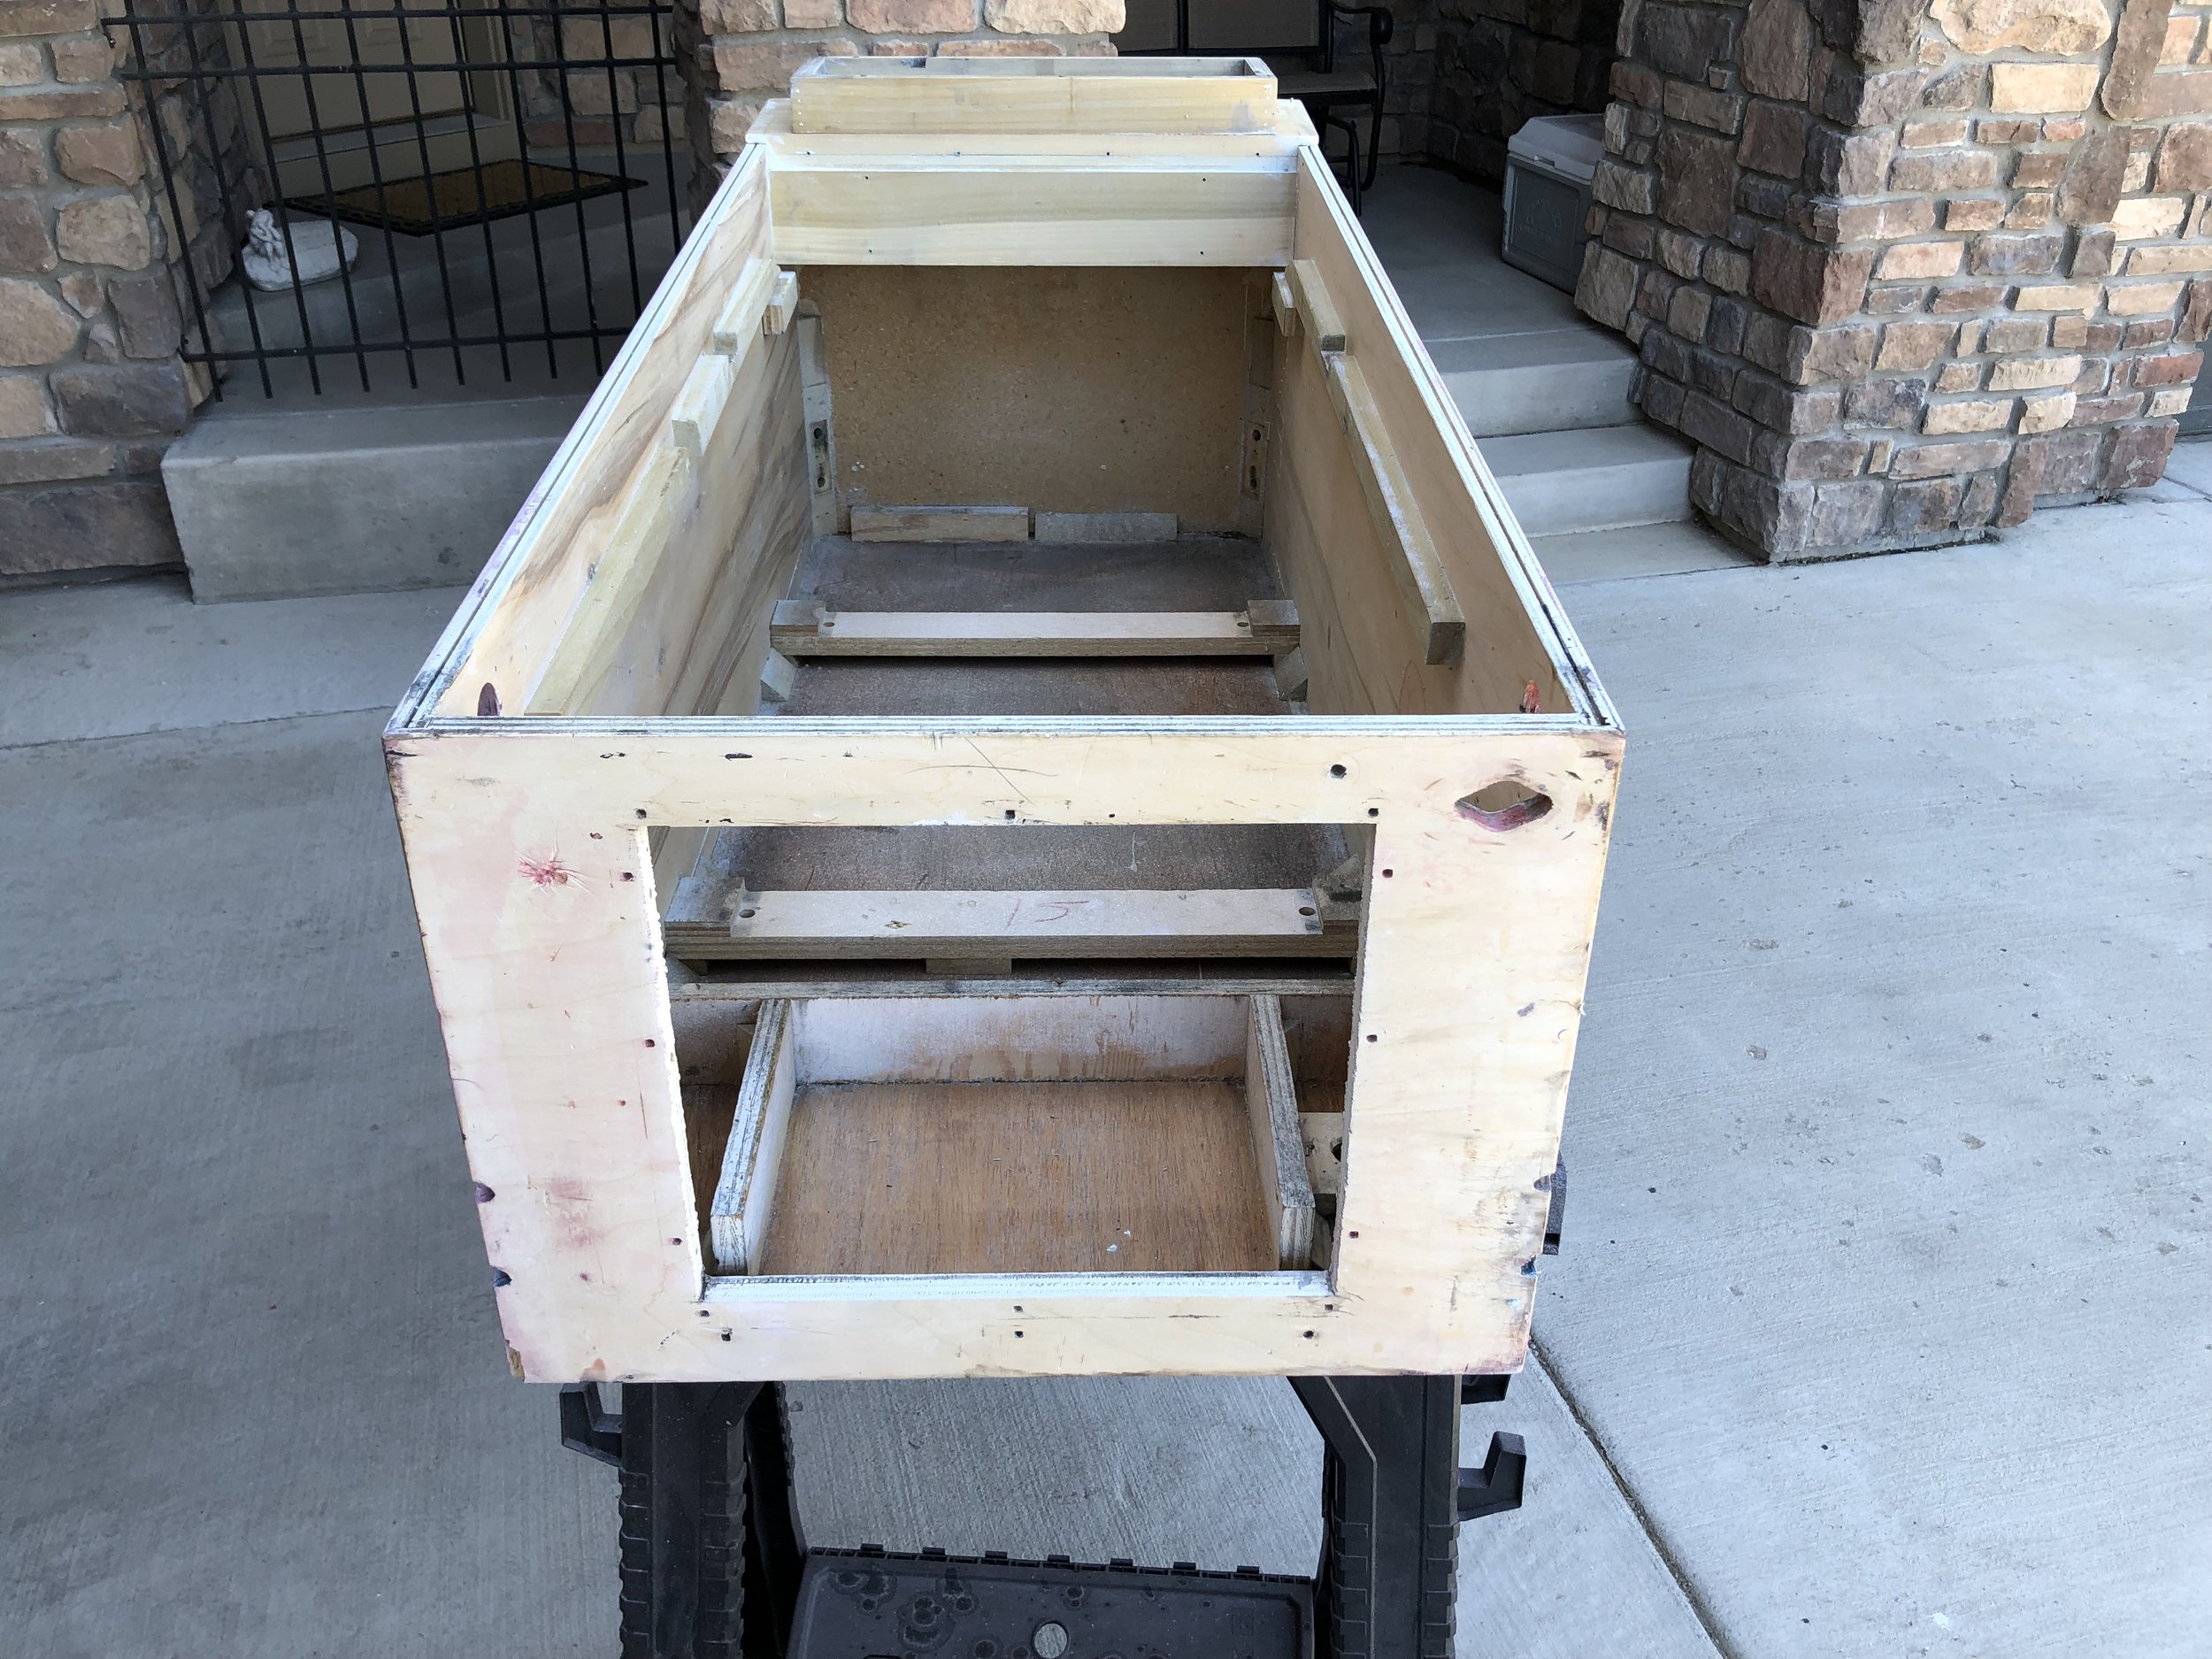
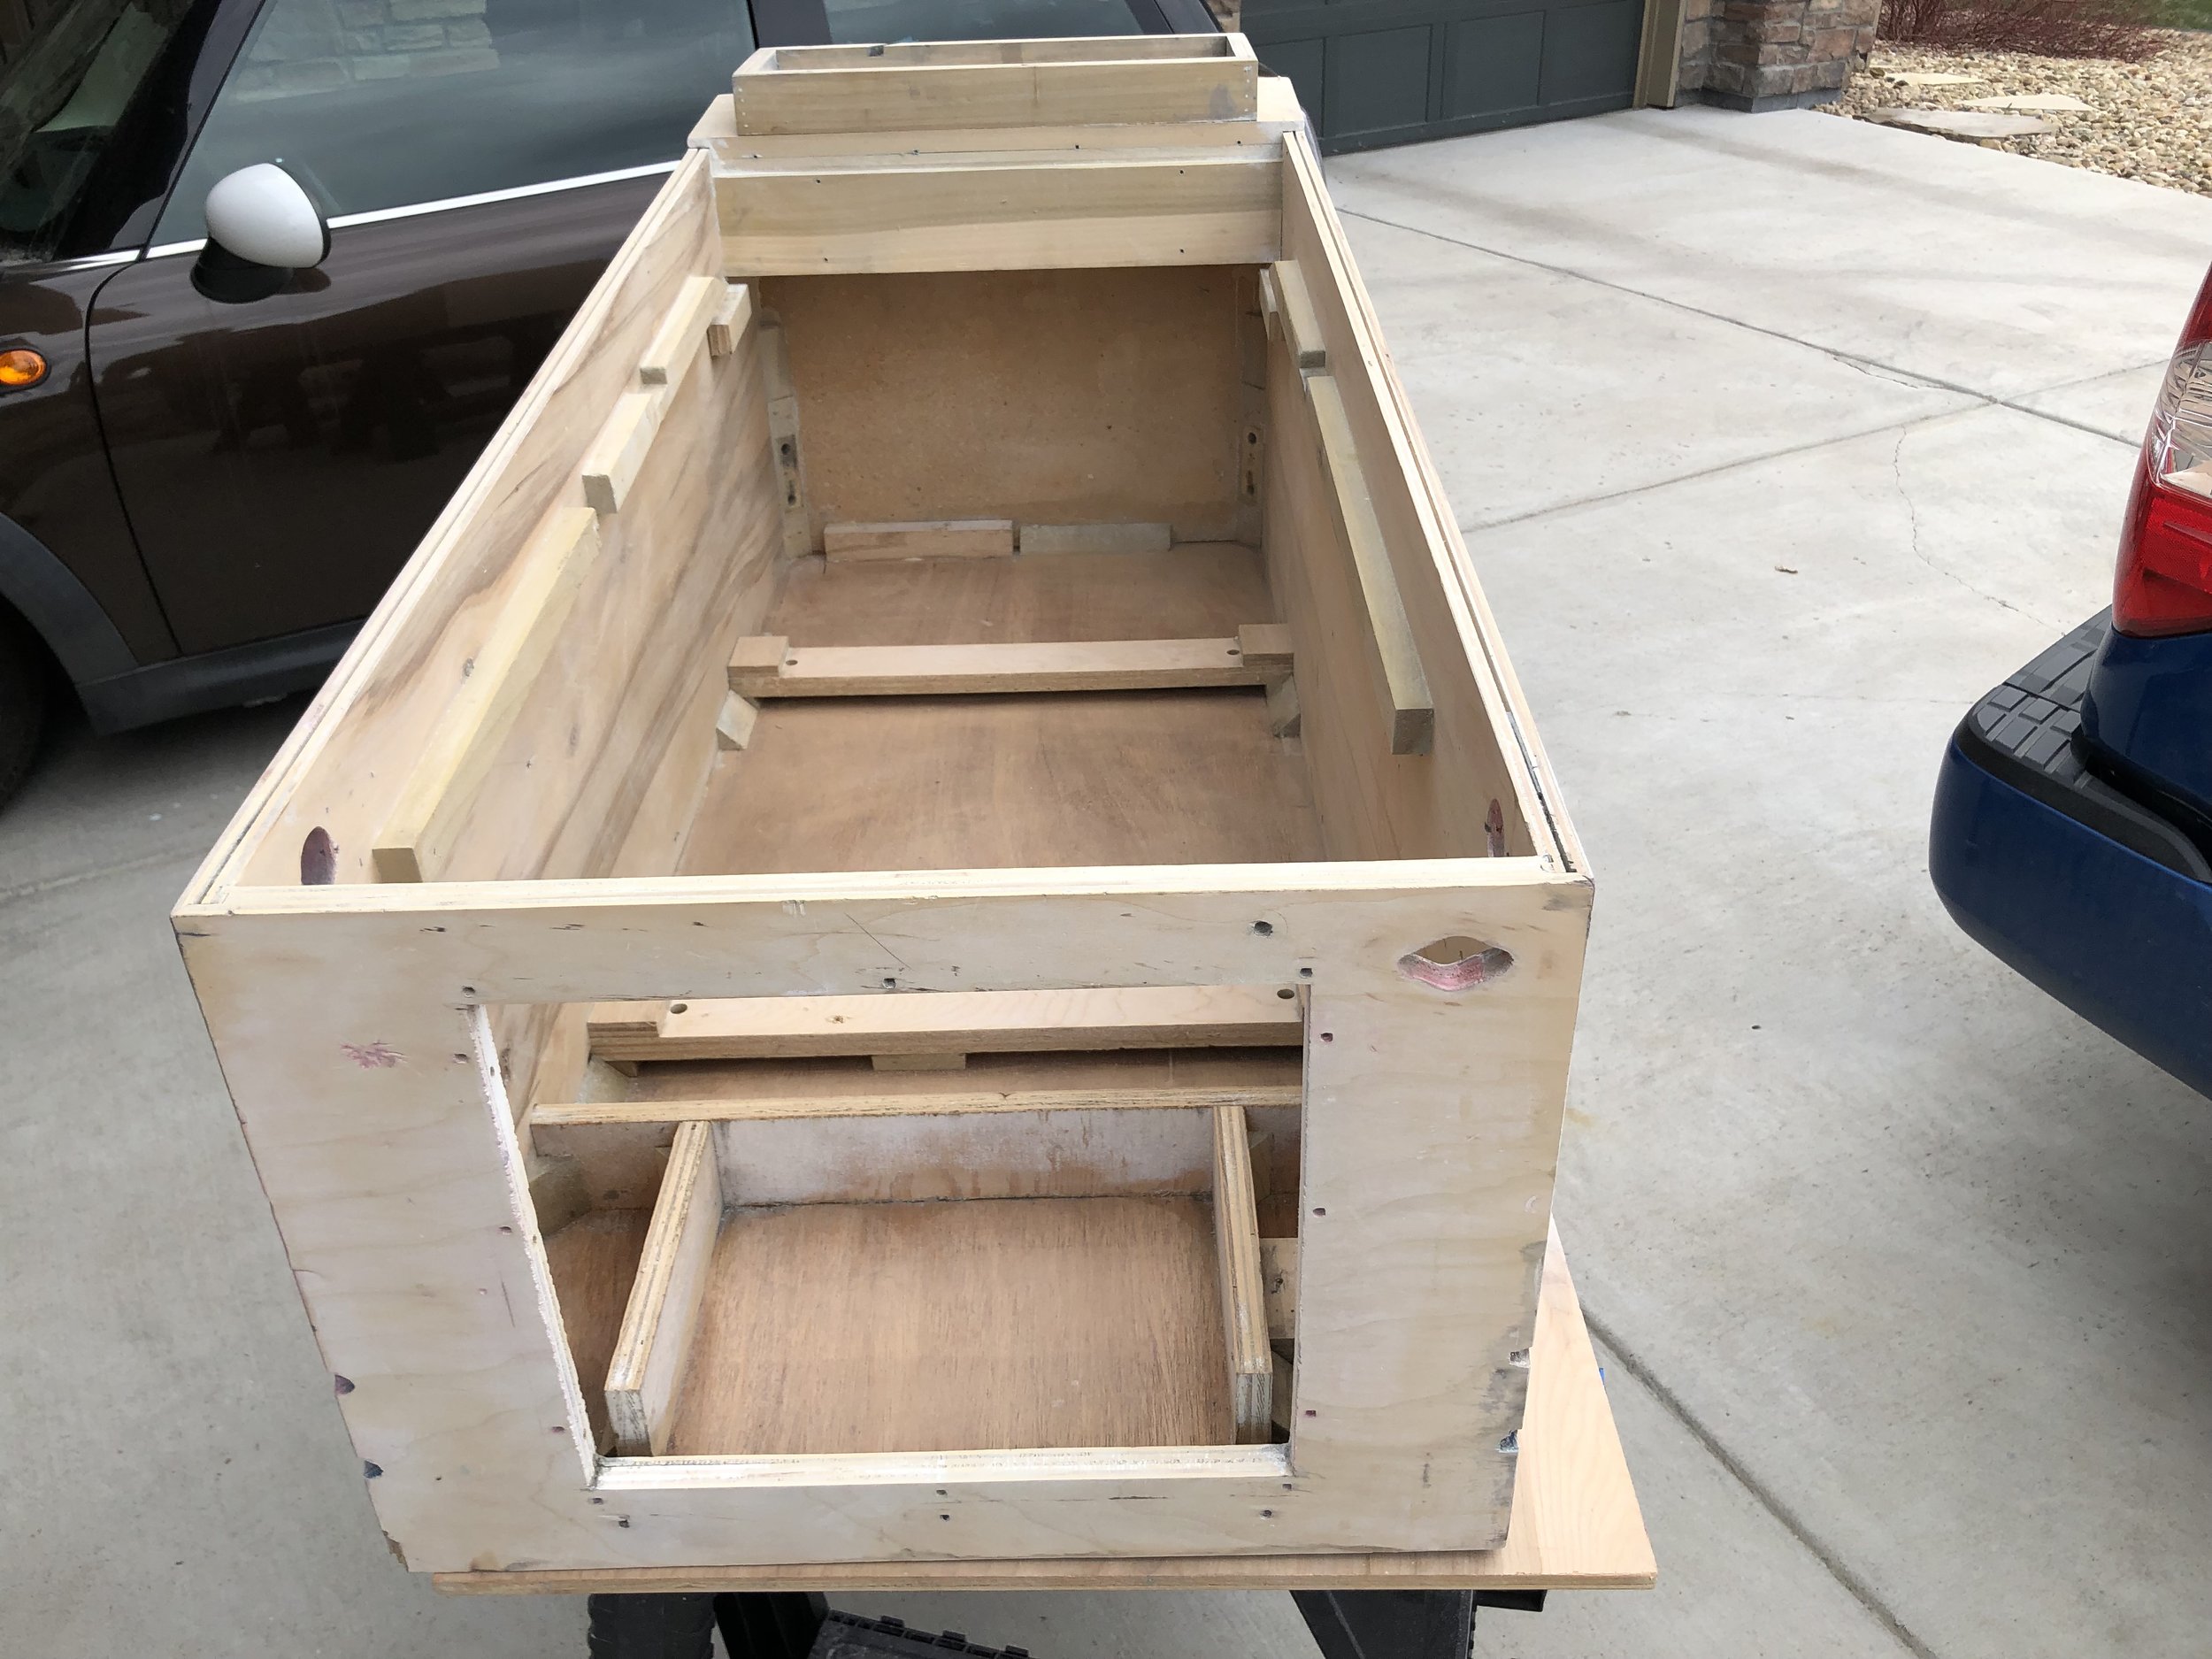
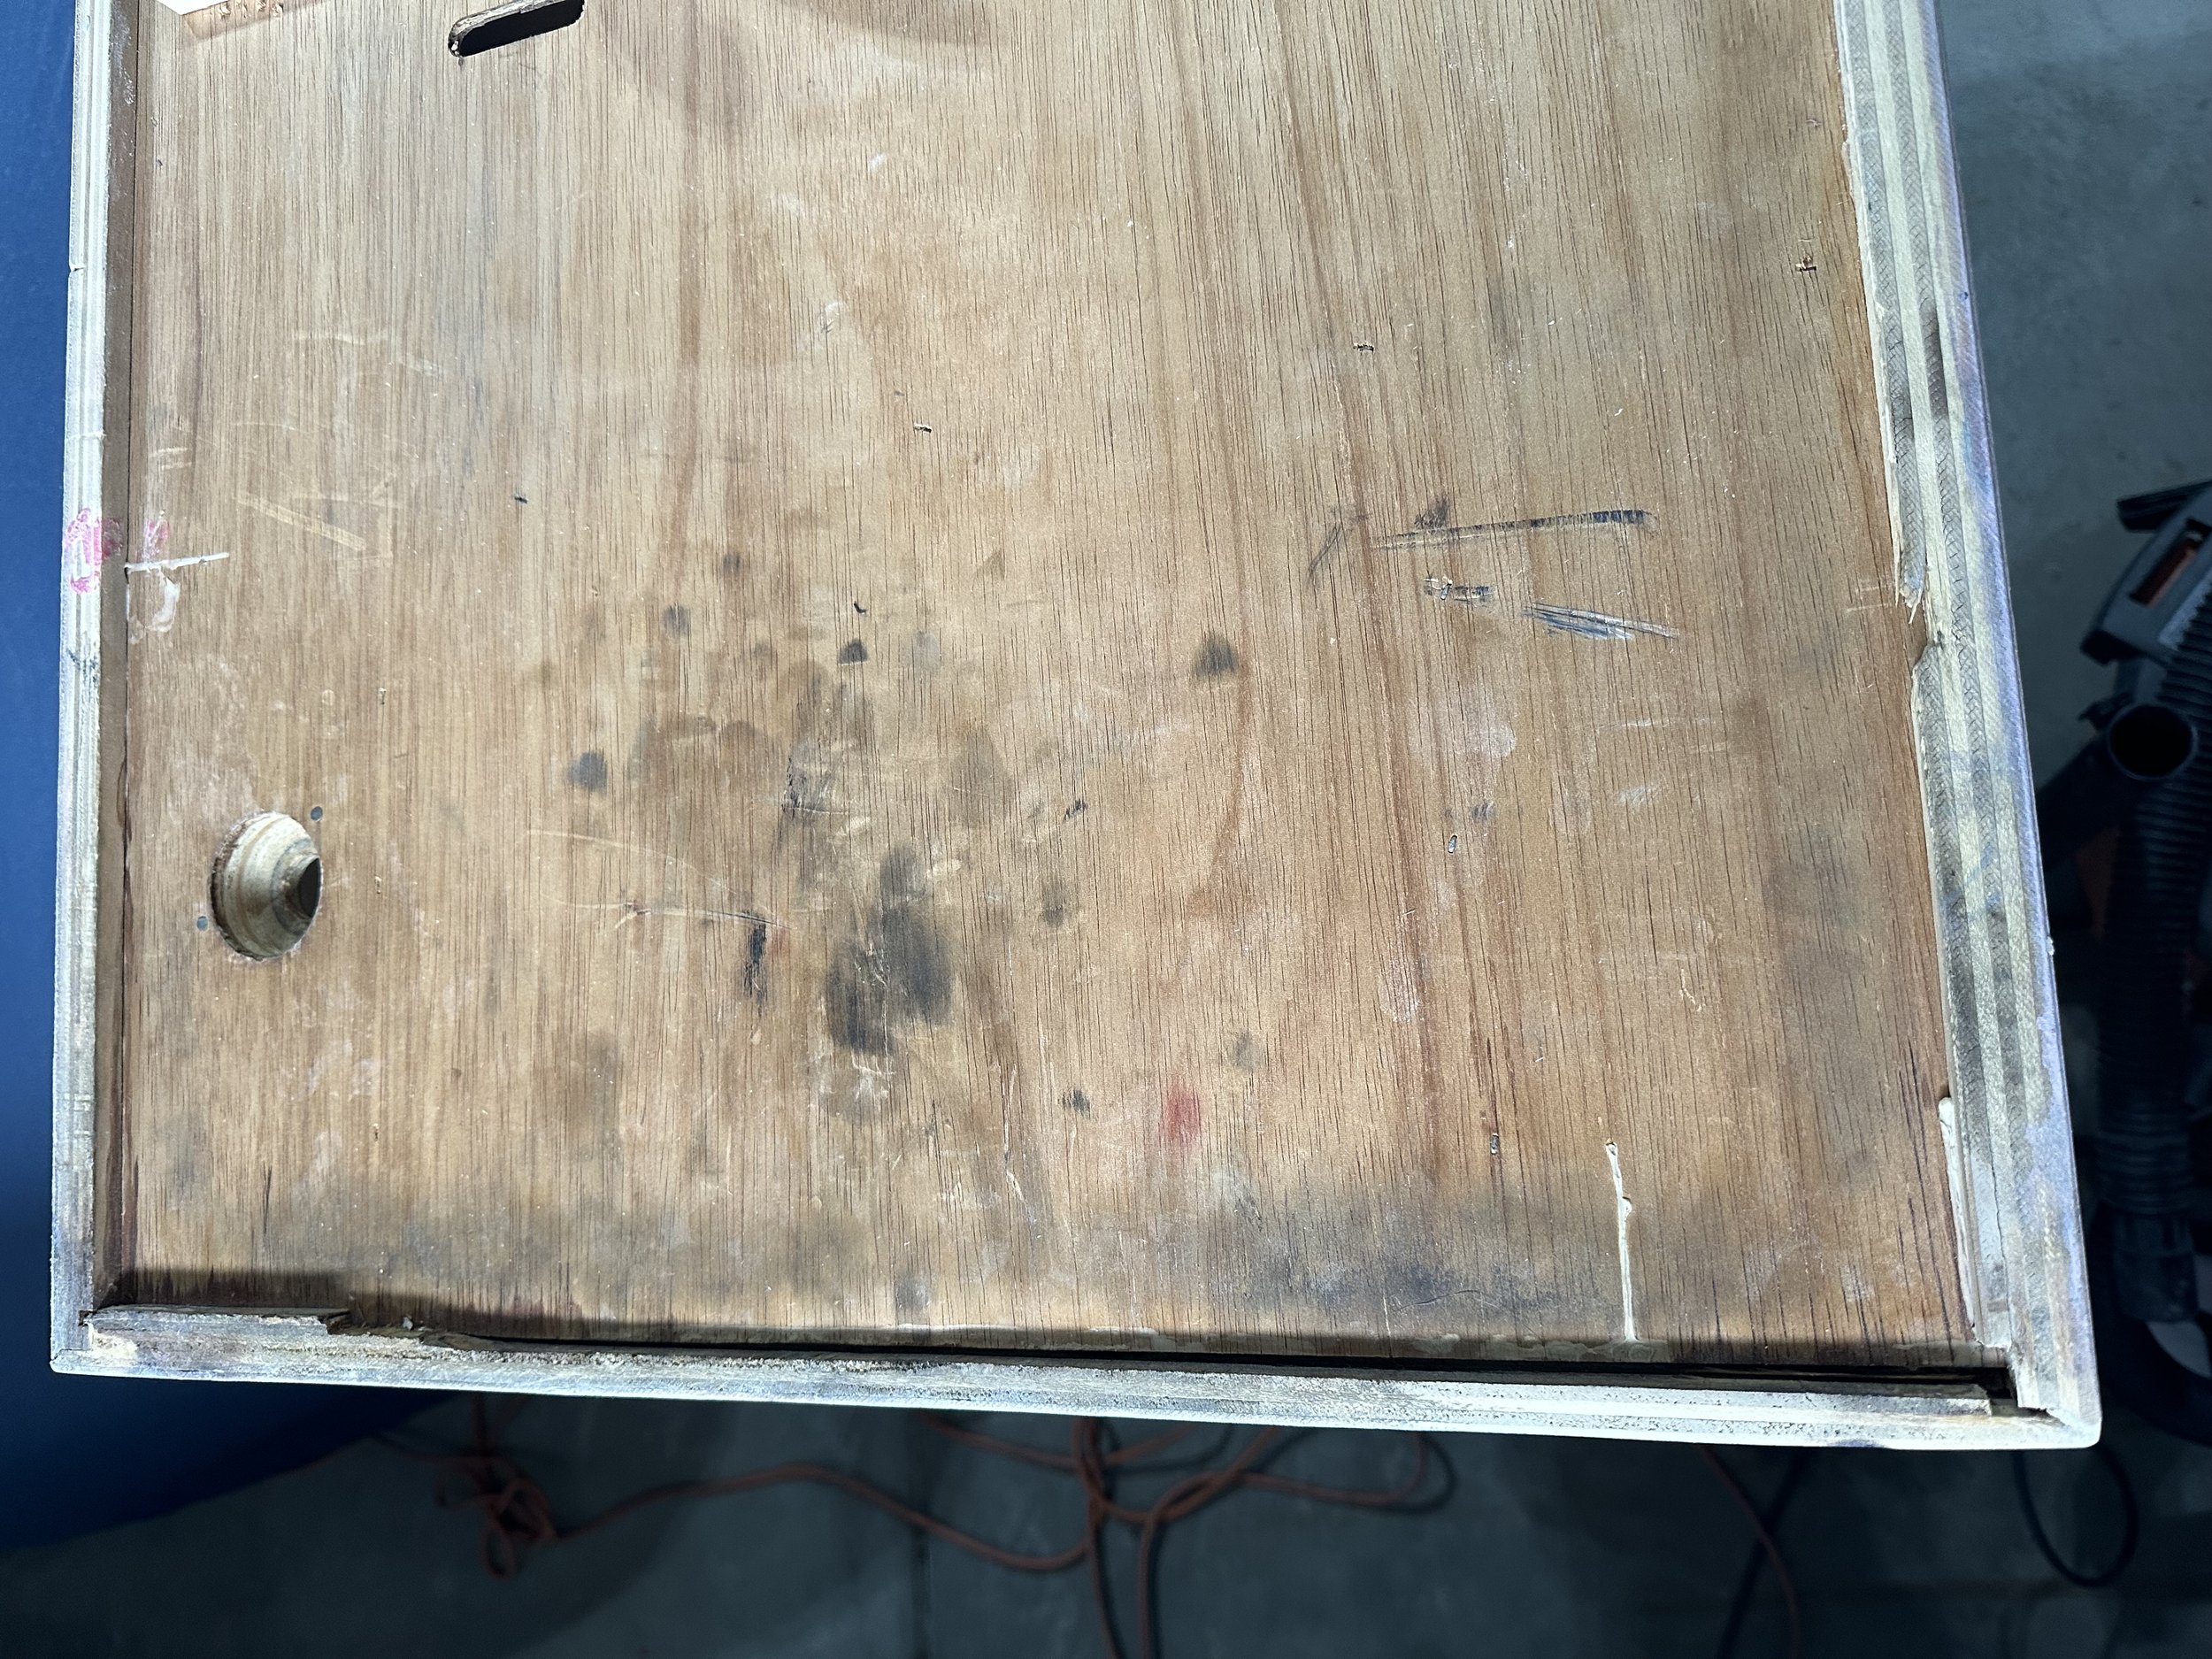
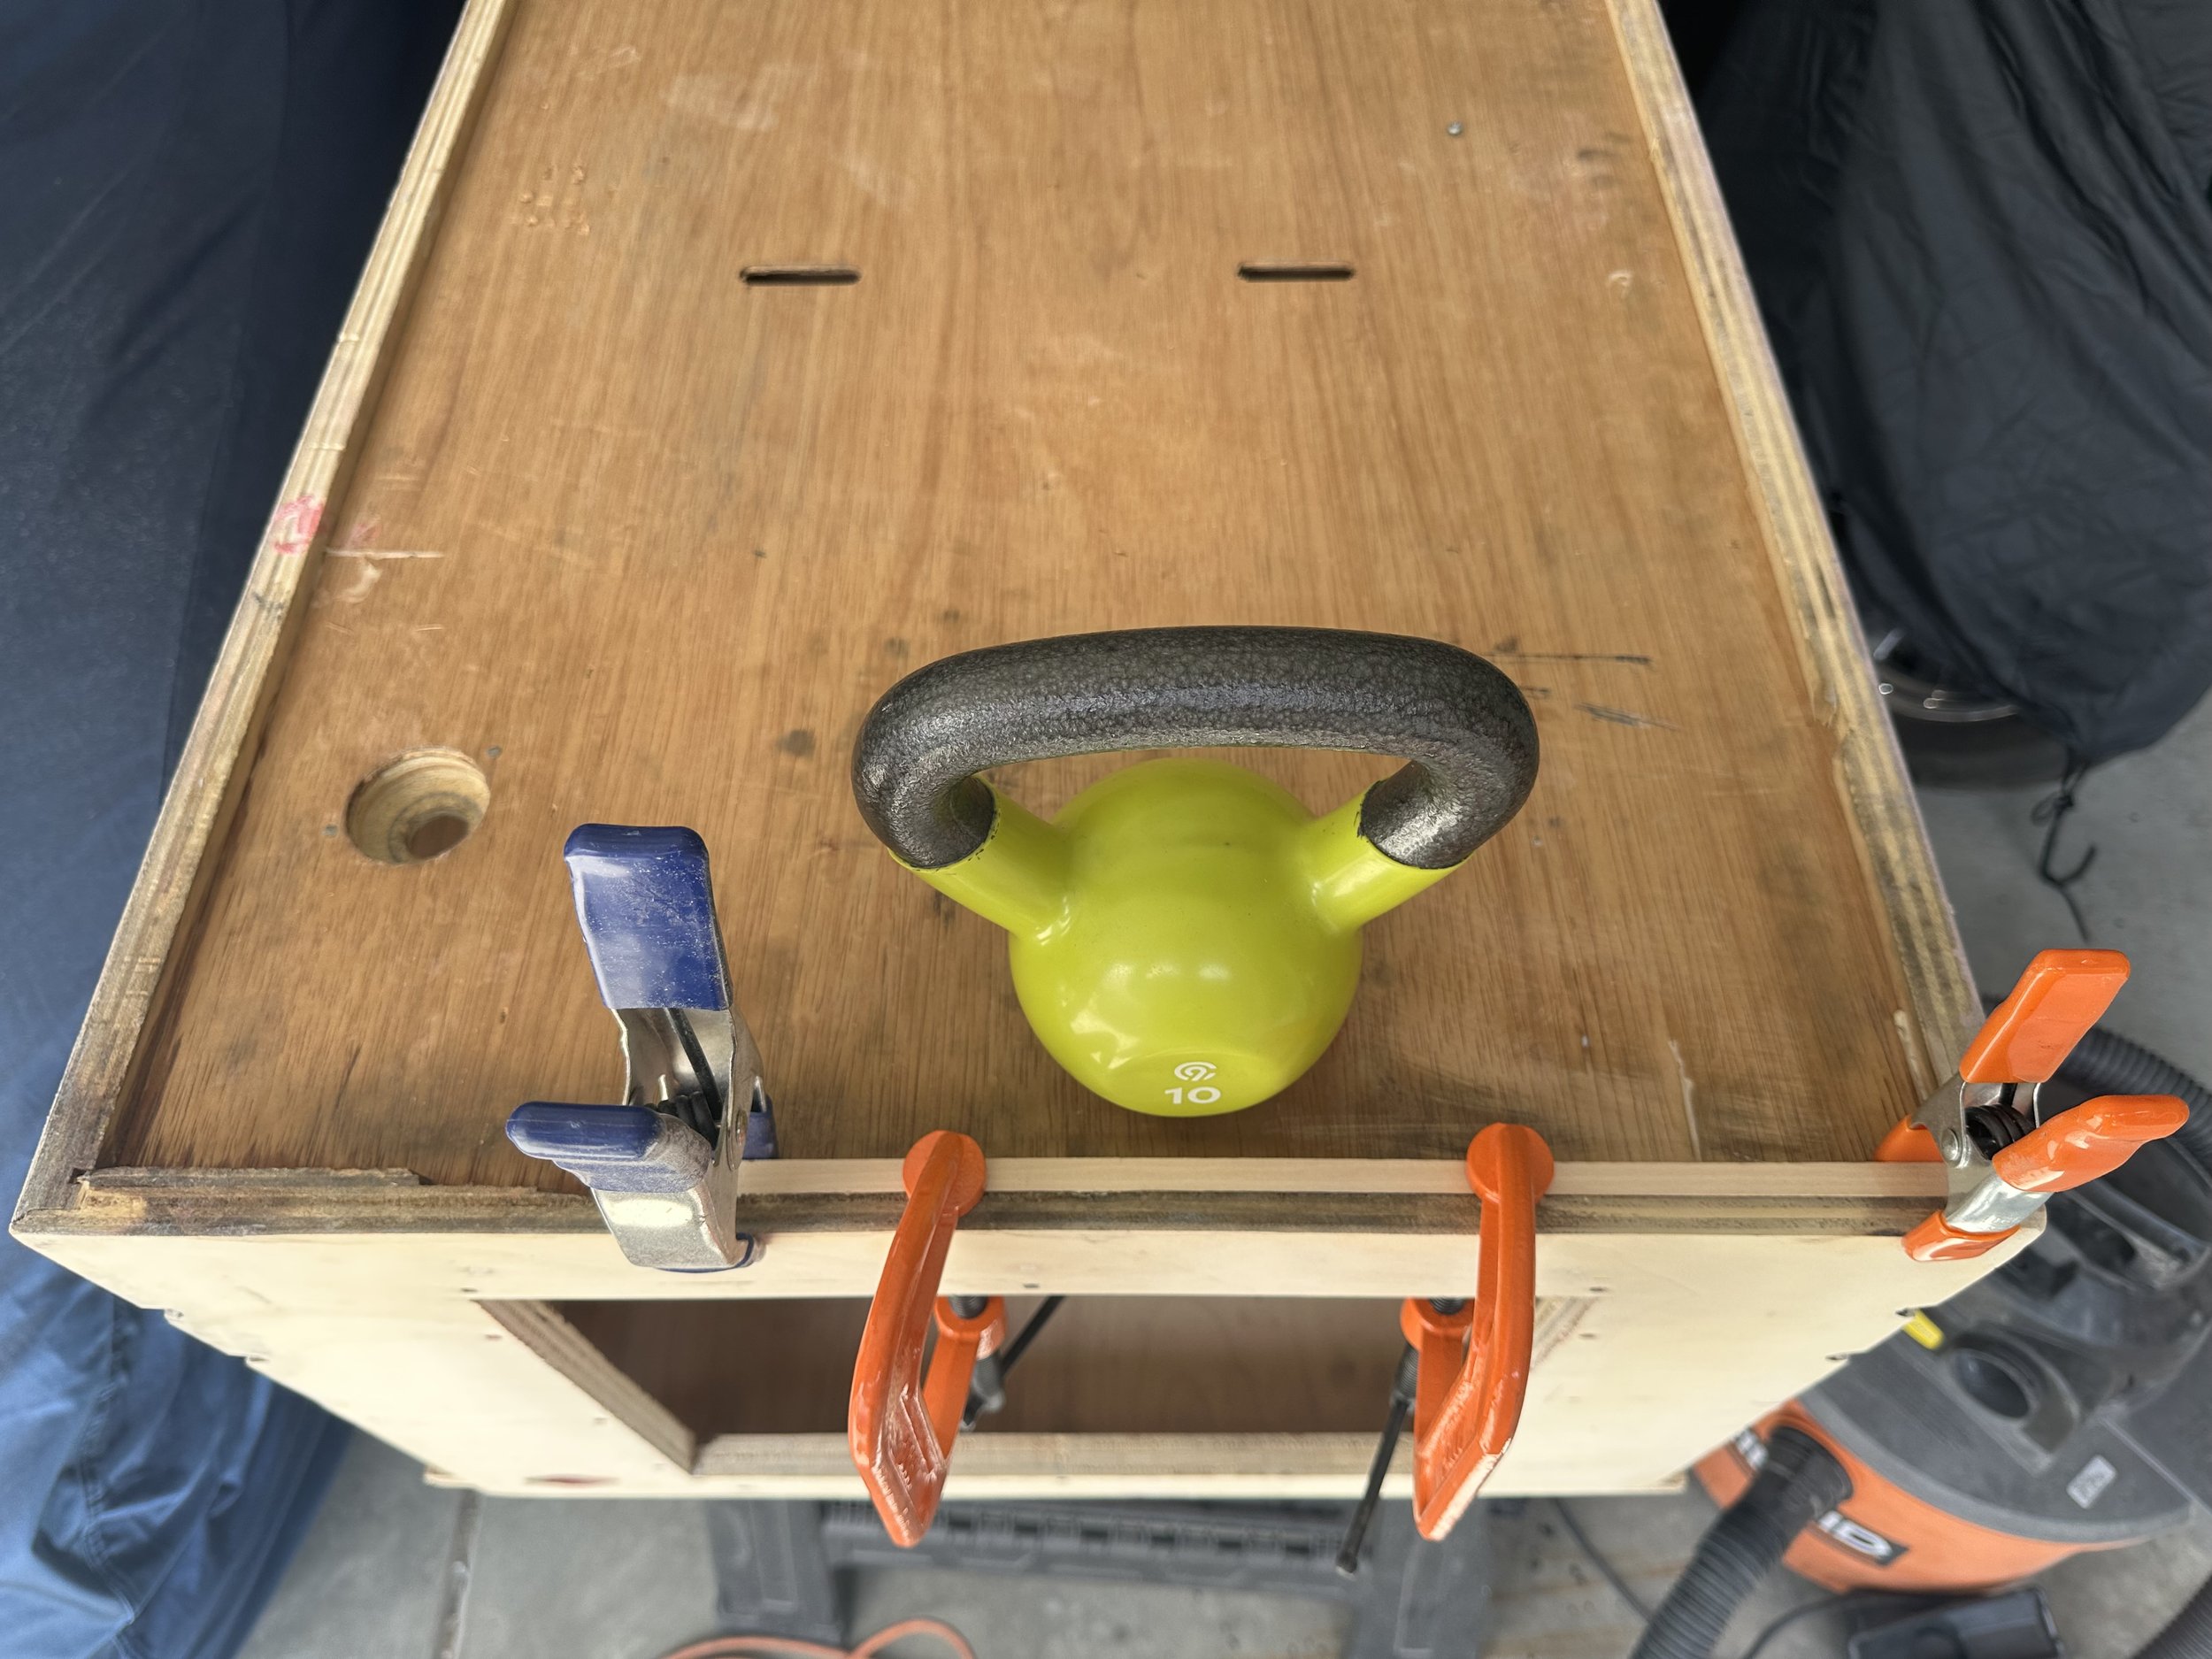
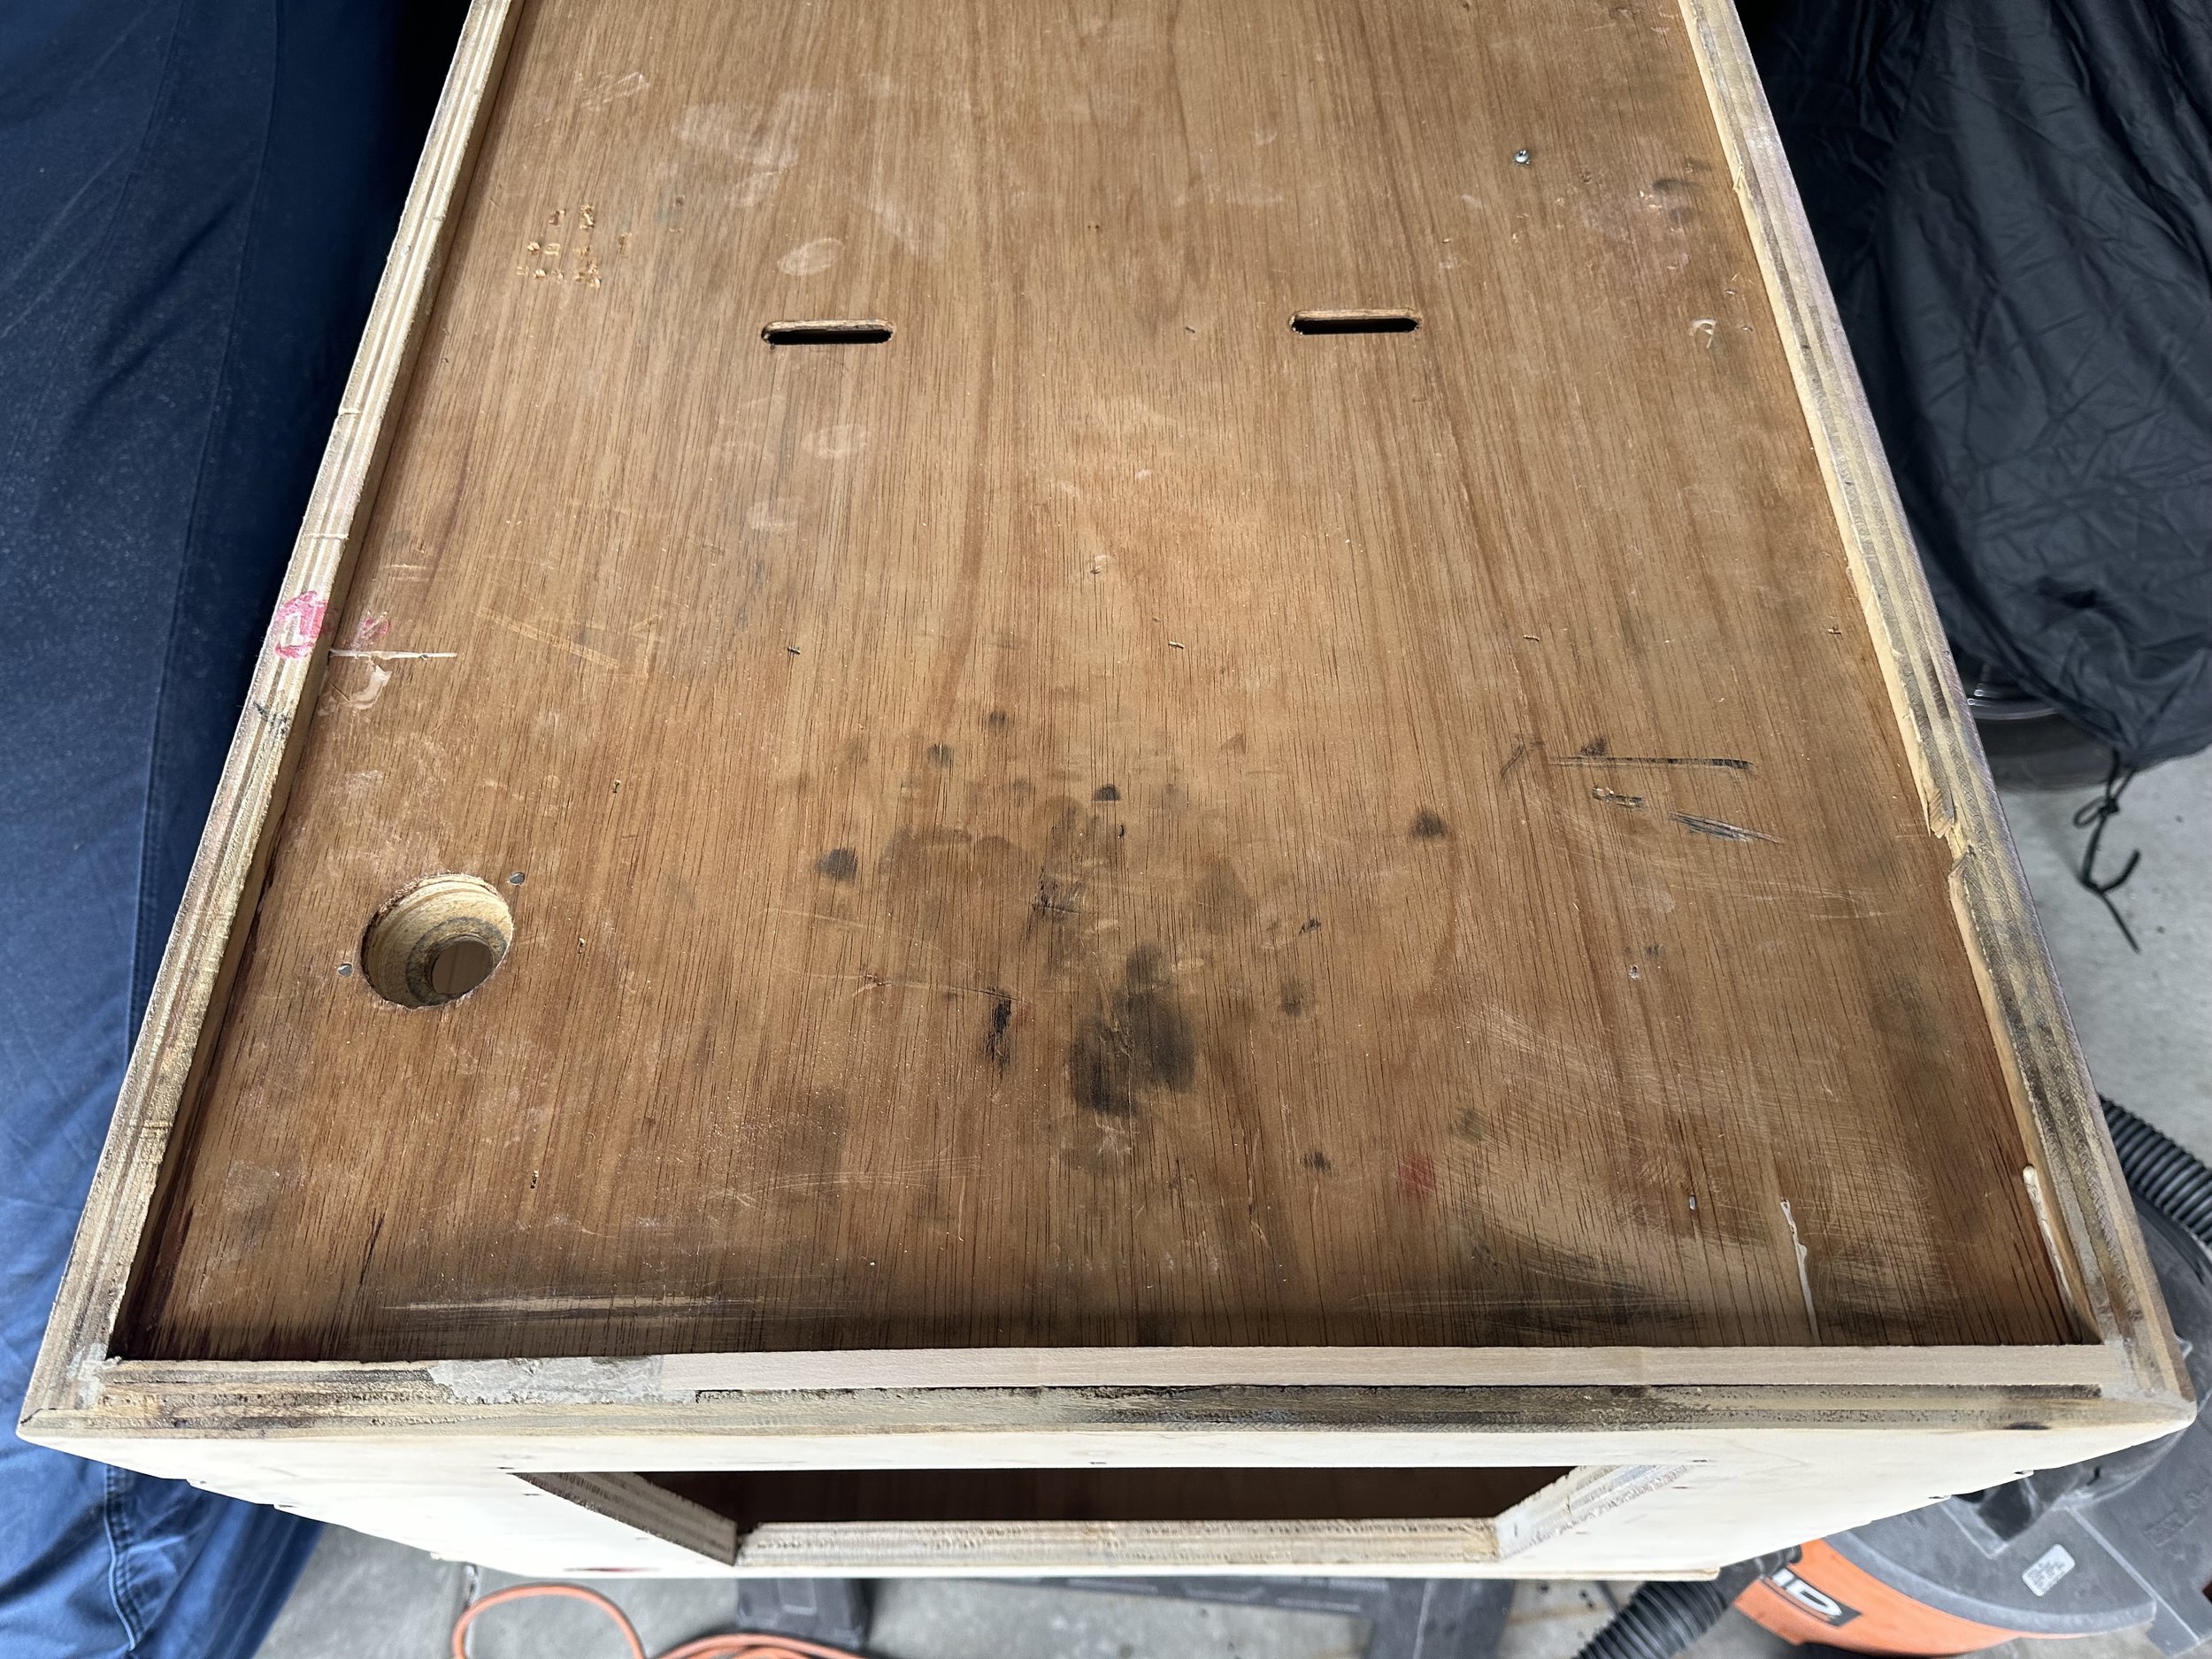
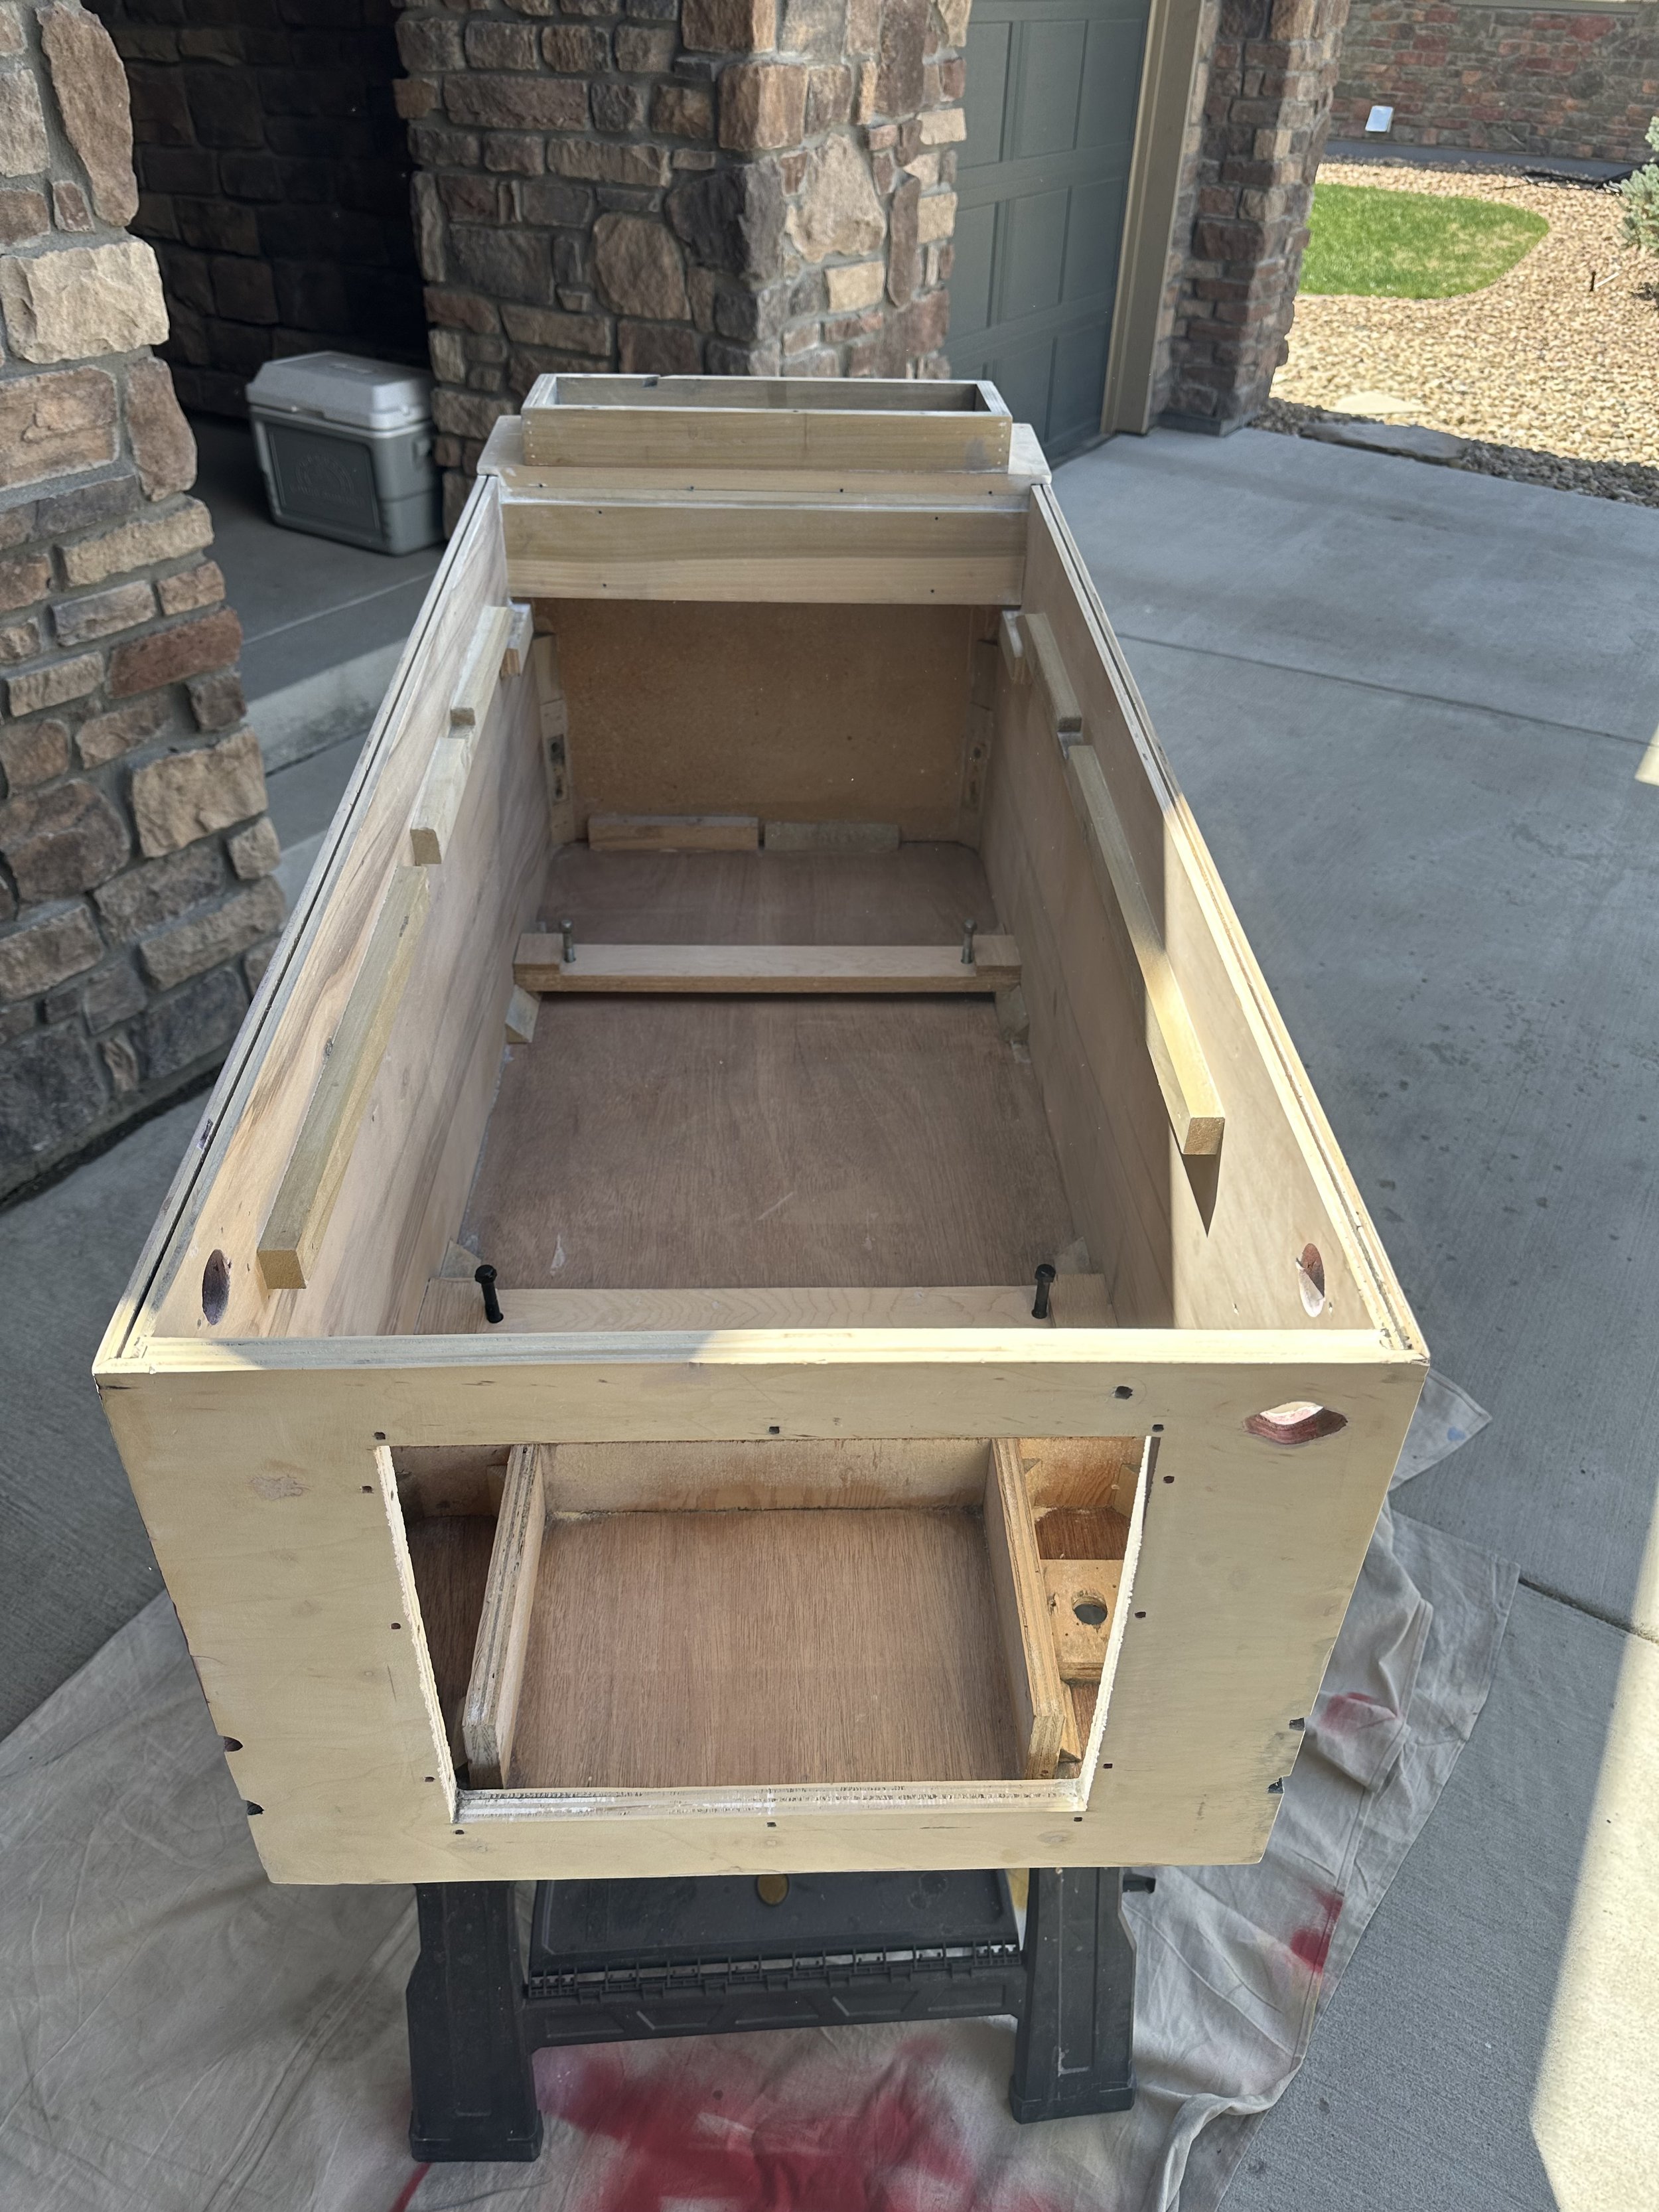
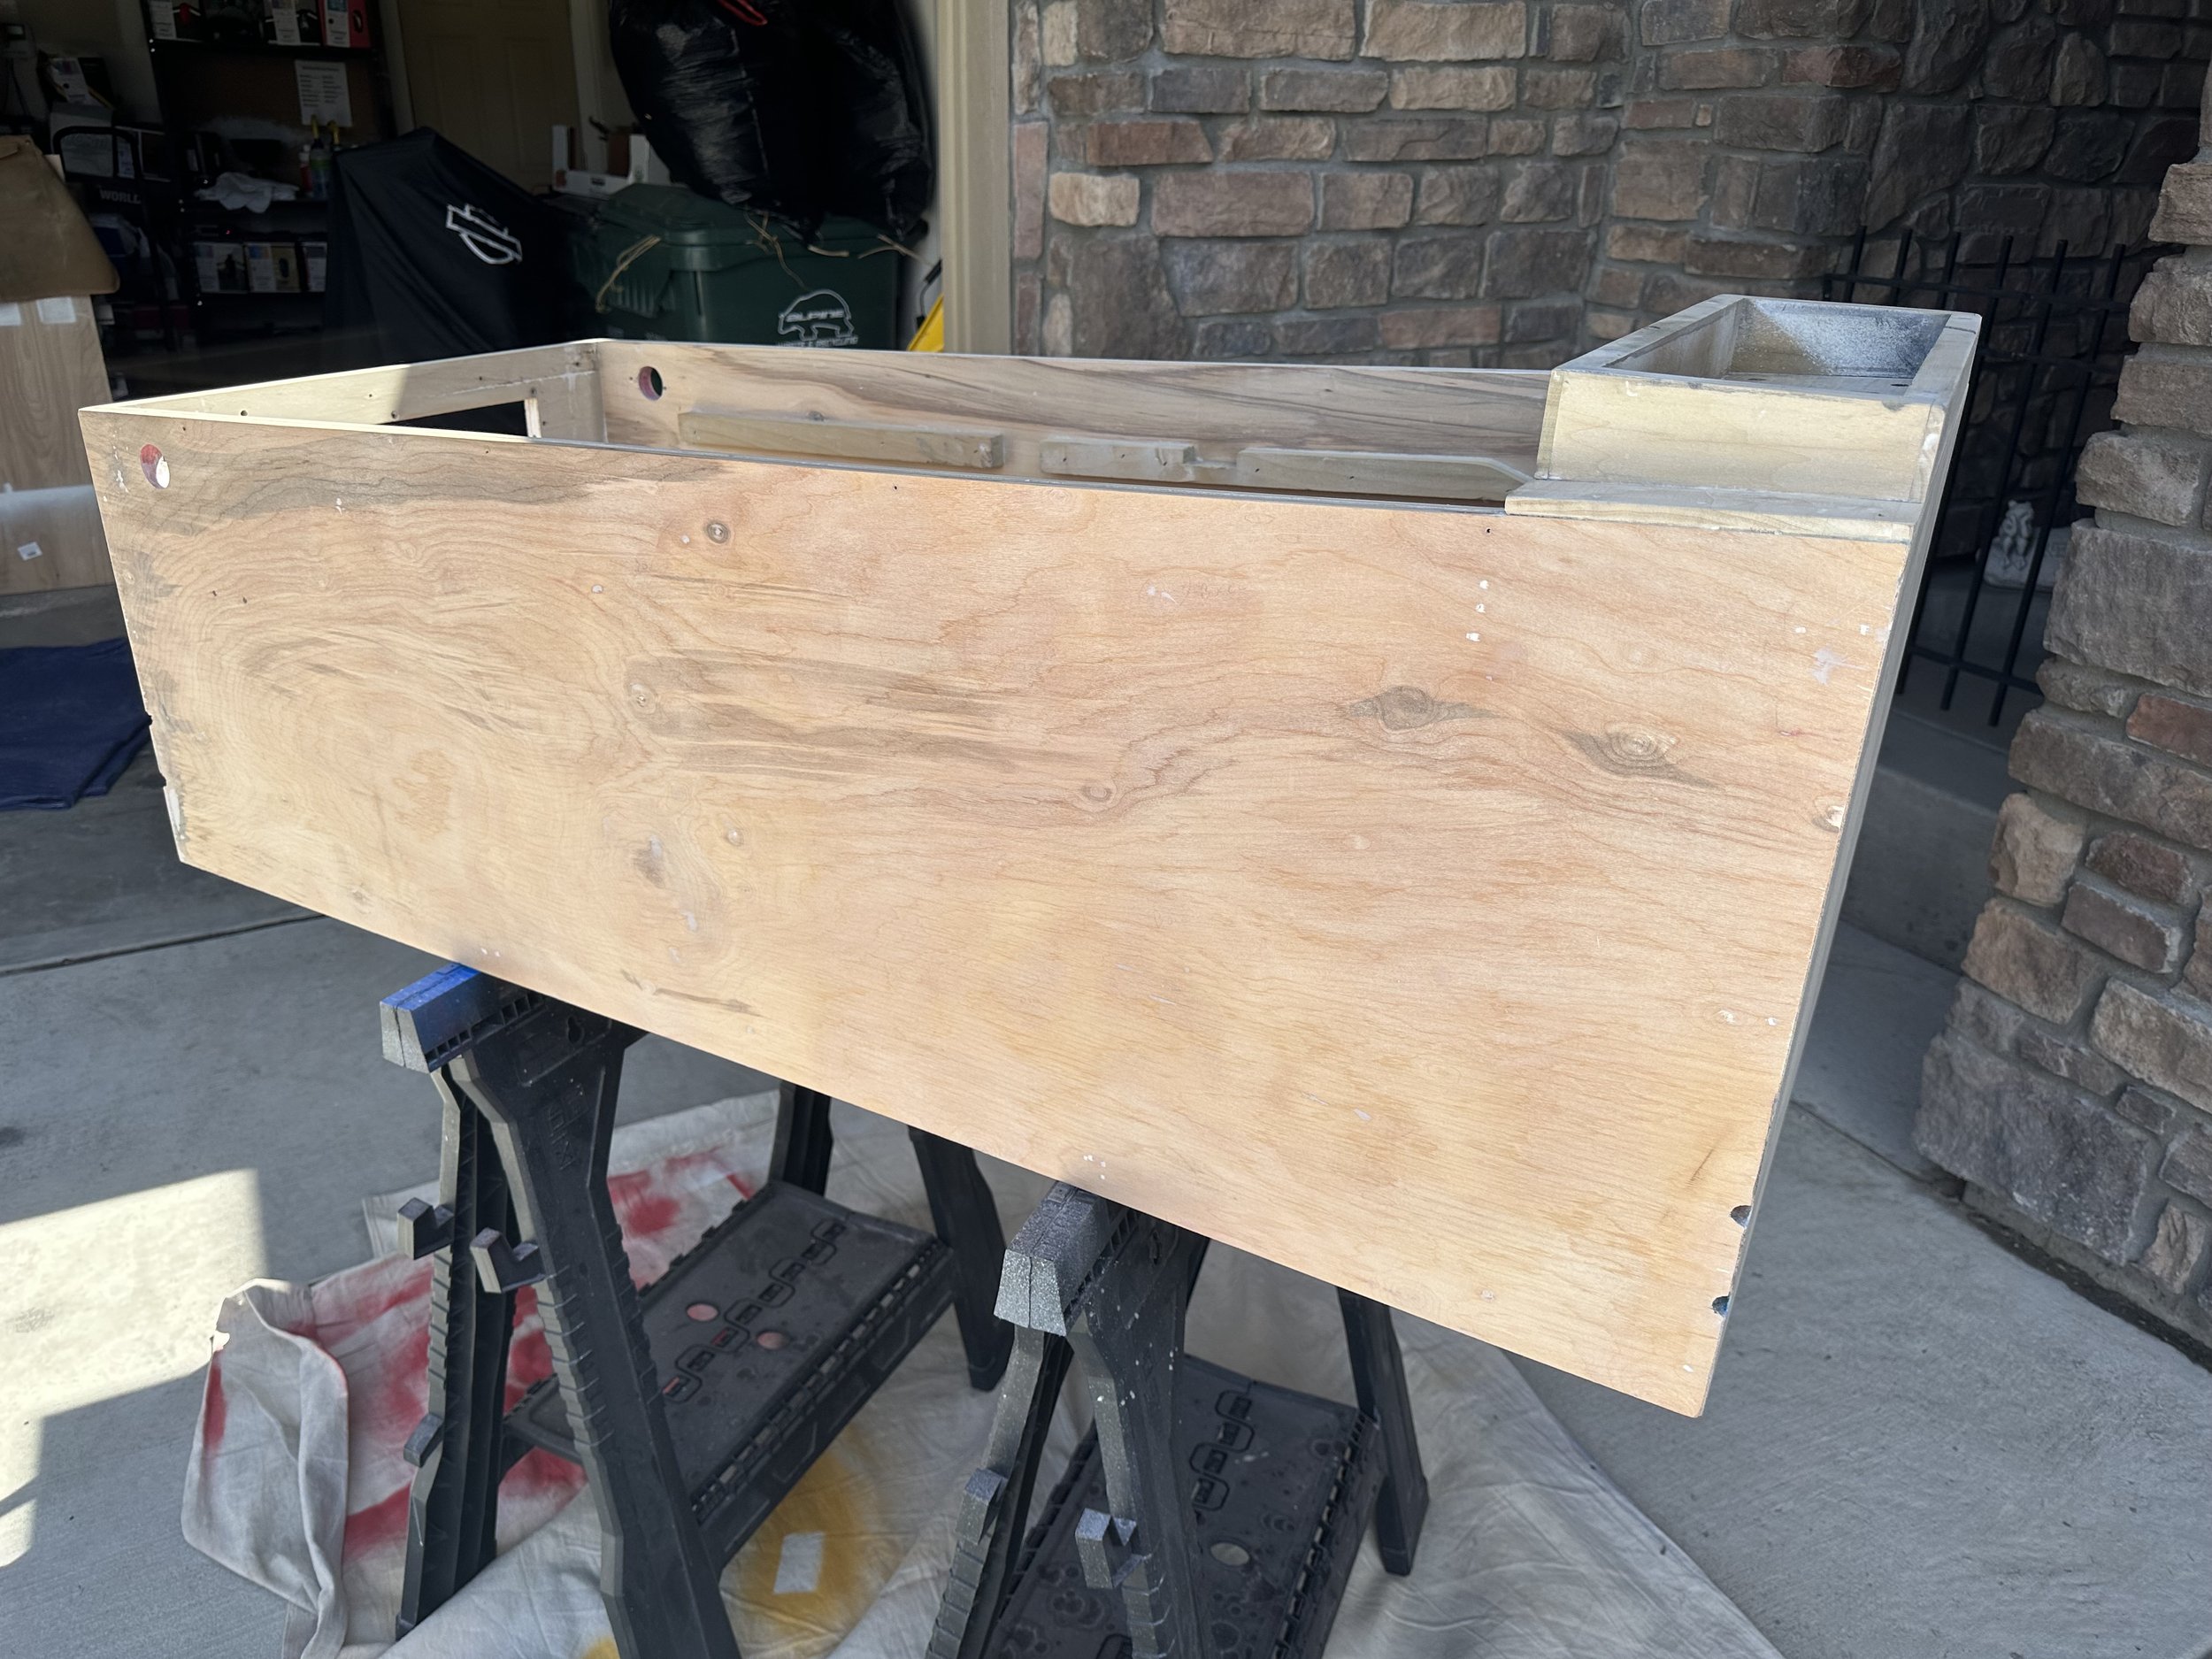
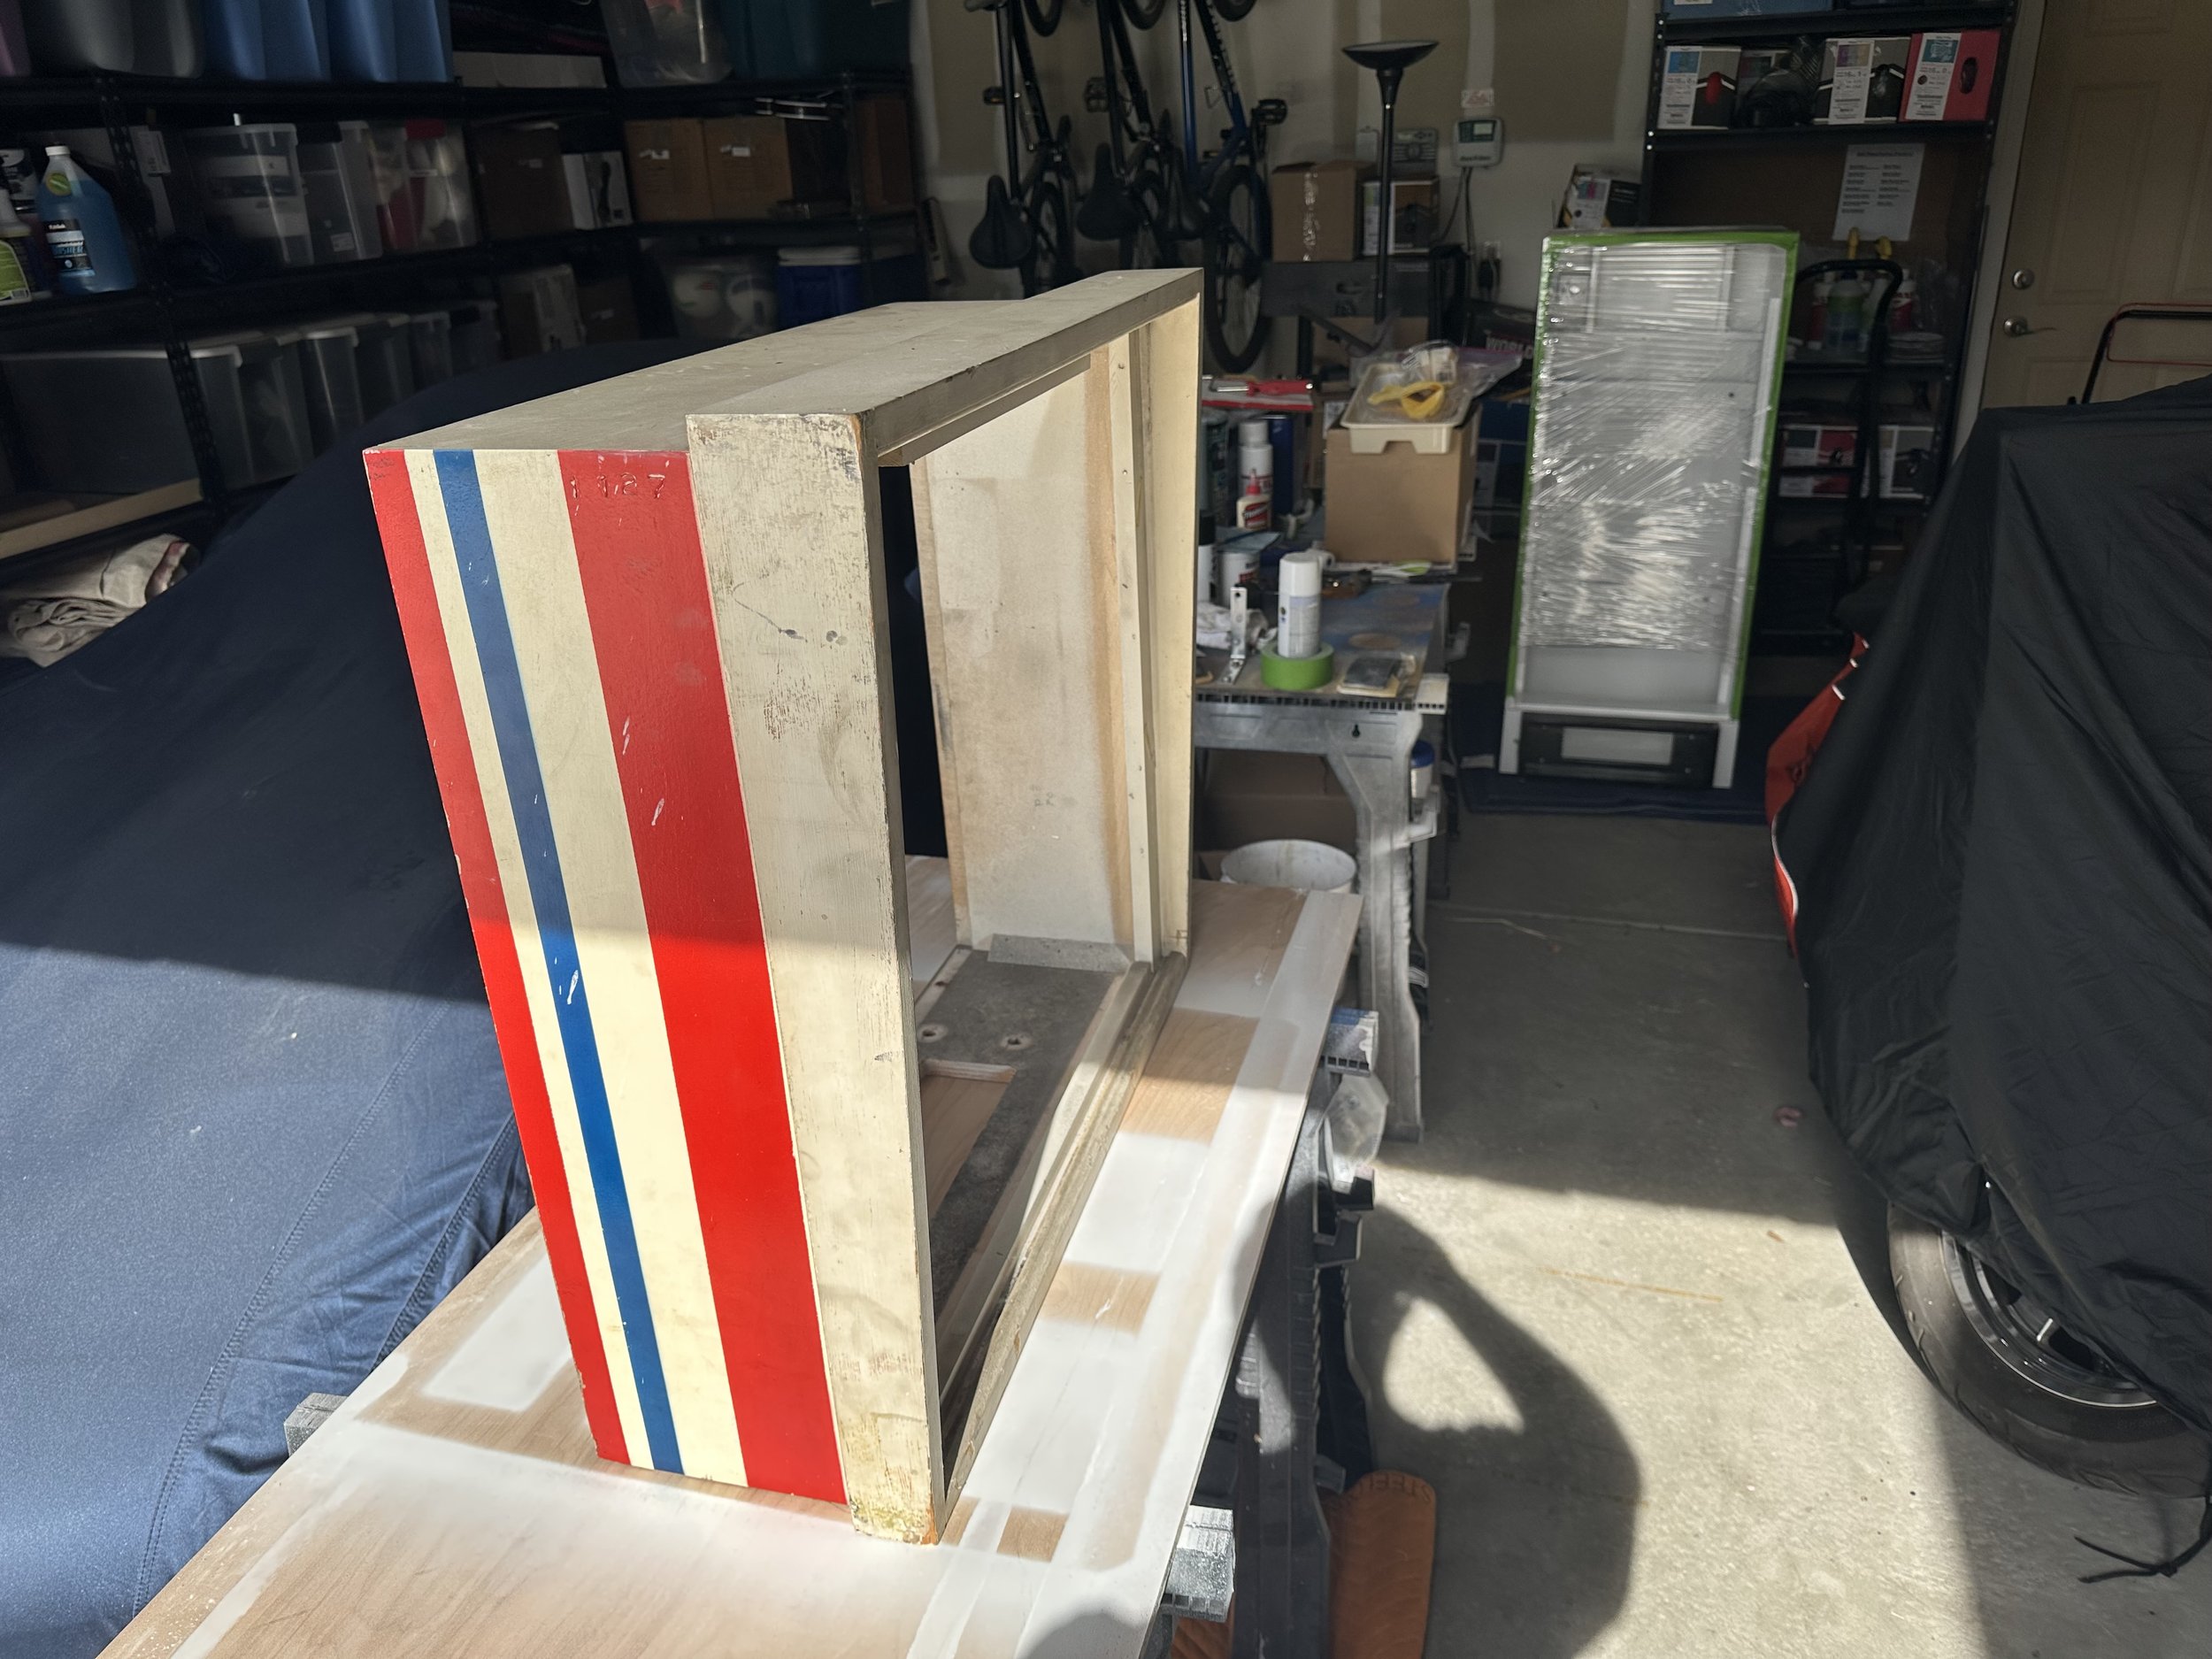
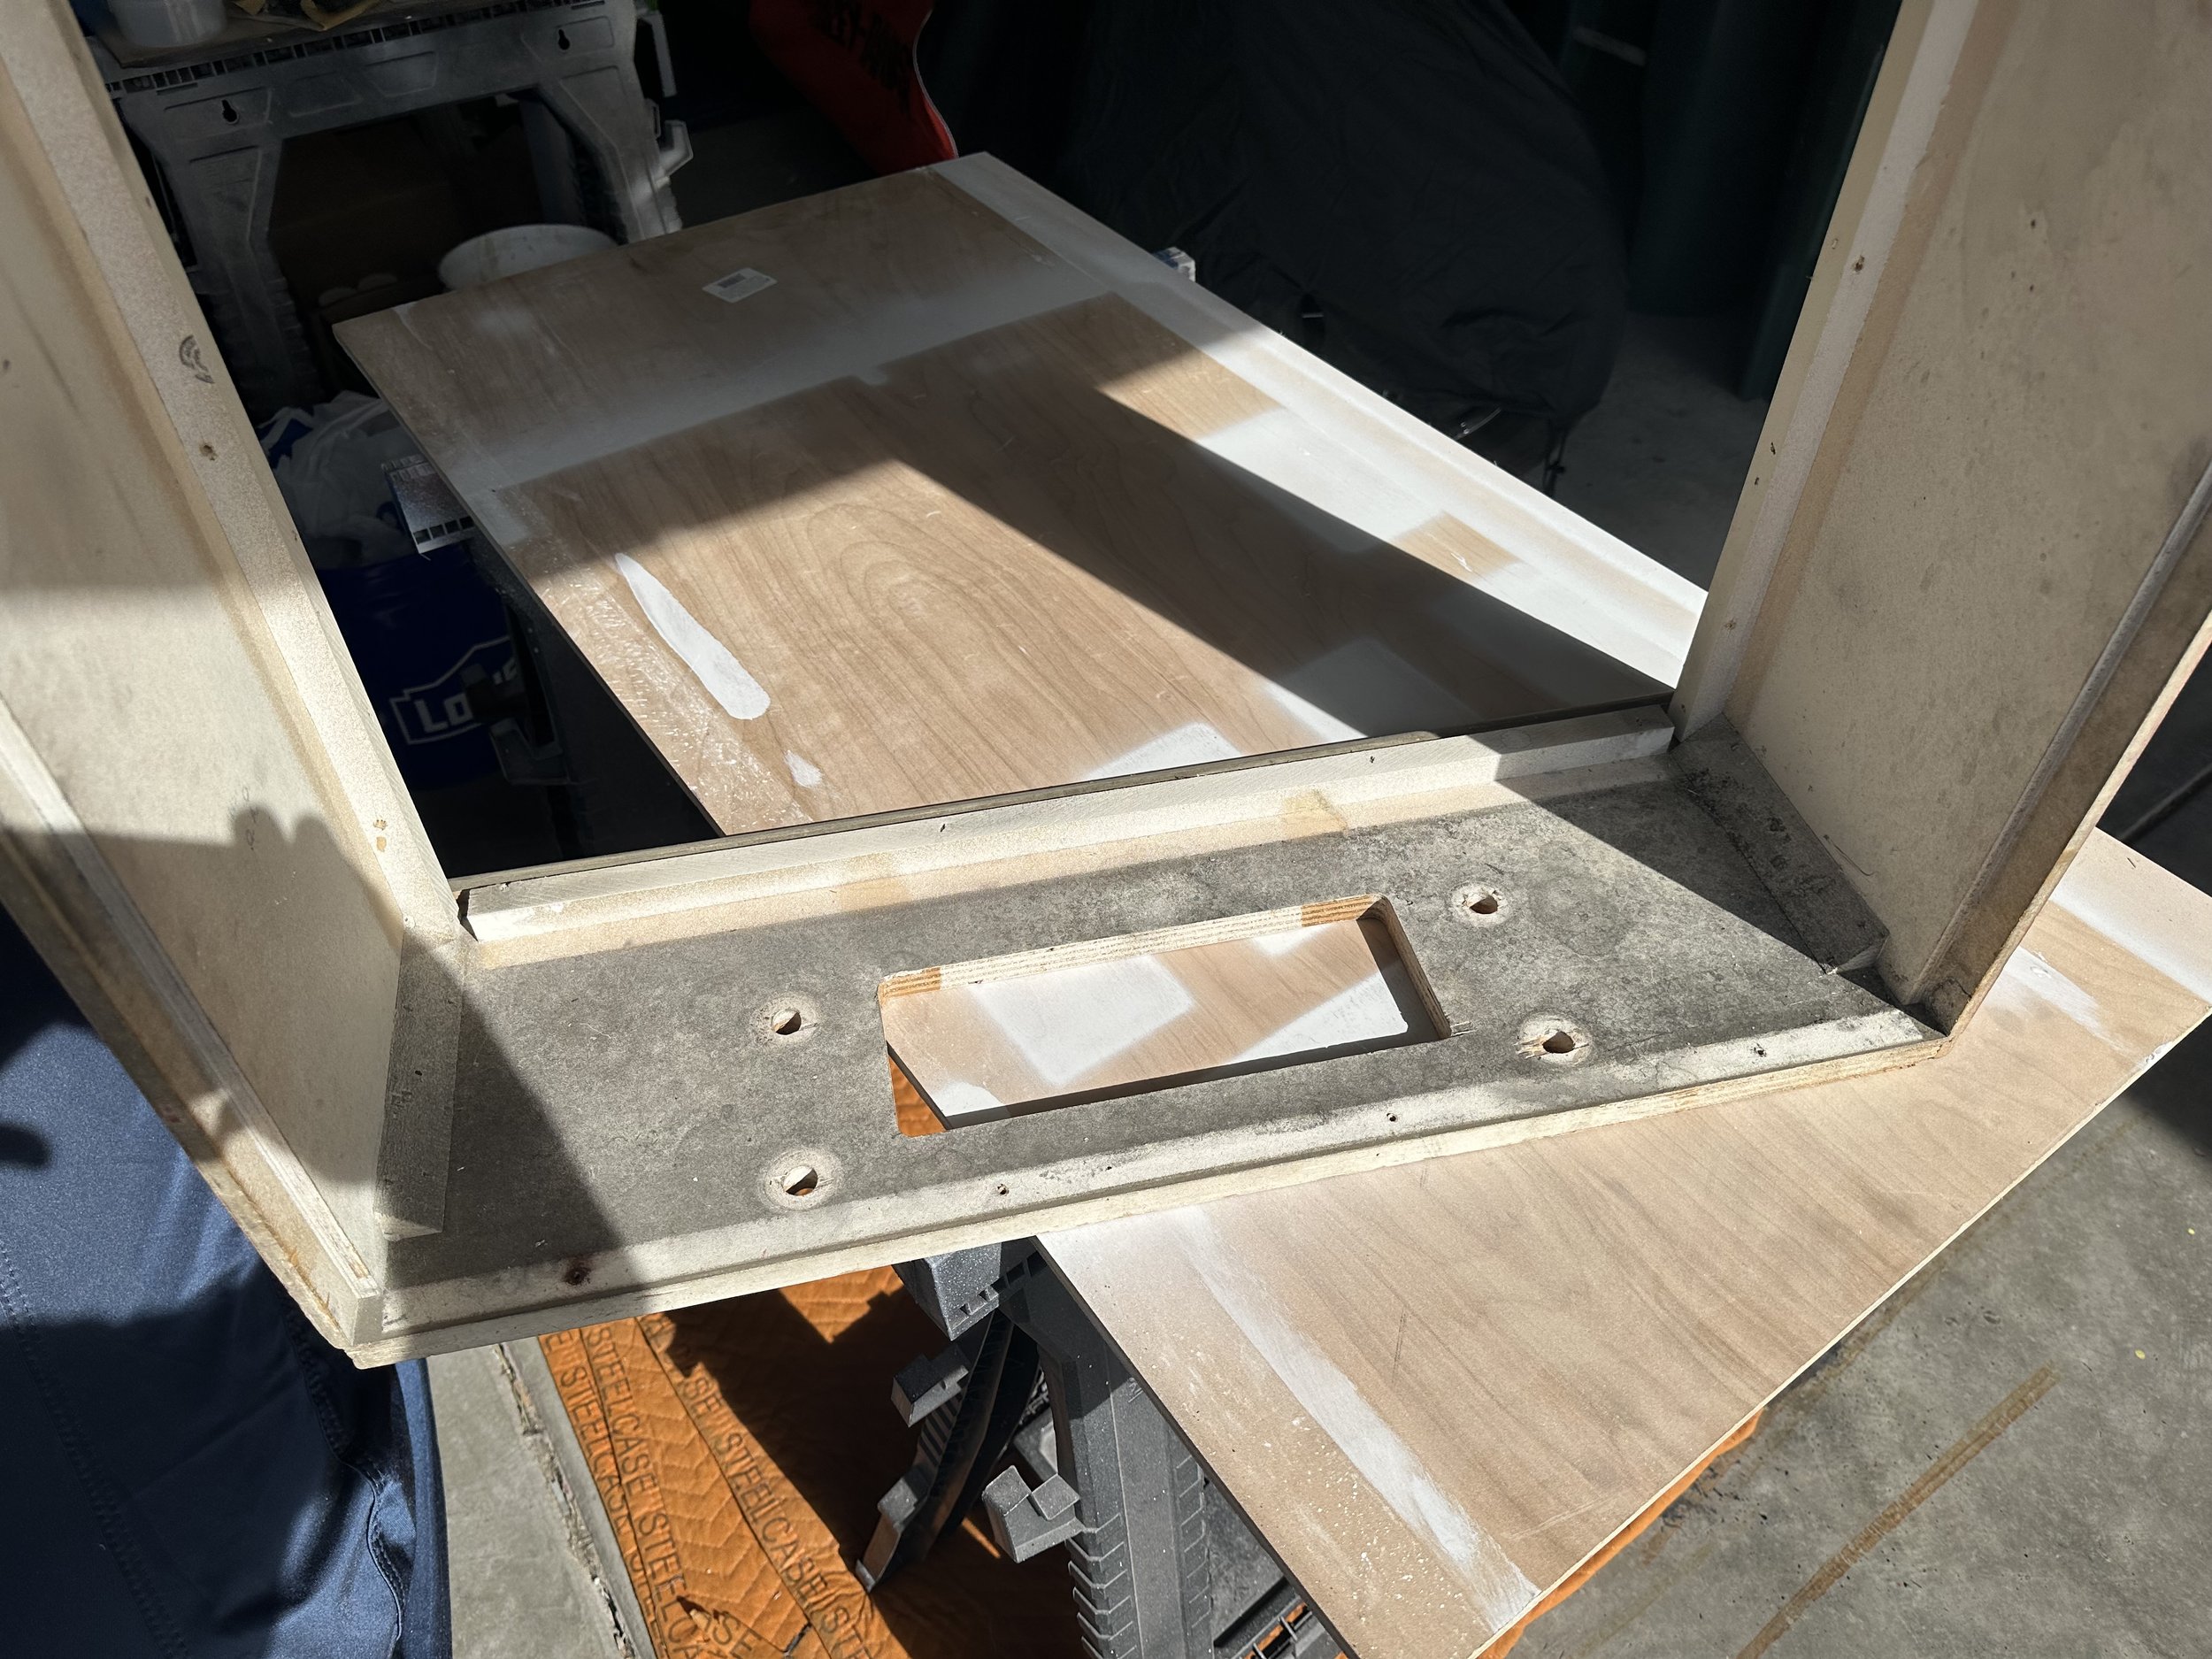
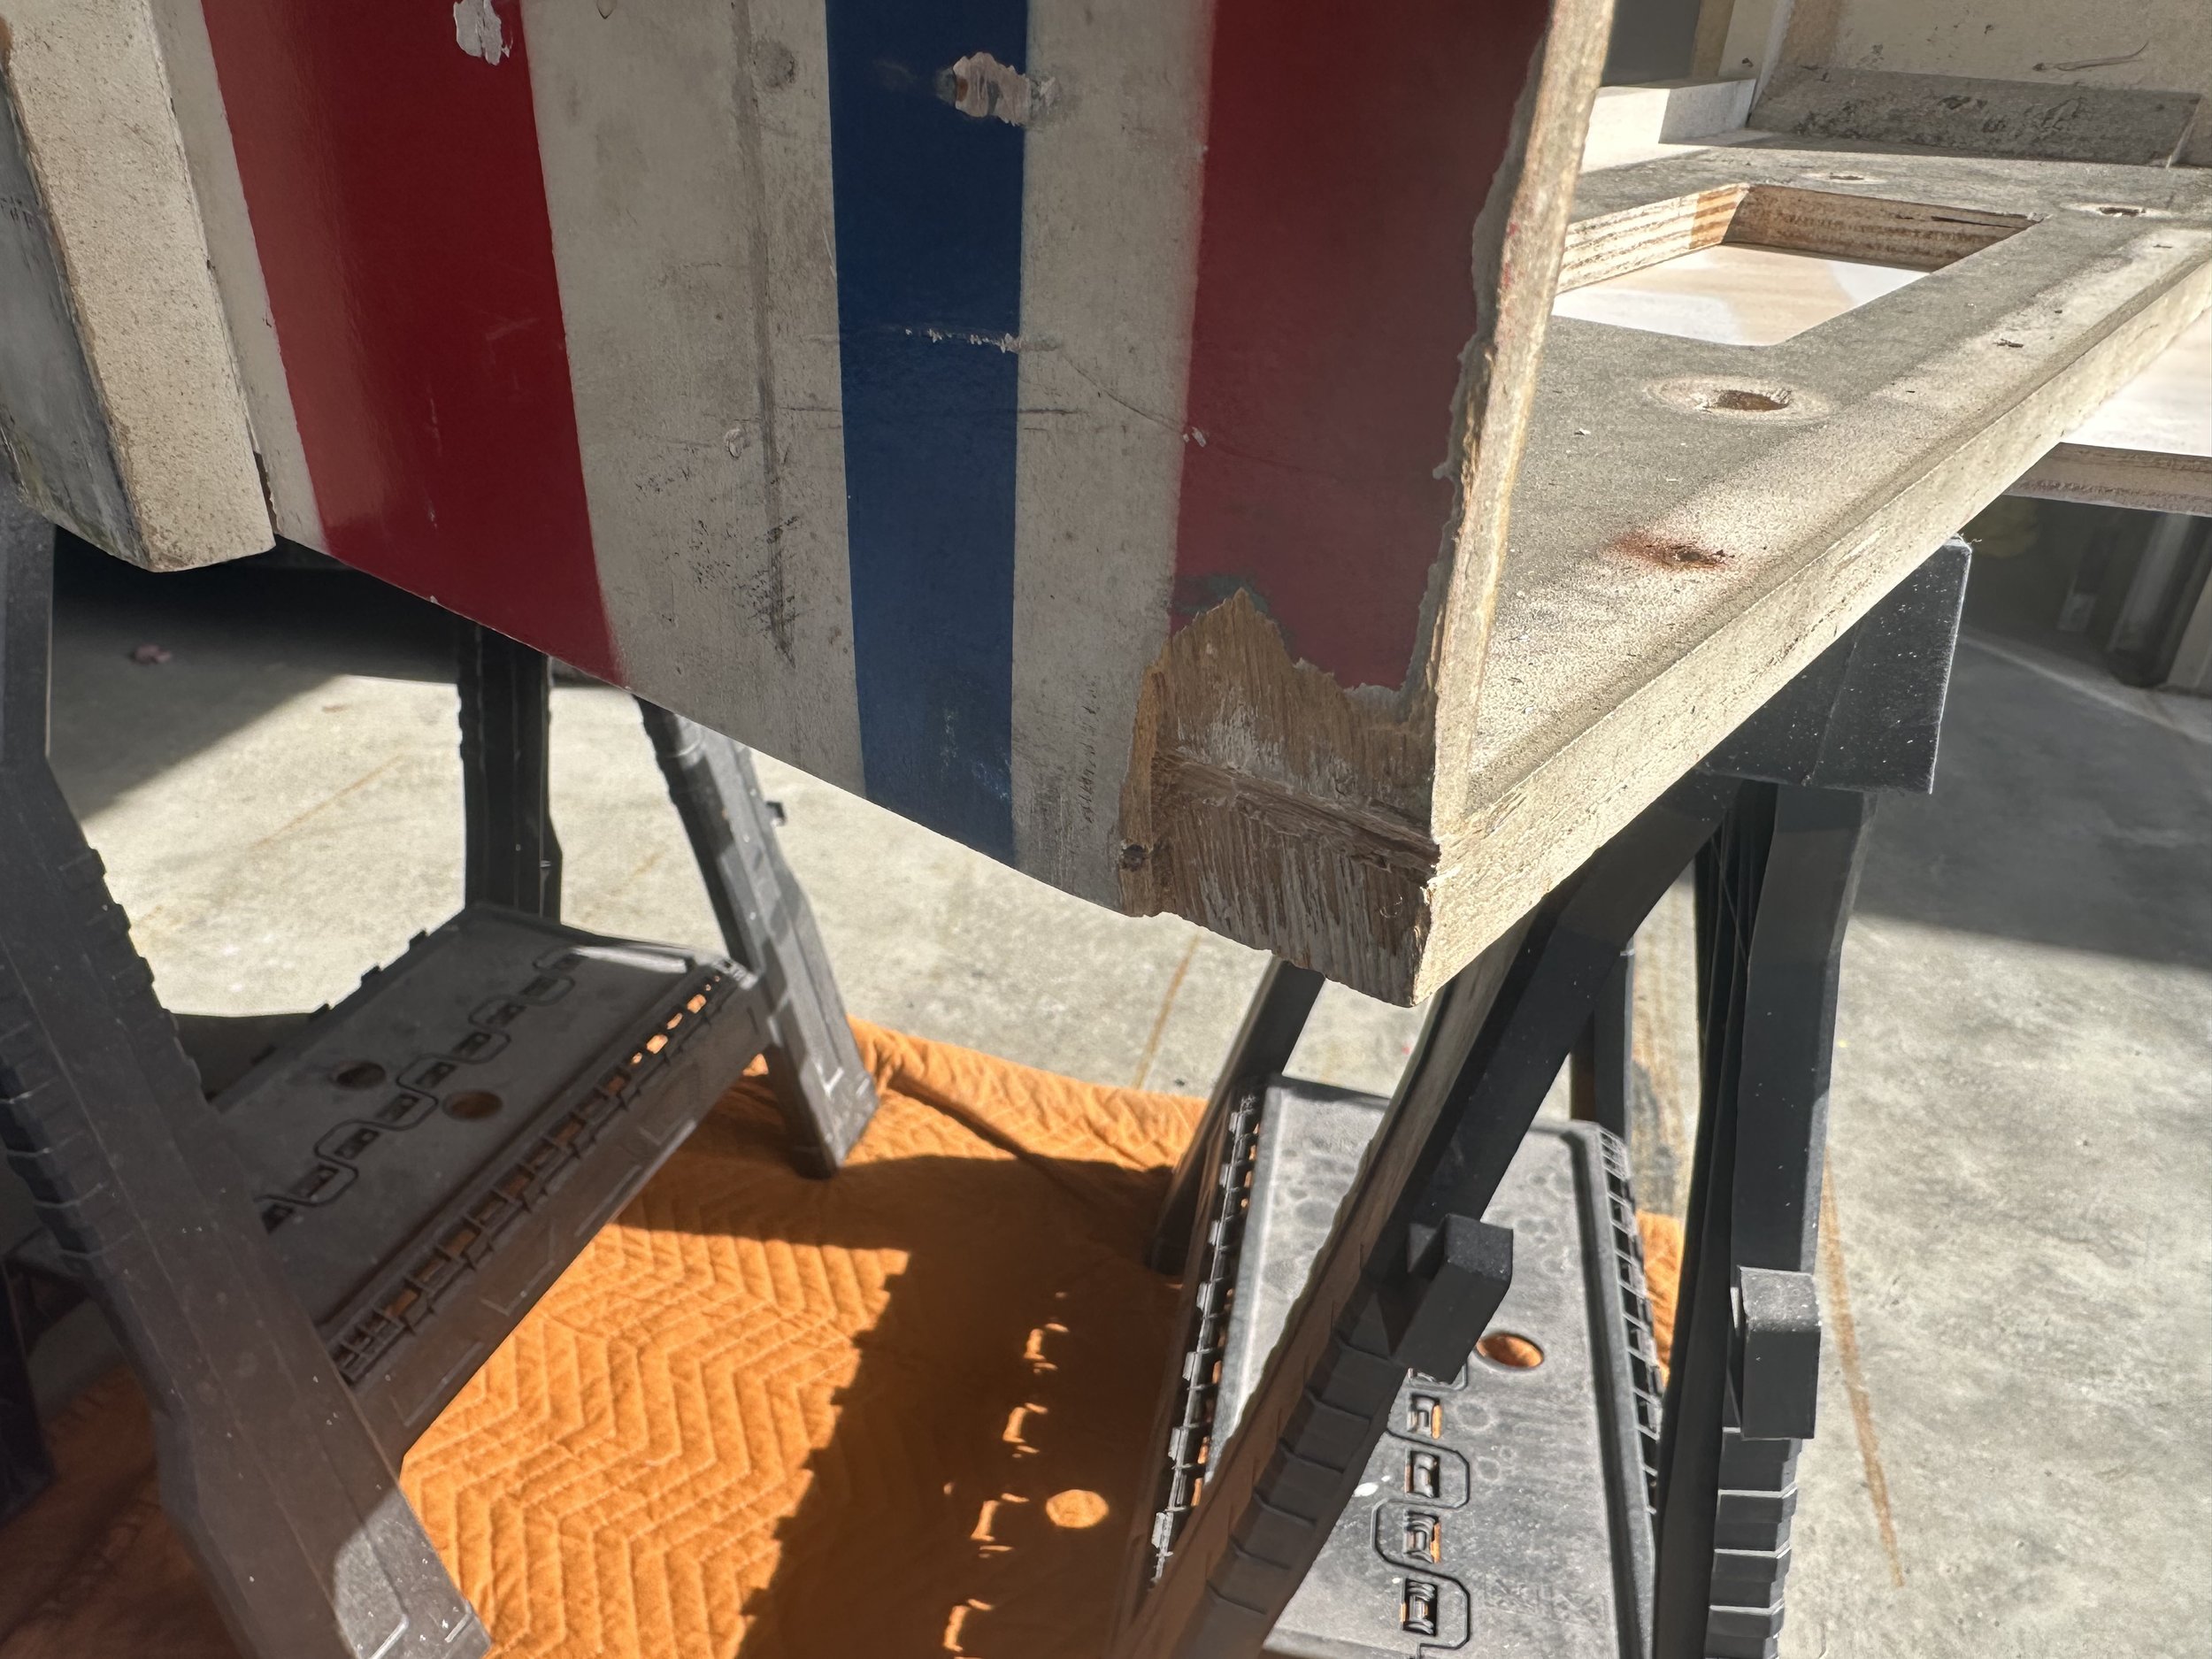
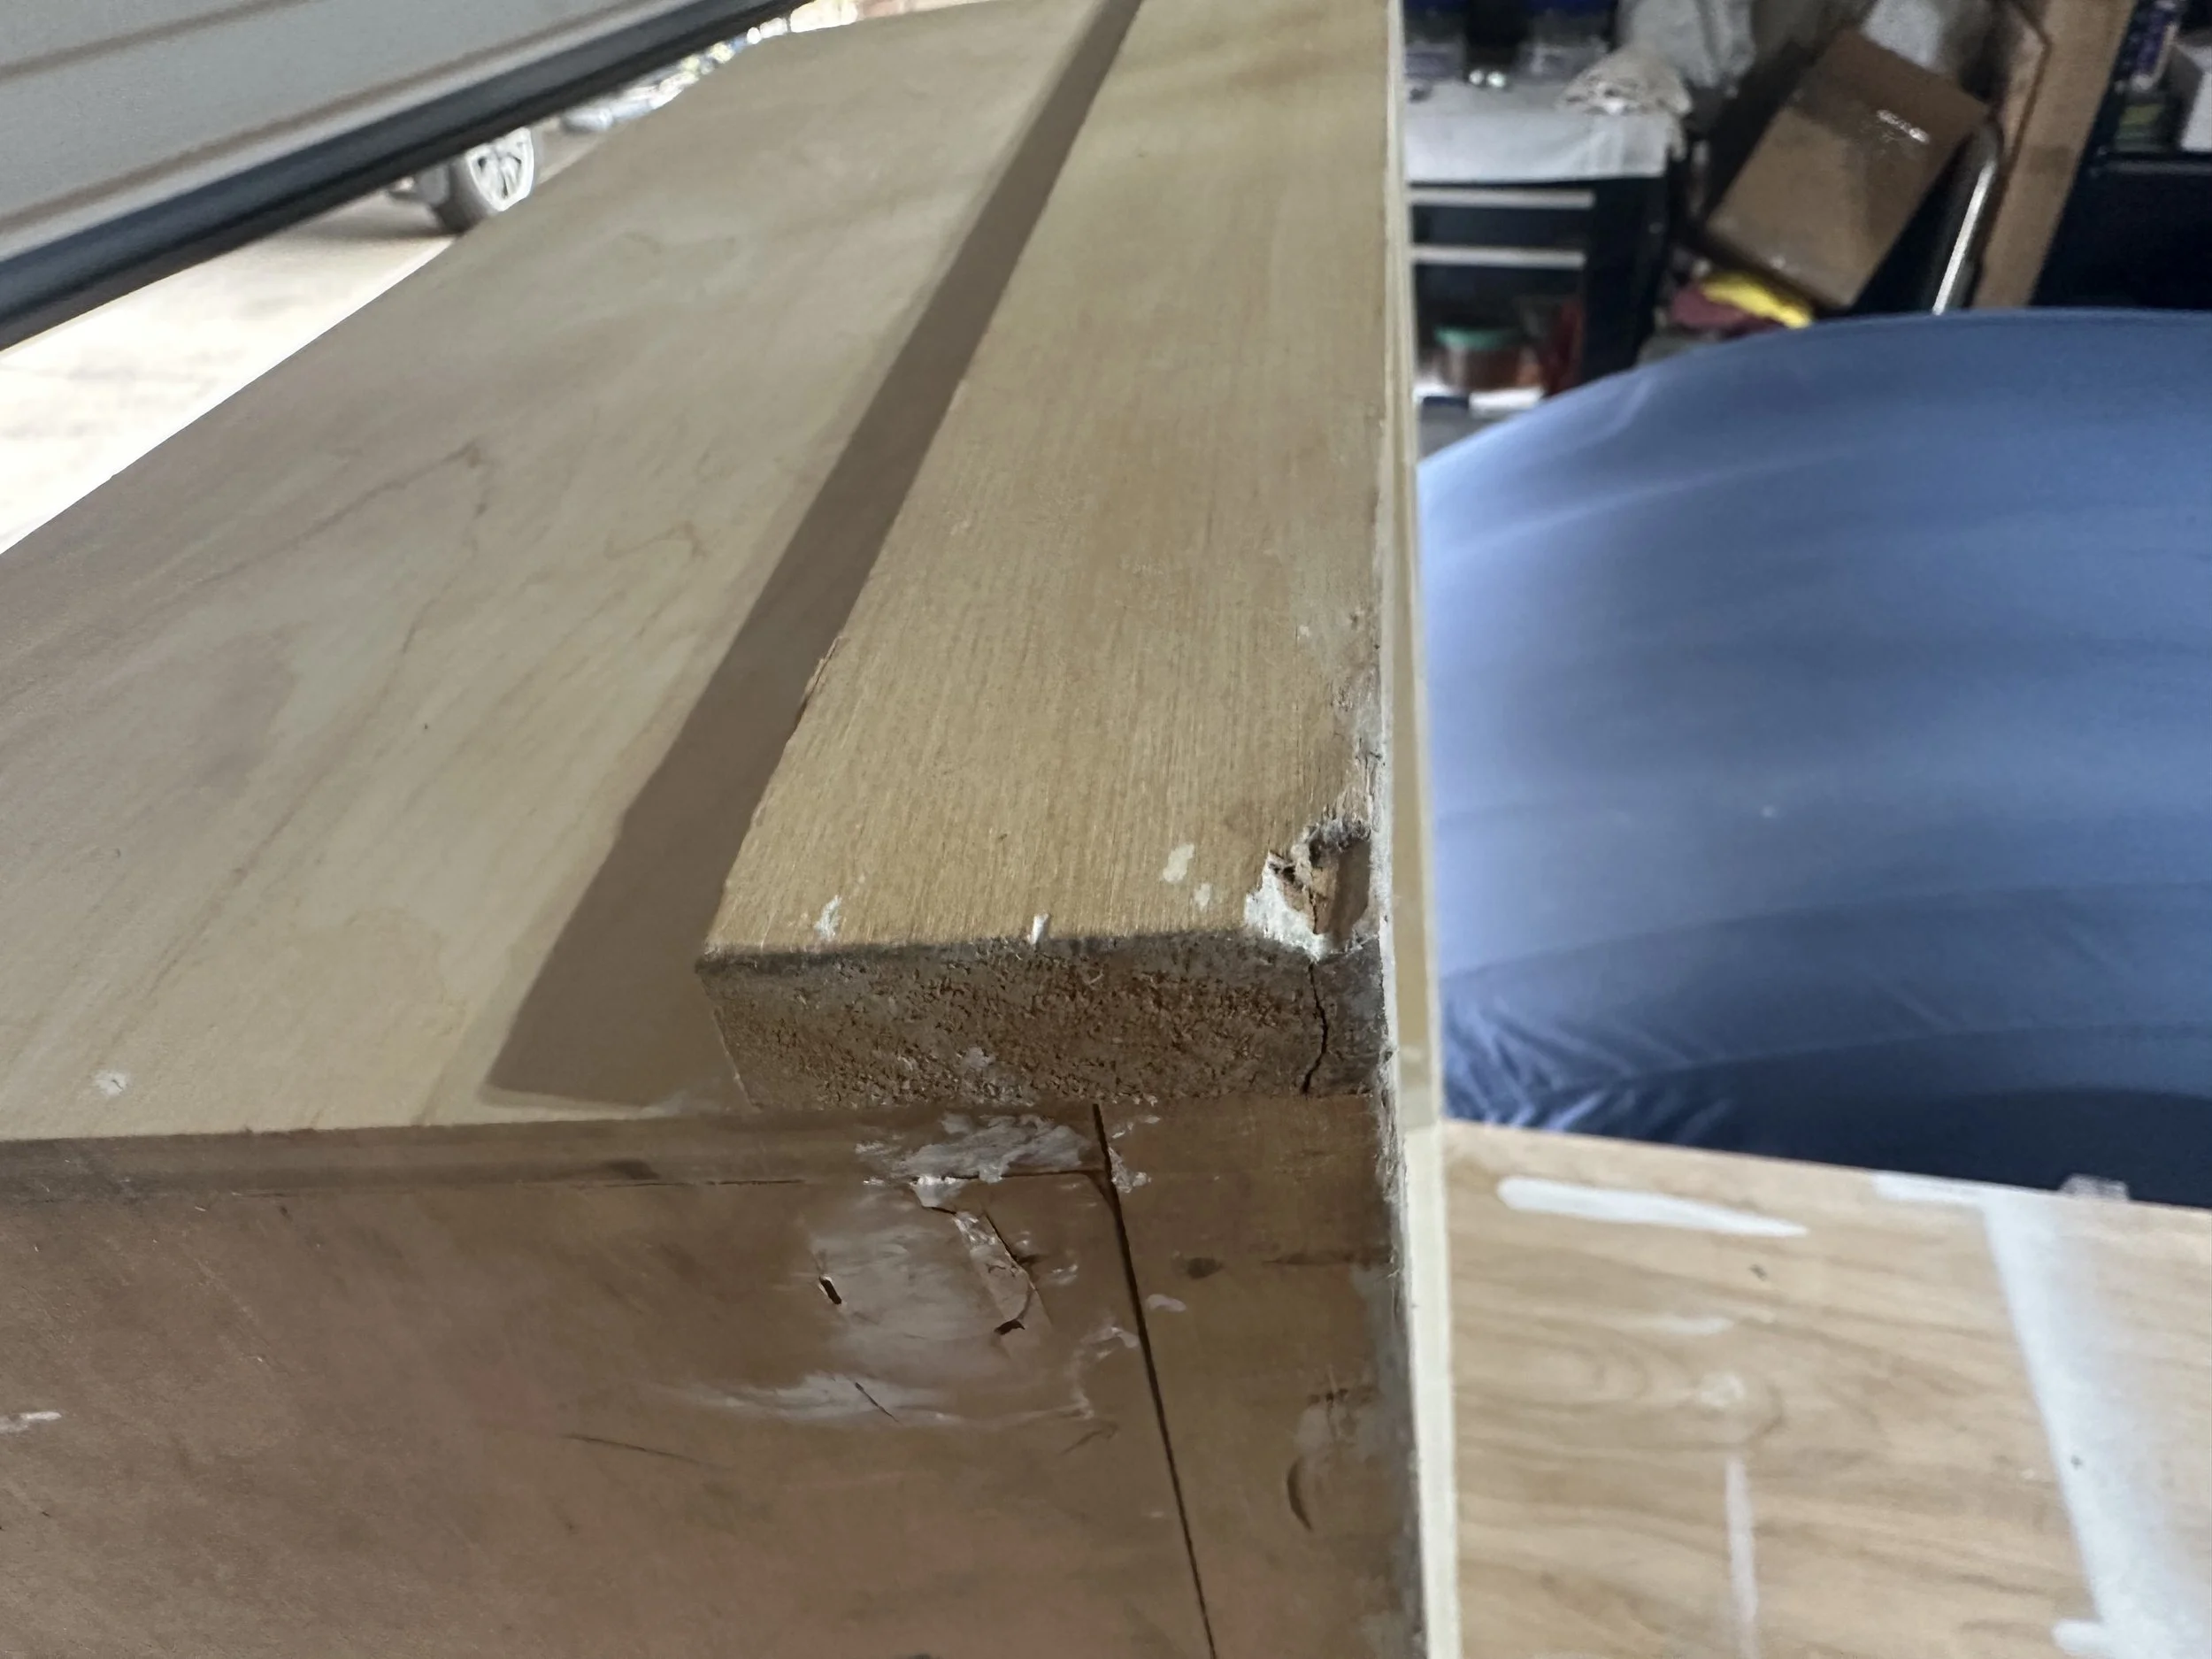
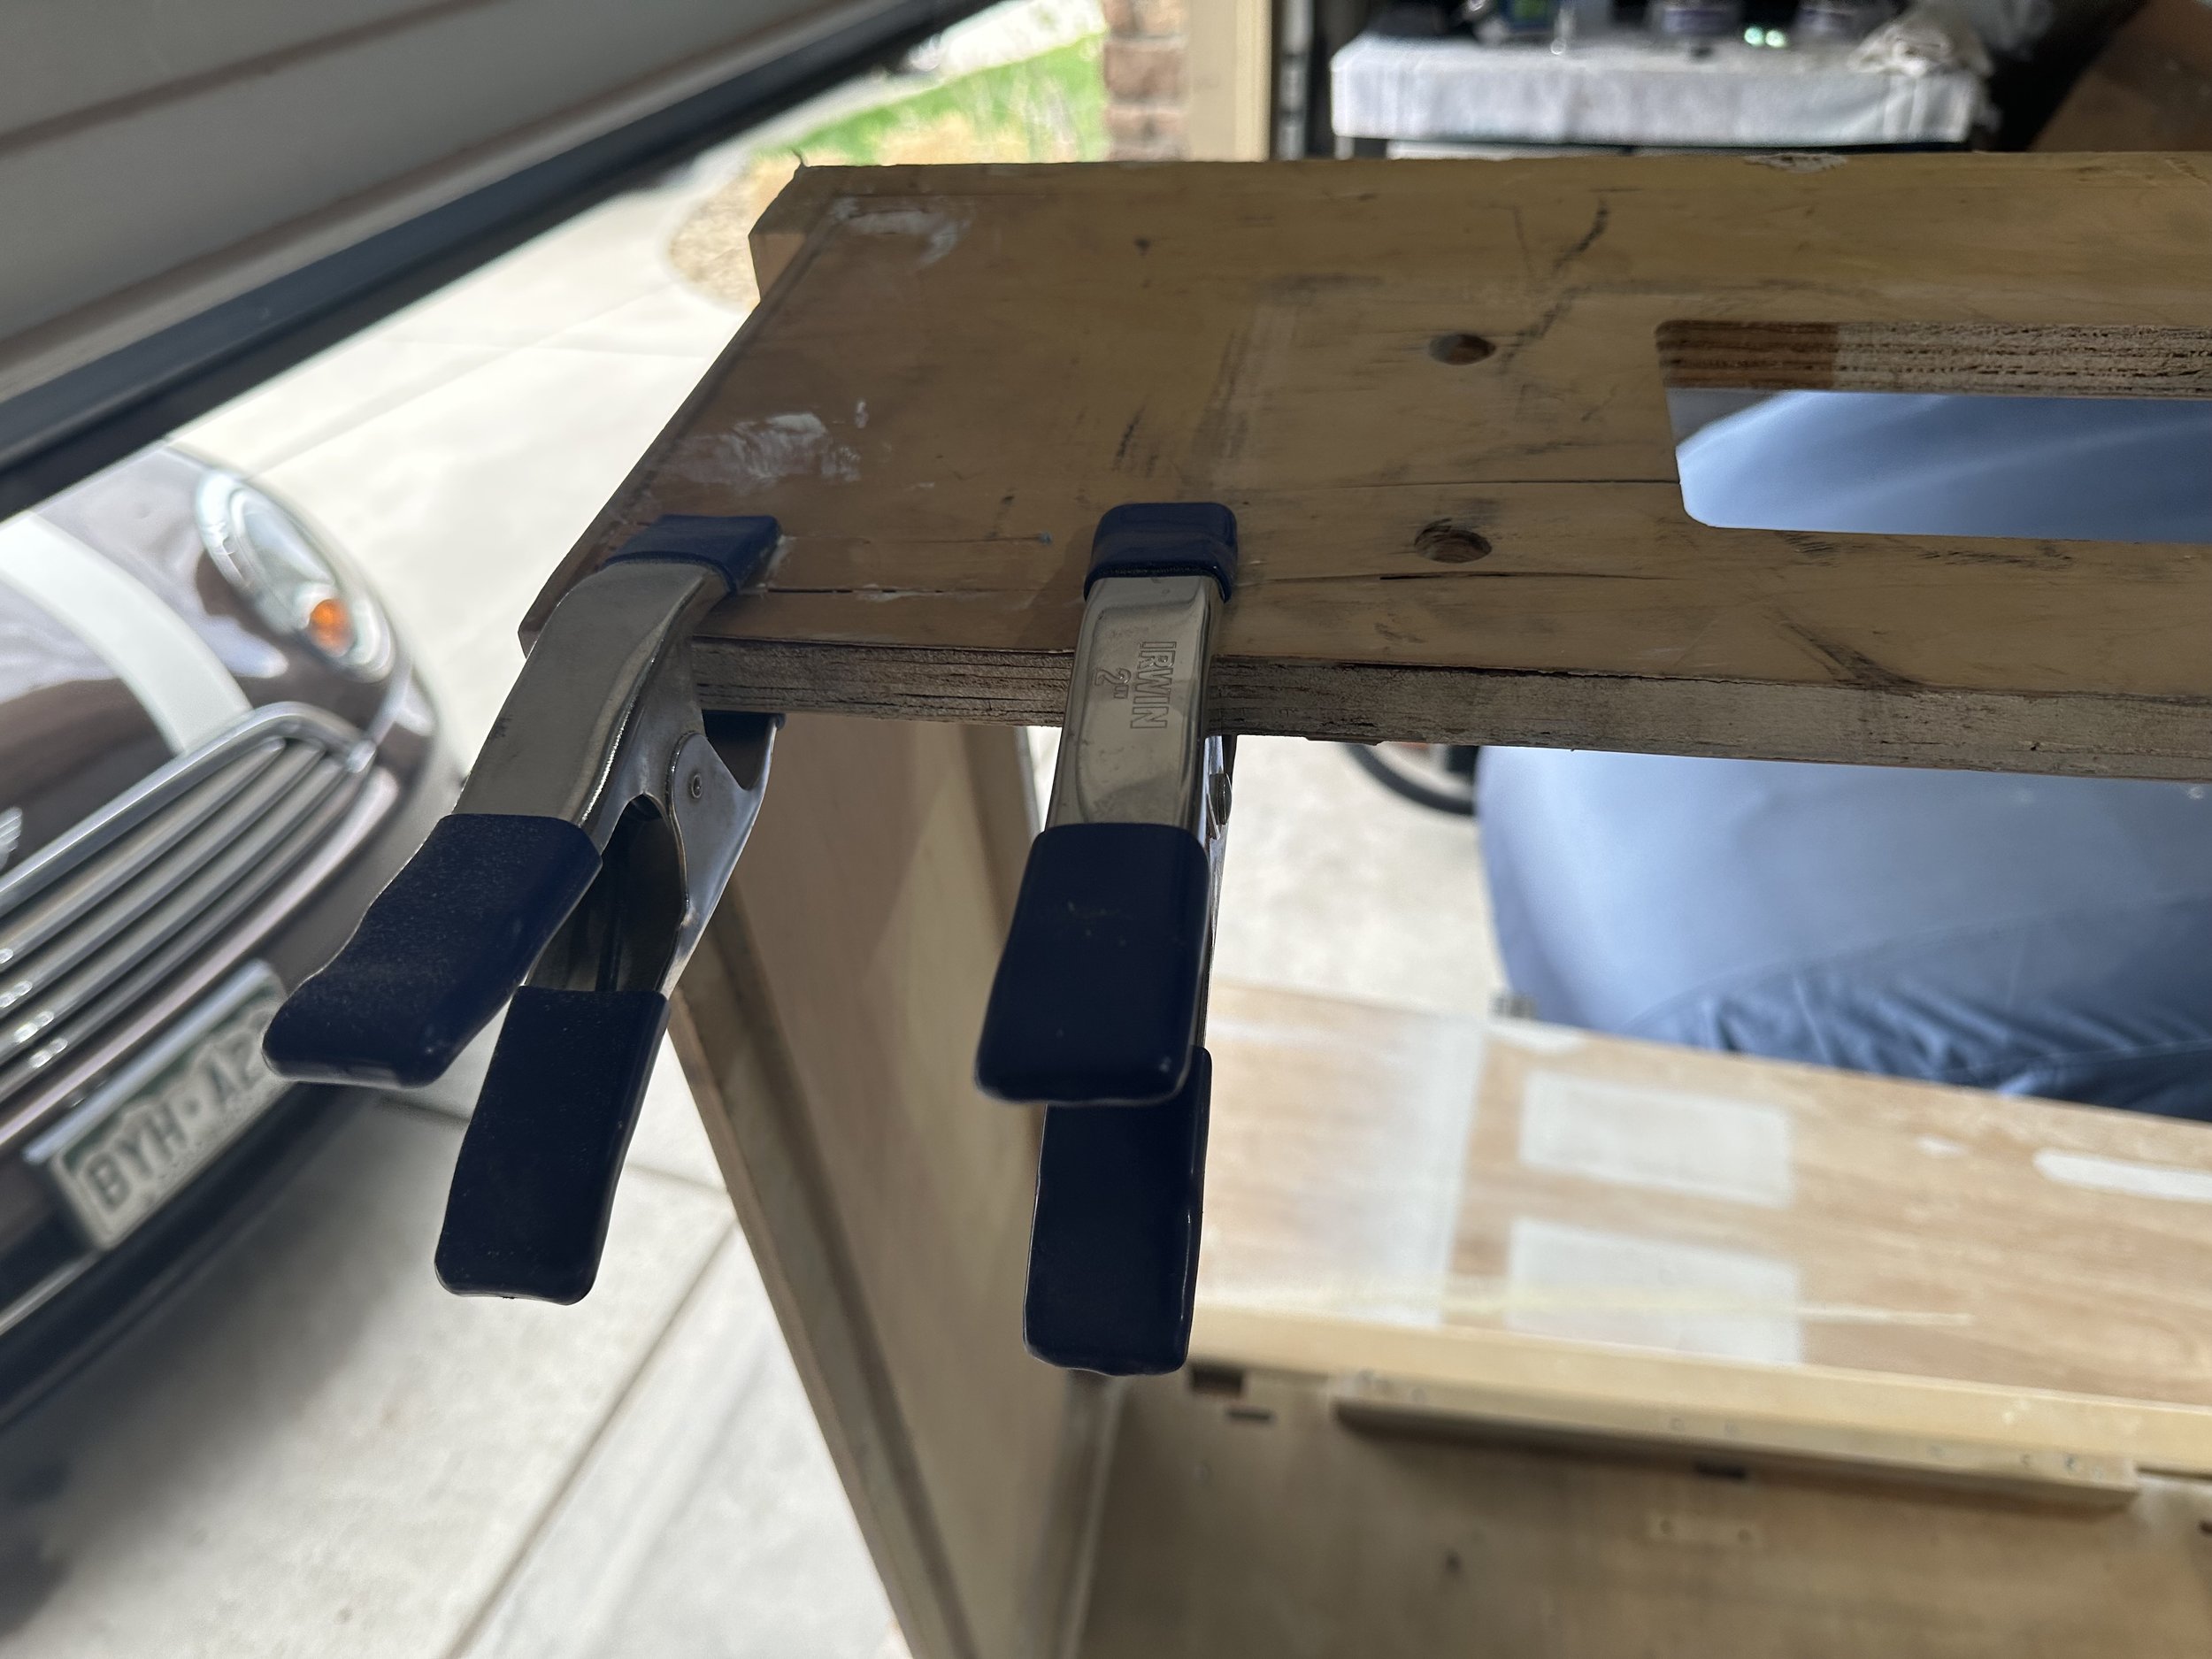
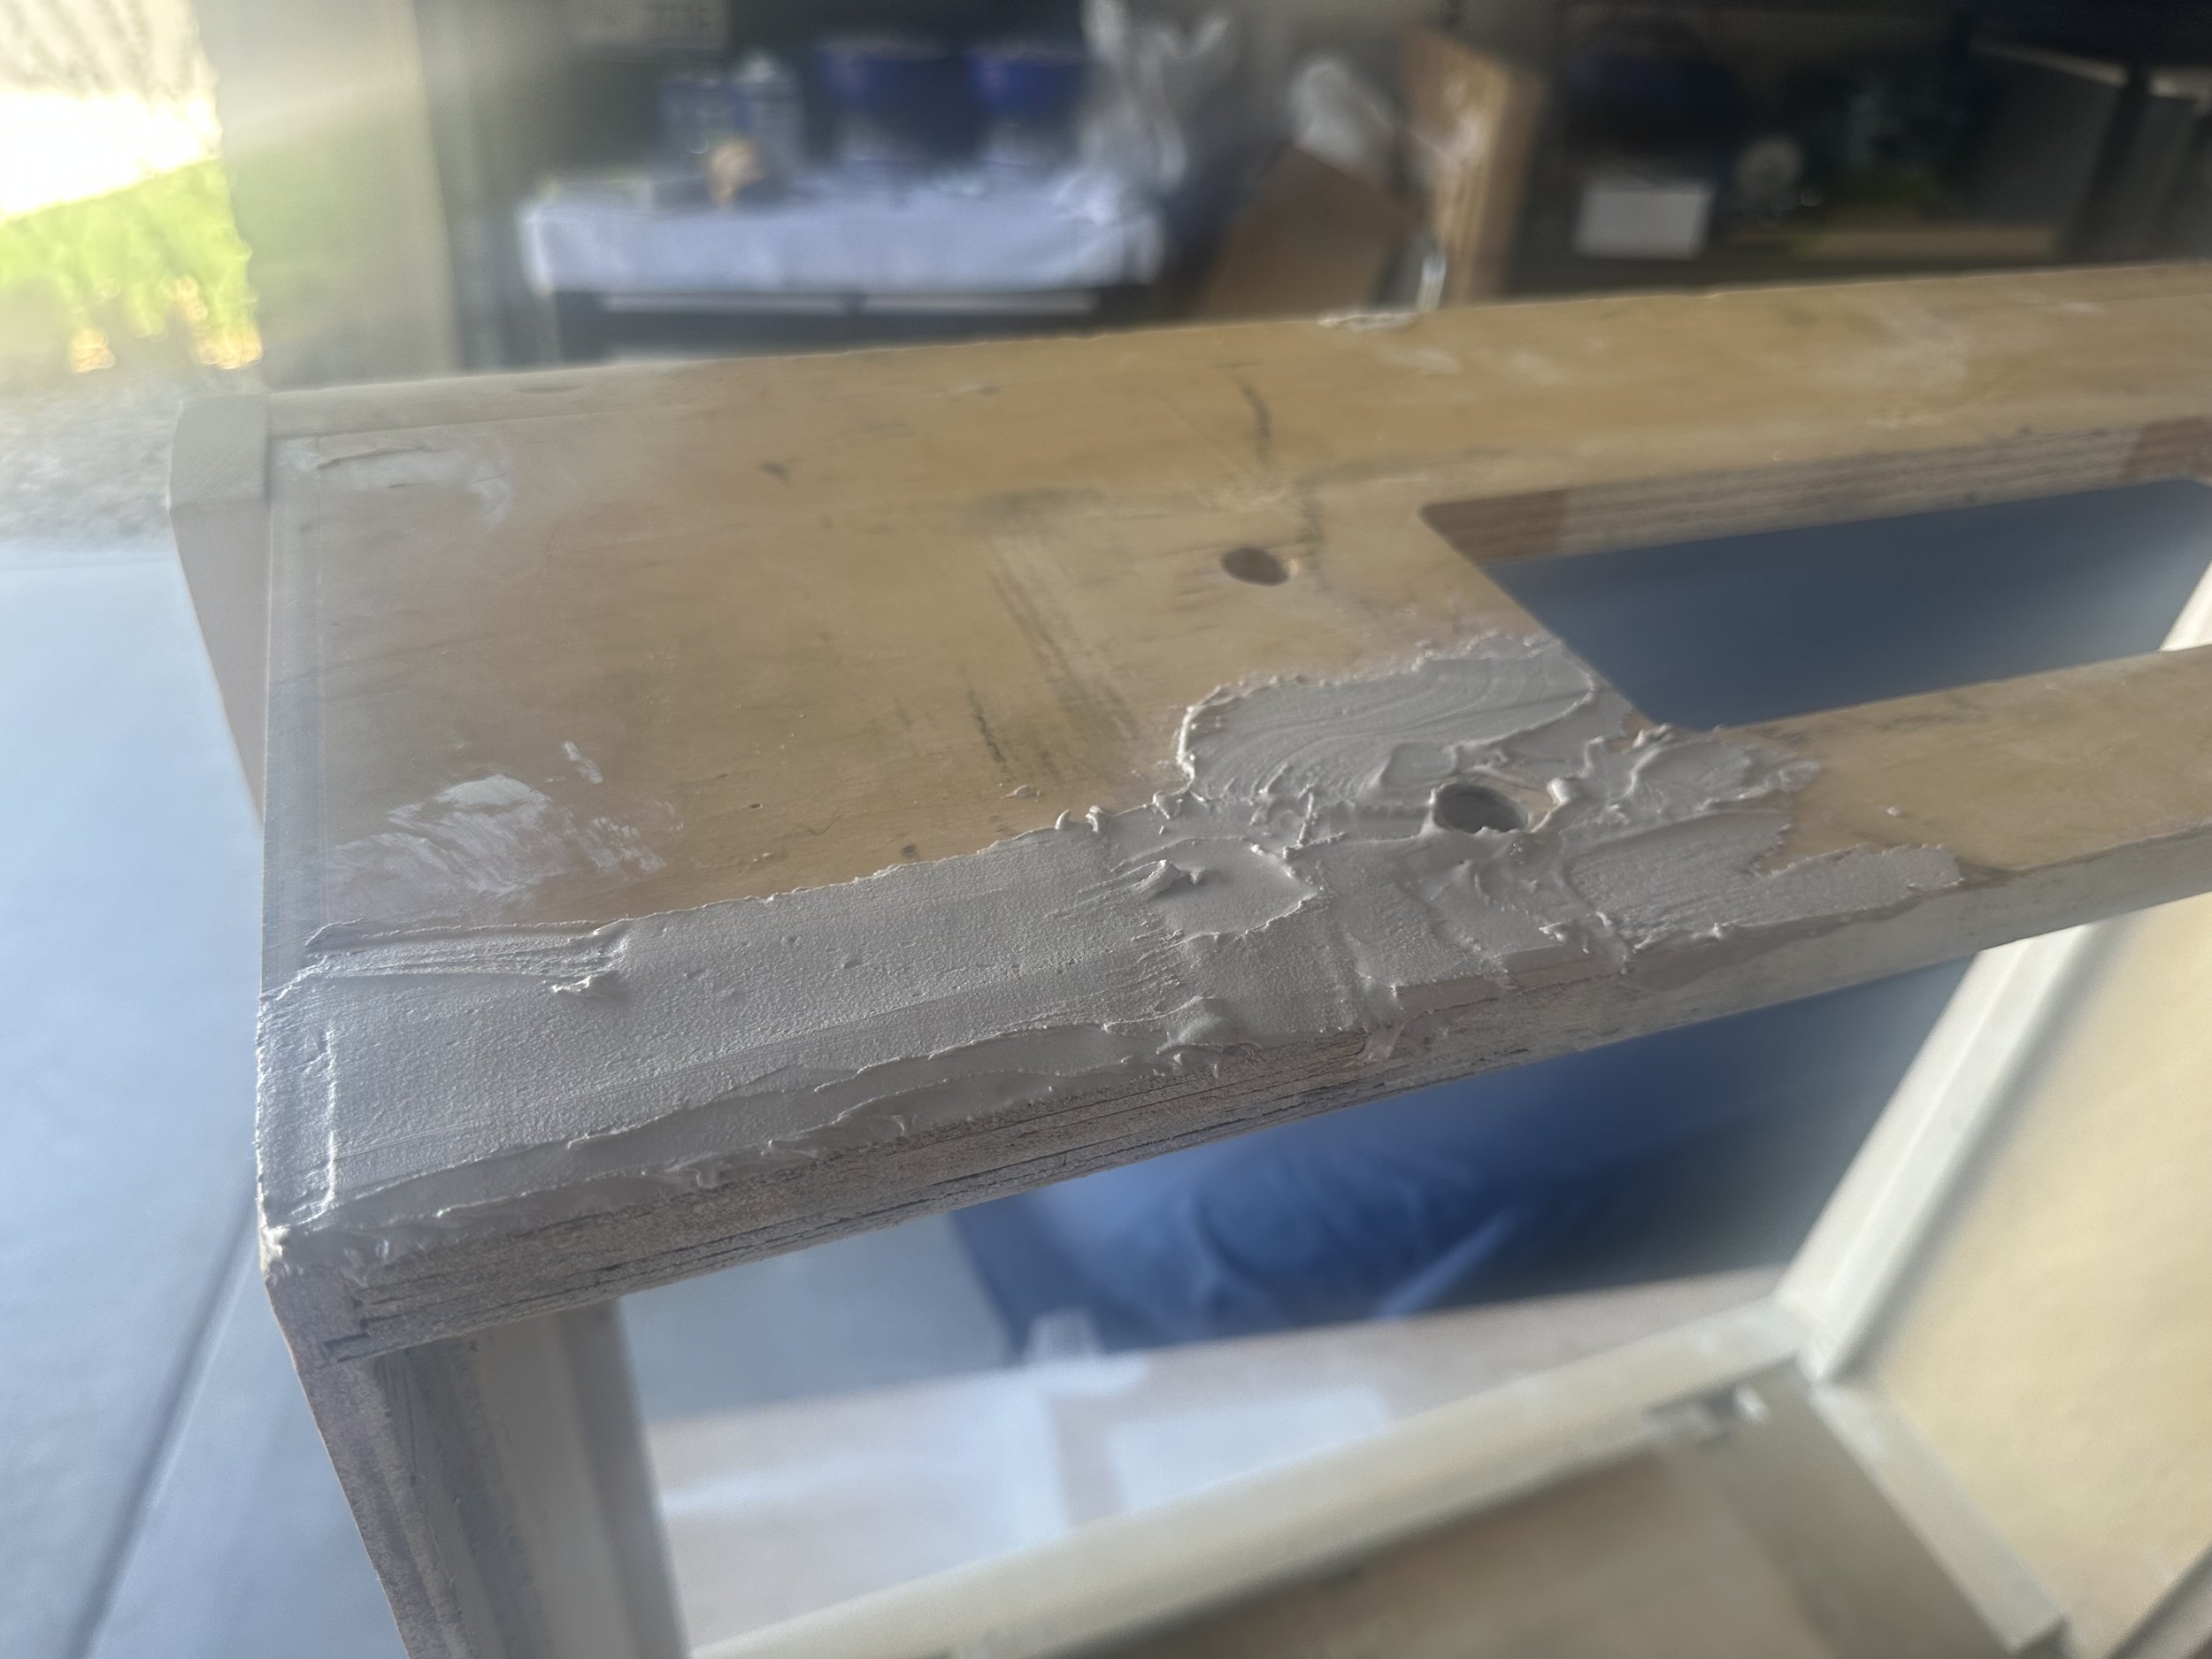
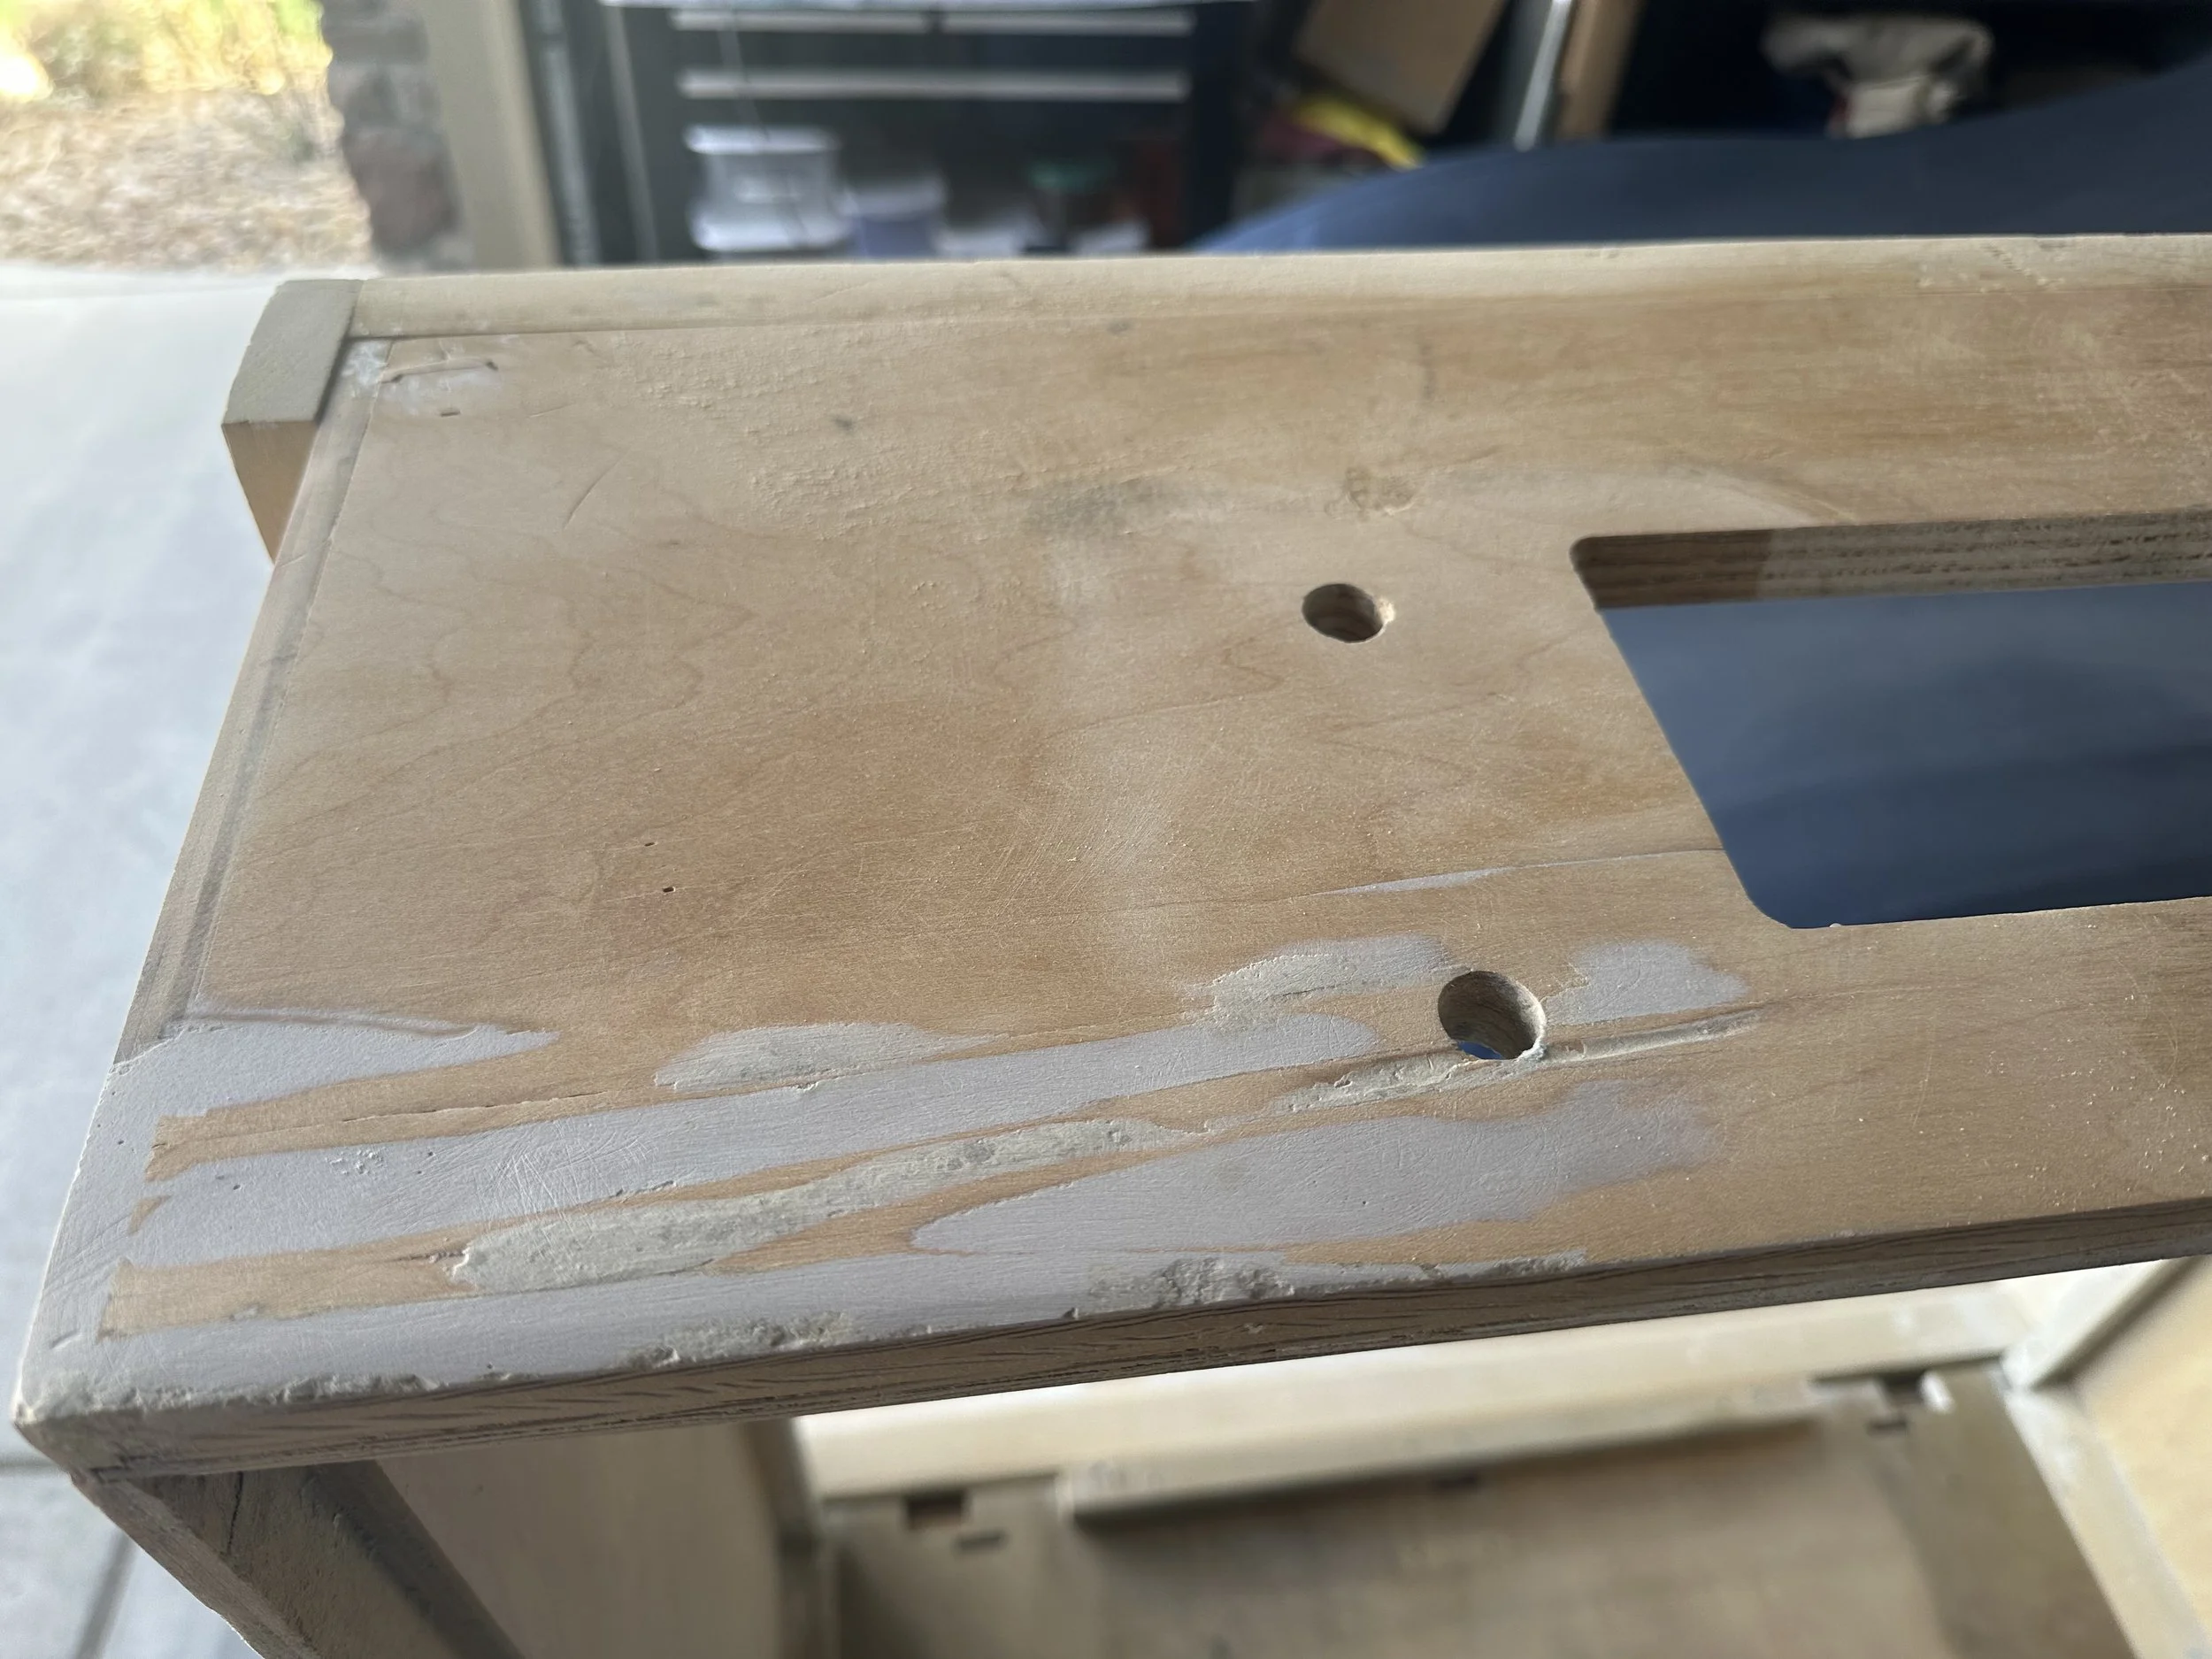
Aside from cosmetic damage, the cabinet itself was in good shape needing only minor structural repairs and some bondo here and there for the deeper gouges. Paint was chemically removed with acetone, a much safer method vs. sanding off 1970’s paint which could contain lead resulting in lead particle dust flying around on landing everywhere.